


Repurposed Piano Keys

Comments and questions on an earlier posting suggested interest in what was done with the left-over keys from a piano repurposing project.
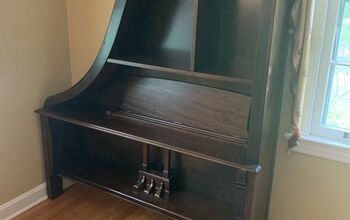
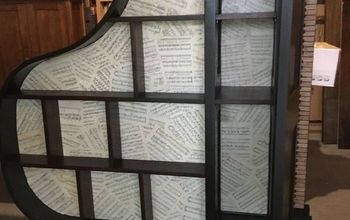
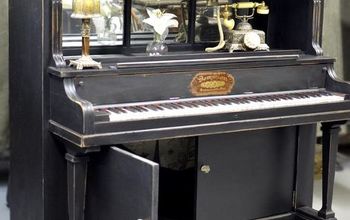
As stated in that posting (https://www.hometalk.com/diy/living-room/furniture/piano-repurposed-into-a-bookcase-43336777) the clients wished to have them repurposed into key racks for siblings. The purpose of this posting is to show the results and discuss some key points (pun intended) encountered in the process.
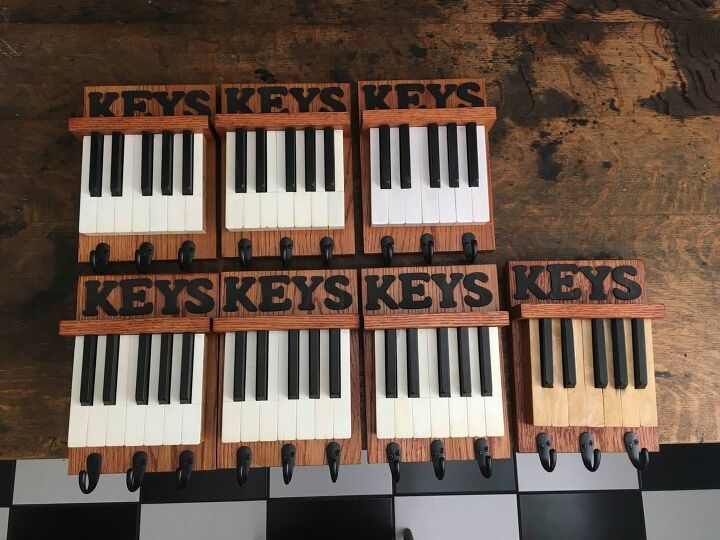
Most of my projects are one-of-a-kind. Doing seven sets at a time was a little tedious for me. I tried to mimic, but not replicate key racks I had seen on the internet.
Short version: The 88 key were divided into seven sets of 12 keys- 7 white, 5 ebony. The 12 keys were attached to a backer board along with three hooks to hang keys on and two hangers to hang the rack. Feel free to jump to the end of this posting.
Long version: After the keys were separated into sets, some white keys were missing or damaged. I was able to remove damaged ivories and selected good ones by placing them in boiling water. The ivories probably were attached with hide glue, but I reattached them with polyurethane glue so I was able to have six sets of seven white and five black keys and one set with no ivories.
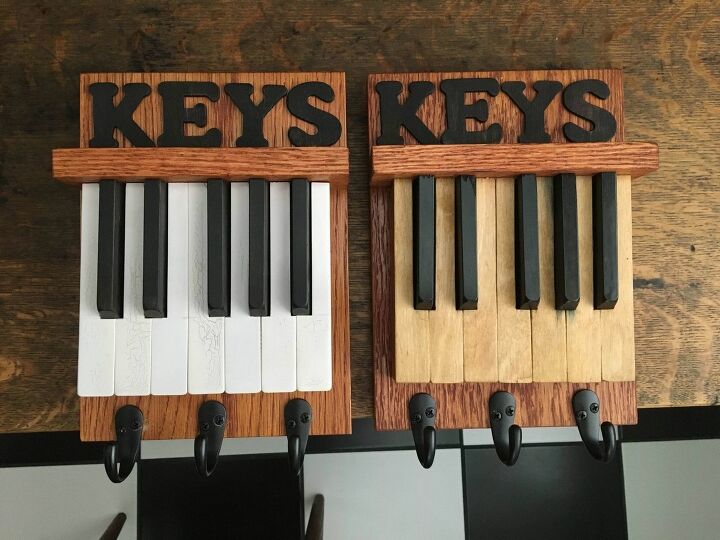
With one of the sets of black and white keys, the color of the white keys varied so greatly. I painted them with a muslin latex enamel. Unexplainably the paint crackled on drying which gave them an aged look I decided to live with.
The set with no ivories was re-veneered with iron-on birch veneer tape. Over lapping edges were trimmed, sanded, and finished with satin urethane.
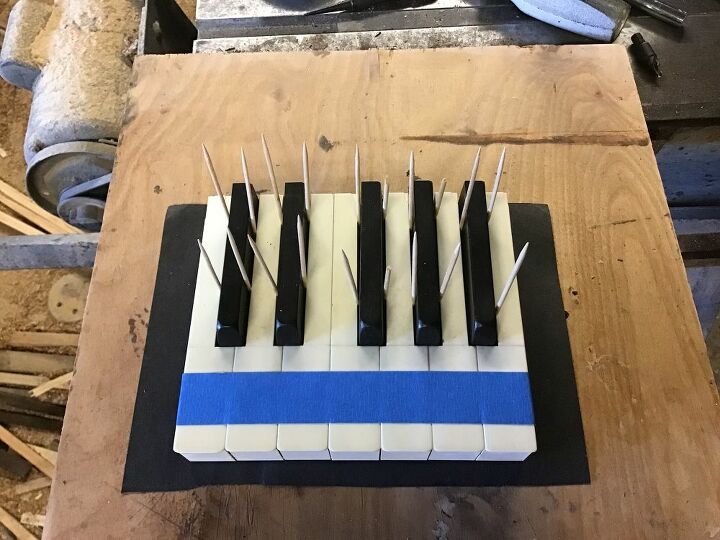
- The white keys fit so well together, they can be glued together and glued to a piece of construction paper with yellow wood glue. They were kept in line and together with painter’s tape until the glue dried.
- The ebony keys, which are all the same shape and size, were glued in the spaces between the white keys. I used a drop of yellow wood glue in the middle of each ebony key and a small drop of polyurethane glue towards the ends of each ebony key. The yellow wood glues sets/dries faster than the polyurethane glue, hence holds the key down to the construction paper while the other glue swells and sets. I used toothpicks to hold the keys in position while the glue(s) set.
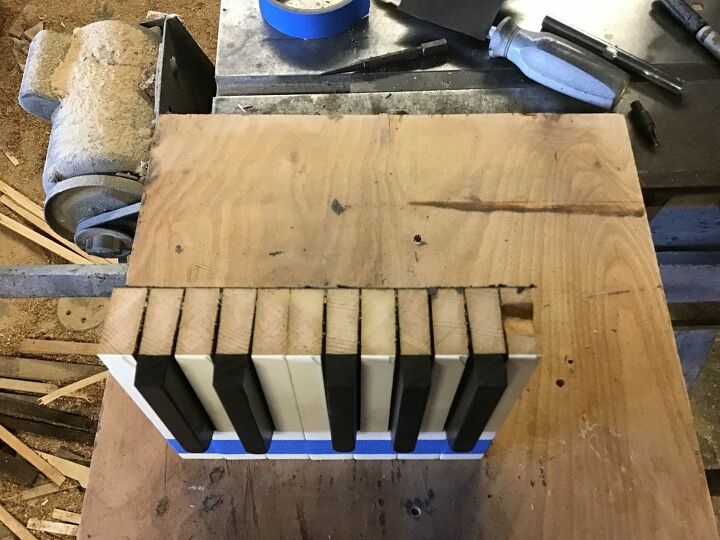
- The keys were trimmed straight across the top at the table saw, but I had to go with to a finer tooth blade as the ivory had a tendency to chip. The keys were attached “as a block” with three (1 and 1/4” drywalll) screws though the backside of the backer board.
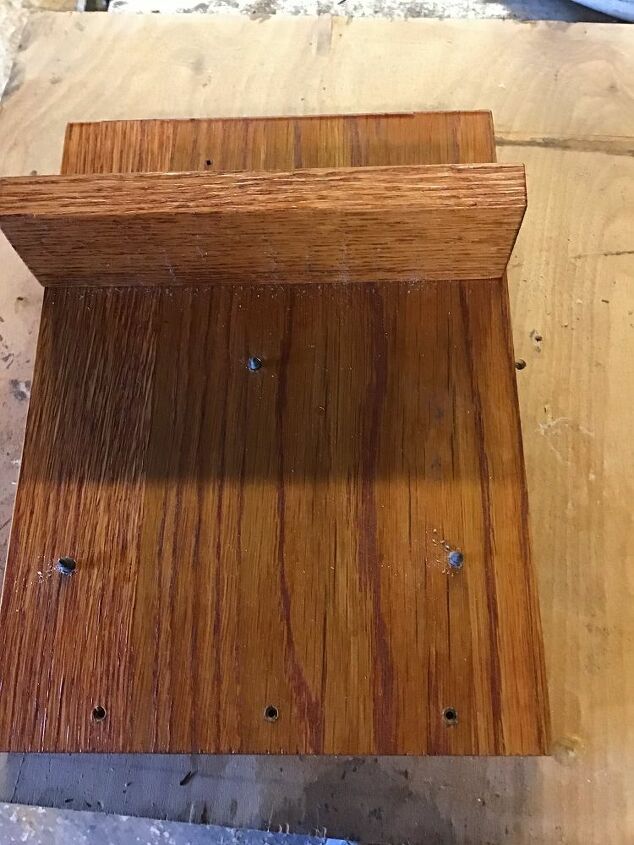
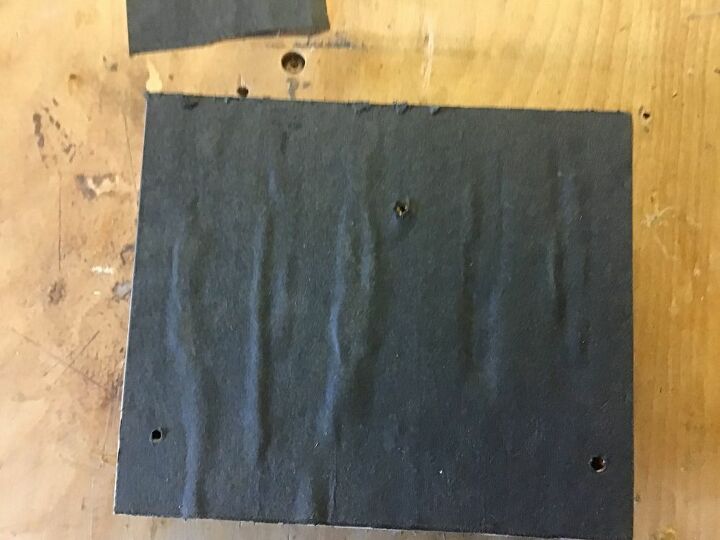
- The backer boards (about 7” by 10”) and the cross board (about 7” by 1 and 3/4”) was cut from some 3/4” leftover oak that I had on hand. They were stained (Minwax gunstock) and polyurethaned (Minwax satin) before assembly with 1 and 1/4” dry wall screws.
- Two hangers were attached to the back of the backer board. The hangers aren't readily visible in any photos.
- My wife and I both liked the looks/design of the rubbed oil hooks, but they were troublesome to attach. The screws were too long and every one (42) of them had to be cut shorter with an angle grinder, equipped with a cut-off wheel. Mounting was difficult because the hook was right in the way of the mounting holes/ mounting screws. .
- The wooden letters (2”) were purchased from Hobby Lobby and stained ( Minwax dark walnut) but left unfinished and glued into place with polyurethane glue. Apply it sparingly with a toothpick to prevent seepage.
The client liked all the sets, so that is what counts. But this woodworker/furniture maker has gained additional respected for crafters and the details they must detail with.
Resources for this project:
See all materials


Comments
Join the conversation
-
Incredibly creative ,beautiful LOVE IT!
-
What a talent you have! Would make a nice "New House" gift, or for your pianist at church! Thank you for sharing your gifts with we fellow crafters! God Bless and CRAFT ON!!!


Frequently asked questions
Have a question about this project?
thank you for this wonderful idea. This will be a first for me...how do you remove the keys from the piano?