Piano Repurposed Into a Bookcase.

I guess a subtitle for this posting could be "one Hometalk posting leads to more".
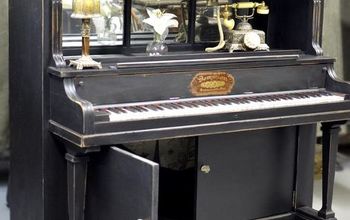
I shared a posting (https://www.hometalk.com/diy/living-room/furniture/piano-bookcase-28841066) about a piano repurposed into a bookcase and followed it with another posting (https://www.hometalk.com/diy/outdoor/furniture/cabin-table-with-folding-legs-34922403) when a leftover part of that piano was made into a folding table for out tax accountant.
Friends of the accountant (Scott and Joanna) had a piano, that they wanted re-purposed. Scott is a pianist and has a piano, yet for years and years Joanna’s grandfather piano has remained in the family.
I really wasn’t excited about repurposing another piano, but the they convinced me. They agreed to my estimated cost, paid to have the piano delivered to my workshop, and didn’t set any deadline. While they had some ideas pulled from Pinterest, we were all open to different ideas.
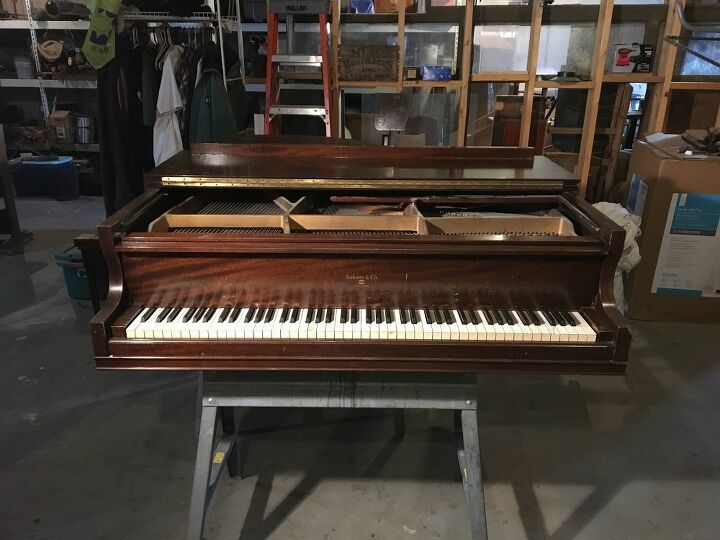
The piano was a Sohmer and Company, baby grand, model 54, serial number 91957. These facts suggest it was manufactured in the late 1930s. The case was walnut.
Having done the first piano made dismantling this one simpler, although there is no way around it- the harp is very heavy. The strings are under a great deal of tensions and the internet is full of dire warnings. I found covering them with a furniture pad and a scrap piece of plywood allowed me to cut them away from the harp using an angle grinder with a a cut-off wheel. I gave the strings to a friend who makes jewelry and she plans to make some rings and bracelets from them. The harp itself was then broken into manageable sized pieces using a sledge hammer and scrapped. There are internet photos of high end repurposing projects for harps, but I frankly think their weight makes them impractical.
Unlike the first piano I removed the sounding board and the structural cross members of this piano. This was accomplished with a saws-all and it made the carcass significantly lighter and allowed for deeper shelves. The places where the cross members had been attached required wood filler and sanding.
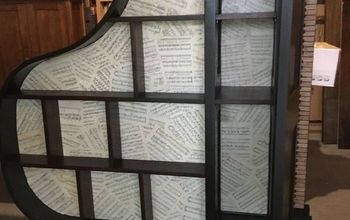
The gross dimensions of the piano carcass required a 5 foot by 5 foot piece of plywood, for the back. I did extensive internet search and found limited (i.e. expensive) options for walnut veneered plywood. I was surprised to find a 5 by 5 sheet of birch plywood locally at a very reasonable priced. The outline of the piano was traced on the plywood and adjusted for the rabbet that had to be routed into the piano.
Finishing presented several challenges. First of all, stripping the original finish was more difficult than anticipated. I believe it was because I used a stripper that didn’t contain methylene chloride. I believe the methylene chloride formulation is more aggressive, albeit it is more dangerous to use. The non-methylene chloride formula also required more washes to remove residual haze. The “washes” are done with pads of #00 steel wool dipped in solvents. I start with lacquer thinner (MEK), followed by mineral spirits, and then denatured alcohol.
The birch back and the maple wrap in the interior of the piano needed to be stained considerably darker. Experience has taught me that there is only so much pigmented stain that any wood will absorb, so I pre-dyed the back and the interior with aniline dye to a dark walnut color. You can buy premixed dyes, but I use some aniline dyes I bought from Rockler many years ago. It is kind of a kit with dry powered dyes of various shade that you dissolve in a 1:1 (alcohol/water) solvent. A little bit of the powders go a long ways. In general, once you get the color/shade you want you just keep applying coats to you get the color as dark as you with. Unlike a pigmented stain, a dye will get darker and deeper in color with every coat.
The bookcase shelves were cut from the original piano top and the front edges were veneered to allow them to be stained and varnished.
Once I had the previous finished portions stripped and washed and the lighter pieces dyed I stained everything with dark walnut stain to even things out. Then I started applying coats of satin oil-based polyurethane. I like to thin it with mineral spirits and rub them on with an old cotton sock over my gloved hand. The coats go on easily and dry fast and require minimal sanding with 220 grit sandpaper between coats. After everything was varnished I installed the upper shelves and back. Then blending and evening out the color was done by over-spraying any light ares or defects with Rustoleum Dark Walnut paint. You just step back and lightly (and I mean lightly) spray until the color looks better/ more uniform. Once the paint is dry to the touch, you can adjust any sheen differences by using the same overspray technique with MinWax satin polyurethane in a spray can.
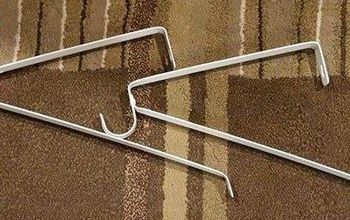
The bookcase is attached to the wall with a metal brackets, also called a French Cleat and/or a Z Bar Bracket. I actual planned to use upper and lower brackets, but because Joanna choose to have the bookcase set on the floor only the upper bracket was required.
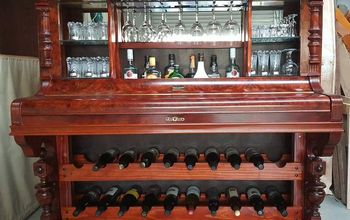
I am very happy with how the project turned out and it was a pleasure to work with the clients. I feel good about saving these wonderful pieces of workmanship (or at least parts of them) from the trash or bonfire. The reality is that repurposing a piano is a big project, and requires much more time, than my typical projects.
I still need to repurpose the keys and will do another posting when they are done. I have added a posting (https://www.hometalk.com/diy/upcycle/repurposing-ivory-piano-key-covers-43333205)
on what my Luthier friend does with the ivory that I give him. I also have leftover piano legs and other parts to repurpose.
Thank you for sticking with this lengthy post and I hope it made sense.
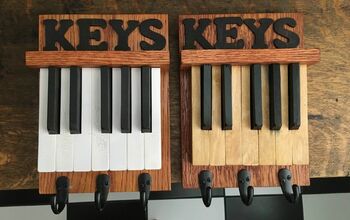
Update 8/2/2019 I have done an additional posting (https://www.hometalk.com/diy/decorate/walls/repurposed-piano-keys-43424442) describing how I repurposed the piano keys.
Enjoyed the project?
Comments
Join the conversation
-
 Gig69451122
on Apr 30, 2023
I learned the lengthy repair/restorative process from a professional. There were literally baskets full of ivory keys. I felt sorry for all the elephants. I needed to leave, due to the strong fumes. Please be careful. You're not only talented, but creative as well. I think your work is worth more.
-
-







Frequently asked questions
Have a question about this project?
WOW!!!!!!!!!!!!!!!!!!!!!!!!!!!!!!!!! Beautiful. That You saw that in an old piano. Very impressive.You can go on craigs list and get free pianos all day long. Perhaps sell your book cases??
Those are awesome. How much do you charge?
Was the piano unplayable before the customer decided on such a transformation?