


Mini DIY Concrete Bowls For Christmas
Make mini DIY concrete bowls to use for Christmas. An easy, step by step tutorial. These beautiful red and bronze metallic concrete dishes are the perfect addition to Christmas decorations.
Instead of putting out any regular bowl to hold nuts or candy, why not customize your own with these handmade mini DIY concrete bowls.
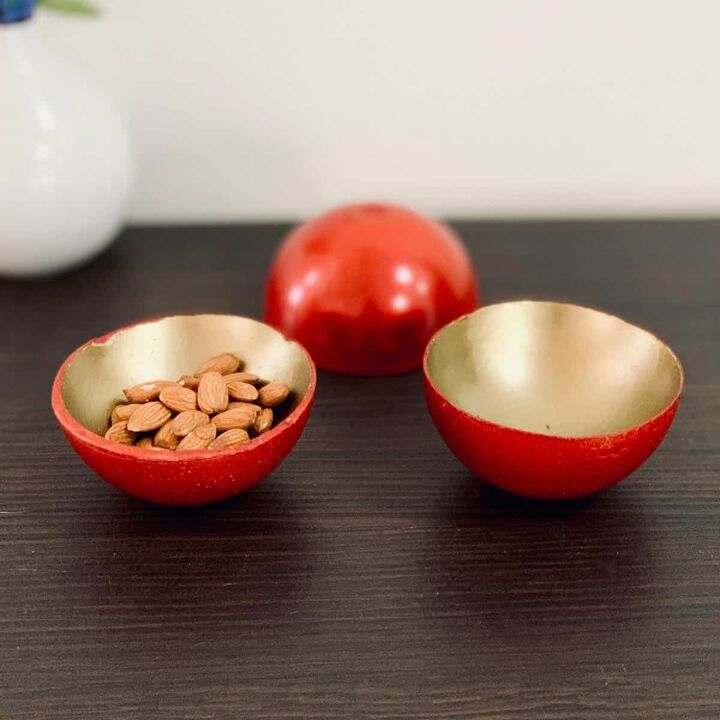
These small concrete bowls are such a great size and shape to hold little snacks.
You can even use them as a centerpiece for your Christmas holiday table. Are you wondering if these concrete bowls are really safe to eat from?
Well there’s nothing special about the concrete they use in concrete countertops to make it food safe, it’s the sealer that does that.
These are painted, and the paint I used inside is non-toxic. However, I wouldn’t use liquids in these, even though they are sealed by paint.
You can hand wash these though, no problem. Just use mild soap and water.
You actually don’t even need to paint them because you can seal them with a food safe concrete sealer- like what they use for concrete countertops.
These are typically labeled as stone and granite sealers. I have a link to one in the materials.
If you’re interested in making a really big concrete bowl, you can get that tutorial here!
Tutorial Steps For Mini DIY Concrete Bowls For Christmas
Before starting the tutorial, it may be helpful to read my post comparing the different concrete mixes- Cement & Concrete Crafts Tests!
Another important article is Making Cement Crafts Techniques & Tips with info on cement materials, mixture consistencies, demolding, safety and clean up!
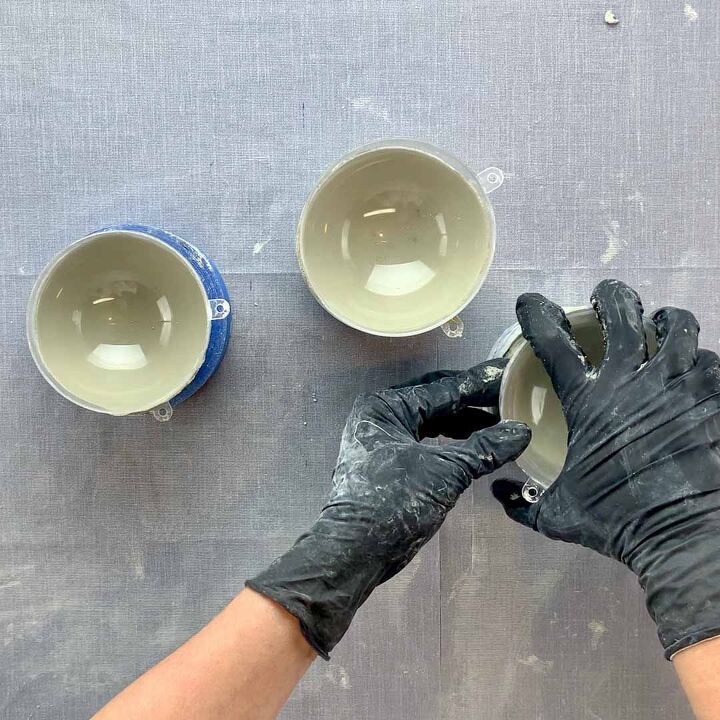
STEP 1 | Prep The Cement Mold
These bath bomb molds have a lip where they get snapped together -if you were using them for their intended purpose to- as molds for bath bomb soaps.
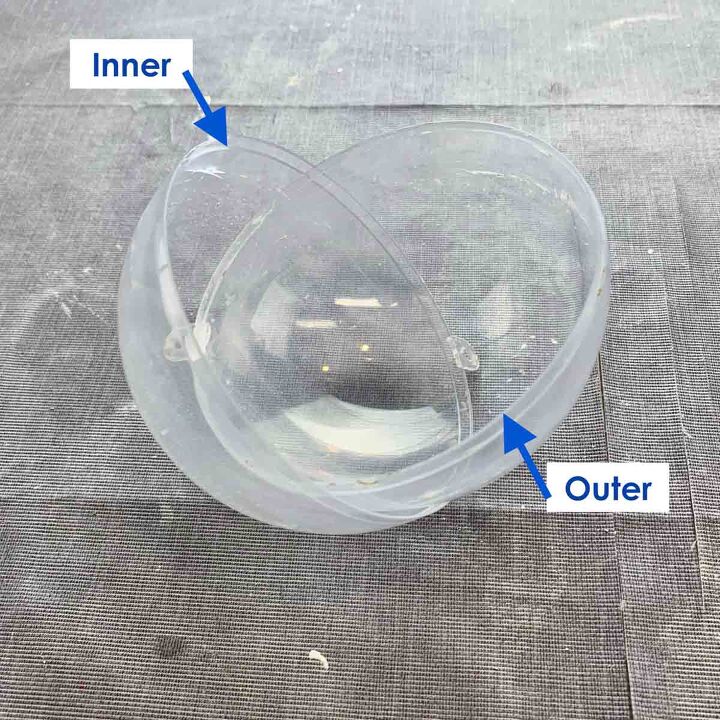
For our purpose, you’ll want to use the half that has the bevel on the outside for the outer mold, so that the inside is smooth all the way to the top.
Just feel the outside top edge, if it indents, then that’s the outer mold. The inner mold indents at the inside top edge.
So lay out these outer mold halves first.
Next, we need to make these sphere shaped molds flat at the bottom so that the concrete bowls don’t roll around. So we need to find the bottom point.
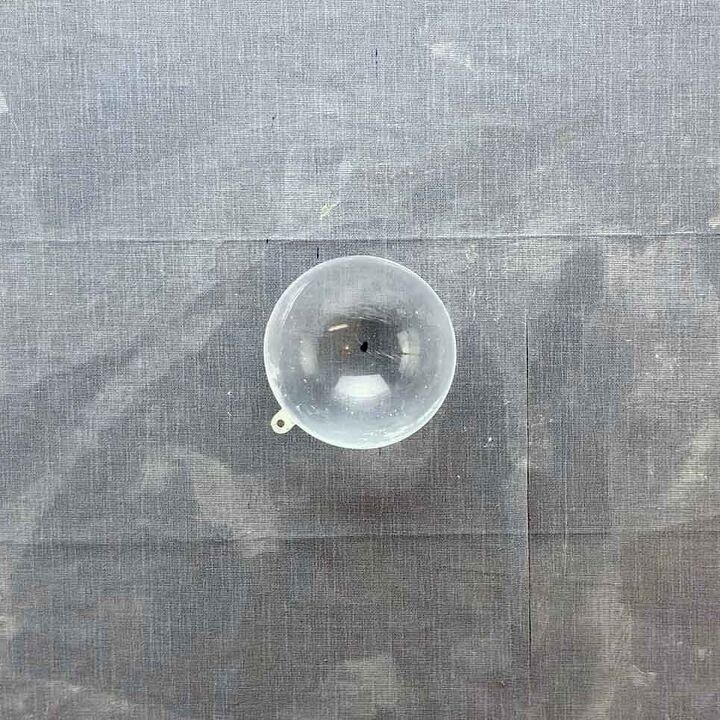
Take a marker and hold it over the bowl and press the marker to the plastic at the point that it is touching the table and make a mark.
Use your finger to press on this spot, if it stays still, then you marked it correctly.
Now take a small piece of plasticine clay and roll it into a ball so that it is smaller than a pea. Then place it on the marked spot and press down with your thumb.
It only needs to be pressed hard enough to stick and so that it is relatively flat on top.
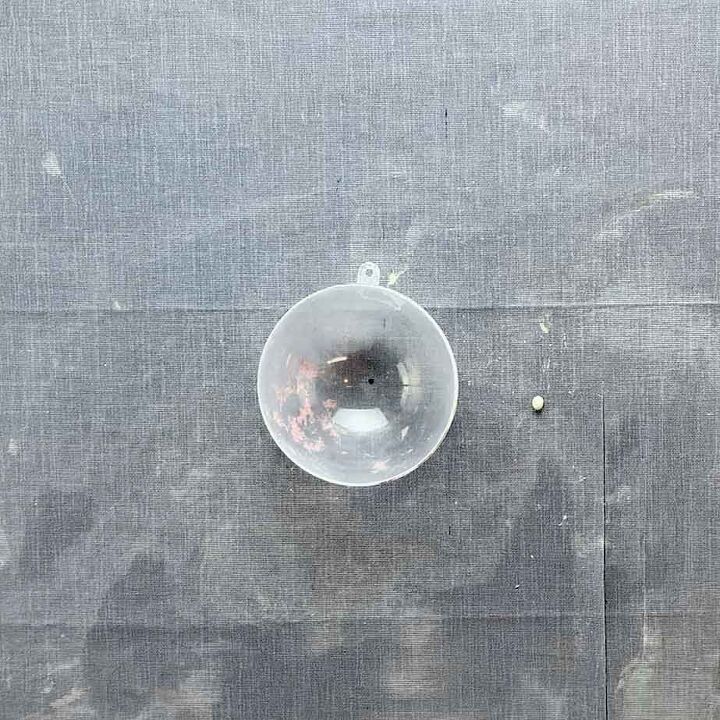
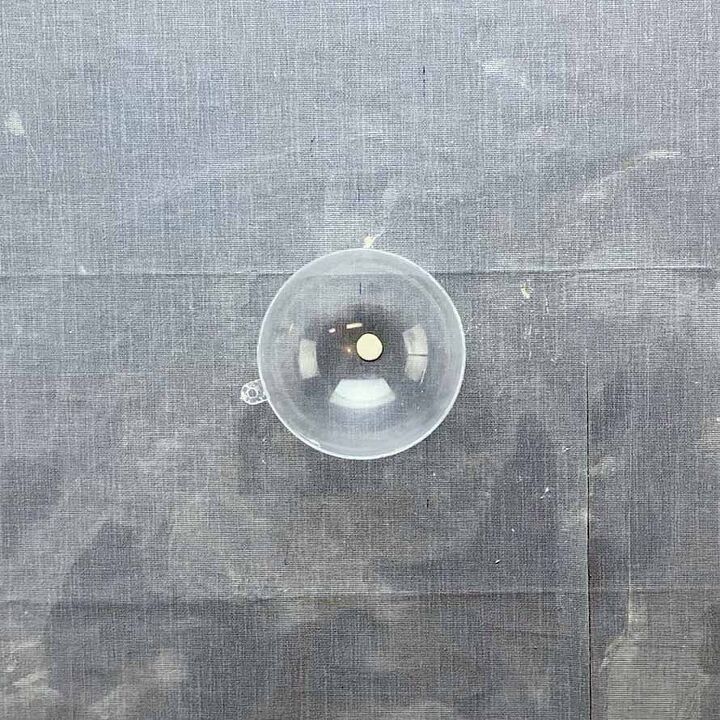
This plasticine clay will stick to the concrete, so when you demold it, you’ll need to scrape it out.
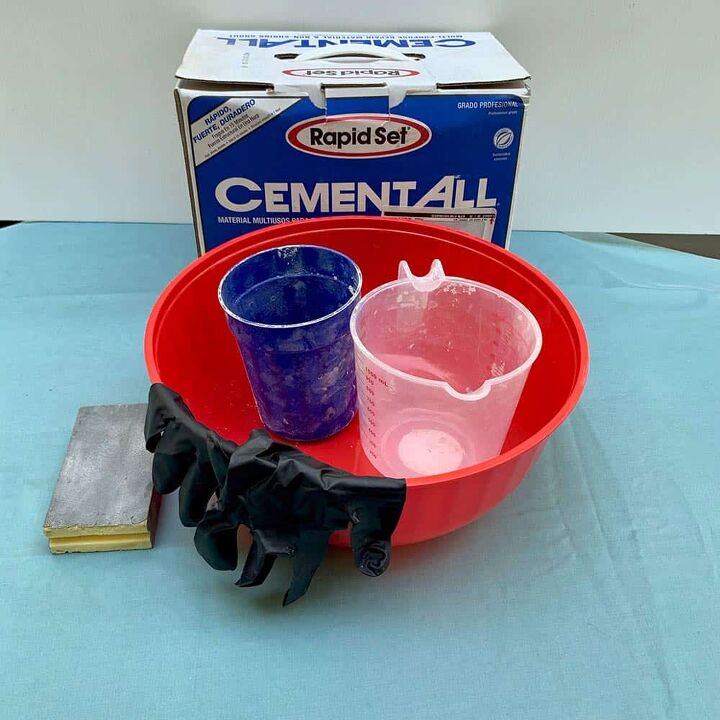
STEP 2 | Mix The Cement
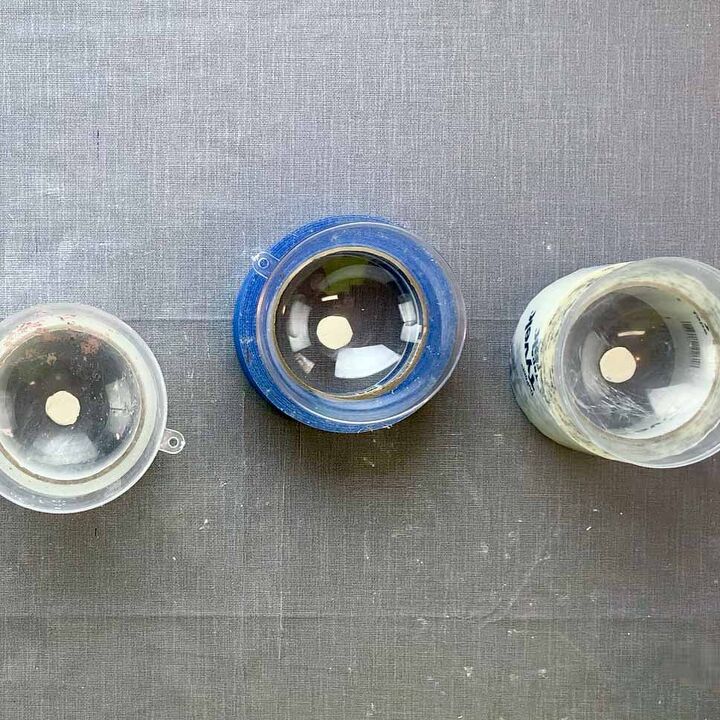
First, place all three rolls of tape on the work surface and set the outer mold half spheres inside.
Get eye level with them to see if they are level. It’s not a big deal if they aren’t but a little easier if they are at least close.

**If you love making concrete projects, then check out my Pocket Guide to Concrete Mixes! I tested 6 mixes and made a handy reference chart. It's a FREE download. 😉
Now mix the cement with cold water, to an apple sauce consistency.
You don’t want it too thin because due to the shape and size of the spheres, the top edges can be brittle and a thinner mix can make them even more brittle.
Pour the cement into each bowl so they’re between half and ¾ full.
Shake and tap each of these to vibrate them and then place the inner mold inside.
The cement should overflow a bit. Just center the spheres and check again that they are level inside the rolls and the inner mold is relatively level as well.
Let these cure for about an hour- 1 ½ hours.
STEP 3 | Demold The Concrete Mini Dishes
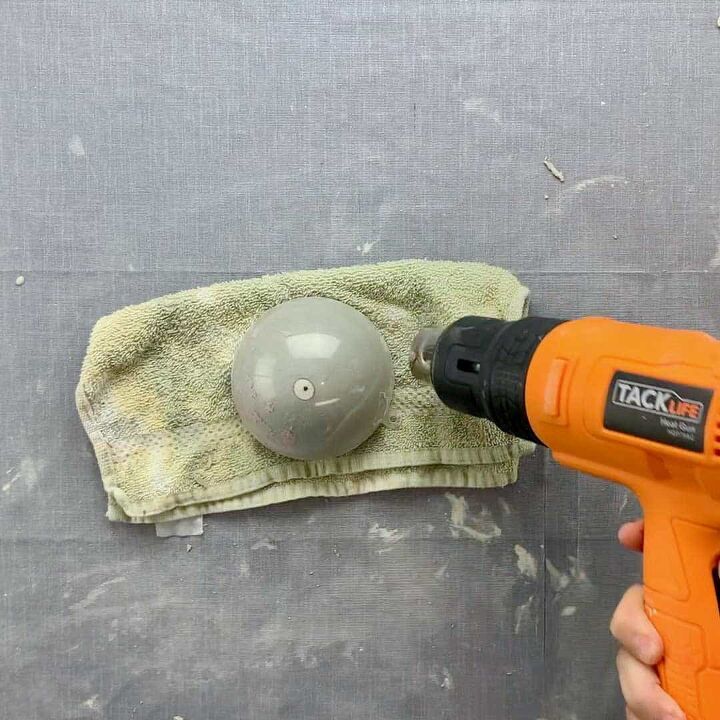
To demold the mini concrete bowls, place them on a towel and turn them upside down.
Be gentle with these as the very top of the edges are likely to break off, and that’s okay, you don’t want them to break off deeper than the top ⅛ inch or so.
Work on one bowl at a time and use a heat gun.
Turn the heat gun onto medium (if it’s on high, it will likely warp or melt the plastic) and run it over the bowl back and forth and around it.
You should be able to see some of the cement release itself from the plastic.
Sometimes the bowls drop right out, but sometimes I have had to tap them lightly on the towel, or even run the heat gun back over them a couple of more times.
Be gentle with them so the top edges don’t crack.

Scrape the clay out of the holes with your fingernail or a toothpick.
STEP 4 | Sand The Edges Of The Bowls
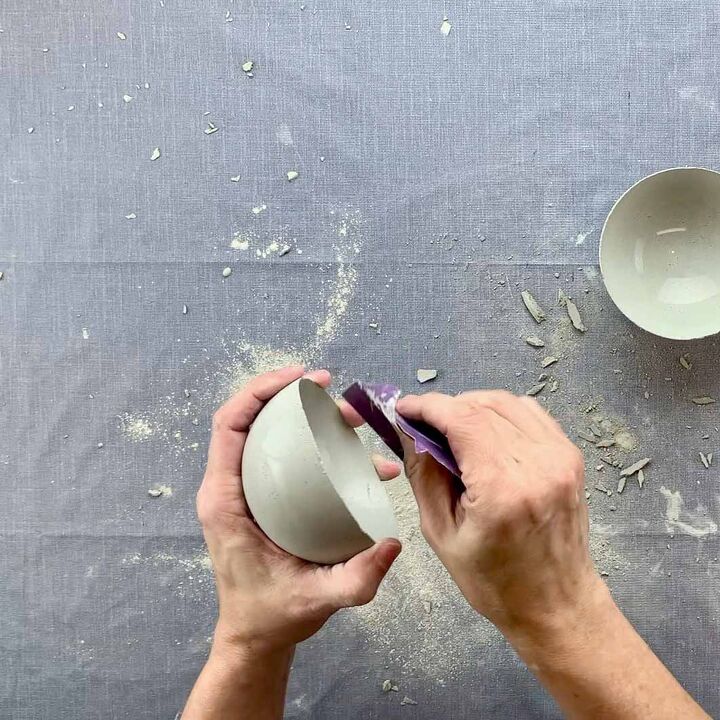
Sand the only the top edge of the bowls.
Use either a grit diamond sponge, or grit regular sanding sponge for the top edge, then refine the edge with a grit piece of sandpaper.
Let the cement dry fully before painting. I recommend letting these dry overnight to be sure all the moisture is gone.
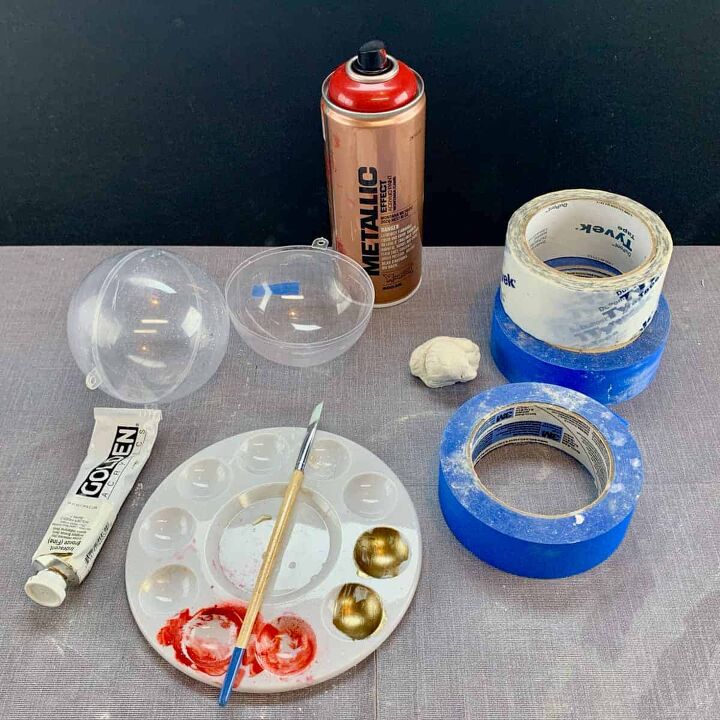
STEP 5 | Paint The Outside Of The Concrete Bowls
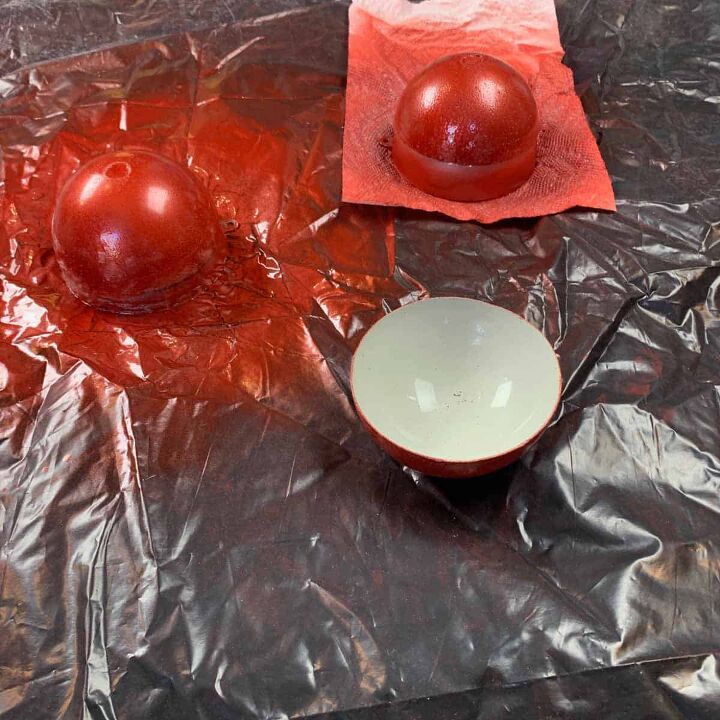
First, take one of the spheres and place it open side down onto a plastic drop cloth.
You can use all three for this, but that may make them not reusable as a mold if you want to use them again.
Take the red spray paint and shake it for several minutes.
Spray the outside of the mini dish in smaller bursts and back and forth. I had to spray from all four sides to get the bottoms of the bowls fully covered.
Keep the mist light so that you can avoid drips.
Wait at least an hour before painting the inside of the mini bowls.
STEP 6 | Paint The Inside Of The DIY Concrete Bowls
Once the outside paint is dry, go ahead and paint the inside.
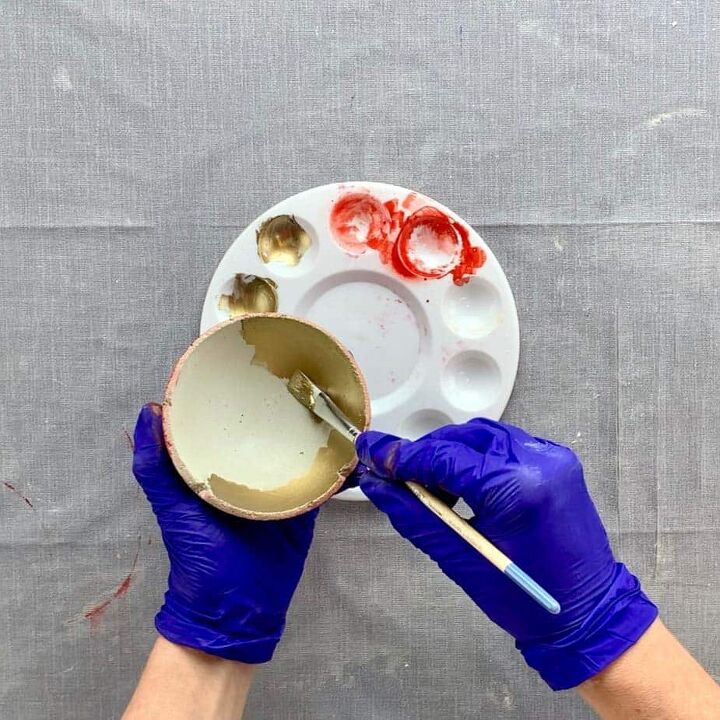
Add some of the iridescent bronze paint to a palette tray and use a paint brush to paint the inside.
For two of my bowls- the ones with the thin edge, the red paint was already there from spraying, but still needed a little touch up.
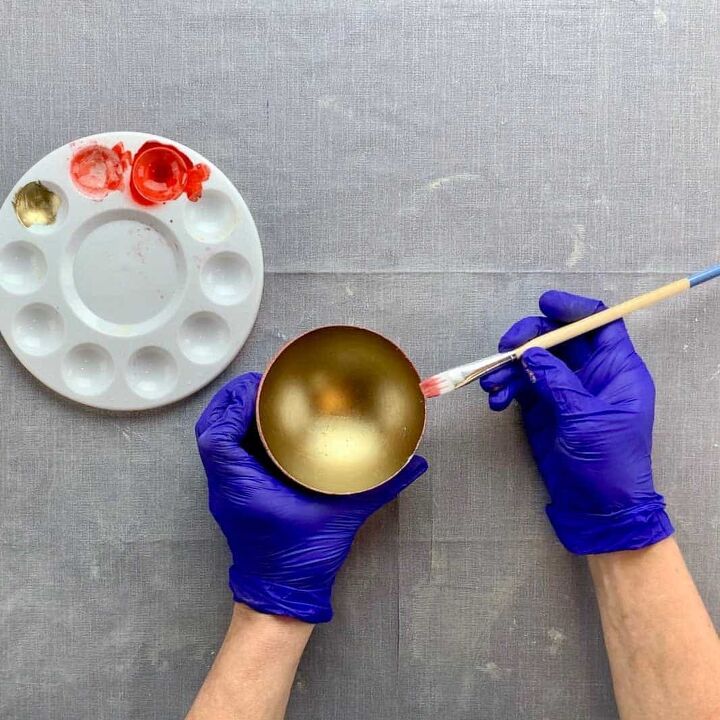
To touch up the edges, spray a little bit of the red into a compartment of the tray and use the brush to dab the red onto the edges. Just use the middle of the brush to tap it on.
If you use the tip, the bristles will bend and you may end up accidentally getting red on the bronze. If this happens, wipe it immediately and it should come right off.
The bowl with the thicker edges was only partially covered with the red paint so I did the same as above, but needed a little more paint.
FINAL STEP | Seal The DIY Concrete Mini Bowls
If you like this tutorial, then you may also want to look at the DIY Round Cement Candles and this Ribbed Concrete Christmas Planter.
These bowls have technically been sealed just by using the paint, but if you don’t paint them, you can use a food safe sealer. The one I like is this stone countertop sealer.
Just spray it on, wait a five minutes and rub it in with a soft cloth. Note: This is different than the manufacturer’s dictions, but this seems to seal better and won’t leave marks.
Resources for this project:
See all materials


Comments
Join the conversation
-
Hi Leslie, If you paint them they are food safe-ish. I wouldn't put any wet food in there to be safe, but the acrylic paint is supposed to safe. I do use them for nuts. The Cement All would need to be sealed with a food safe sealant, but absolutely it can be food safe because it has been used for concrete countertops. It's all about the sealer. If you go to my sight and read "Are Concrete Planters Safe For Plants" - I'm unable to link here- then you can read about this in depth.
There aren't unsafe chemicals that leach out. "Chemicals" is where the misunderstanding comings in. It's alkalinity that leaches out which is caused from lime. This is just a PH issue. It's not harmful to you. Some construction products may contain fly ash which may be problematic, but the product you're getting off the shelf at the home improvement stores- very green, and safe. You'll love the article, check it out. It's under concrete: concrete tips.
-
Great project, very clever! Thanks for sharing!


Frequently asked questions
Have a question about this project?
Could you not spray Pam on the plastic half’s to. Keep the concrete from sticking? Thx
When letting them cure do you leave the inside mold in the outer one?