


Pincushions ~ Two to Choose From!

by
Julie Ortiz
4 Materials
My really old store bought wrist pincushion finally broke and needed another right away! So.....within 30 min I had a new one made from a plastic water bottle. Easy and fun to do. And, I thought this would also be a great gift. While I was at it, I also made one from an Altoid can to store my needles.
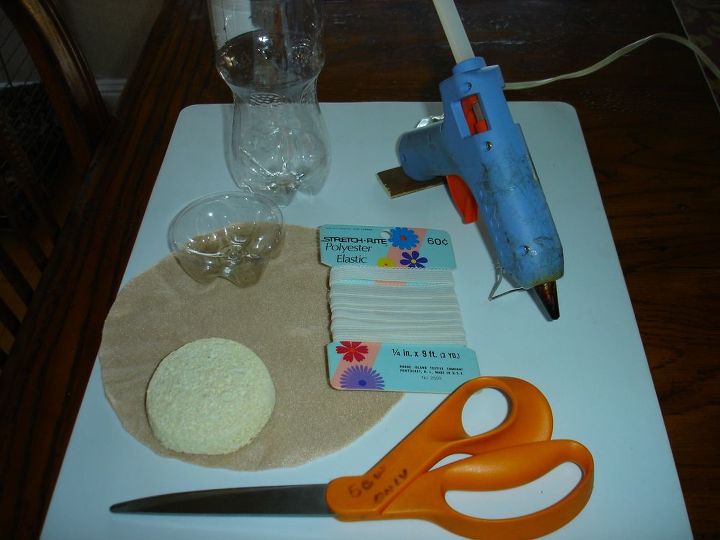
Supplies used to create. Notice the water bottle used and the cut version next to it. Cut and trim the water bottle the height of the sponge.
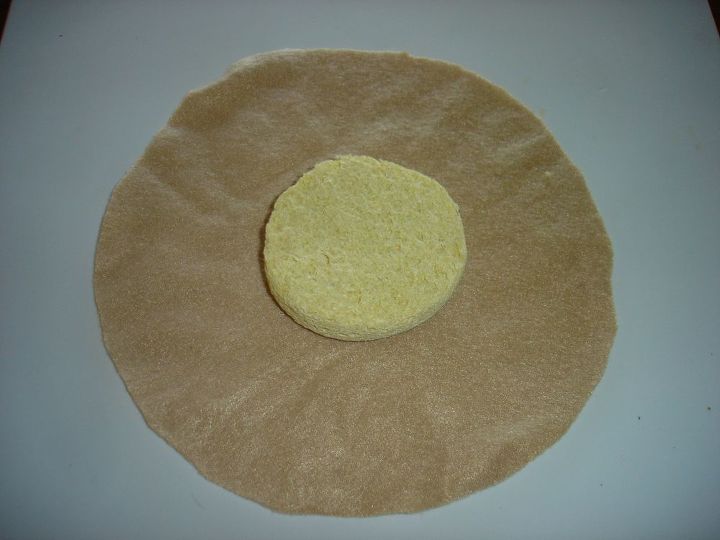
Cut a new or old sponge the circumference of the bottom of the water bottle. Cut your fleece material to allow for folding around the sponge.
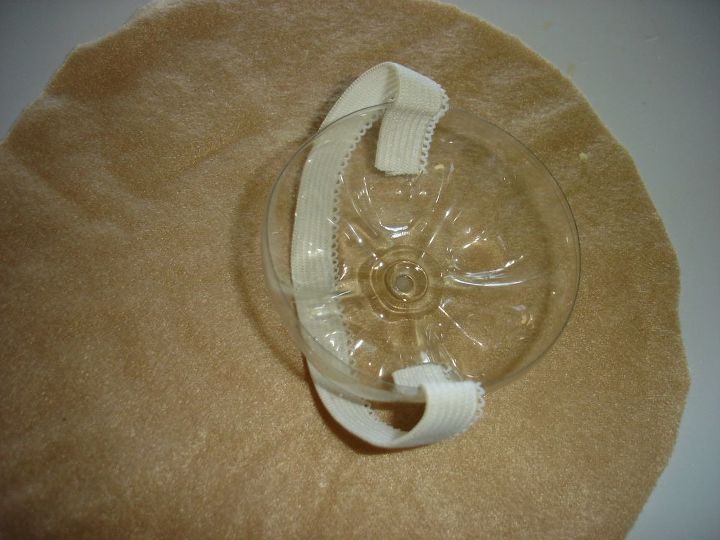
Cut a strip of elastic to fit around wrist and enough to hot glue as shown inside cut water bottle. Actually, I hot glued one end first, let it cool and then brought around wrist to cut for proper fit and gluing.
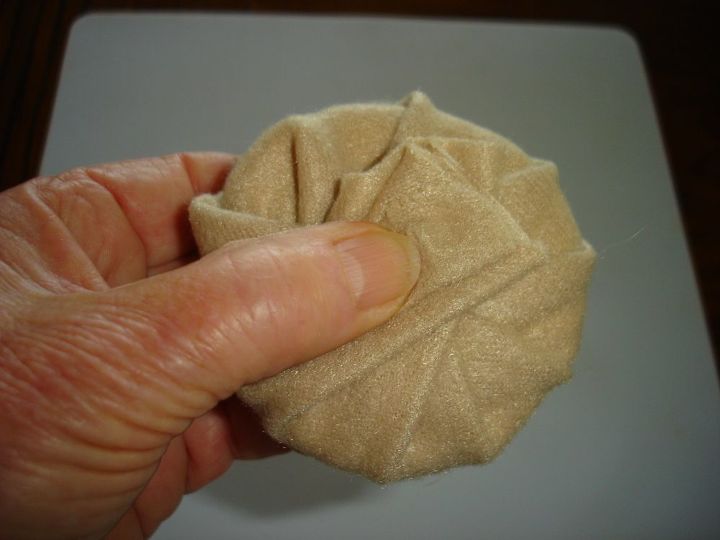
Fold the material around the sponge. Hot glue in some of the folds to hold material in place. Hot glue inside the cut plastic bottom and quickly insert folded part of covered sponge down into the cut plastic bottom.
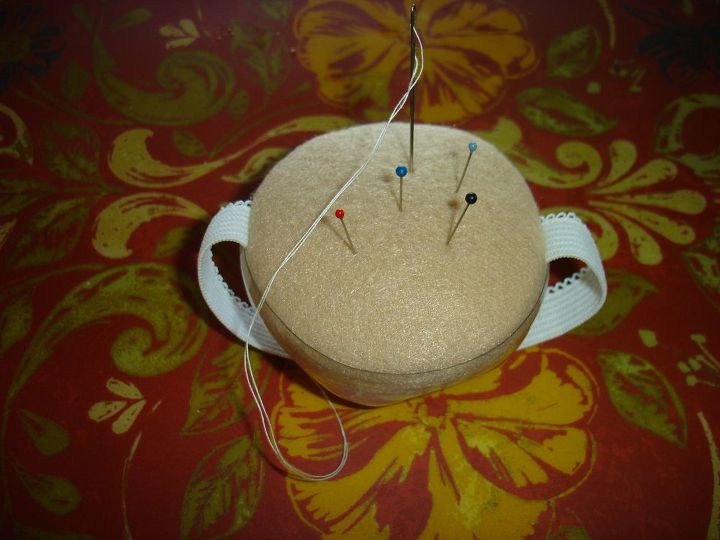
There you have it! New wrist pincushion for travel from worktable, sewing machine or ironing board.
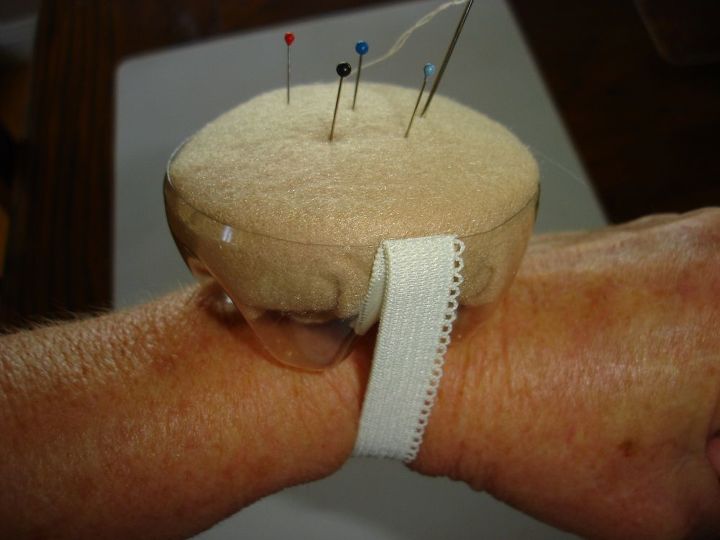
Finished product on wrist.
Below is pincushion using an Altoid can.
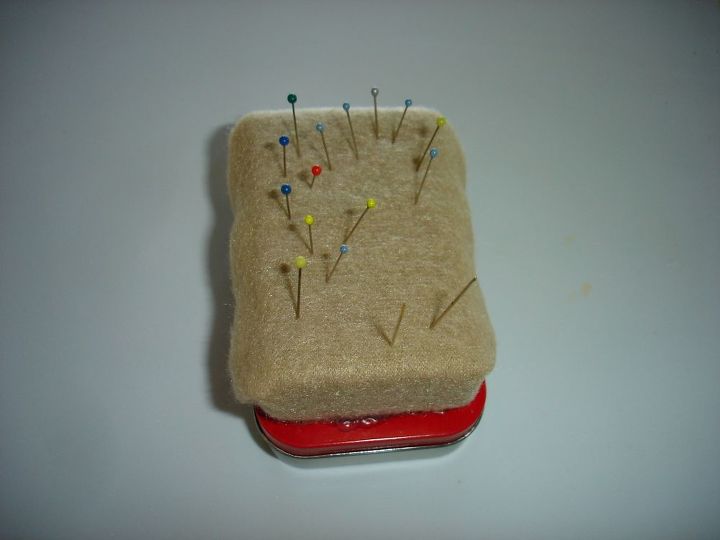
Cut a sponge to measure the top of the Altoid can, covered with fleece like wrapping a gift box and hot glued to top of can.
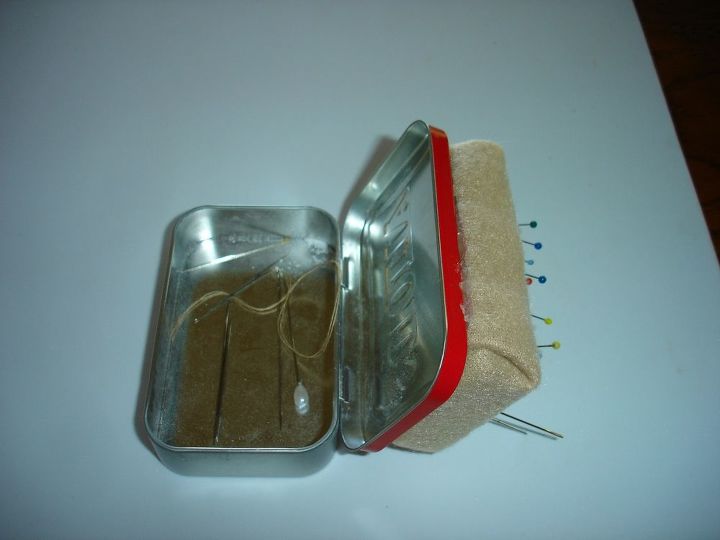
Pic showing opened can with extra needles inside.
Comments
Join the conversation
3 of 6 comments
-
Thanks.....easy and simple!
-
I love this, I need to make a wrist one!


Frequently asked questions
Have a question about this project?