


Plastic Rocking Horse Makeover Part 2

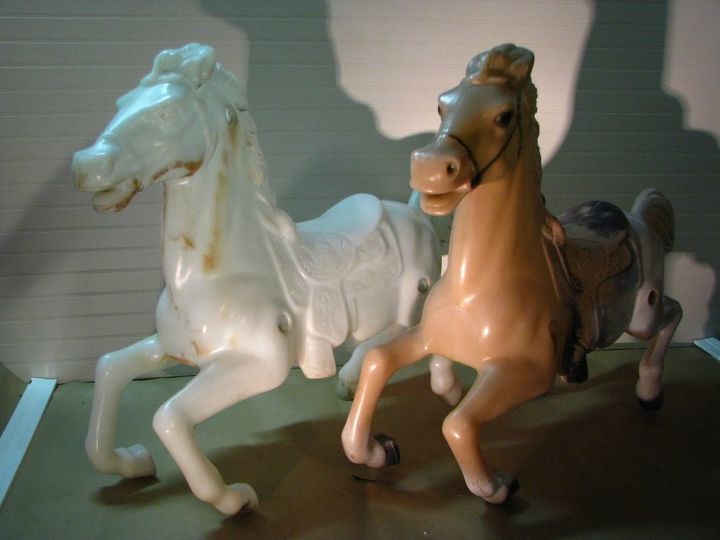
I found a couple of old plastic spring rocking horses in a free junk pile. I decided to give the first one a new identity as a unicorn. The 2nd one is still deciding what to be......
Scroll down to the end of this first posting to see the slight differences in Unicorn 2 now that it has been completed.
I first pulled the rocking horse hardware off both horses and gave them a good bath in the yard.
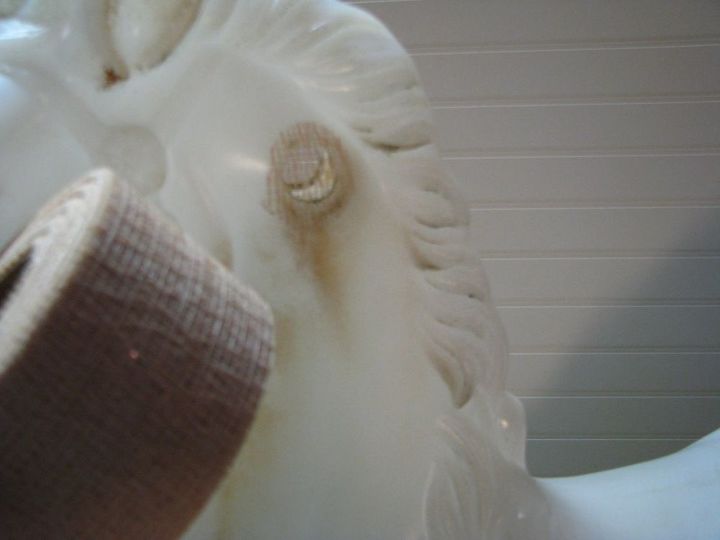
I sanded the plastic lightly and plugged the handle and footpeg holes with putty. I then placed a patch of sticky drywall tape over each hole.
I puttied over the patch and let it dry overnight. The putty was thick and needed some time to dry.

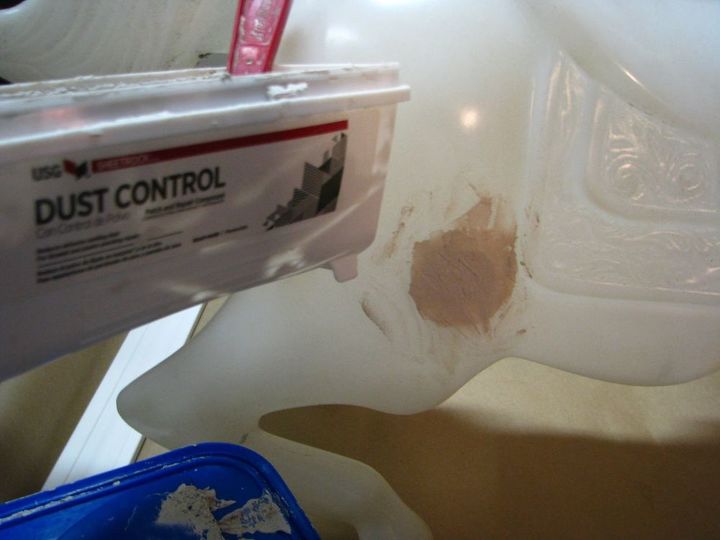
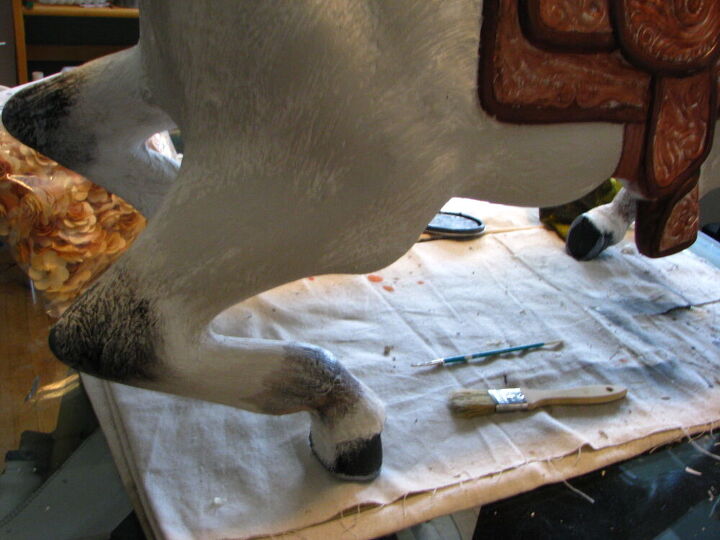
I did these first to prep steps to both horses in anticipation of updating both. You can see the step easier on the brown horse. Once the putty was thoroughly dry I sanded the area smooth with fine grit sandpaper.
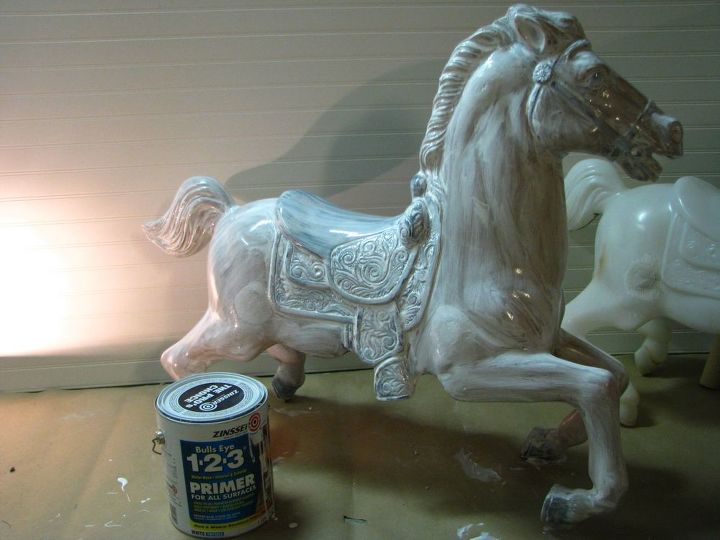
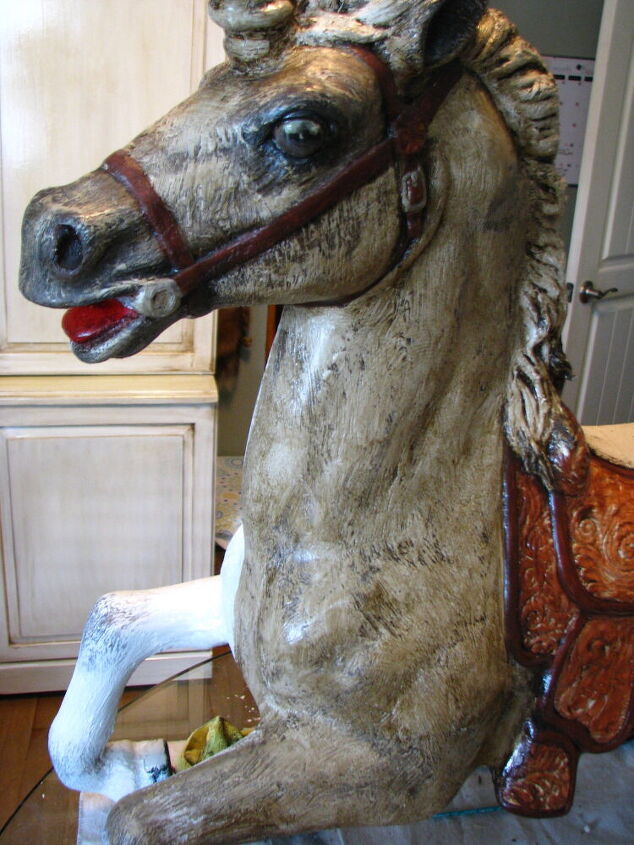
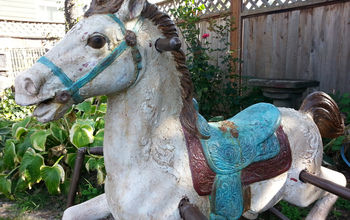
I then put 3 layers of primer to help adhere to the plastic. I'm missing a few pictures of the steps....sorry. I then used thin set plaster and an inexpensive paintbrush to cover the horse (not the saddle or bridle) in a texture that resembles a vintage wood carved carousel horse. I let the brush do most of the work, but I tried to stay consistent with the way a horses hair grows. I added texture to the mane and tale as well.

I created the horn using a paper towel roll wrapped in casting strips, you could use paper mache, it just takes longer to dry. I wrapped the horn with a thick piece of cord and then did another layer of the casting material over it to create the spiral. I glued it to the face. I then painted the entire unicorn.
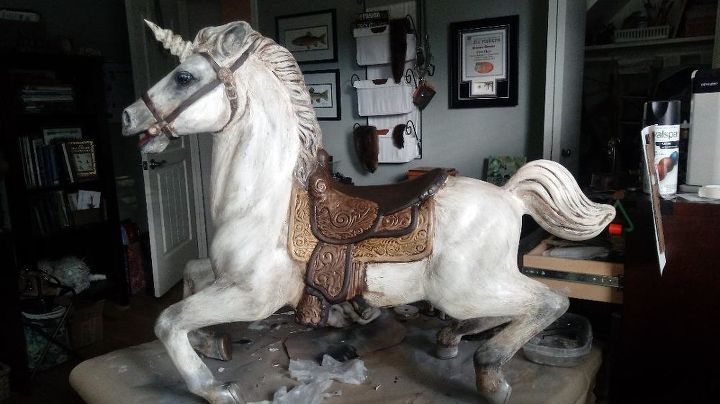
I then went over the entire horse, saddle, mane, and tail with a cocoa bean colored antiquing medium. I used a brush to get into all the texture layers and then wipe a majority of it away.
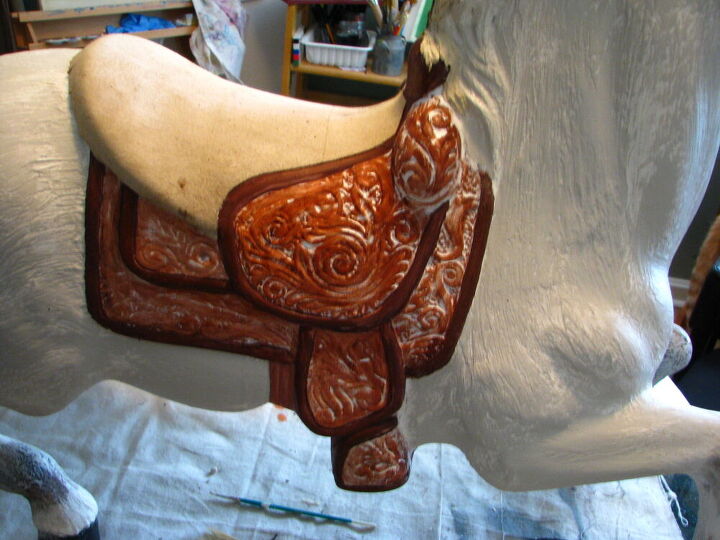
Before the antiquing.
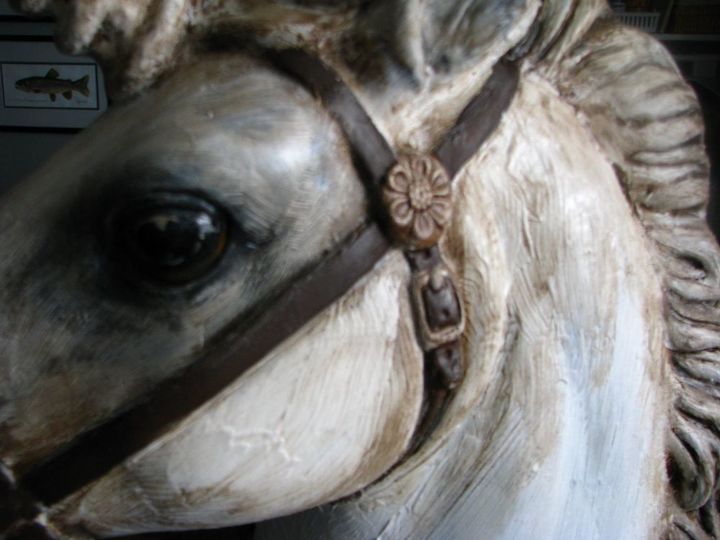
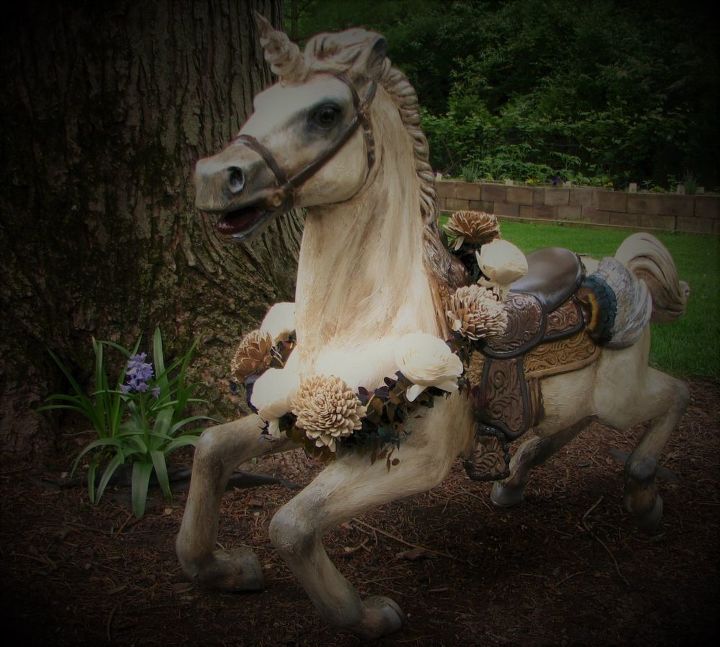
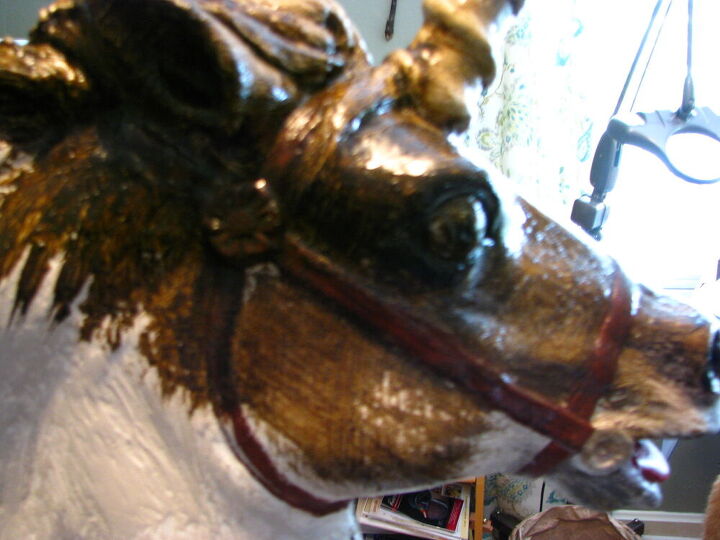
After the antiquing.
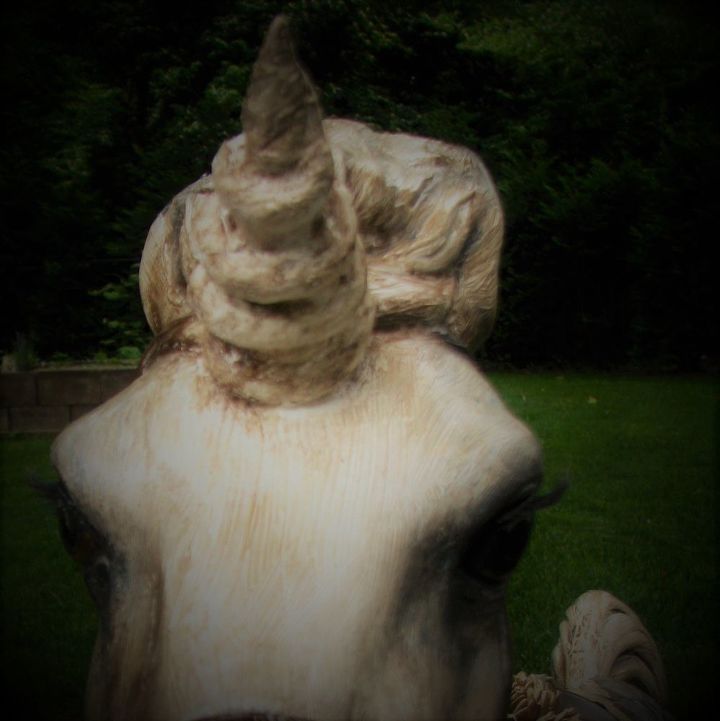
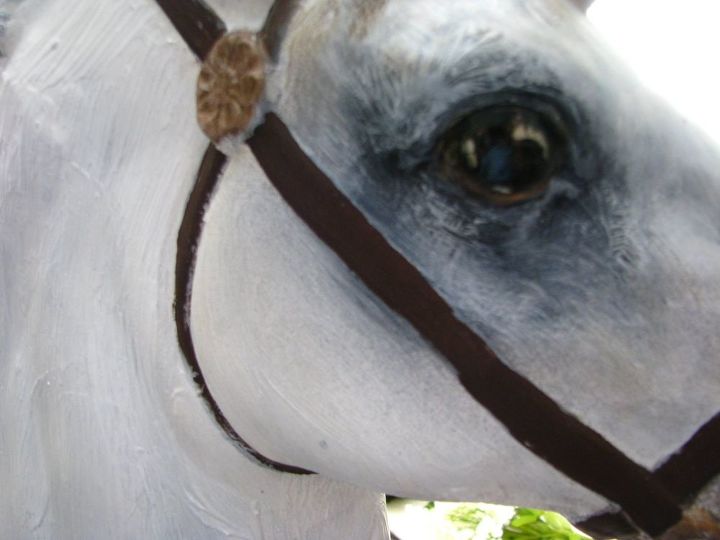
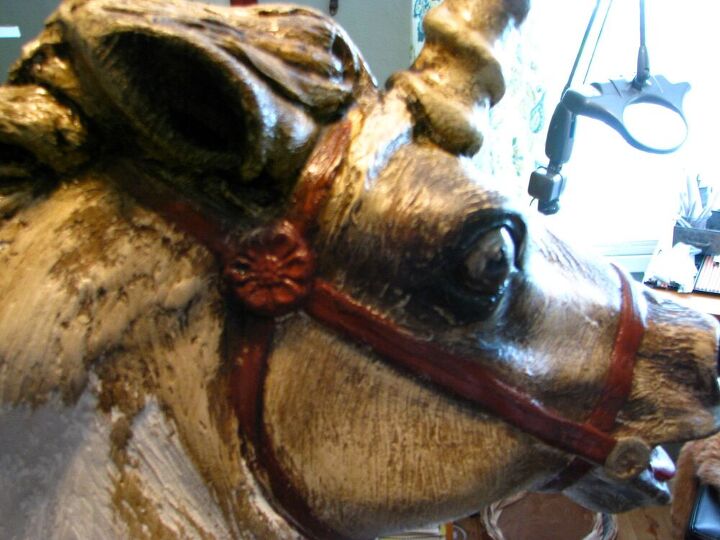
A close up of the horn. And yes, those are false eyelashes on my unicorn. They made all the difference! Ha, Ha!
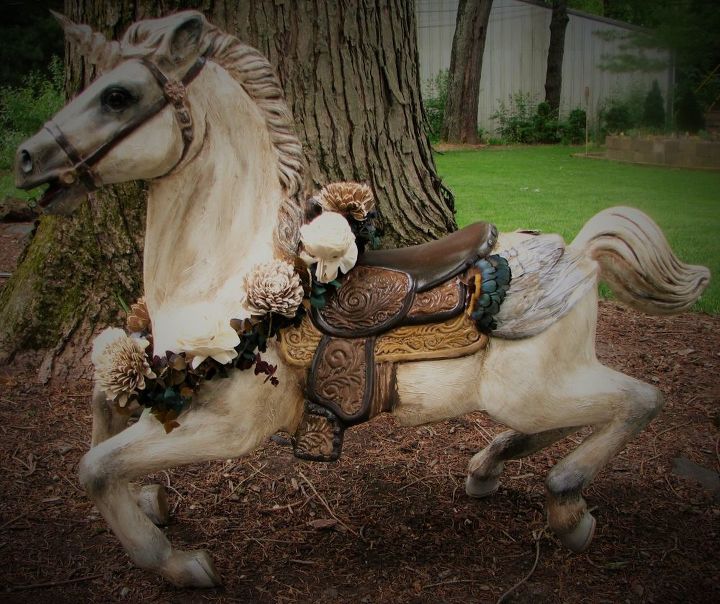
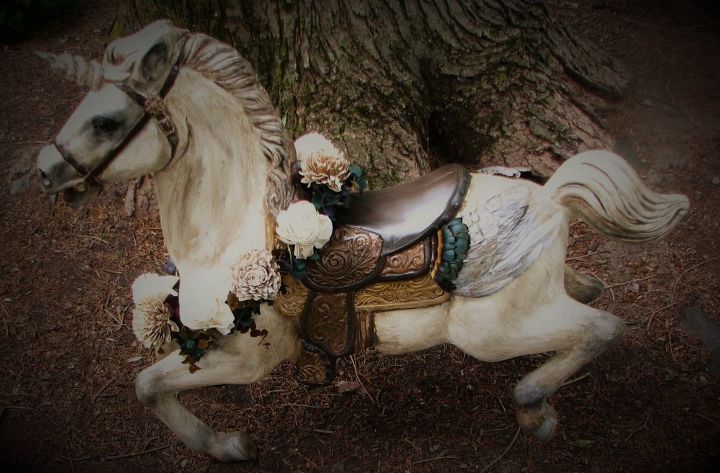
I made a wreath for his neck and added some painted feathers for wings that appear tucked under the saddle. I have yet to decide what kind of stand I will be using, most likely an iron 3 legged type similar to the base of a coat rack. Any suggestions are welcomed!
So now he just needs a name!
On the second unicorn I covered the saddle seat with thin suede using spray adhesive.
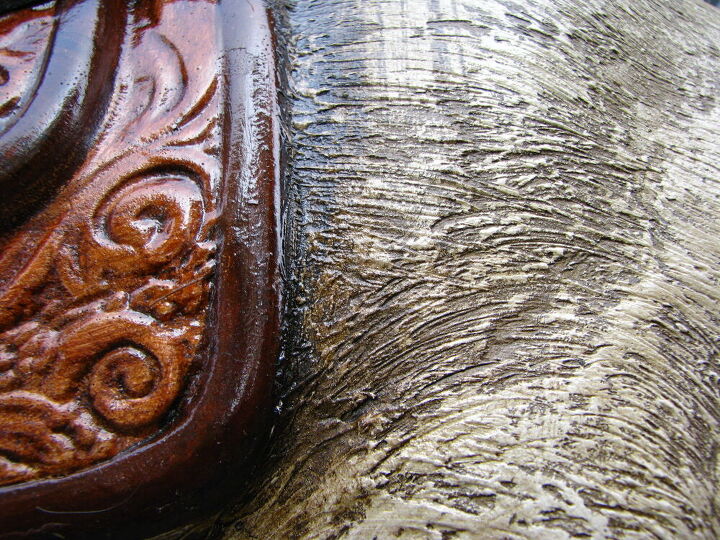
This time I left a lot of the joint compound exposed and just lightly painted over it. You can see the white showing through on the body, legs, saddle. That is joint compound.
Instead of stain, glazed was used. It sealed the exposed joint compound and gave it a finish all at the same time. I also glazed the suede saddle seat and then burnished the leather seat to look warn.
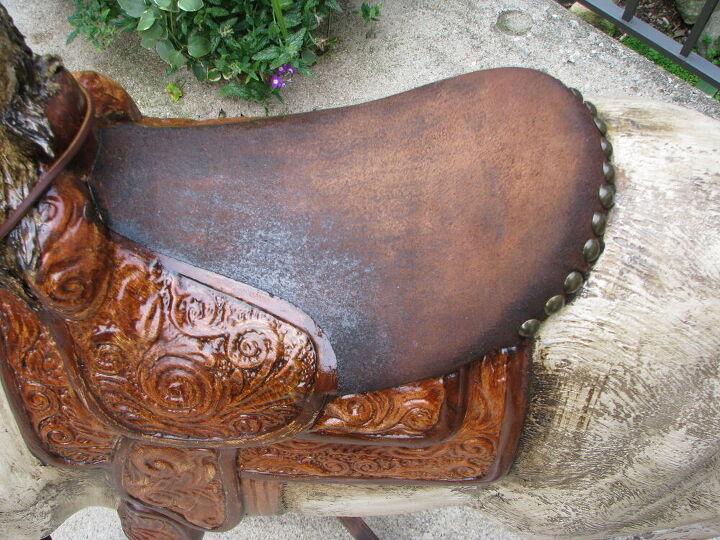
You can see how the glaze adhered more to the mat finish on the joint compound. This example shows the finish after wiping the glaze.
Another view of the glazing completed.
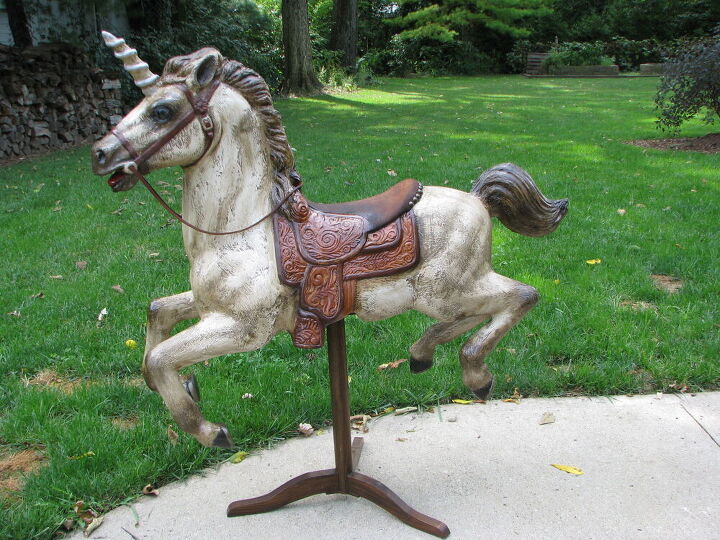
I screwed a piece of plywood to the underside of the plastic horse using screw anchors. I then mounted the stand to another piece of sturdy oak and screwed it to the plywood. It is not intended to be sat on, but it should hold up to possible baby photos.
Resources for this project:
See all materials


Comments
Join the conversation
-
I have saved my granddaughter's rocking horse.. She is almost 28 now, and NOW I have a directions THANK YOU!!!!!!!!!
-
I am excited to try this, I seen an idea for your base, using a closet pole and a stand from an old chair with wheels, or a base from an old metal table. They used an old wooden bankers like base, that would be darling you your vintage horses. Thank you for taking the time to post your amazing talents! You are inspiring!!


Frequently asked questions
Have a question about this project?
Other than the primer, what kind of paint did you use?
How did you do those eyes? Brilliant.
Hi, how did you shade the outer eye area? Was it with the antiquing? Thank you