


Popsicle Stick Candlesticks

This variation of the classic clothespin candlestick just looks fresher and more modern.

I just love making candle sticks. They are easy, cheap and satisfying. And since the humble ice-cream stick is very much in keeping with the current scallop and fluting aesthetic, I decided I would incorporate some in my design.
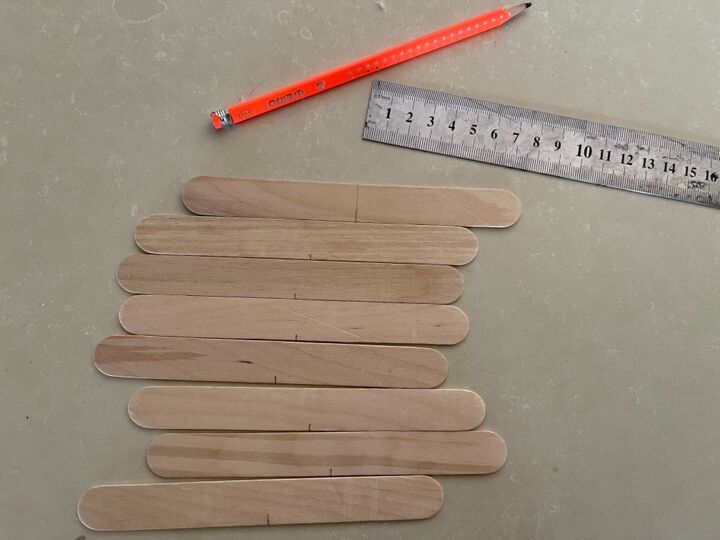
You need 8 ice-cream sticks. 7 should be halved and one left whole but with the midway point marked out on both sides with a pencil.
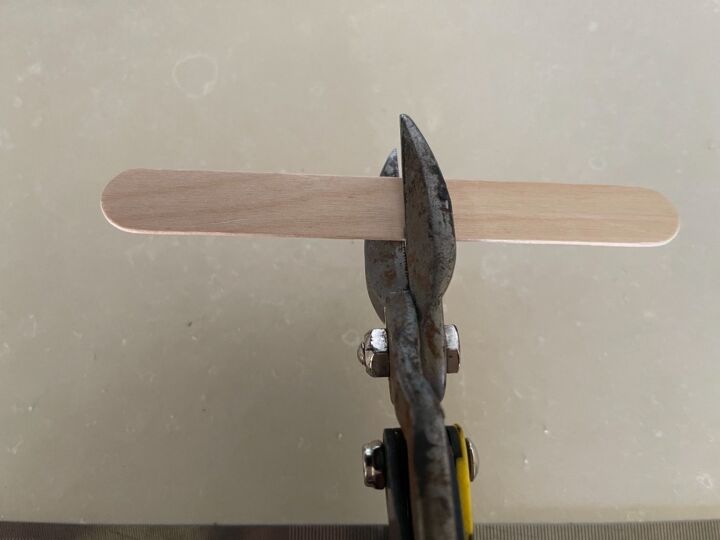
Tin cutters work really well.
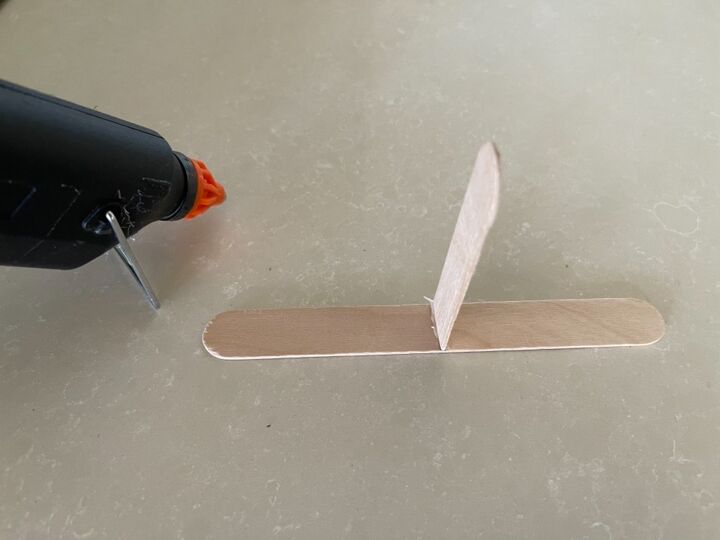
Stick one of the halves perpendicular to the flat, whole stick with a glue gun. You now effectively have 3 halves stuck.
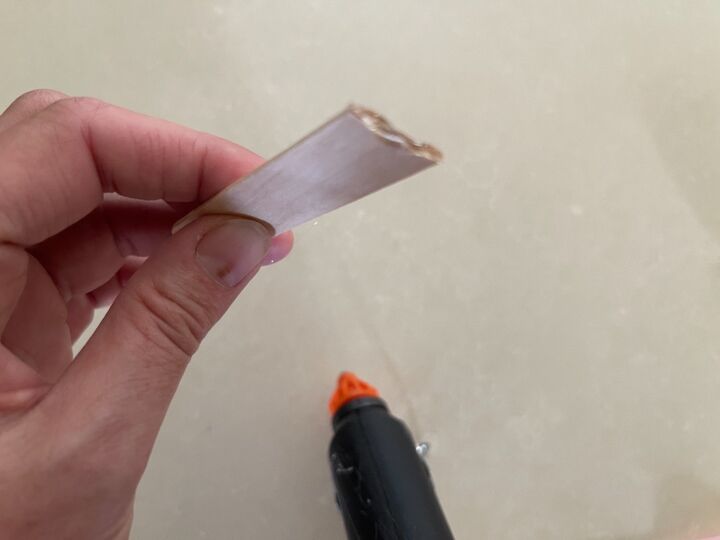
It seems to be easier to control the amount of glue when you stick it onto the edge of the cut stick and not onto the join. Too much glue on the join and it becomes difficult to glue the other sticks.
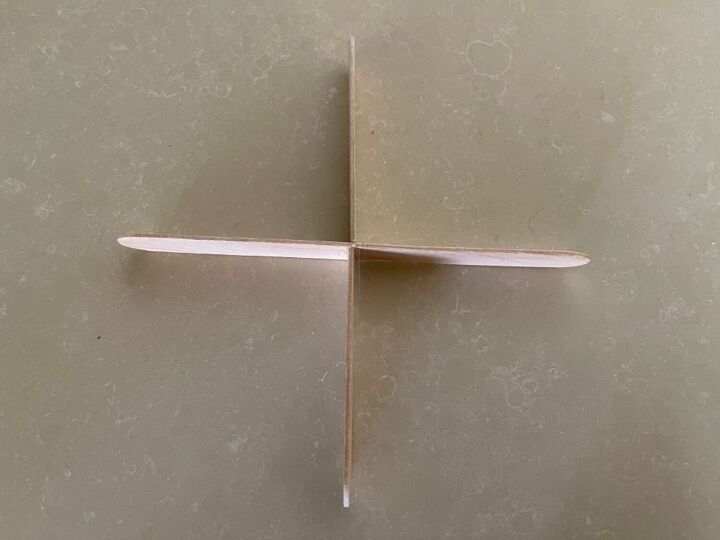
Repeat on the opposite side so that the 4th half aligns with the third and you have a cross. Make sure that all the sticks lay flat on the surface.
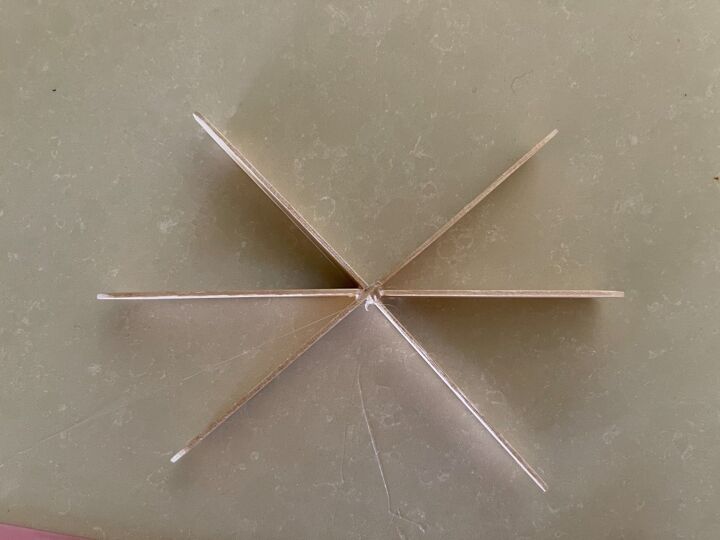
Now stick no. 5 at a 45° angle between a vertical and horizontal line, followed by its’ mirror, no 6. Sorry, the picture above is a bit deceptive because it isn't rotated correctly, tilt your head to the left.
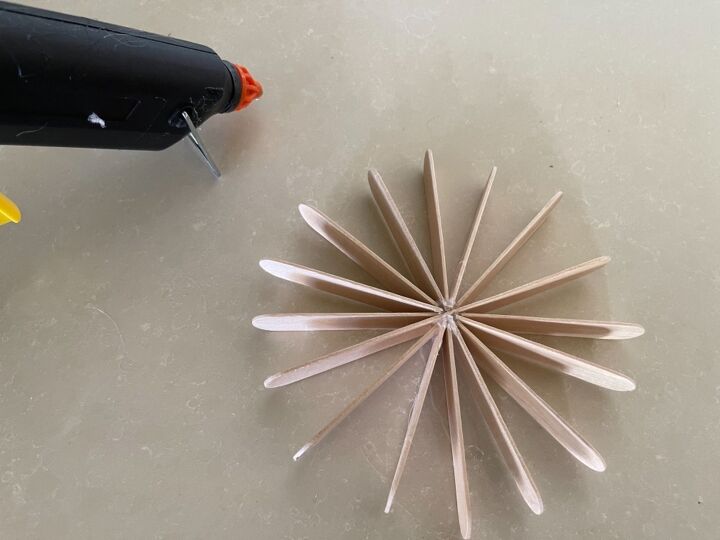
Continue adding sticks, first at 45 degrees and then on either side of each 45 degreed one and mirroring it so that the two halves look like a straight stick. Continue until you have a complete star.
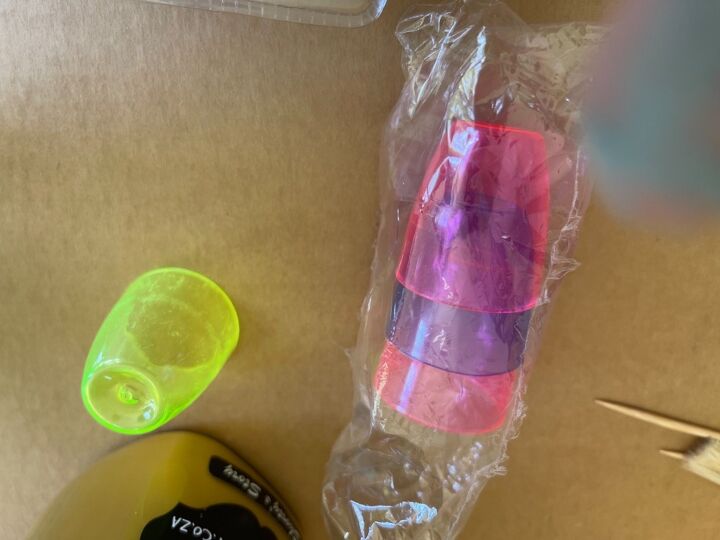
Next, take a small plastic shot glass.
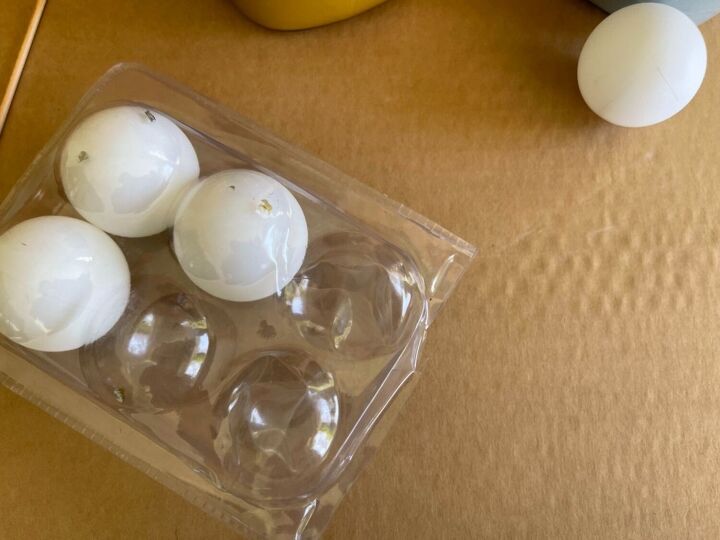
And at least one ping-pong ball or wooden block per candle stick, depending on your design.
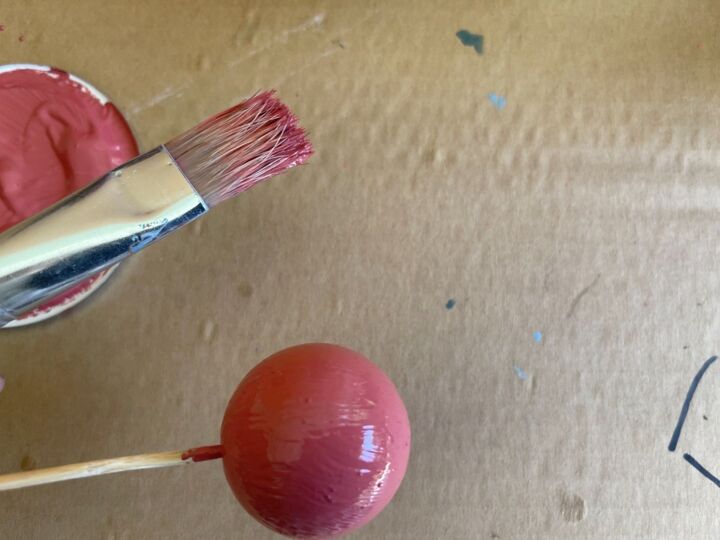
Paint them. I used chalk paint because I liked the colours but a plastic-friendly spray paint is also a hardy option. I left the bottom of the shot glasses clear to get better glue adhesion.
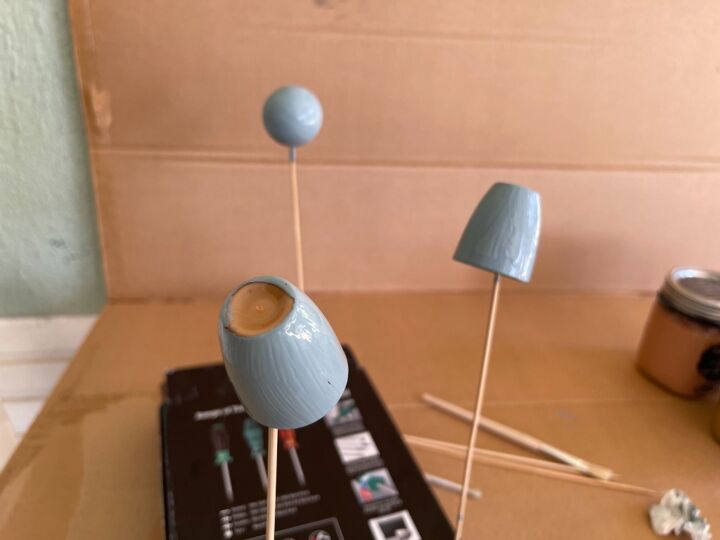
Dry thoroughly and check to see if a second coat would be needed. Seal if necessary.
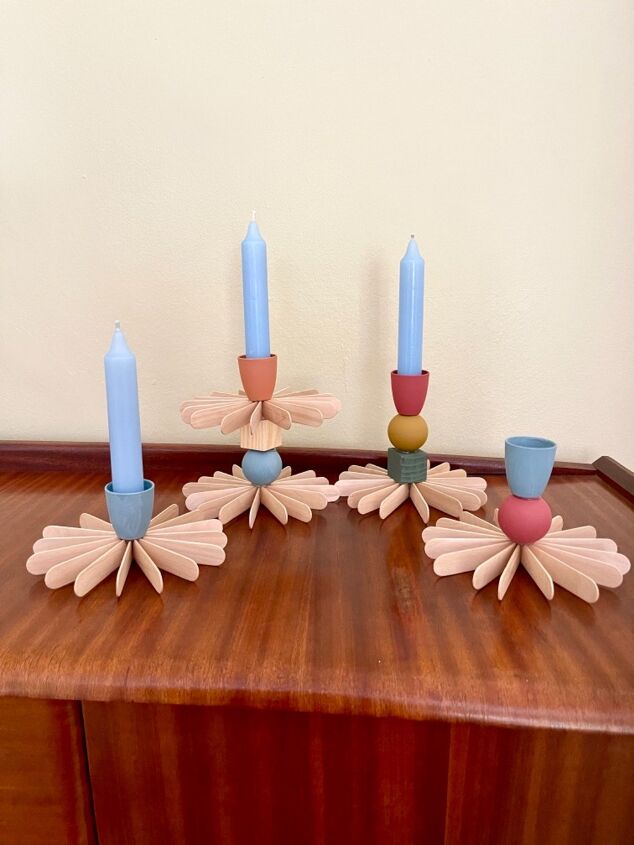
Stick different combinations of balls, blocks and glasses onto the popsicle stick stars with a glue gun but always ending with a shot glass on top. Don’t use too much glue otherwise it squelches out. Then simply add candles (you may have to use tack to keep the candles upright).
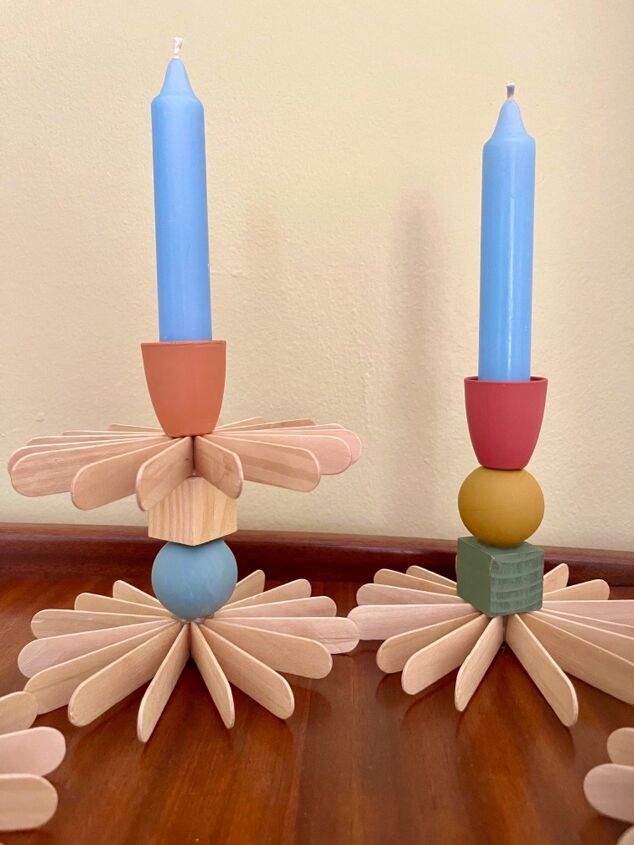
I really love this colour combination against the bare wood. The whole look is fresh and unusual.
P.s. If someone knows what they call this trend of matte pinks and terra cotta, pastel colours and arches, please put me out of my misery. It's not Boho and it's not Scandi. So what is it called?

Resources for this project:
See all materials


Comments
Join the conversation
-
Always love what you do! ❤️ c
-
This is so cute I will surely be making these candle holders. Thank you for sharing. Best Wishes Barbara


Frequently asked questions
Have a question about this project?