


Ruler Boxes - How to Update a Box Using Rulers

by
Anita K
14 Materials
I was inspired by a box I'd seen in HomeGoods and decided to enhance plain wood boxes with rulers. After doing a bit of research online, I found an interesting post that mentioned a source for unfinished wood rulers.
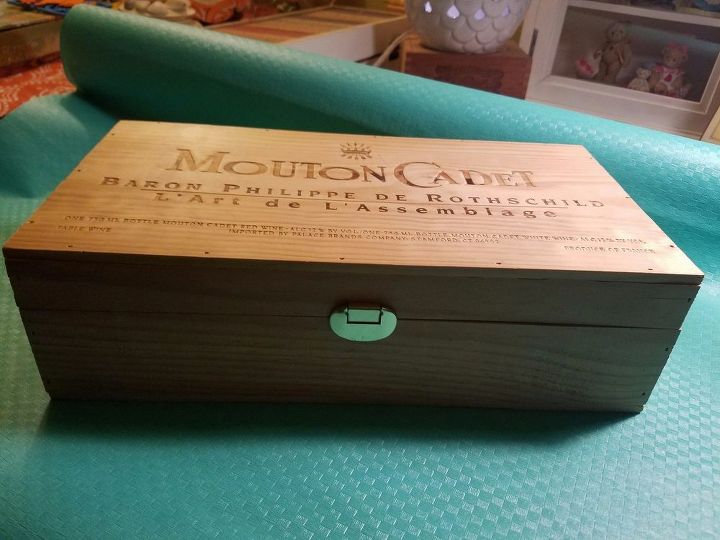
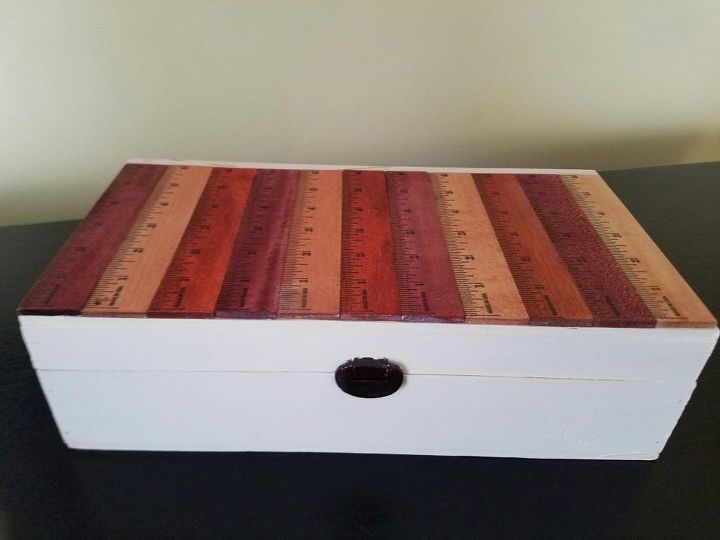
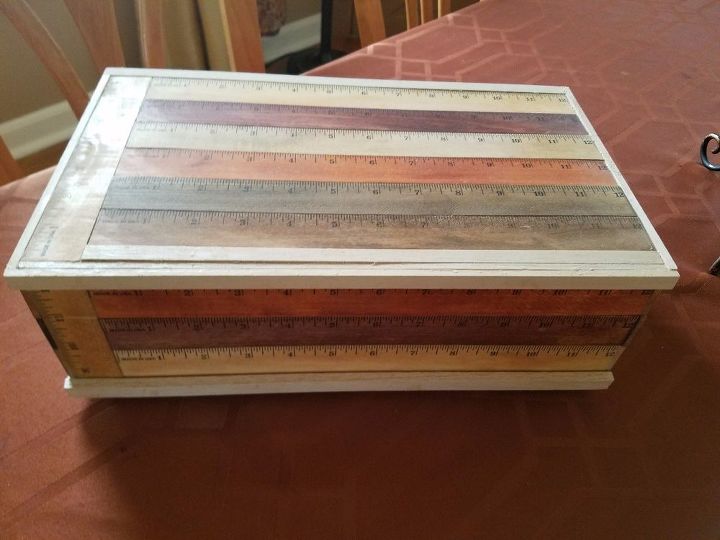
For the box in this tutorial, I used a plain wood wine box I found in HomeGoods (on clearance, of course - never, ever, pay full price!). I had 6" unfinished wood rulers at home, bought in bulk online.
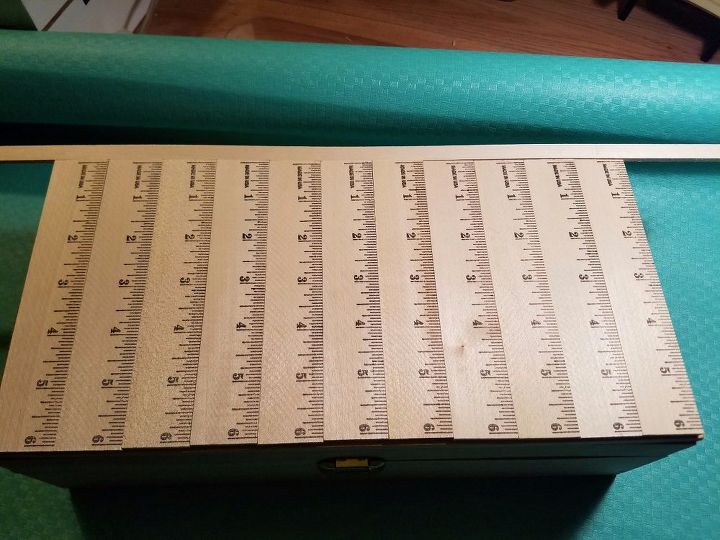
1. Lay out the rulers on the top of the box. Each box is different - some require wood trim to fill in areas the rulers don't cover. The trim piece of balsa wood can easily be cut with an Exacto knife for a smooth, clean cut.
2. Choose a variety of stain colors you like - I varied the colors for an interesting contrast. I chose 4 colors, and one clear semi-gloss.
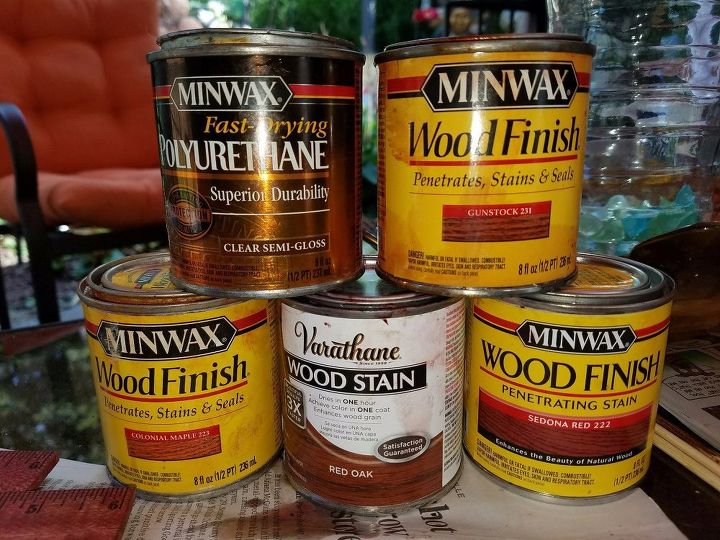
3. Cover the surface of the work area where you will stain the rulers. Wear gloves to protect your hands from being stained.
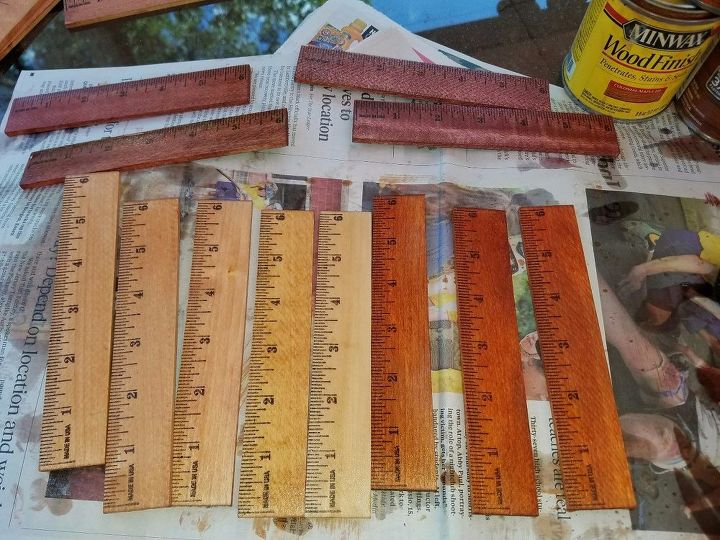
5. Carefully open one can at a time to work with. If you open a can too quickly, the stain will spatter on your rulers and stain them in spots!
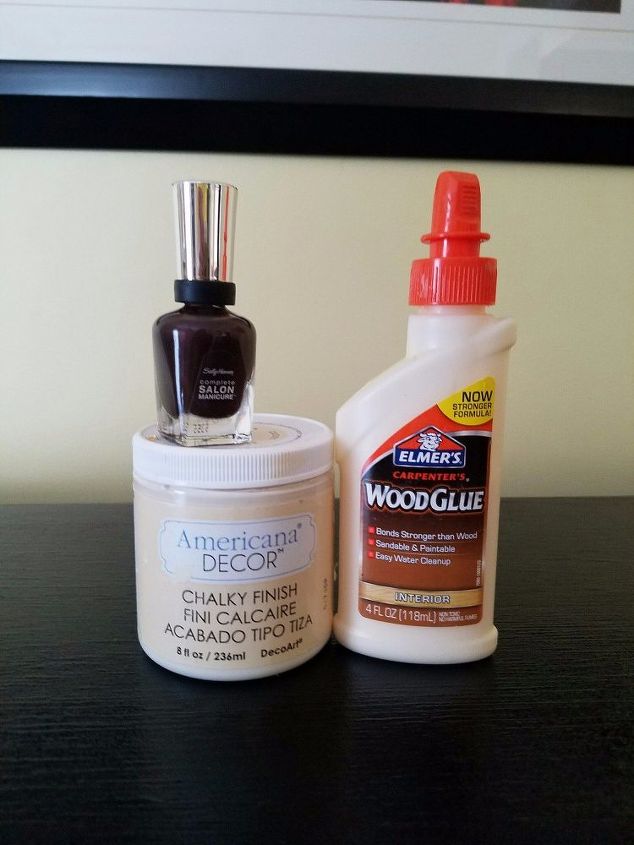
Supplies
11. Once the rulers are completely dry (I waited about a full day), lay them out on the top of your box in a pattern that you like.
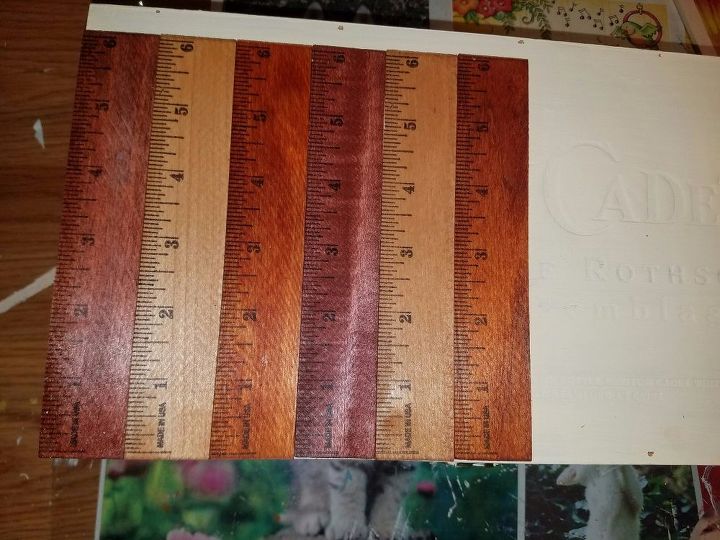
12. Stack the rulers in that pattern and set them aside. This is the order that you will apply the rulers to the box.
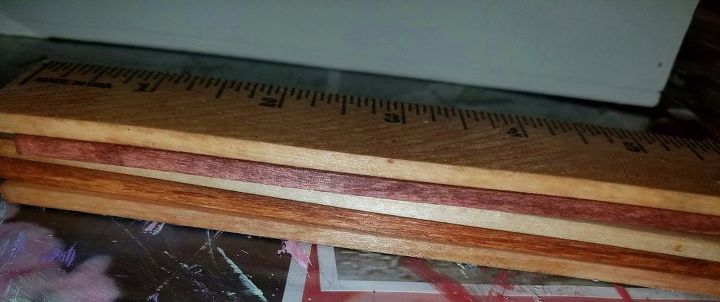
13. Using a clean sponge applicator, apply wood glue in thin, even strokes, to the bottom of the first ruler in your stack - carefully attach it to the farthest edge of your box top.
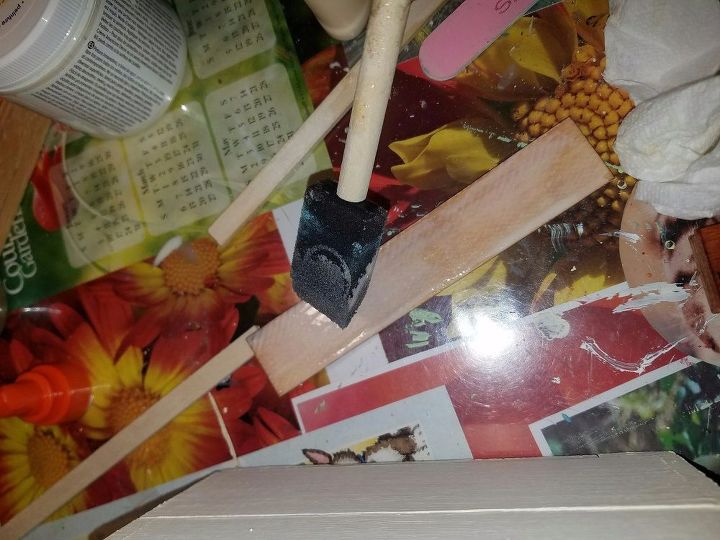
14. Continue to glue each ruler across the top of the box, right up to the side of the ruler next to it. Be sure to use a thin layer of glue, so the glue doesn't ooze out of the edges. Work quickly to make any adjustments, as the glue sets fast!
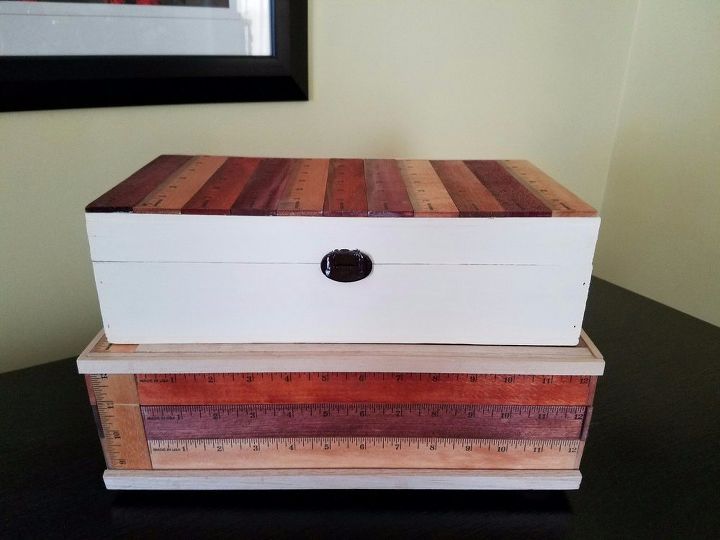
Here is another ruler box I made - it required more trim pieces. I chose to cover the entire box in rulers, and glued wooden feet to it. It was made using 12" rulers. The side pieces had to be cut to fit using a small, craft size miter box and saw.
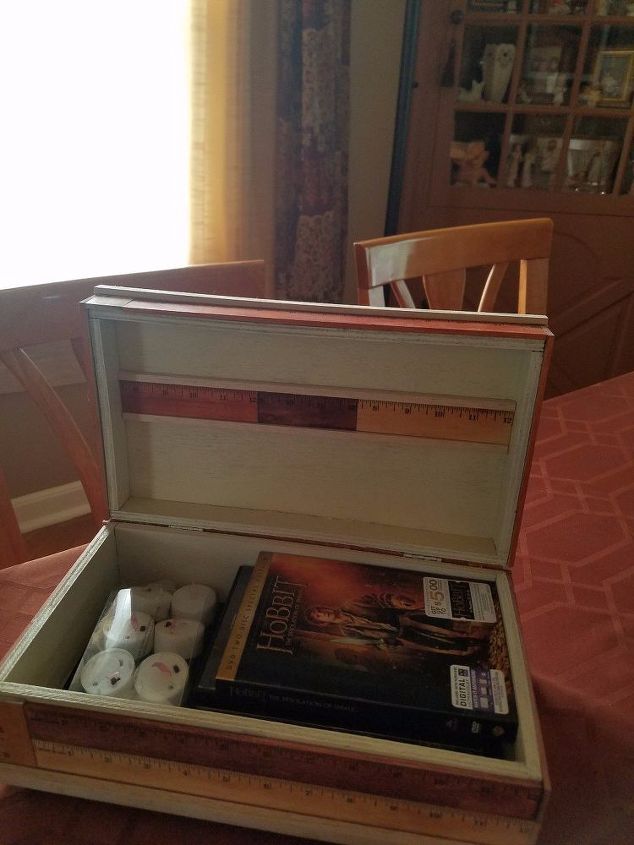
This had also been a wooden wine box, which I found in a thrift store. I glued a ruler inside and framed it in trim, just for fun.

Wooden feet....just because
This box had hinges that were stamped into place inside the box - the rulers had to be placed to allow space so the box could be fully opened.
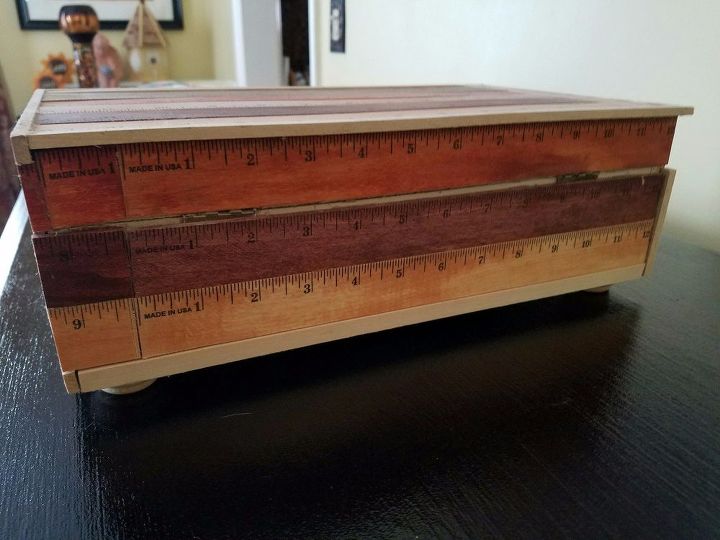
Back of hinged box, covered in rulers.

So there you have it! Decorative, practical boxes to store your "stuff" in neatly, in style! Enjoy!
Comments
Join the conversation
3 of 49 comments
-
Nice idea!
-
Love this idea. I have a small vacation condo at the beach. Could this idea be used on old kitchen countertops? .


Frequently asked questions
Have a question about this project?