


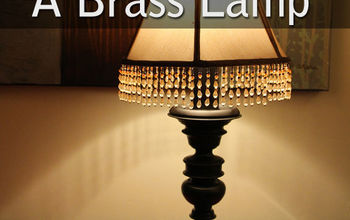
Updating an 80's Brass Lamp

by
Ouina
3 Materials
I had an old brass lamp that I had tried to update with a brushed nickel finish - ack! Didn't look at ALL like I envisioned so I stuck the lamp in the craft room and forgot about it. Fast forward 5 years and I discovered Metal Effects patina and wanted to give it a try on a lamp that I didn't use before I redo a pair of lamps that I really want updated. So here it is! Total cost was around $50: kit and lampshade.
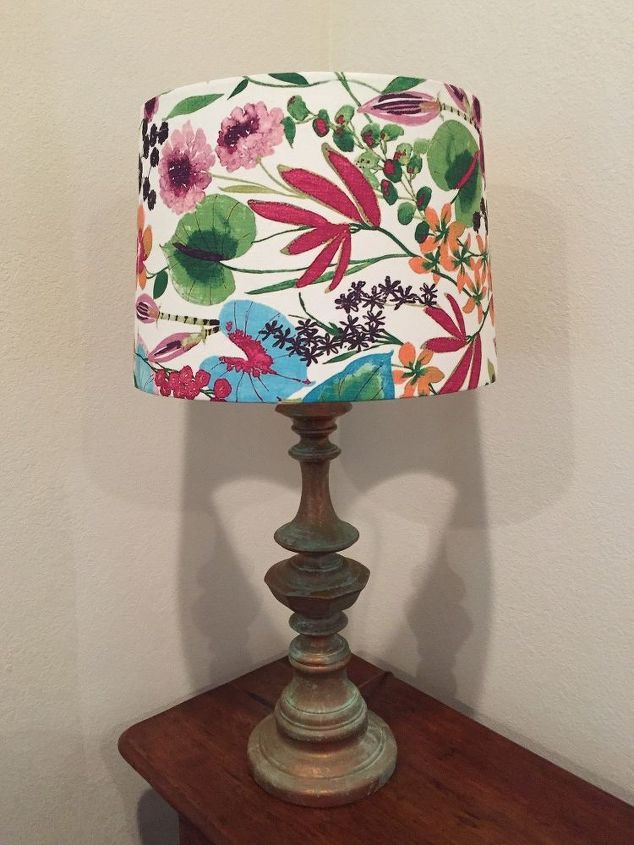
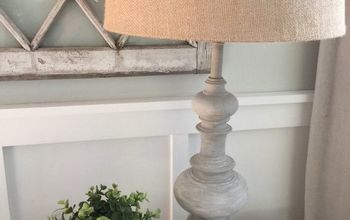
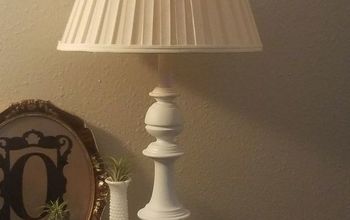
Finished lamp
This is the finished lamp. Bought the lampshade after looking at what seems hundreds of lampshades online. Really tiring but I wanted something unique.
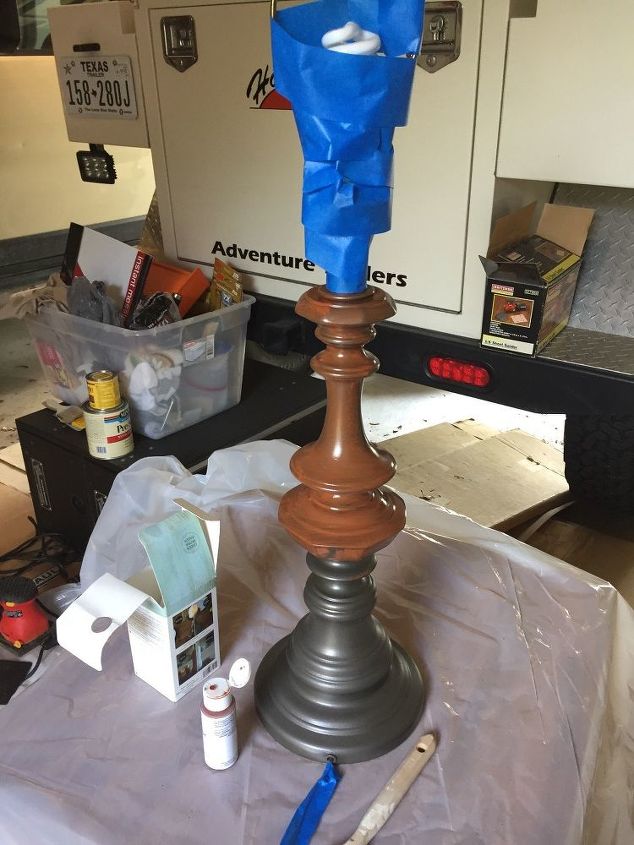
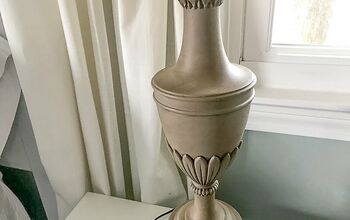
Primer application
Following the package directions, I cleaned the lamp really well and taped off everything that I didn't want to get paint on, and then applied two coats of primer (30 minute drying period between the coats.) After the second coat of primer, I let the lamp dry for 2 hours.
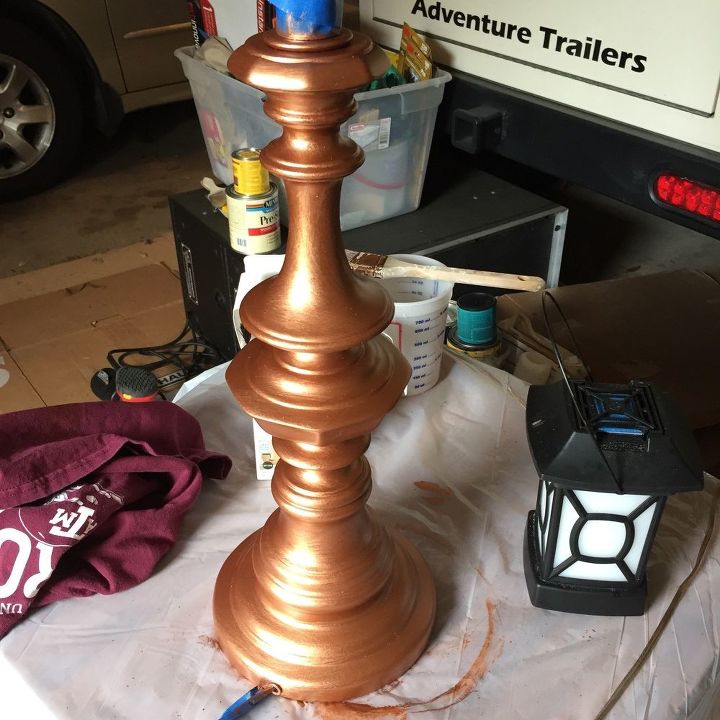
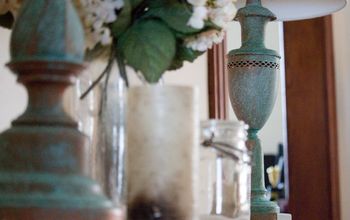
Copper layer
Next, I painted the primed surface with one coats the copper paint. I used a brush for primer and paint.
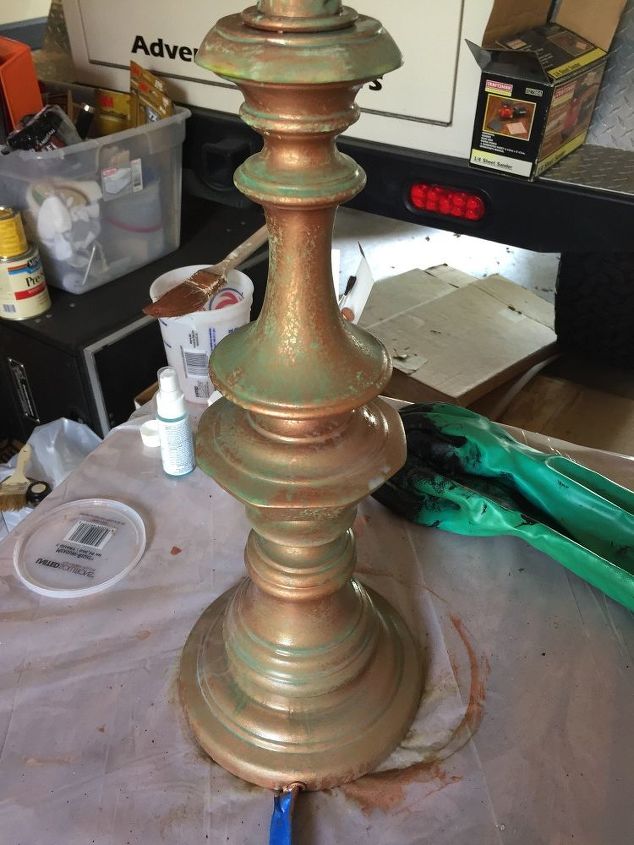
Next stem - I applied a second coat of copper paint and while the paint was still wet, sprayed on a light coating of Green Patina Solution over the entire surface. The next time around, I will apply much more patina solution. But as this was the first time trying this product, I didn't really know how much patina I wanted.
The drying time after the solution was applied was about 40 minutes to an hour.


Frequently asked questions
Have a question about this project?