


Wooden Bread Box Makeover With Spray Paint & Lace
I’m always amazed by how easy it can be to completely transform things, and this wooden bread box makeover is just one example of the magical power of spray paint.
When it comes to giving something a new look quickly, spray paint is one of this gal’s best friends, and it never ever disappoints.
You can find more DIY upcycled and repurposed projects on my blog, Color Me Thrifty, here.

Hometalk Recommends!
This $5 thrifted wooden bread box is one of those things.
If you love the wood look, by all means keep it the way it is.
But I’m a color-loving and color-needing kinda girl, and for me this wooden bread box needed a colorful makeover.
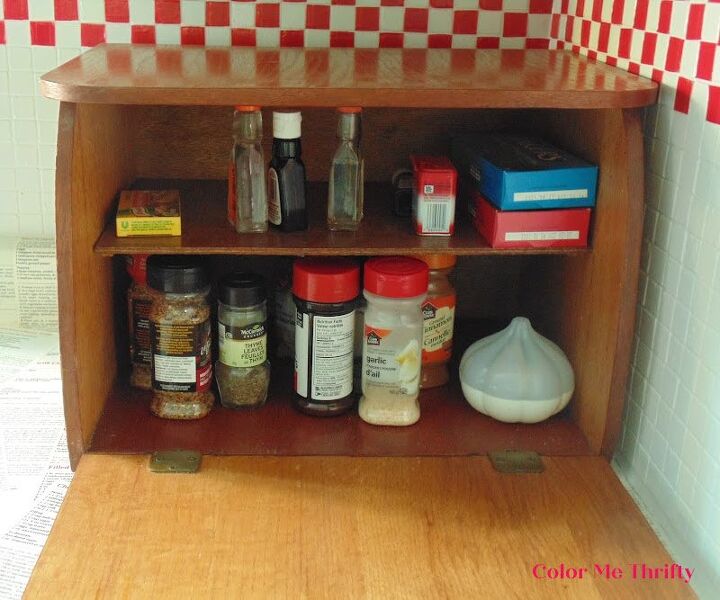
Before we get into the nitty gritty of this makeover I thought I should share that we don’t use the bread box as a bread box.
It’s actually where we keep our spices, extracts, chocolate squares, and other goodies that we use for cooking and baking.
It’s the perfect size for most spice bottles, and it’s a nice dark place to store them.
The bread box is quite heavy and very sturdy, and was well worth my five dollars.
And this makeover will barely add to that cost.
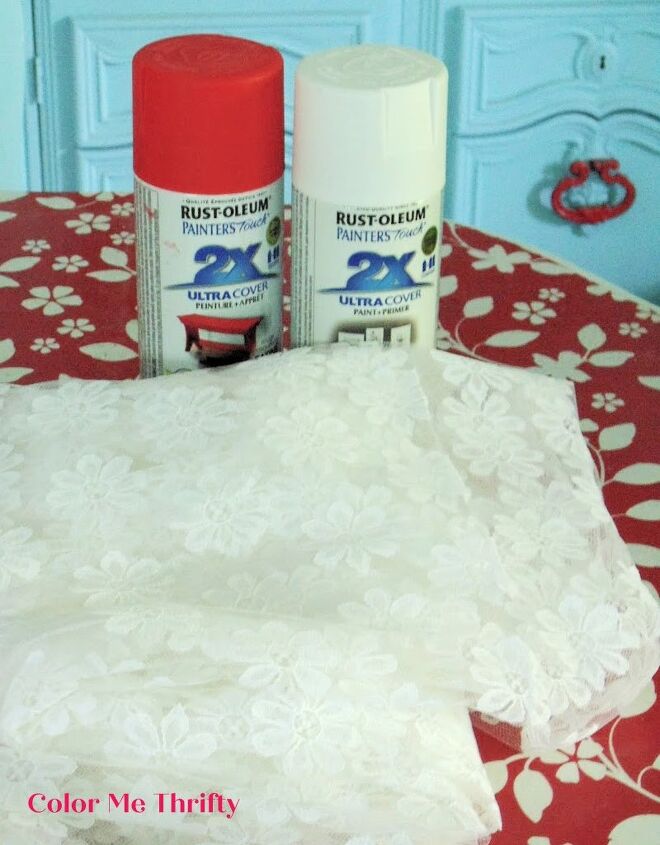
Here’s that piece of floral lace that I mentioned earlier. It’s very large, and I recently found it at a thrift store for $1.
I immediately knew it was meant for my bread box makeover. And some red and white spray paints that I had on hand will do very nicely.
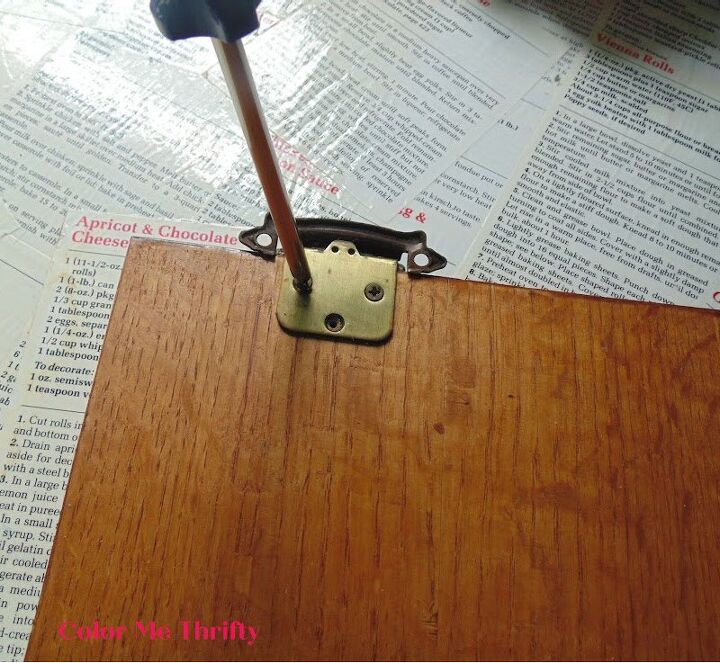
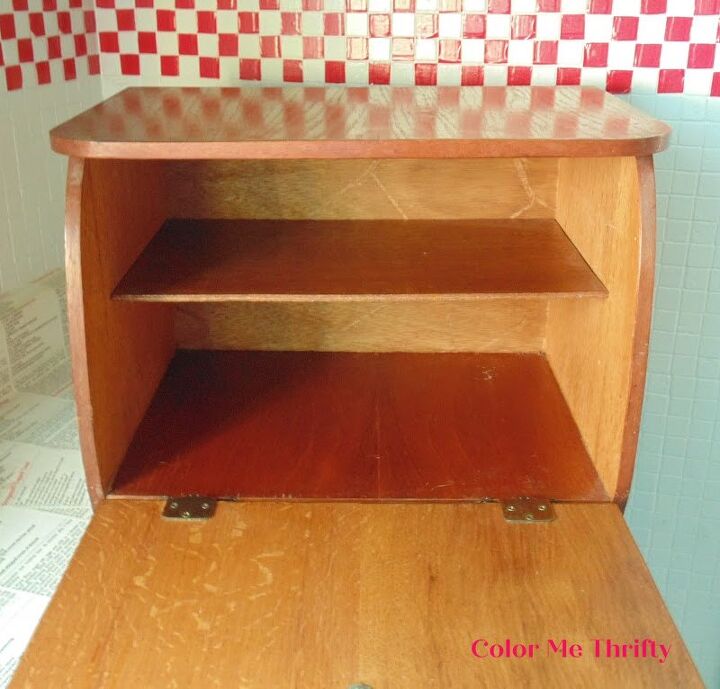
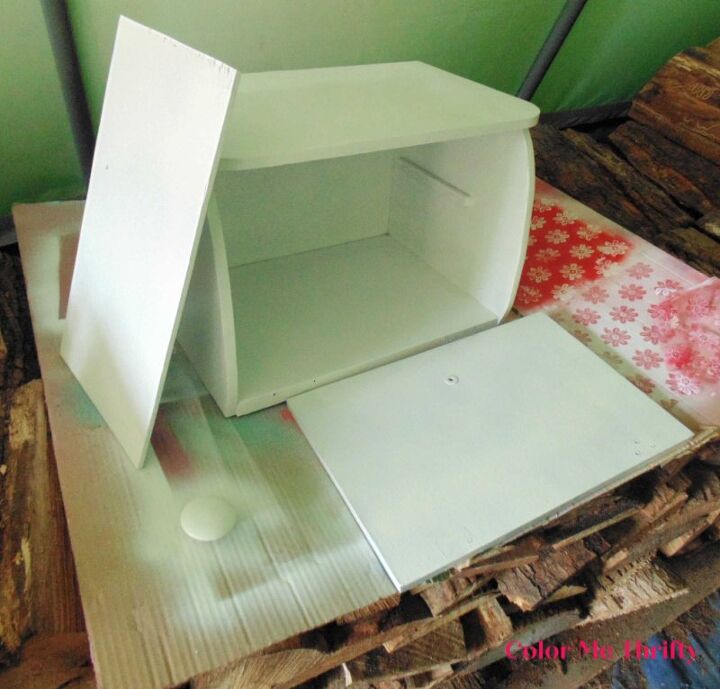
I took the bread box door off with a simple screwdriver. No fancy tools needed.
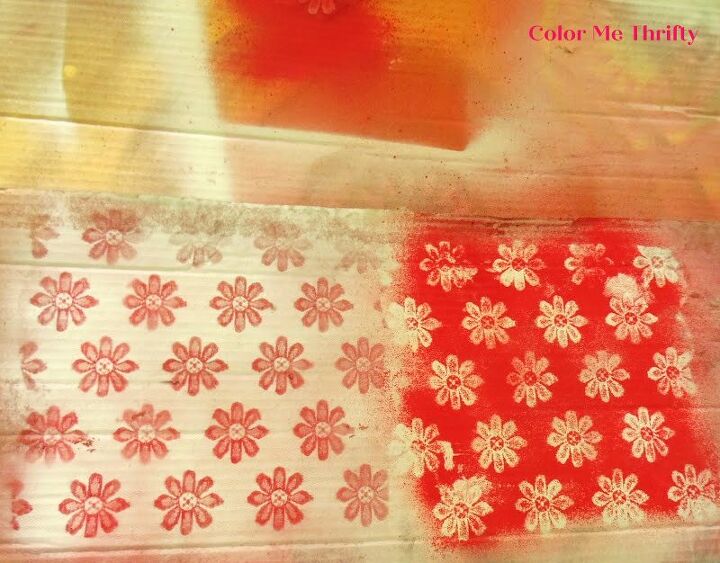
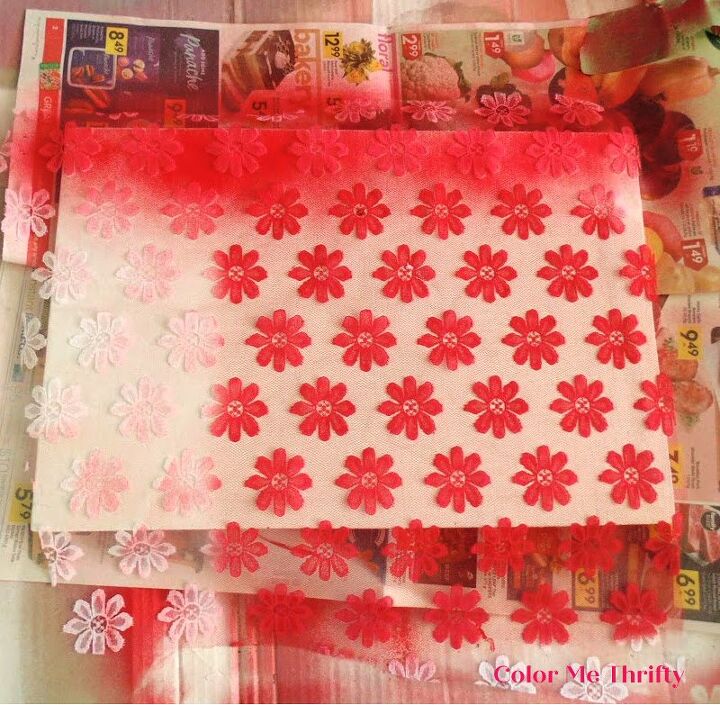
And then I did a test with the spray paint to see how I wanted my bread box to look.
The left is a bottom layer of red, with a top layer of white… and the right is a bottom layer of white with a top layer of red.
You’ll see shortly which one I opted for.
Tada!
The first step is to give all the bread box parts a couple of light coats of the white paint.
Inside and out, and both sides of the shelf and door.
And now this is where the magic starts.
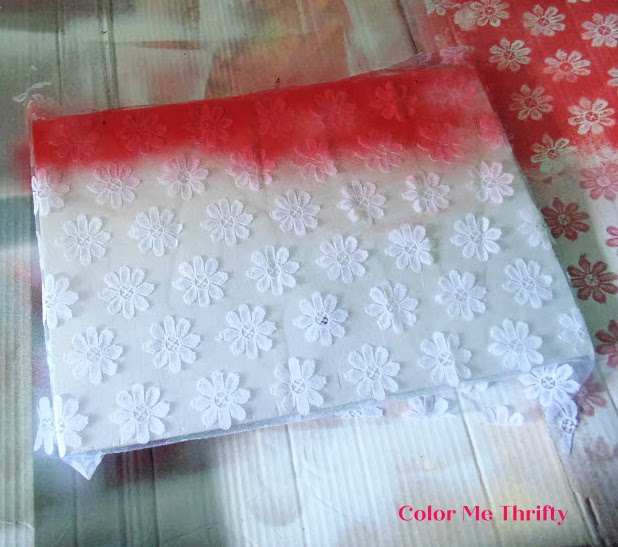
I cut a piece of the lace to fit over the inside of the door.
It’s always a good idea to start with the part that will be seen the least. This is where the booboos can work themselves out, if needed.
I used this same lace stencil technique on my living room vinyl blinds makeover, and it worked great so I decided to give it another try.
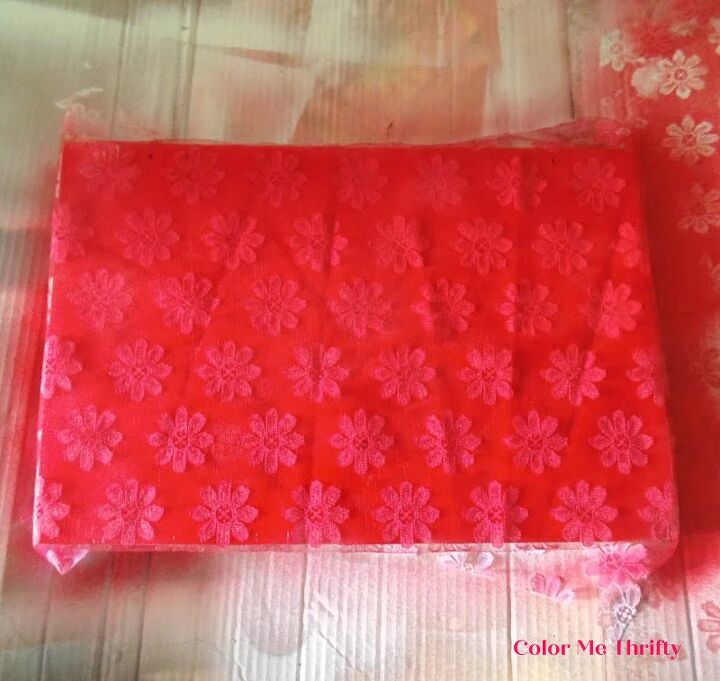
You only have one shot at this, so it’s important to make it count.
But if it does get messed up, you can just wait for it to dry, repaint it white, and then try again. No worries.
I used a very small piece of the lace, which I was able to reuse after it dried for all the parts of the bread box, so I have tons left over for future projects.
And voila!
I was very happy with it, so I called it done and moved on.
You’re not going to get equal coverage all over, and quite frankly that’s not the way it should look anyway.
Things that are hand done shouldn’t be perfect.
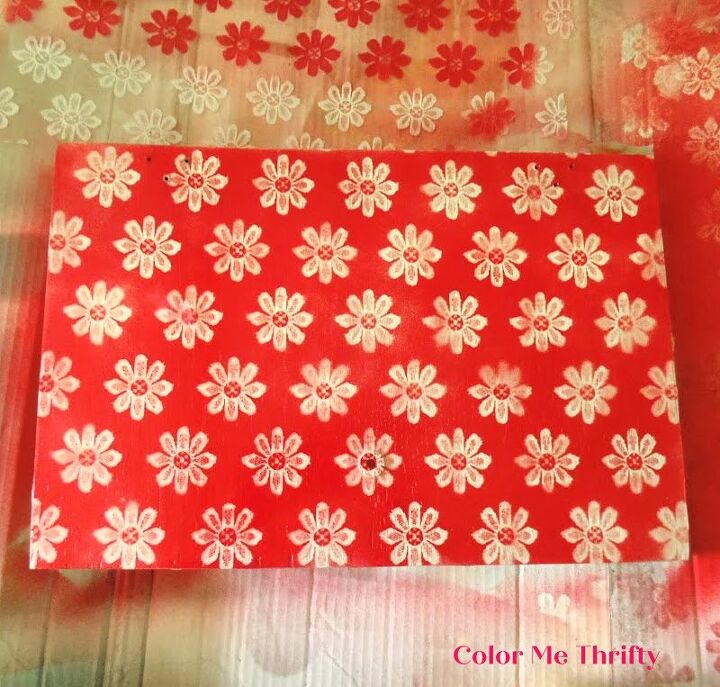
After the inside of the door was dry I did the all important front of the door.
I placed one of the flower middles over for screw hole for the door knob. You’ll see the finished front door a little later on.
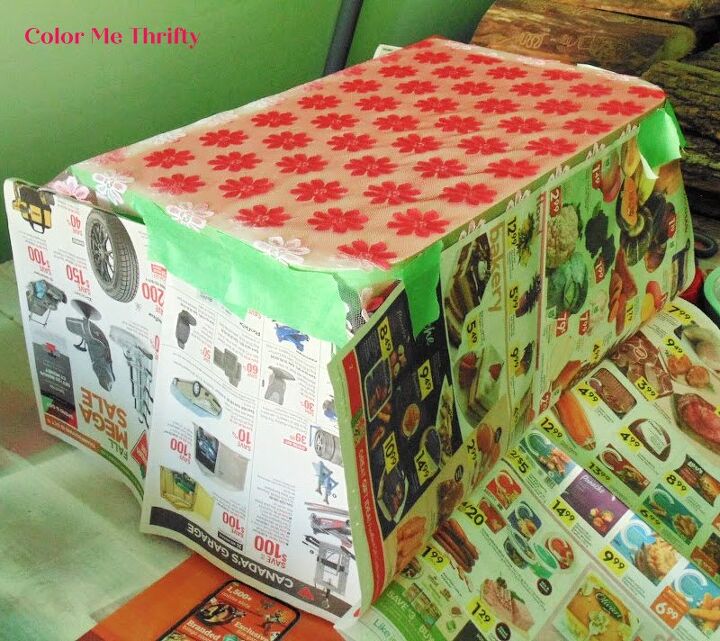
When it came to the top of the bread box, I had to protect the rest of it from any oopsies and over spray.
You think oopsies won’t happen?
I’ve learned from experience that protecting is better than fixing.
Once everything that needed to be covered was, I was good to go.
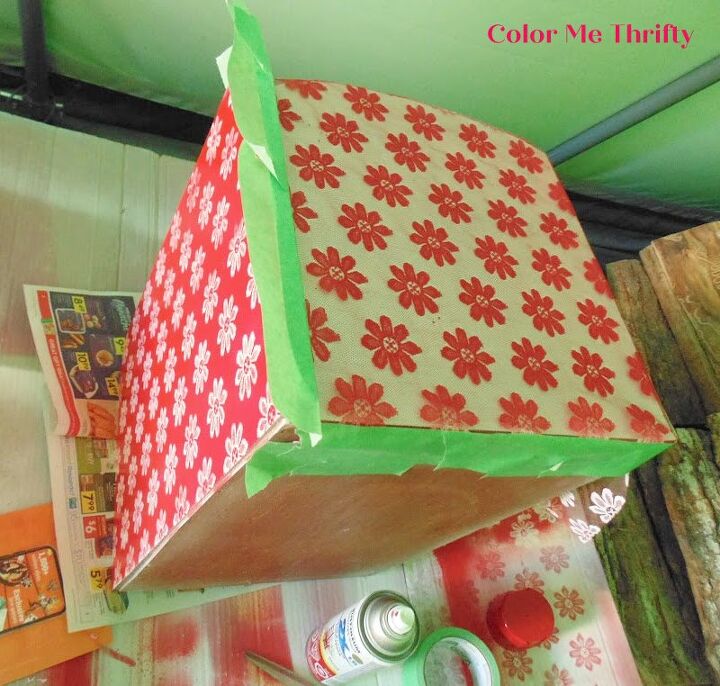
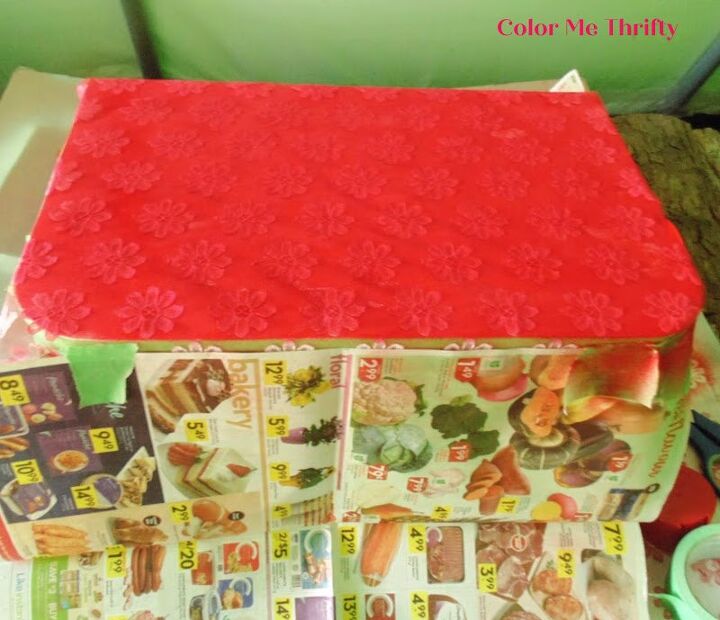
I let the top dry before painting the sides, just so I wouldn’t accidentally mess it up.
All the edges will stay white, so I taped them all off before stenciling.
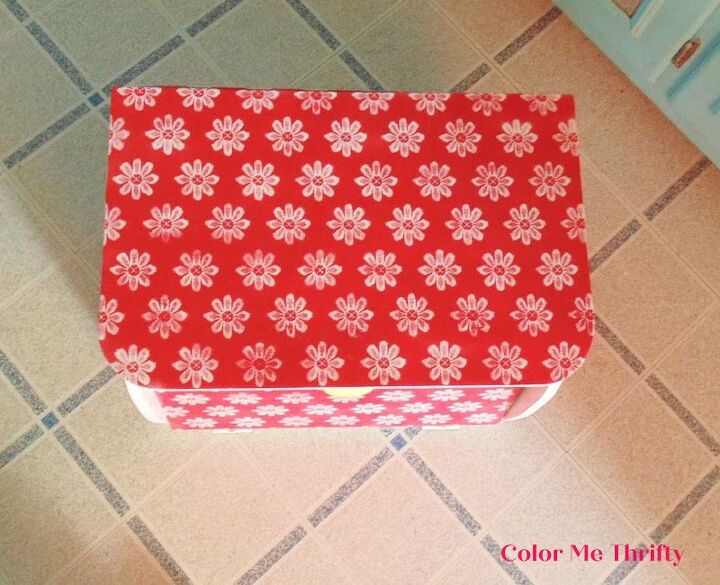
The top of the bread box was hard to see on my kitchen counter so I put it on the floor to take this pic.
It won’t really be visible most of the time, but needed to be done in case I ever move the bread box to another location.
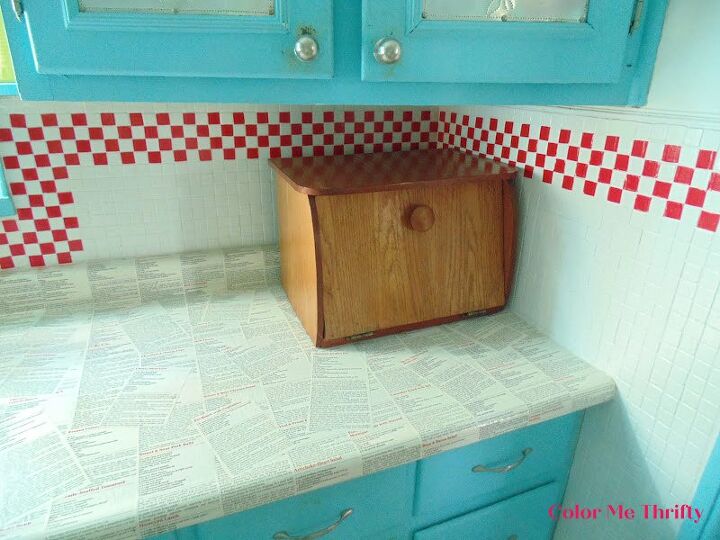
Here’s a before again of my very study and very functional bread box spice keeper.
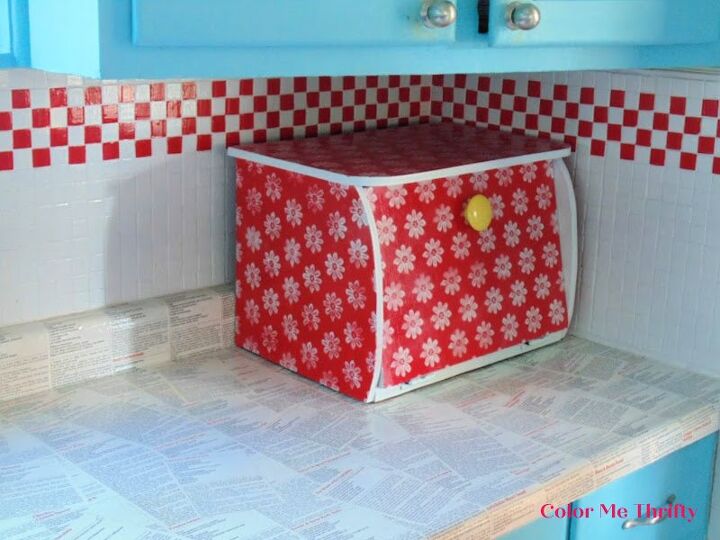
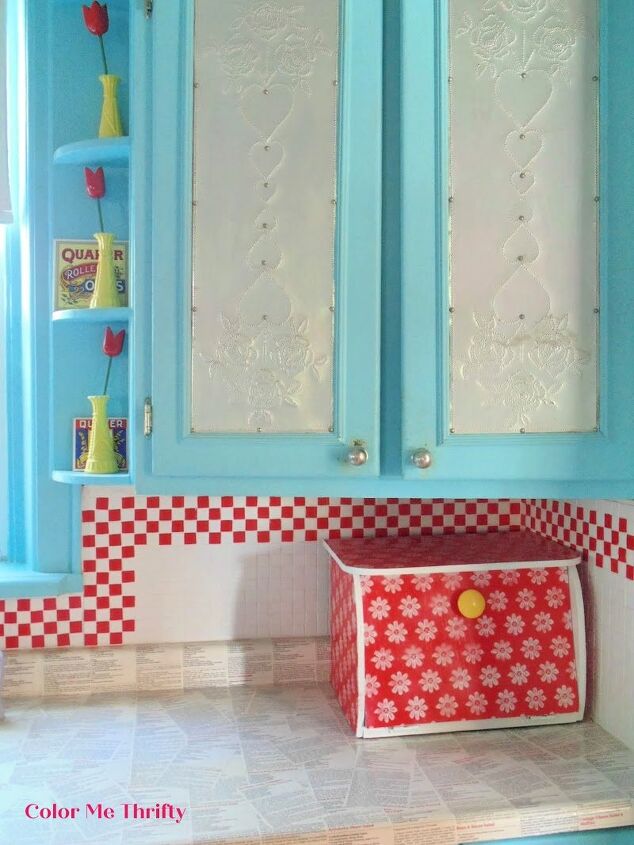
And here’s the after.
I have to say that I’m pretty much in love with it.
The decoupaged recipe kitchen counter allows my colorful bread box to really stand out.
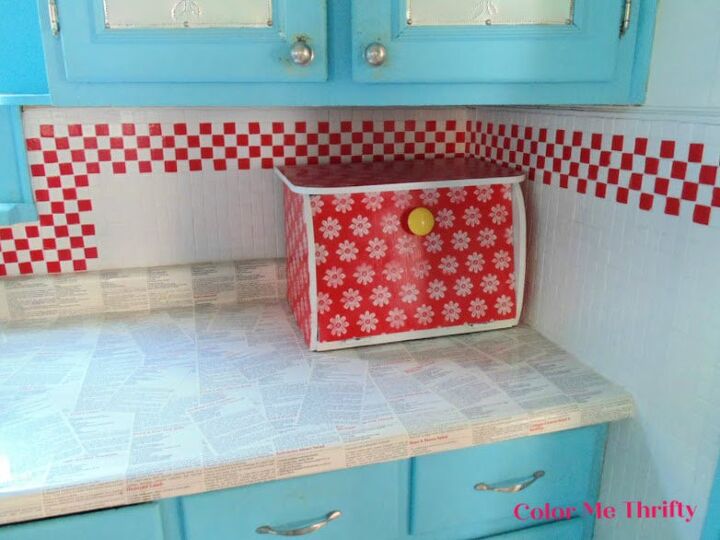
I spray painted the two hinges white to make them disappear, and the knob yellow to make it stand out.
Yellow is an accent color in my kitchen, so for me it works.
I thought about adding dots of yellow to the centers of the flowers, but decided against it. I like the yellow knob all on its own.
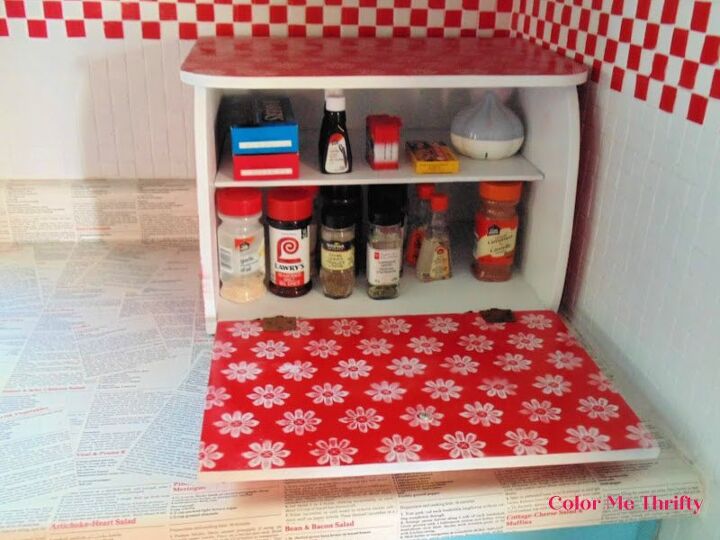
The interior of the bread box was left white so the contents are easier to find, and I don’t think it needs a liner.
But that’s just a personal choice.
Here’s another before, where you can see my spray painted yellow glass vases.
When doing a makeover like this it’s important to do what you love, and what you think will work in your space.
This technique of using lace as a stencil has endless possibilities, depending on the lace you use and the colors as well.
Any color combo will work as long as it works for you, and this technique could be used on a multitude of things.
And now my bread box makes me smile, and that’s what this decorating thing is really all about.
I hope you’ve been inspired to try this technique yourself.
You can find more tips and info about this project here on my blog.


Comments
Join the conversation
-
I love your countertop! Did you make it or buy it? I have always wanted to wallpaper a wall with book pages and your countertop is something I hadn't thought about.
-
Very charming. Not so sure I’d trust myself with spray paint. Great use of bread bo. Thanks for sharing


Frequently asked questions
Have a question about this project?
I’m in love with your kitchen colors. That’s exactly what I’ve been thinking about doing.