


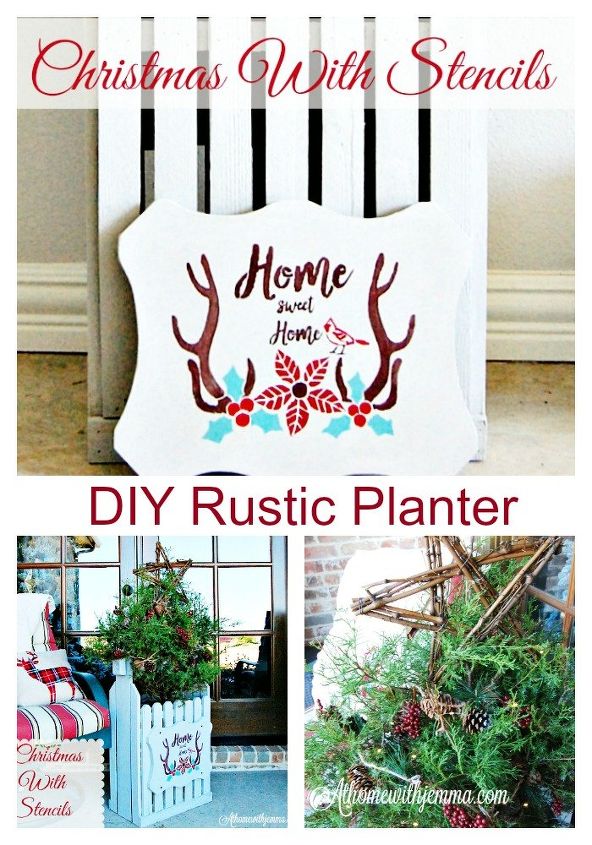
Christmas With Stencils~Rustic Planters

by
Jemma
9 Materials
I am discovering that I have a passion for Stenciling, who would have thought!
I created a Fall Candle stencil back in September that Hometalk featured in their newsletter. So when a dear friend and a group of talented bloggers got together for this Christmas stencil blog hop I was more than ready to get my paint brushes back out.
I created a Fall Candle stencil back in September that Hometalk featured in their newsletter. So when a dear friend and a group of talented bloggers got together for this Christmas stencil blog hop I was more than ready to get my paint brushes back out.

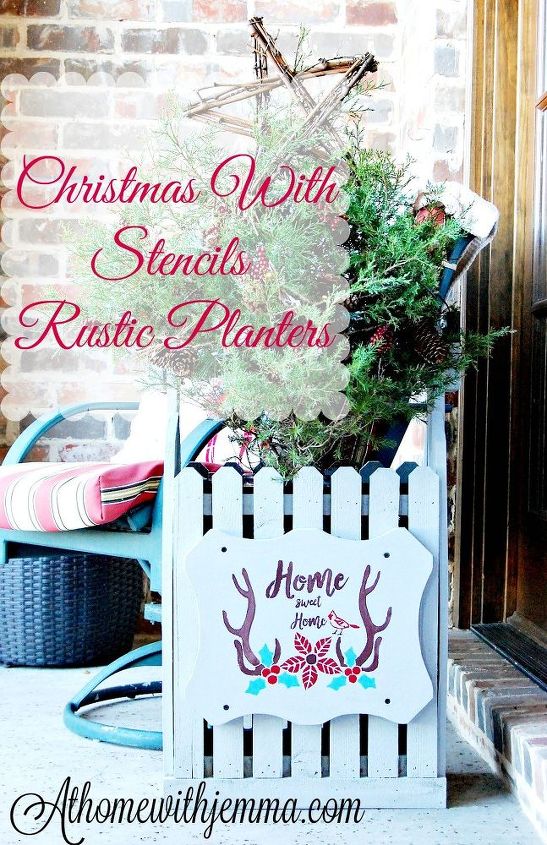
I knew from the beginning that I wanted to use these rustic cedar planters from an earlier project that we did to put my homegrown/ Cedar Christmas Tree in.
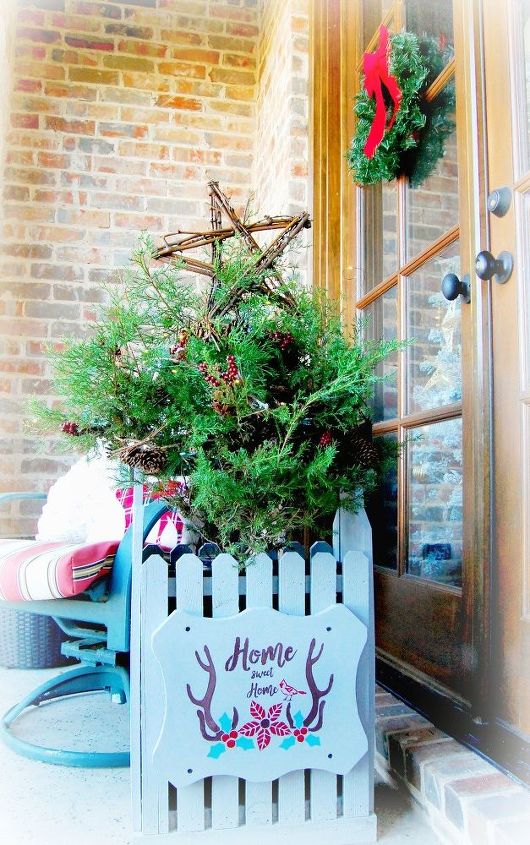
For this project you are going to need some salvaged wood or purchase some as you are going to be making a custom sign to stencil.
MAKING YOUR SIGN

Measure & saw wood to create custom sign.
When using power tools always wear protective eye covering and if you are not used to working with power saws have someone help you who has. Be very careful as they are powerful and dangerous tools.
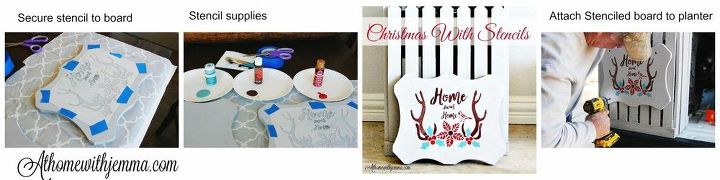
USING THE STENCIL
Want more details about this and other DIY projects? Check out my blog post!


Frequently asked questions
Have a question about this project?