


Creating a Monstera Leaf From Collected Seaglass

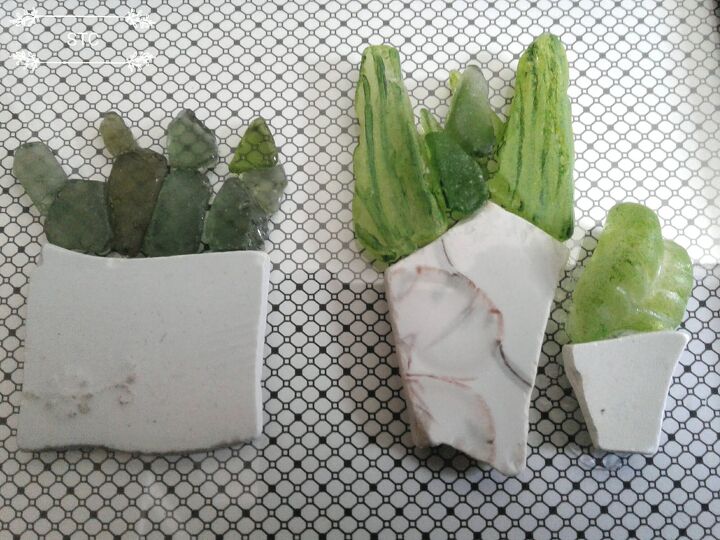
I have walked along the beach and collected seaglass for years and I've tried my fair share of creating with my collection. Last year I got into the process of creating mini houseplants onto picture frames like these seen here below. I really enjoyed the process and the response to them was great as well.
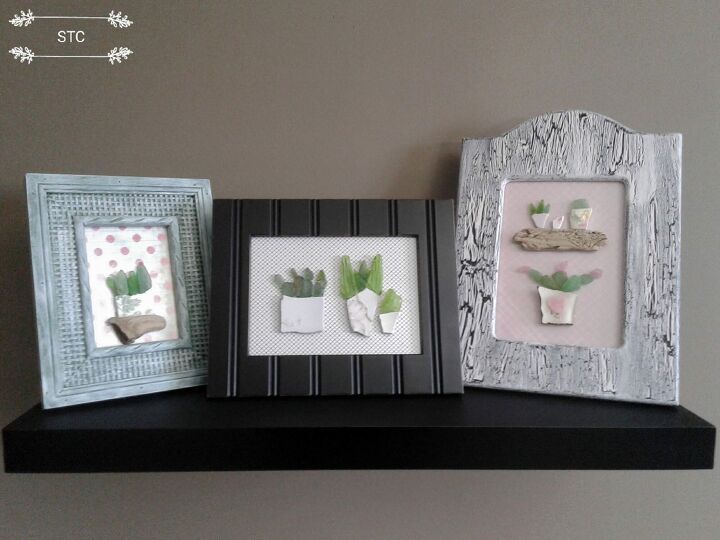
However, I get bored doing the same thing as I'm sure some of you do too. These were tiny, tedious leaves made from the seaglass fragments, enjoyable to make but repetitive. I think that's where the creative mind comes into play, I'm always trying to expand my creativity.
Speaking of expand, that's exactly what I did I expandedddddd the leaf size into a monster!
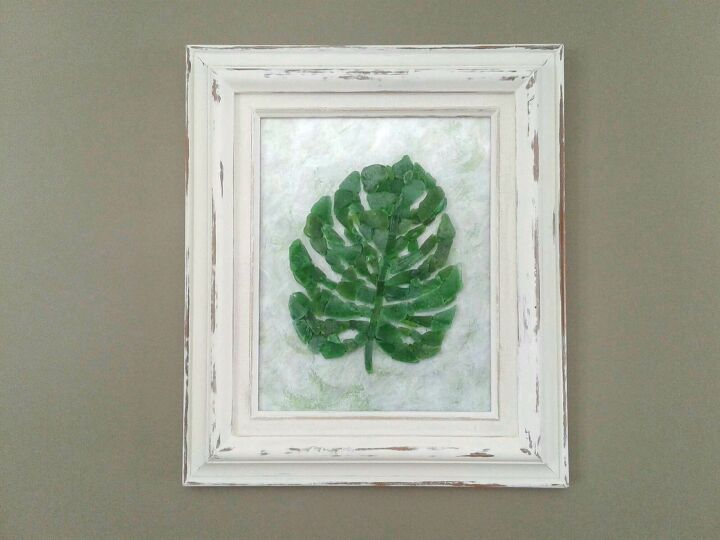
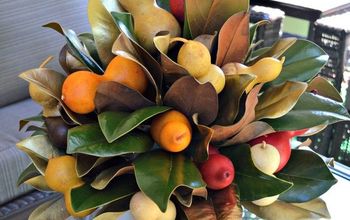
A quick Google search gave me examples of Monstera leaves. A unique houseplant with large leave and very interesting shapes so it would make a perfect subject to replicate with green seaglass.

As I have stated over and over in the past, study the real object you intend to replicate through an image search. Try to follow the color, shape and characteristics of it as closely as possible when creating your artwork. Note how the bottom two leaves are alike but not identical so in this project there is a bit of wiggle room for creative differences obviously.

Let's get started, break out the supplies which in my case are free...starting with the green seaglass bits.

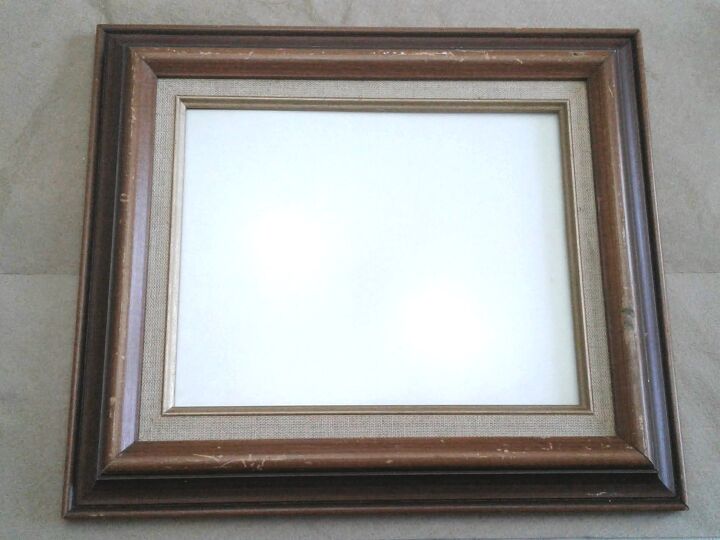
I like to save as many picture frames from landfills as I can so once again I'm recycling! I chose an old, brown, wooden frame that measures about 10 x12 and an 8x 10 glass insert.
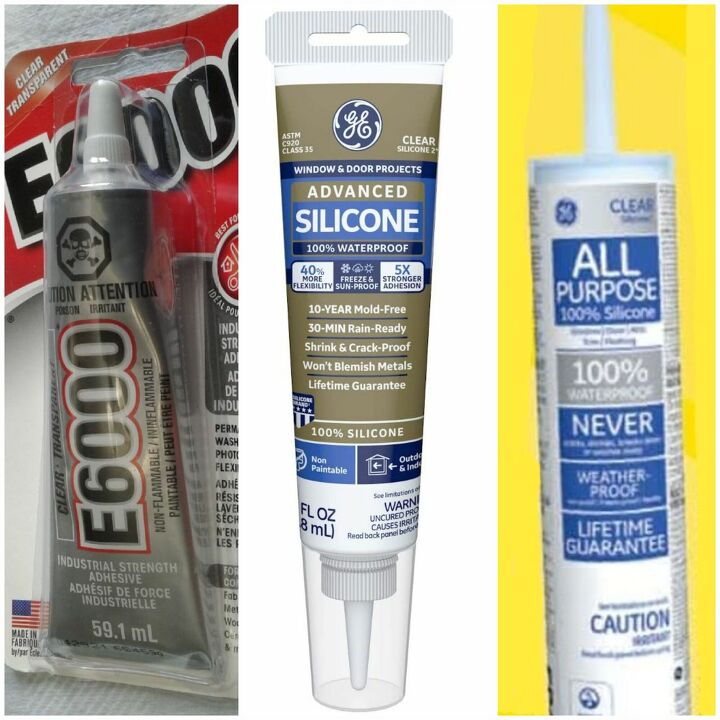
Next up are the glue options and it's entirely up to you what you choose to use but I've used both and both worked perfectly for gluing glass onto glass. The E6000 is a little more costly than the clear silicone and with a stronger odour. The silicone can be bought in a tube to apply directly or the one on the right that requires a calking gun to squeeze out the product.
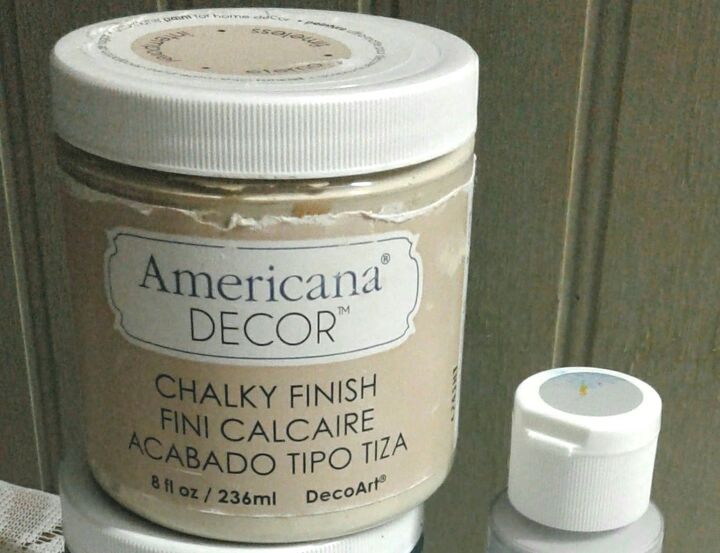
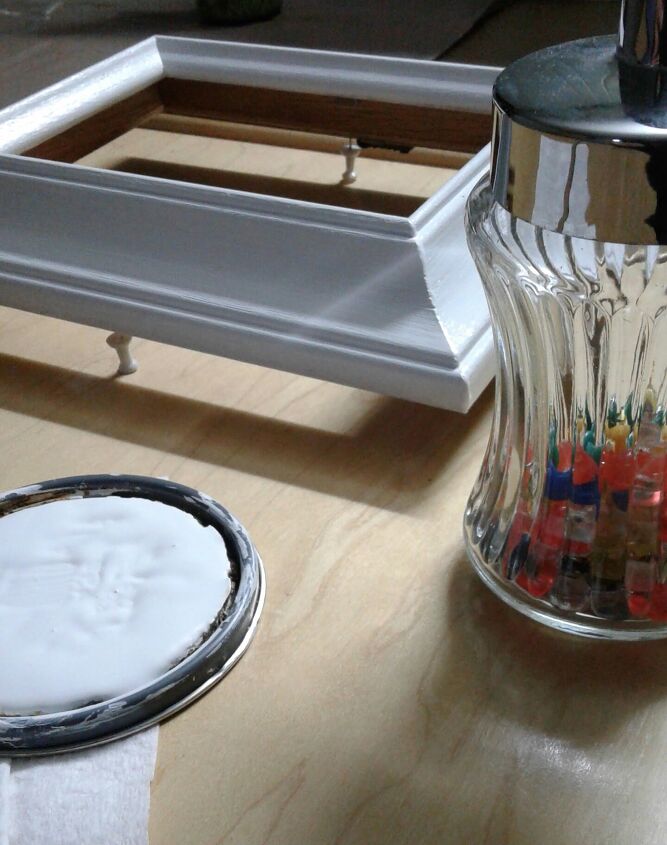
First order of the process is to remove any dirt, dust or grime from the picture frame to ensure I had a good surface to paint onto. I'm using a chalk paint product to give a couple of coats to the wood to completely lighten it up.
A little tip is to temporarily put some push pins into the back side of the frame while the paint dries so that it doesn't get stuck to any surface underneath.
Once it's dry I've used a fine grit sandpaper in the past to remove paint on areas that would generally get the most wear and tear.
However I have learned a dust free way to distress by using a damp rag to remove paint and give it a worn look. I keep my old, cotton t-shirts to cut up and use them for this because they are lint free.
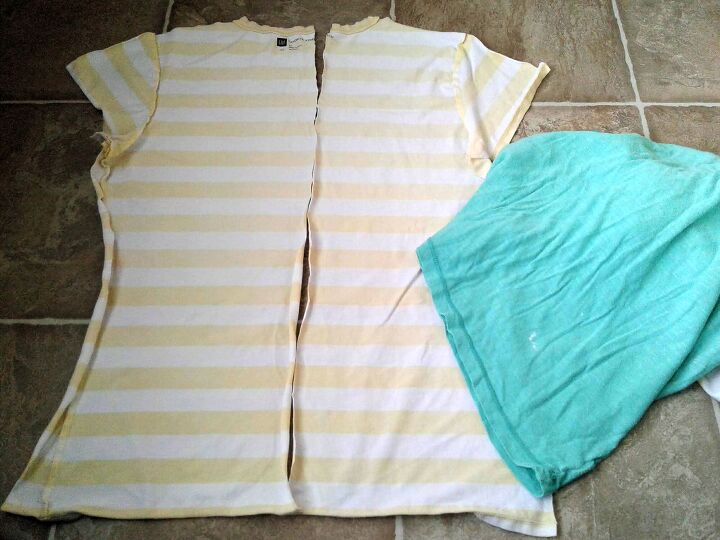
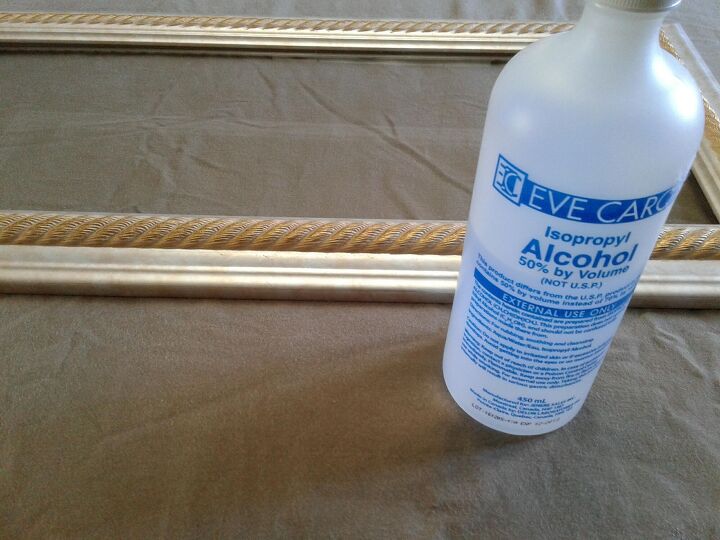
By using a damp rag it also gives your paint a smooth, satin finish but limit any excessive rubbing to just those areas you want the base color to show through. You can rinse paint out of your cloth throughout the process to and to keep it moist as well. Next, I prepped the glass with rubbing alcohol to remove any oily fingerprints before I began gluing.
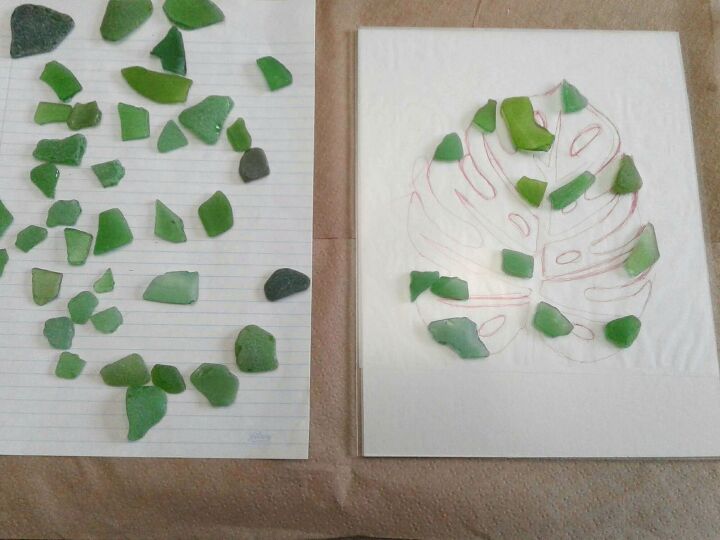
I traced a monstera leaf onto a sheet of 8x10 paper so that my pattern would be the corresponding size of the glass. I slipped the pattern underneath the glass because the seaglass will be glued to the outside atop of the pattern. It's much the same I find as when I do a puzzle, its calming and relaxing to fiddle with and try to fit the fragments together. Find the closest fit and then add glue and fit it in place moving along to the next space to fill in.
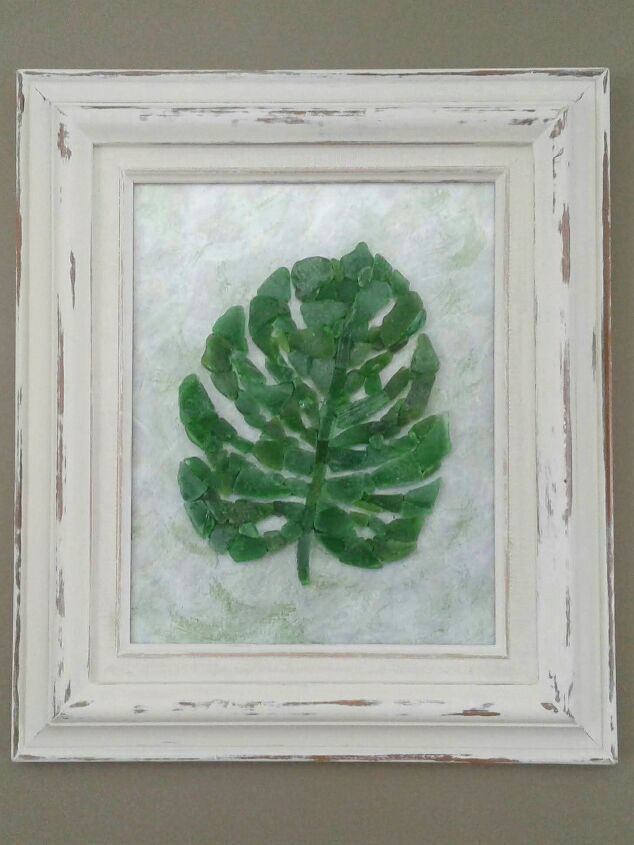
For the backing I chose to add a sheet of scrapbook paper with some green color tones in it to accent the green leaf. Lastly, assemble the frame pieces back together as you nomally would.

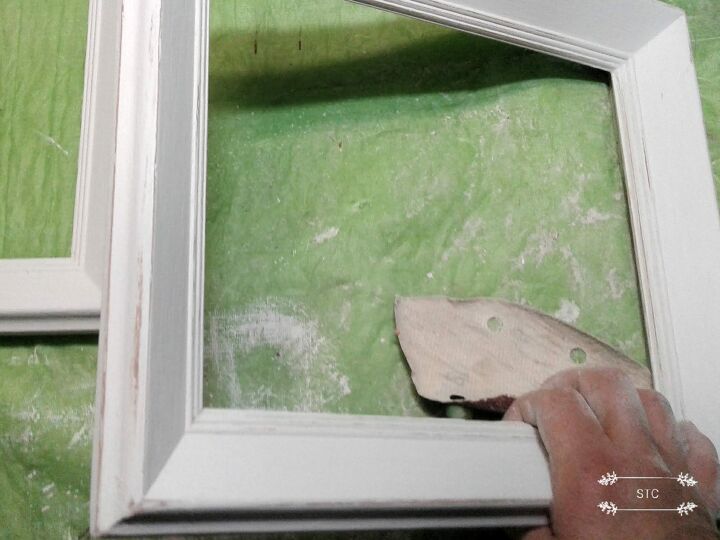
Any excess glue that oozes out can be removed with a toothpick and paper towel when it's wet or a utility scraping blade when the glue has dried.
Either way you choose this will give the project a clean and tidy presentation when it's completed to admire.
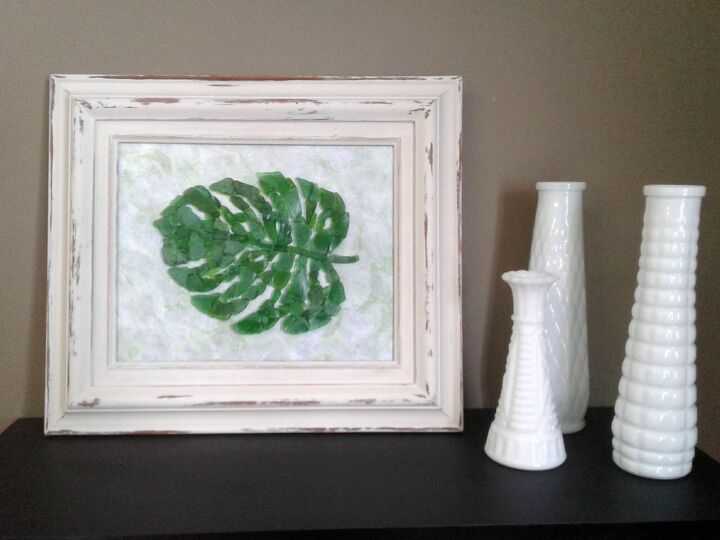
I think overall this is one of the nicest seaglass projects for me to date and it's totally green for the environment by using recycled items! Coincidentally it became a prize to be offered at a community event to recognize earth day, in turn I help this post helps highlight how to use recycled items for art whenever and wherever possible. I really hope that I've planted a monster of an idea in your head with this seaglass project! Thanks so much for your interest in my post!
Comments
Join the conversation
-
Stunning piece! Very eco friendly as well! Great job! Thanks for sharing it.


Frequently asked questions
Have a question about this project?