


DIY Abstract Painting

I’ve seen art like this in stores over the last year and decided to create my own. I remember this technique from art class in school and it’s so easy to do!!
*estimated cost varies depending on what brand and how many paint colors you buy*
*time estimate depends completely on how much detail you put into the painting and if you need to apply multiple coats*
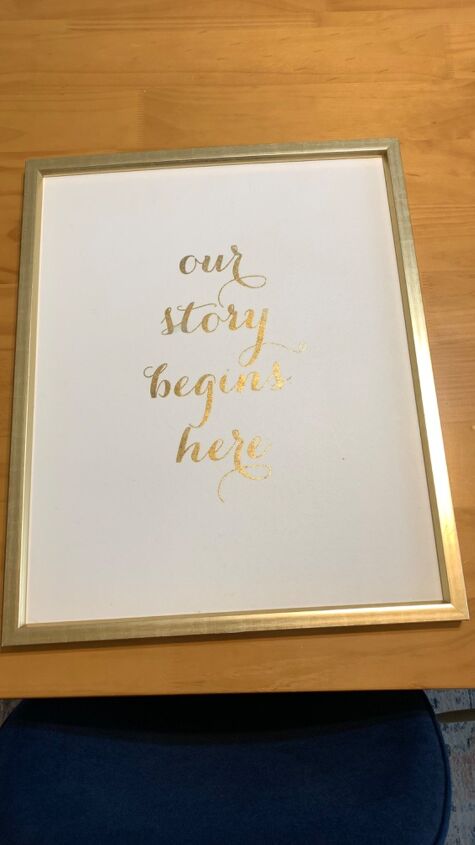
I found this at Goodwill several months ago and bought it just for the frame. When I decided to do a painting like this, I decided to use the canvas also!
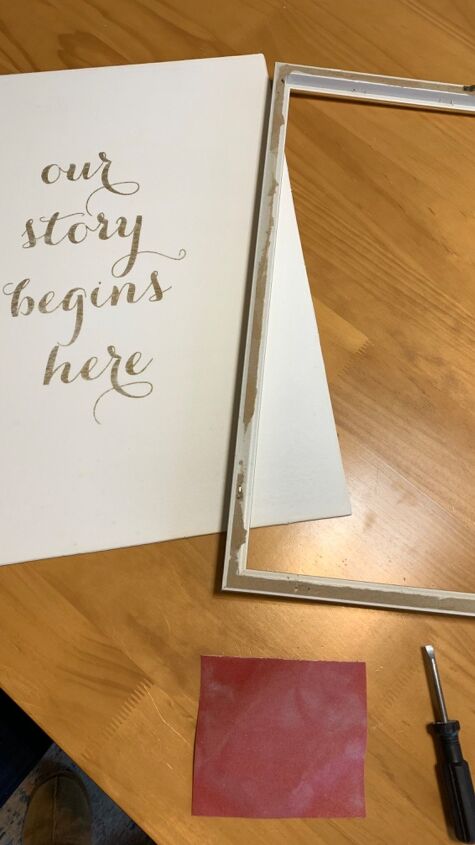
I started by removing the canvas from the frame. I just pried the staples out with a flathead screwdriver. Because the lettering on the canvas was raised slightly, I sanded it all with 220 grit sandpaper. It smoothed out the lettering but didn’t take off as much of the color from the words as I had hoped.
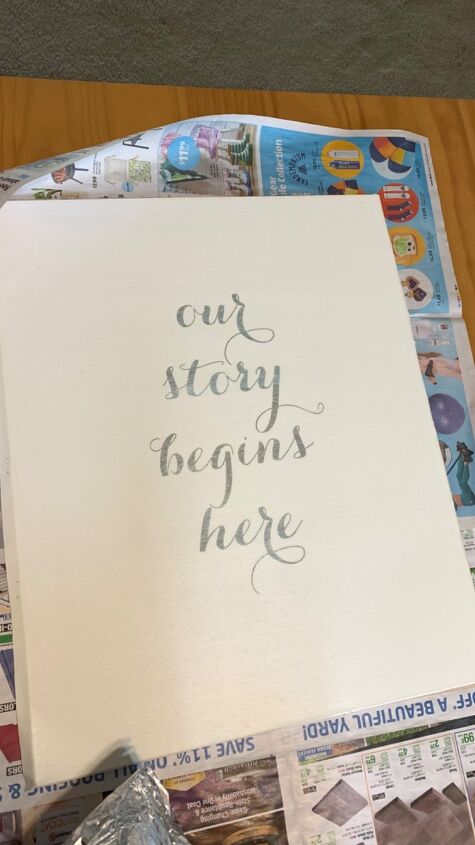
Last fall I found a set of acrylic paints on sale on amazon. I have a collection of random craft paints that I’ve gotten over the years, but hadn’t bought a full set of paints in over 10 years. It said the regular price was $50, they had 1500 reviews and 4.7 stars, so I assumed they would be decent quality. I assumed wrong 😂 I should have tried them out when I received them but I didn’t. And I didn’t end up opening them until I started this project.
They’re very thin and require multiple coats for an opaque look. Out of curiously, I looked them up on Amazon again and the regular price says $18 😐. The photo above is after 5 coats of the white paint. FIVE. I should have taken that as a sign but I’m about as stubborn as they come. So rather than (at the very least) buying a different brand of white, painting over the words and starting with a blank canvas, I drew out my design anyway.
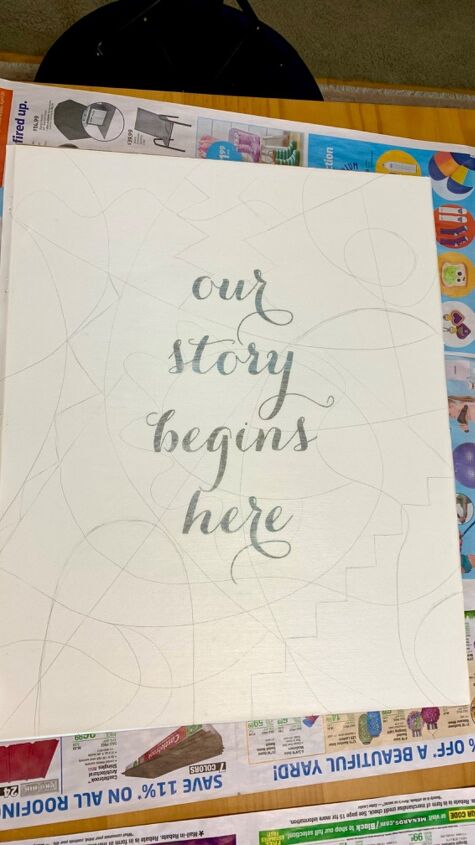
Here’s the design I drew. You can do whatever you want here. Straight lines, all curved lines, intentional objects or shapes or keep it completely abstract. Make sure you have intersecting lines to create the various sections. Less lines means larger “shapes” and less sections to paint. You can make it as detailed or as simple as you want!
You can decide on a color palette ahead of time like I did or decide as you go! Start painting different sections in the colors of your choice. If you made intentional objects/shapes, you can use similar colors in those areas to better highlight those shapes. I did this a little bit, but didn’t want them to stand out too much. Just make sure you don’t have two sections of the same color right next to each other.
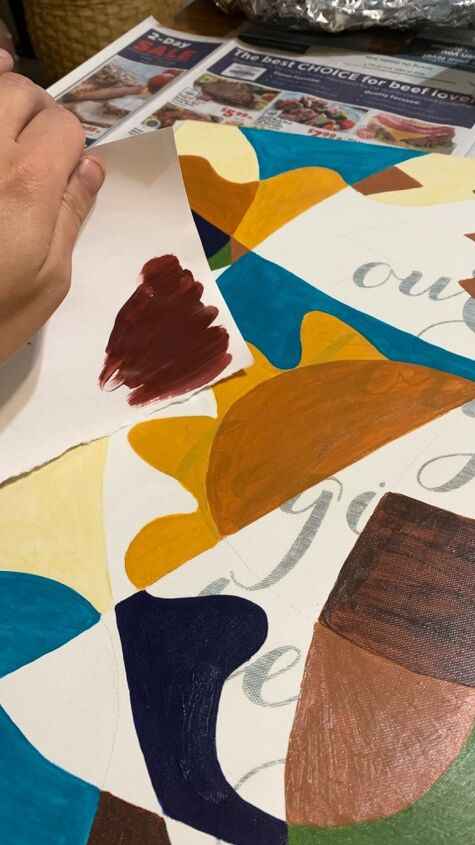
If you don’t like something, adjust as you go. I thought about adding an additional color, so I painted a sample on scrap paper and held it up to the painting. I decided against it, but this is a great way to visualize it before putting it on the canvas. I thought this blue color was too bright compared to the other colors, so I painted over it with a different color.
Continue painting until all of the sections are filled in! Hopefully you won’t have to do as many coats as I did😅. The areas on top of where the lettering was, took 4-8 coats of paint minimum. It was ridiculous 😂 This took probably 12-14 hours to paint because I was too stubborn to start over with better paints. But, I think a realistic time estimate would be more like 3 hours.
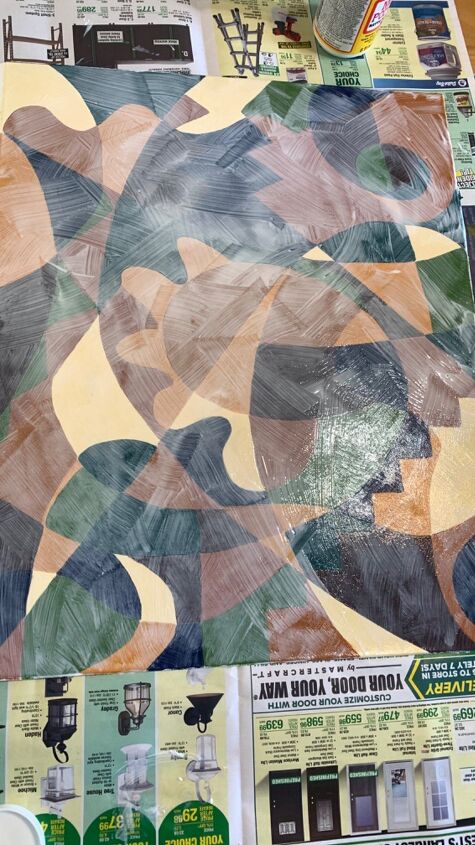
Since I had to do a million coats of paint, I wasn’t thrilled with how heavy the brush strokes were. I decided to make the texture look intentional and added a layer of mod podge on top, brushing in all different directions.
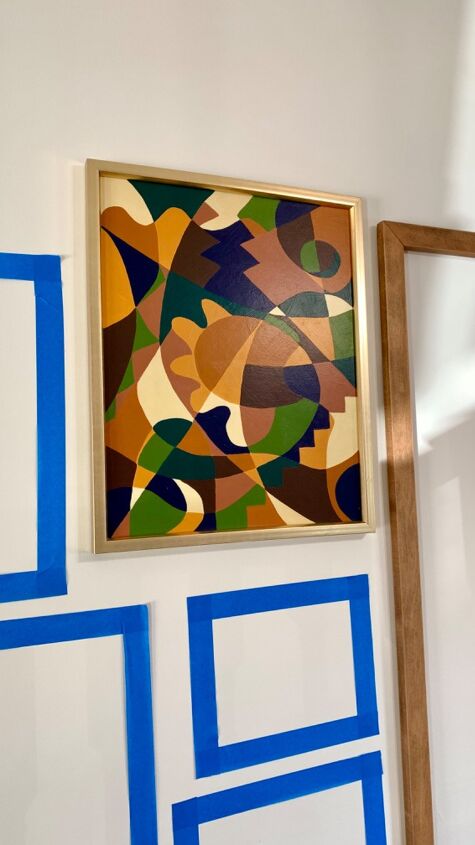
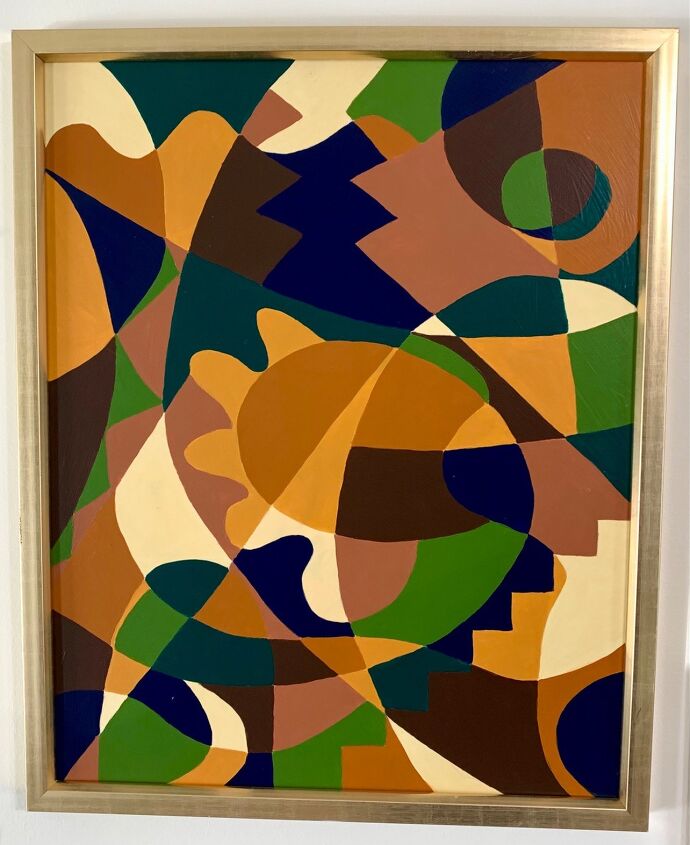
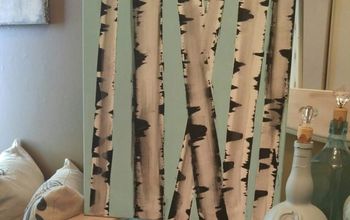
As you can see, I still need to hang the rest of this gallery wall. But, here’s the finished painting!!


Comments
Join the conversation
-
This is totally cool! I love the pattern you came up with! It's just not paint smeared around and called modern! Great job! My friends are painters, and they paint over the canvas they already painted, just for the added texture.
-
Very nice. Would like to try this.


Frequently asked questions
Have a question about this project?