


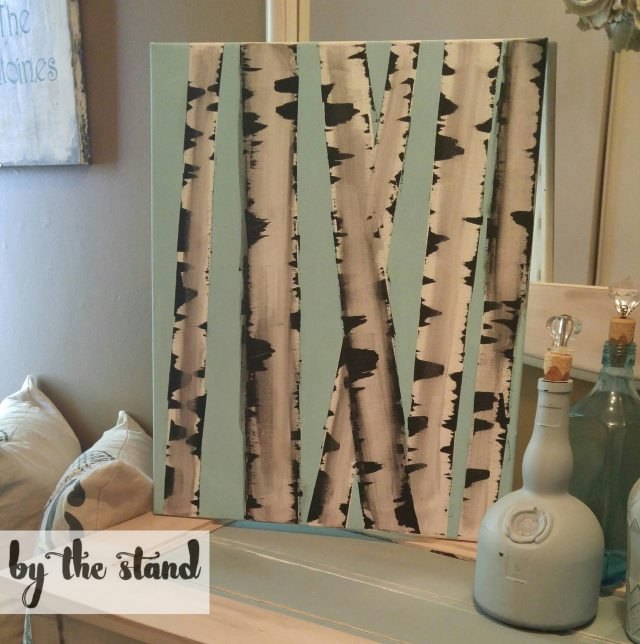
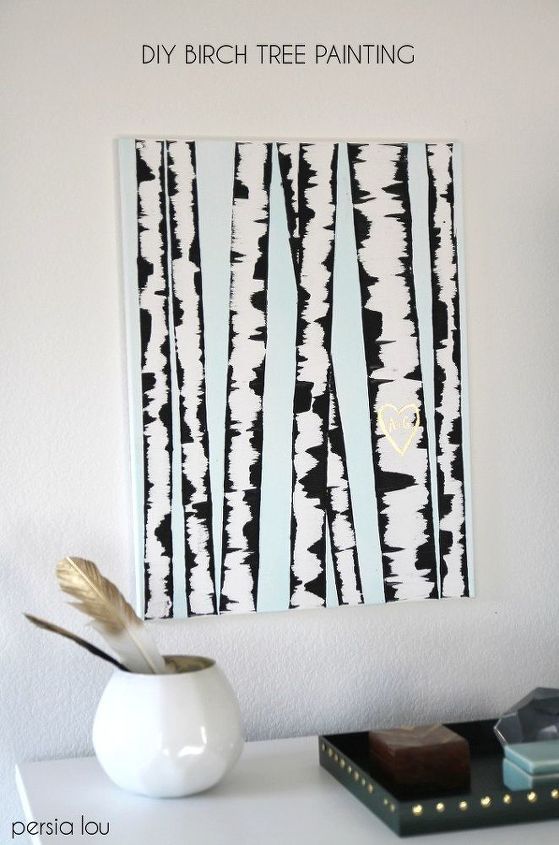
DIY Fun Challenge - Birch Log Painting

If you have ever done a project that I have posted, send me your pics! I would love to see them!
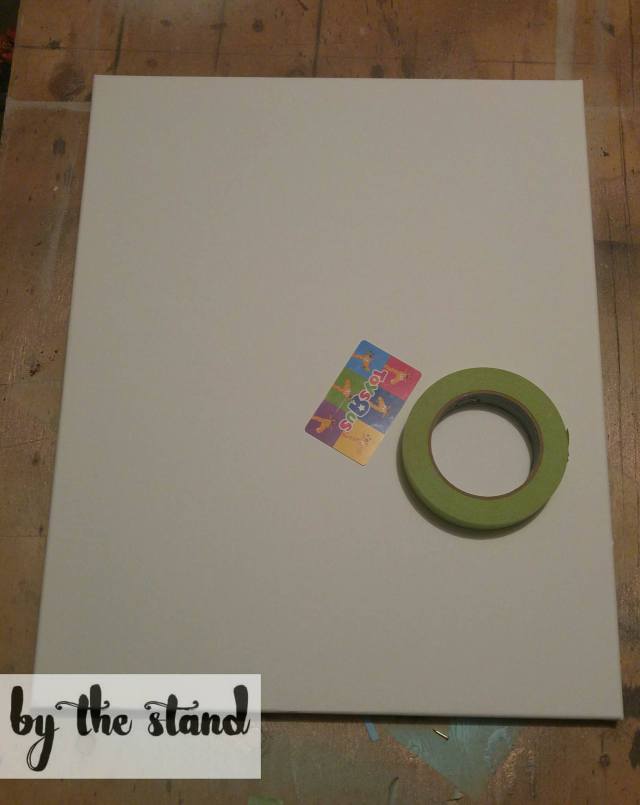
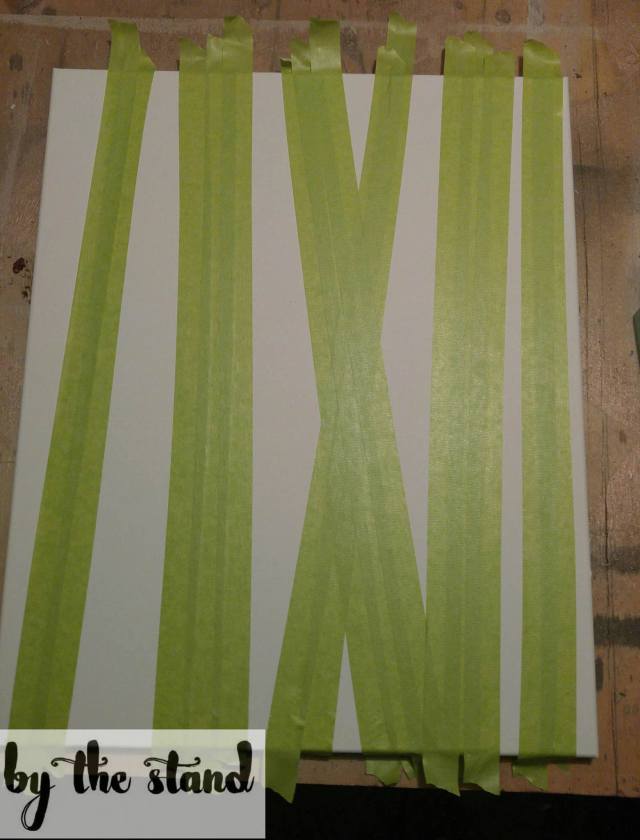
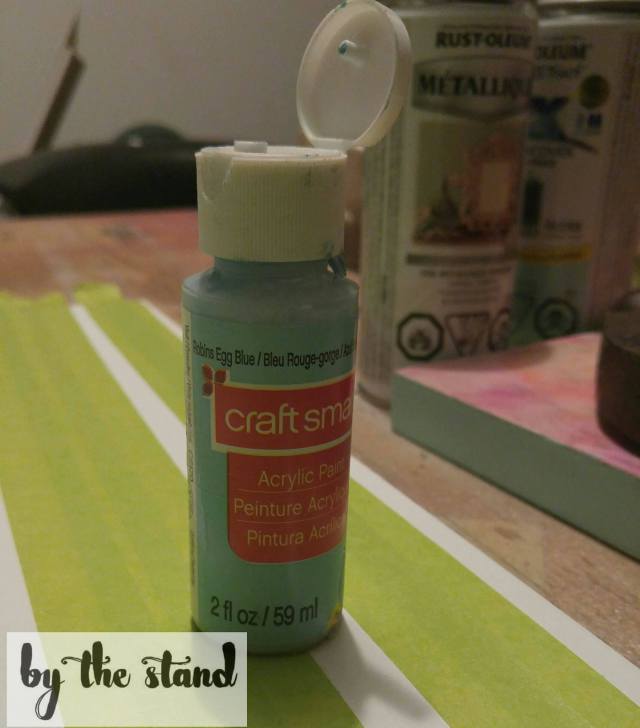
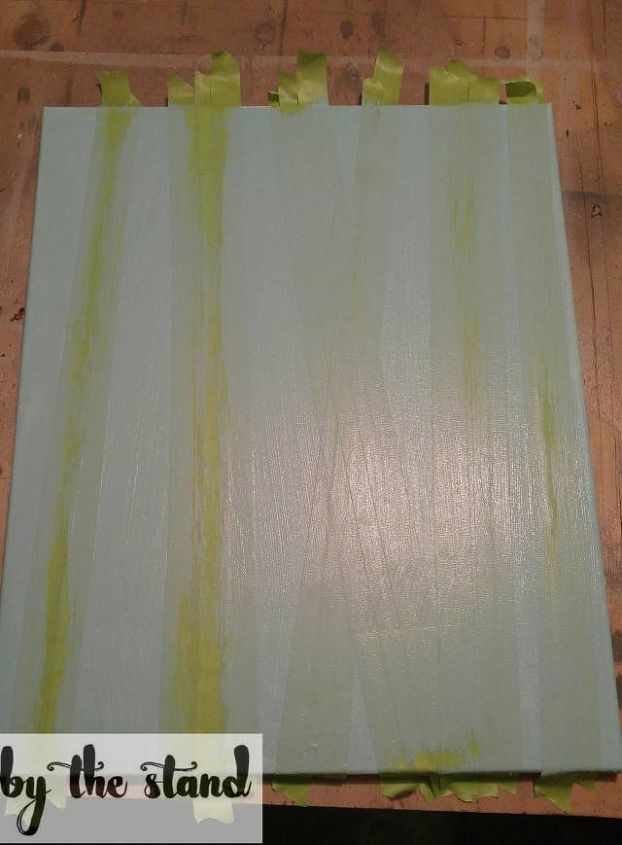
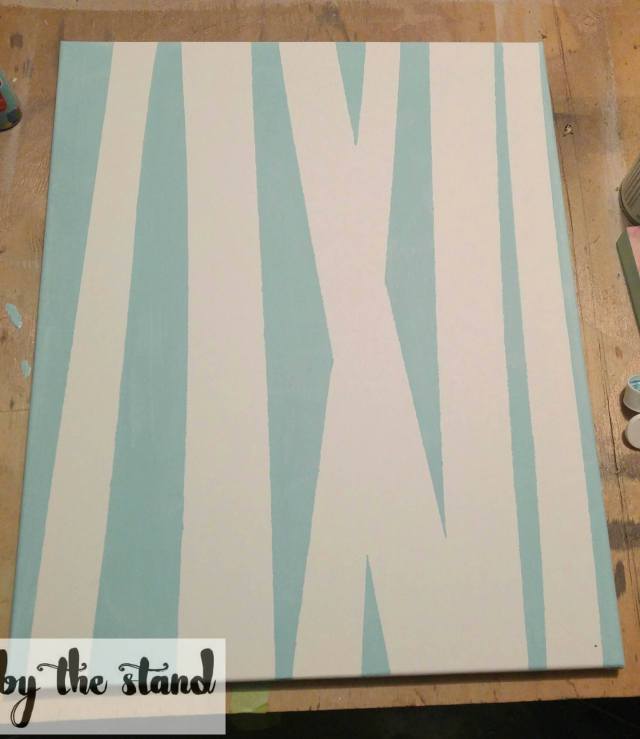
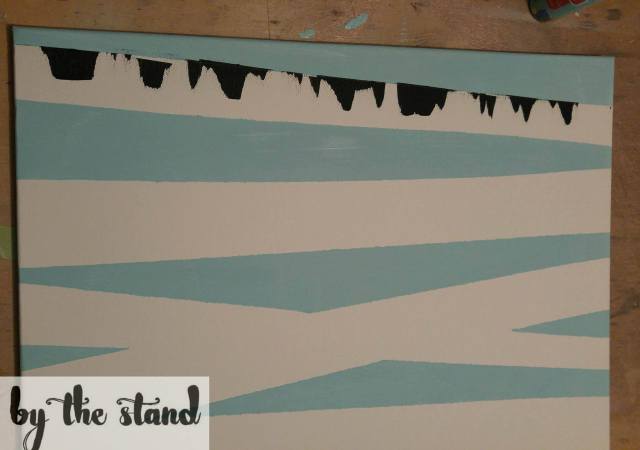
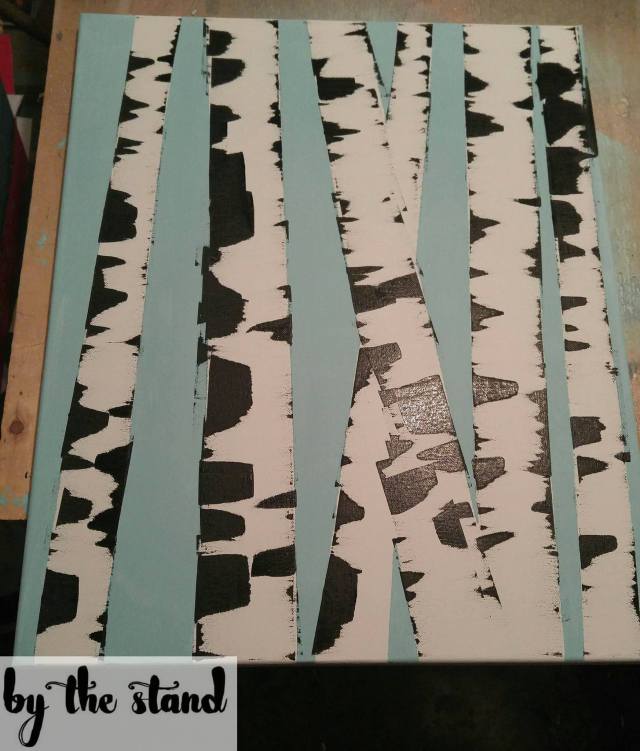
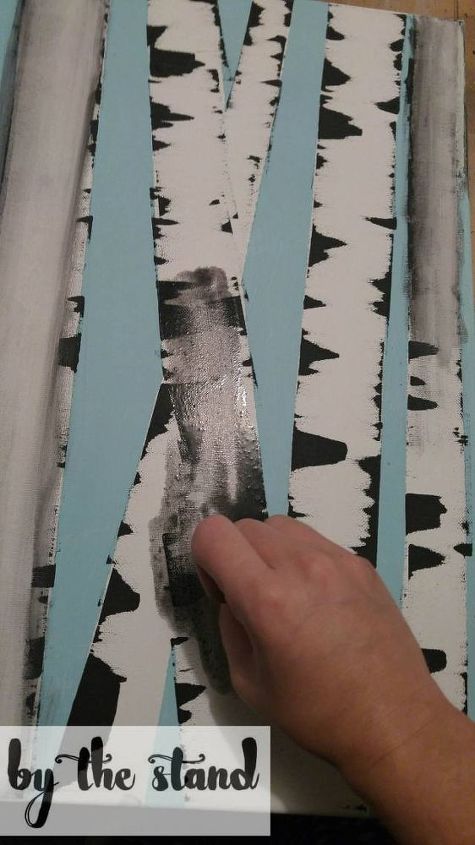
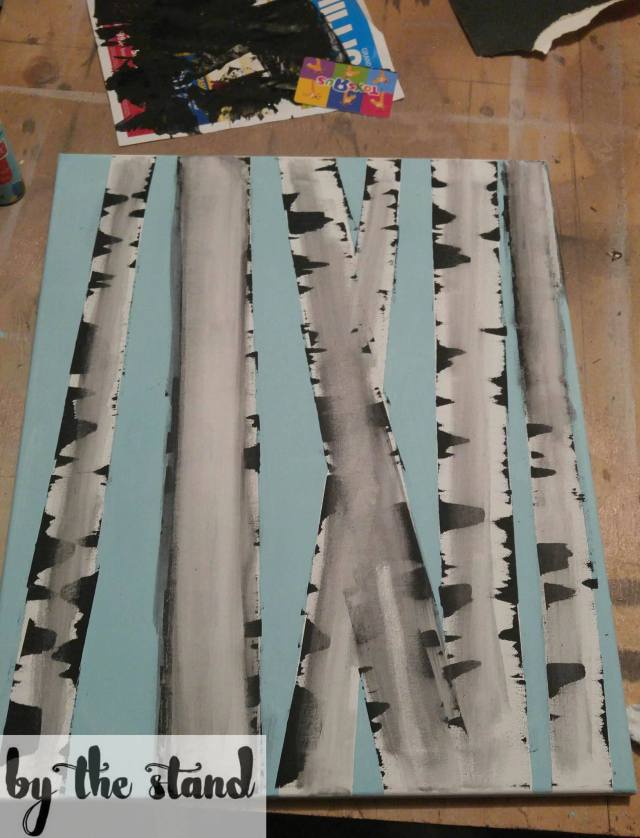
Let’s get started with today’s project. This one has been on the to-do list for a while! I am so glad I finally did it! It is a beautiful DIY and very fun to do. I hit some bumps on the road, but I am pleased with the end result.


Comments
Join the conversation
-
I think it looks great, I so want to try it!! Thanks for sharing!
-
I love Birch trees too. As a matter of fact, the first thing we did when we moved into this house in 1972 was to plant a Birch tree. I love the look of the bark. I was going to try to paint something like this on the wall behind my bed as a 'headboard', but I didn't know how. I ended up with a beautiful 4' painted metal piece of art that I truly love. I will be pinning this though and I WILL find a place to put it. I have a white desk in my office that I'm going to trim with gray. I have black and white canvas pictures of my grand kids on the wall, but I think the birch bark painted in the background would be perfect. BTW, I think your 'mistake' made the bark look SO MUCH better. It gives it more depth and I just think it's beautiful! I can hardly wait to finish up my project that are in progress so that I can start this. Thank you so much for sharing 'mistakes' and all!


Frequently asked questions
Have a question about this project?