


Easy Fireplace Makeover

3 Materials
$28
1 Hour
Easy
Brown or red brick front and center in your living room can kill any decor style. Light and bright goes with any decor style! So, I'm making over my parent's fireplace brick with All In One Paint. I'm really excited to see this one transform. I've done a little prep work that I'll share with you now. For the entire project, please join me LIVE on Hometalk on Tues 10/24/17 at 8pm EST.
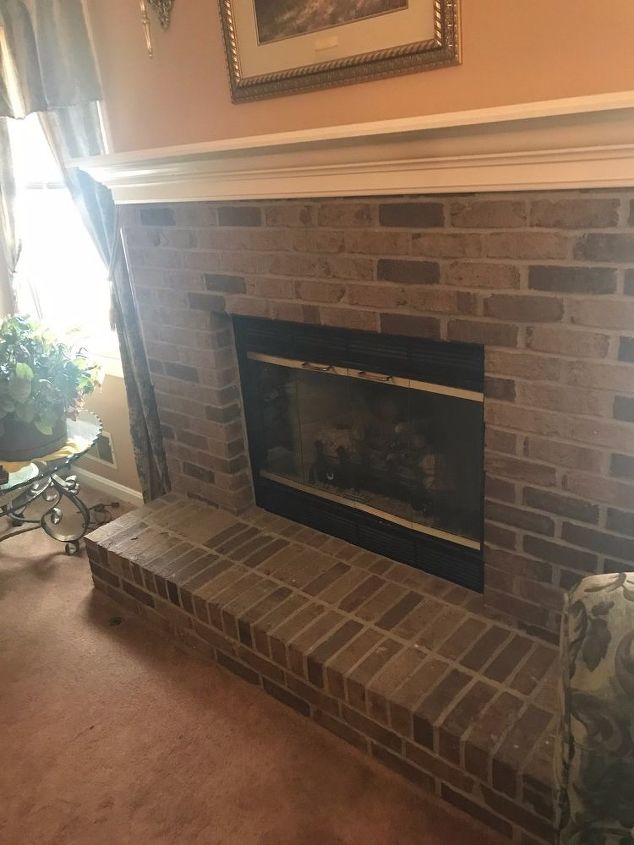
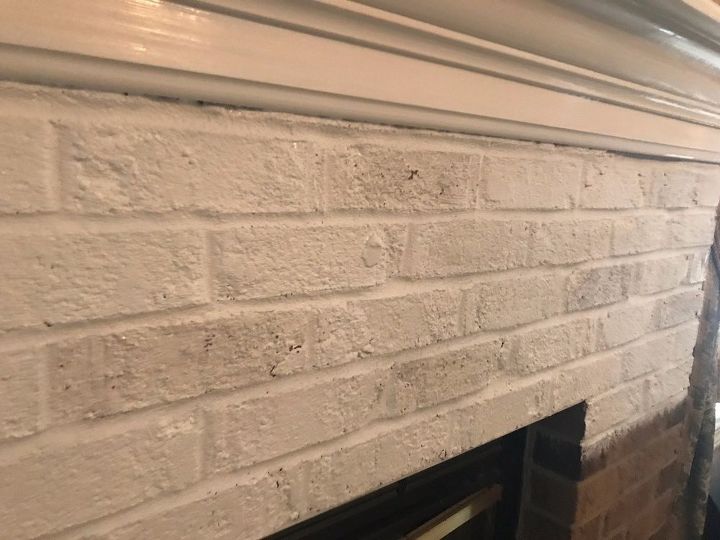
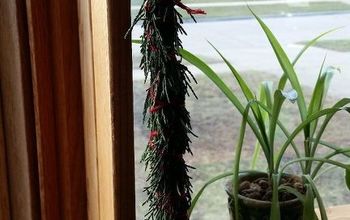
Here's where we're starting. Its prettier than a lot of the ones I've seen but there's a lot of brown going on in this living room. The carpet is a mocha color and the walls are a cappuccino color. There's also a fair amount of brass/gold tones going on because my mom still loves her Home Interior. Who knew my mom was a trendsetter because brassy tones are back for round two these days!
She may paint the walls at some point but the carpet is still in great shape and she loves her sagey green sofas so we're choosing colors that will work with those tones.
For this project I'm using All In One Chalk Style Paint by Heirloom Traditions. Its an All In One because it has a built in bonding primer (perfect for this unsealed brick), built in wax (for a velvety smooth finish) and a built in top coat (hello, no additional step beyond paint, I'm SOLD!). I need good durability for a fireplace and one of the busiest rooms in the house and nothing beats All In One Paint on durability.
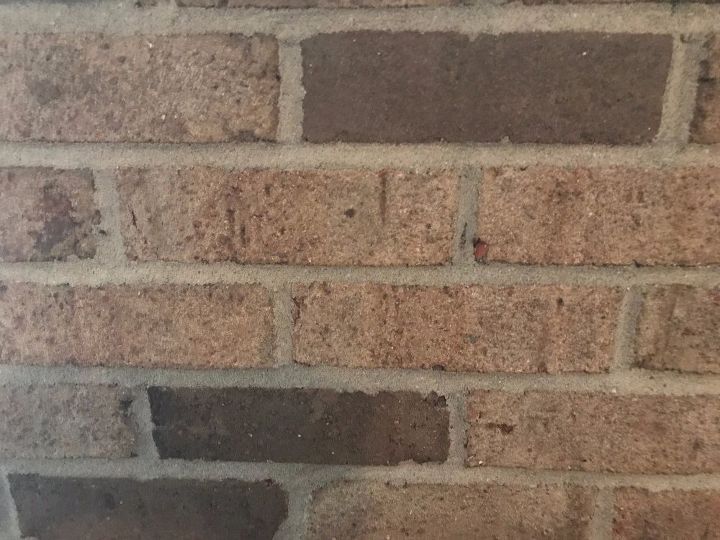
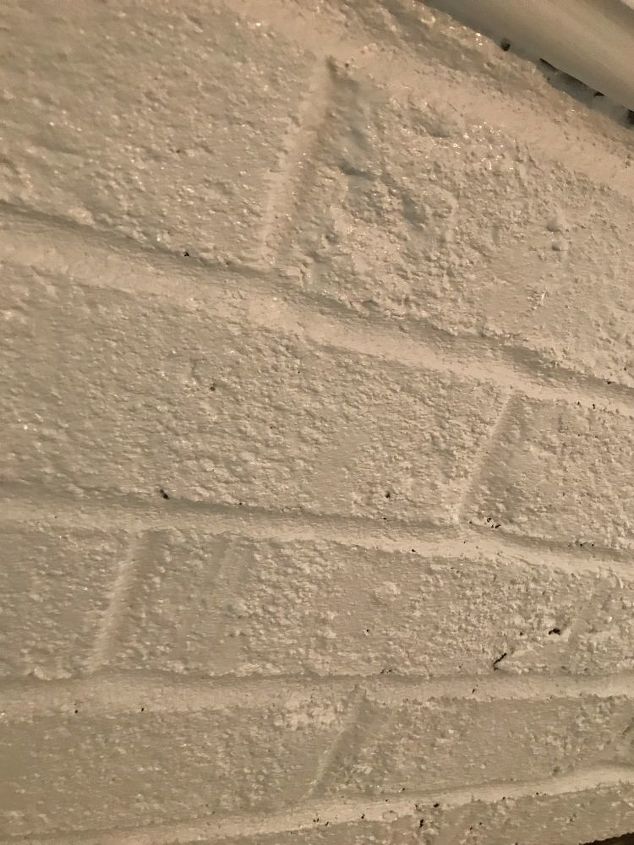
Close up of the before brick. The first step before painting anything is a little prep work. With All In One Paint, there's very little to do before the painting begins, but you do want to give your surface a thorough cleaning. Luckily for me, my mom does not use pledge. Pledge is like the black plague to water based paints. But since this is for my mom I wanted it to be perfect so I did all the suggested prep. First, I took a small dusting brush and brushed the brick. That sounds crazy I know but you wouldn't believe that stuff that lurks in the nooks and crannies on unsealed brick. Next, I took a degreasing agent to it. We recommend TSP but I didn't have any handy so I used Mean Green. Its a cheaper version of Simple Green that I think works just as well and smells much better. I made up a bucket of the cleaner and took my same dusting brush and cleaned the brick well. Since I'm painting the mantle as well, I gave it a good scrubbing in case the prior owners used Pledge. My parent's have lived in this house atleast a dozen years but I don't mess around when it comes to Pledge and paint. I promise you, that little bit of cleaning will prevent so many problems! Don't skimp on this step. You're not sanding, stripping or priming so you're still saving plenty of time.
I'm using a new color of All In One Paint called Colosseum. Its a great taupey-white. It's hard to see the subtle undertones of whites in a picture but its creamy goodness. I didn't want stark white and didn't want to go with a traditional off white because of the yellow undertones. I needed to stick with the brown undertones and Colosseum was just right. This color and a few other new colors from AIO are releasing on 10-24 during our LIVE. Be sure to check it out!
Before I started, I gave my paint a good stir with a stir stick. This is the only other important prep step required. The ingredients in AIO are heavy because of the built ins, so you need to give it a thorough stir for about 2 mins per quart from the bottom up.
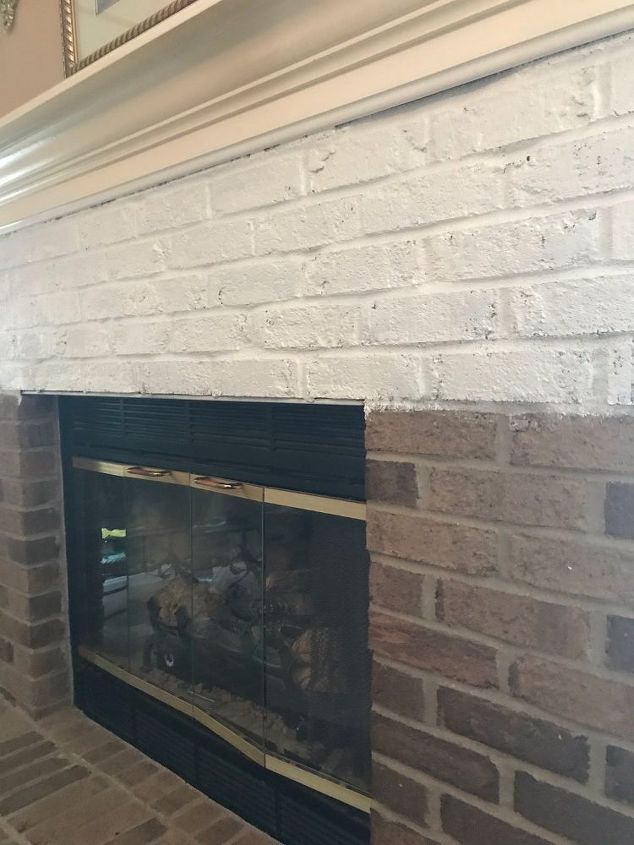
Now, I'm ready to start painting. I'll show you my technique live on the air, but for brick, I put the paint on pretty heavy and worked it into all the little pits in the brick where needed. This photo is after 1 coat. It looked like it was going to cover in 1 coat but the brick quickly soaked up the paint and I had a little showing through so a 2nd coat was needed. If you like the little bits of the under color coming through, you can get it in 1 coat. This paint dries fairly quickly but it dried super quick on this porous brick.
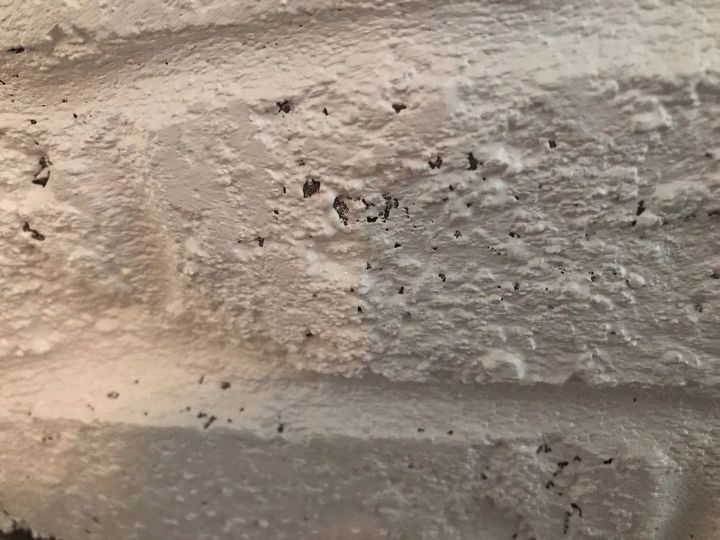
Close up of the nooks and crannies after the first coat dried. Again, you can choose to leave them. I personally liked them and if it was my fireplace, I would've probably left it for character.
Here's a closeup after coat 2. There are some holes in the brick that just wouldn't feel. If you don't like these, you could plug these up with a little dab of caulk, allow it dry and paint over.
I'm using a quart and I maybe used just a little over half. You could likely get away with a pint for your fireplace if you're not playing and repainting like I was.

Now comes the fun part. I get to play with some finishes. Remember, its just paint. If you try something and you don't like it, paint right over it. It's like it never happened.
First, I tried distressing back to the original brick color. It was a little messy looking for me. So a quick swipe of the brush and I was back to Colosseum.
I also played with some dry brushing of another new AIO color called Abbey. Its a beautiful warm gray. I tried it heavy and darker. Again, I like it but I think my mom was loving the plain white. On the live, I'll show you some of the dry brushing techniques using both All In One Paint and Weathered Wood Antiquing Gel so you'll have the tools to play with your finish. Then after the live, I'll paint it back plain white so my mom will love it. That's why I'm her favorite. Who am I kidding? I'm an only child. The odds are stacked in my favor.
We want to help you DIY, so some of the materials in this post are linked to sellers. Just so you know, Hometalk may collect a small share of sales from the links on this page.


Frequently asked questions
Have a question about this project?