Awning Makeover

by
Rob & Courtney M, Hometalk Team
(IC: paid contributor)
4 Materials
$50
2 Hours
Easy
I don’t know about y’all but over here at my house, we are in full spring cleaning mode! I’m so tired of seeing the same gross things that I’ve looked over because of busy-ness or laziness…or whatever excuse I could come up with. We are currently doing an overhaul inside our house, so I finally decided—despite the 35 degree weather we’re still having in New York—I was going to do a little makeover on our awning that hangs over our side door (the one we primarily use). This awning has been hanging since way before we moved in four and a half years ago, but it wasn’t really on my top priority list of things to change up until now; though, there are chips here and there on it from over the years, I think for the money I spent on supplies to give it a facelift, it was worth every penny. It sure beats shelling out $150+ for a brand new one right now!
We want to help you DIY, so some of the materials in this post are linked to sellers. Just so you know, Hometalk may collect a small share of sales from the links on this page.
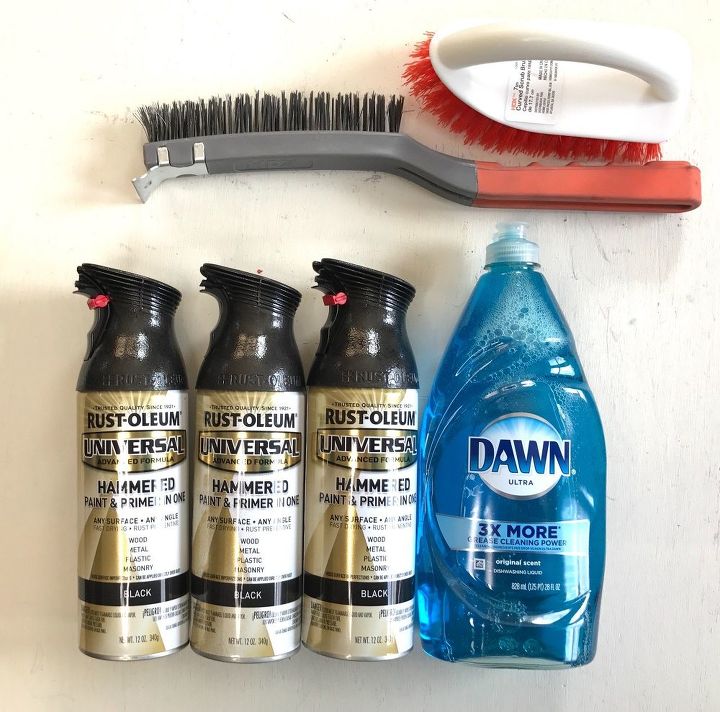
You will need a HDX wire brush (Amazon), HDX scrub brush (this scrub brush really came in handy when cleaning the awning.) (Amazon), Dawn soap (Amazon) and Rustoleum Hammered Paint & Primer in One (Color: Black) (I used about 5 of these, so I was glad I got them at such a good price.)
BEFORE:
Here's is a frontal view of our nasty, disgusting, gross awning before I gave it a facelift. I'm sure everyone will agree it needed some TLC!
Here's a side view of it. I hated all of the flaked paint and how it looked so cheap in general. I wasn't feeling the color of it either and how it matched the house. I thought it needed to match our black shutters instead.
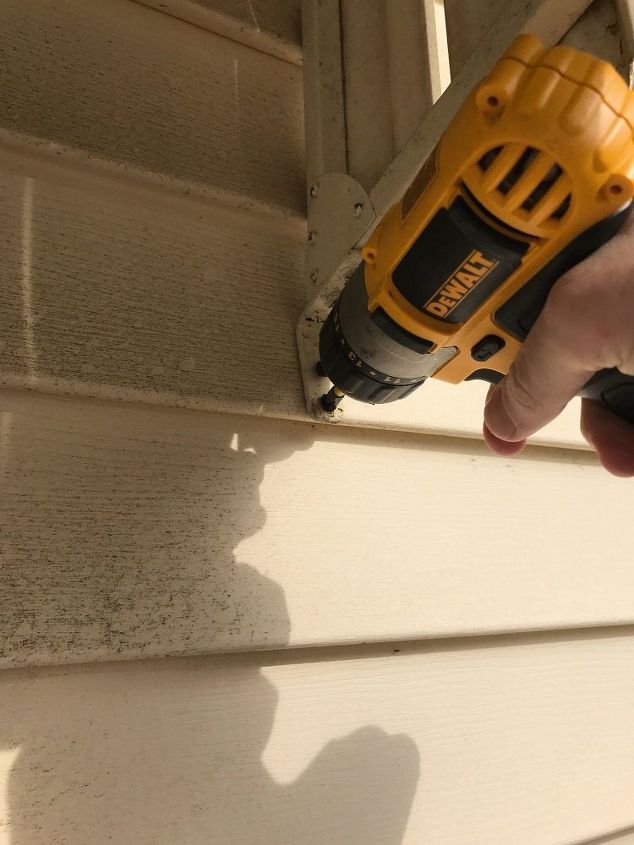
Our awning was attached with screws on the sides and then was slid onto a track across the top, so—depending on how big your door area is (i.e.: porch, stoop, whatever it is your awning is hanging over)—you may need someone's help removing the awning safely. I unscrewed the sides but had Rob slide the awning off and take it down.
Here's a shot a of the awning once it was down. I'm embarrassed to even share this photo but obviously I didn't realize the extent of the nastiness on the top until we removed it and I could see the entire awning. AGAIN...GROSS!
First, I took a big wire brush and scrubbed the living day lights out of both sides of the awning. I underestimated the elbow grease this awning needed when it was hanging up—it was only after Rob took it down that I discovered all of the lichens on the top. It wasn't just chipped paint that needed to be removed! I made sure to get in all the crevices of the awning to get the clumps of dirt and lichens out as well. If you have a pressure washer, I’m sure that would be even better, but we don’t have one and I really didn’t want to bust out the crazy chemicals (paint strippers, etc.), so the wire brush worked nicely. Keep in mind that my awning is plastic! Rob and I never knew that either until he took it down.
Then, I hosed down the awning, washing away all of the gunk I had scrubbed off with the wire brush. I took Dawn soap and a scrub brush and scrubbed both sides of the awning. I thought about scrubbing with bleach or Simple Green but settled on Dawn soap because I read on a few sites that some people simply used a detergent to clean their awning. I let both sides of the awning air dry completely.
It took me at least an hour to clean the awning because I would add the Dawn soap, scrub, then rinse a section at time so that I could ensure it got a good cleaning.
Make sure to purchase a scrub brush with rough bristles (if you don't already have one) to really get the dirt off of the surface. This was a miracle in my books, because it took a lot to get those piece of dirt off.
When you're finished scrubbing, spray the awning off with your water hose and let it dry completely.
After my awning was completely dry, I sprayed 3 light coats of spray paint on each side. I made sure that each coat was dry before applying the next coat. It took me about 5 bottles of spray paint to complete the entire awning, so I'm really happy I got them at such a good price.
I know the awning itself isn’t perfect by any stretch of the imagination, but it’s so much better than it was! We have a laundry list of things that need to be purchased between our supplies for our kitchen/living room reno, décor, furniture and other things, so for now, I’m happy with the facelift our awning received until we can purchase a new one.
Here's a shot from the side--again, so much better than it was!
Enjoyed the project?
Suggested materials:
- HDX wire brush (Amazon)
- HDX scrub brush (Amazon)
- Dawn soap (Amazon)
- Rustoleum Hammered Paint & Primer in One (Amazon)
Published March 6th, 2017 4:29 PM
Comments
Join the conversation
2 of 203 comments
-
 Beth
on Oct 30, 2018
Good job! And I applaud your hard work on cleaning it. Sometimes a little elbow grease makes all the difference on how a house looks. I see so many homes that would look great if people just kept them up! Seems we live in a "throw away" society, and forget that we can care for and keep things, and they are perfectly fine if we do! I think awnings look good on homes, and tying it into the shutter and railing color was a great idea.
-
-














Frequently asked questions
Have a question about this project?
Did you add some wrought iron hand railings on each side of the stairs also? Very nice job.
Looks great but why didn't you centre it over the door?
You said your awning was plastic....why did u not use their spray for plastic ?