


DIY -Decorative Hanging Flower Design With Wooden Pots.

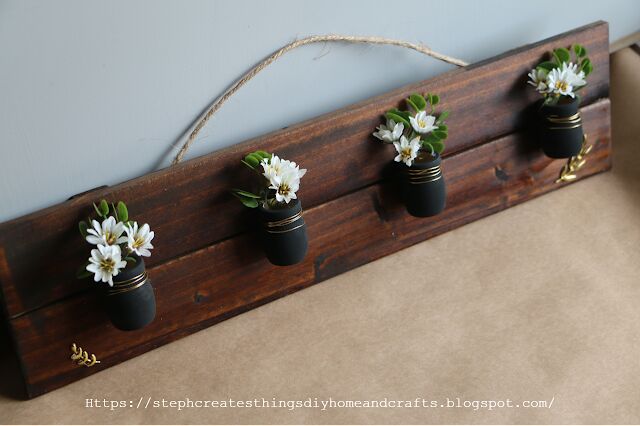
Create this simple, beautiful hanging flower design. For this project, we are using wooden candle cups, and transforming them into mini pots, and wrapping them in gold wire. Come along, and create this with me! 
Hi everyone! I'm so happy that you decided to stop by. Today we are creating a decorative hanging design. This decorative hanging design is beautiful when finished, and it only takes just a few materials. I took a little break from creating, and during my break, I came up with this DIY project. I hope that you enjoy this one, just as much as I do!
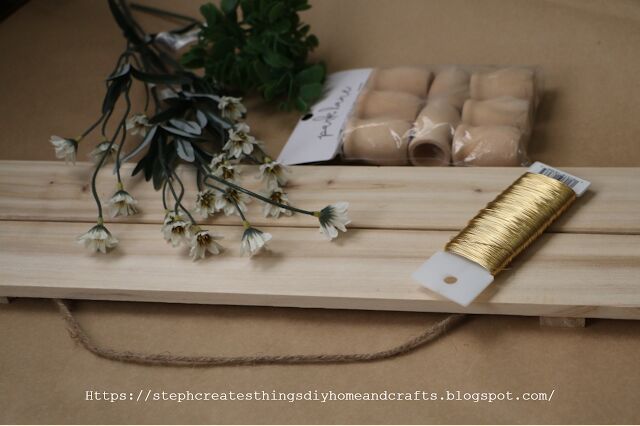
Start off with gathering all of your materials.
Materials needed for this project
One blank wooden hanging sign 5 x 20 -Original price $6.99. I paid $5.49 and Purchased it at Michaels
Wood stain (I'm using the color honey)
Four Wood Candle cups (I decided to use these as my mini pots)- I picked these up at my local Joann craft store. The original price is $7.49, but it was discounted, and I paid $4.00 It is an 8 pack
Black paint
Flowers- Wild daisies.- Purchased at Michaels for 2.40 after my discount. The original price is $2.99
Greenery - Using this from another craft
Gold wire- I purchased this some time back at my local Joann craft store
You will need hot glue, and scissors, a foam brush, and a paintbrush.
Gold stickers **optional** -I purchased my gold stickers at my local Joann craft store. They are thicker stickers.
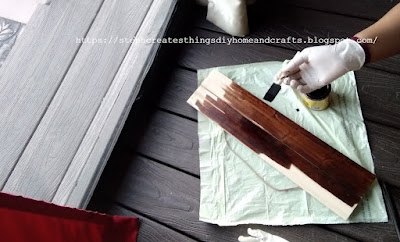
Start off with staining your wood sign. Take your foam brush, and wood stain and apply them to your wooden sign. I ended up adding two coats of stain on the front, sides, and back of my wooden sign. Set this aside and allow it to dry. I allowed the wood to dry overnight.
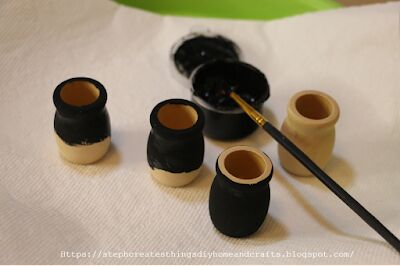
Next, take your wooden candle cups, and apply paint. Apply paint to completely cover the cup. Be sure to paint the top surface of your cup. I applied two coats of black paint onto my four cups.
Once you have completed the last step, set your wooden cups aside, and allow them to dry.
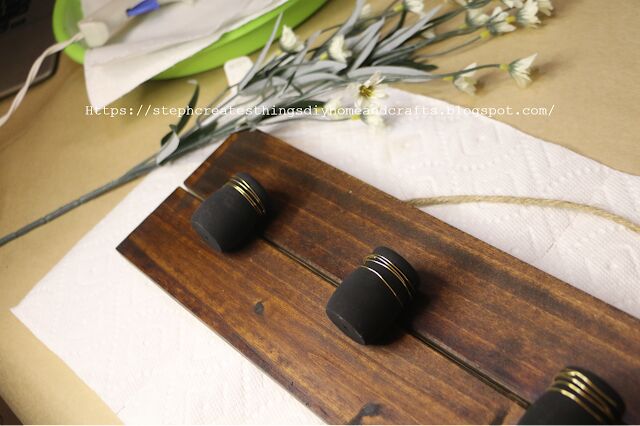
Now it is time to take your gold wire, and cut them. For this, you will want to cut one section of the wire for each cup. You should end up with four strands of gold wire. Begin to wrap your wires around each of the wooden cups. I wrapped the top section of my wooden cups.
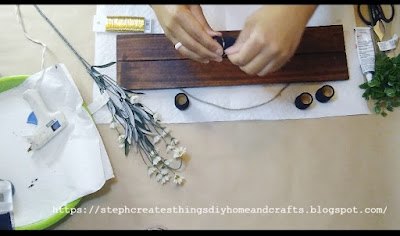
Once you have added your gold wire to each cup, you can now add your wooden cups to your wooden sign. Take some hot glue, add some hot glue on the back side of each cup, and add your cup to your wooden sign.
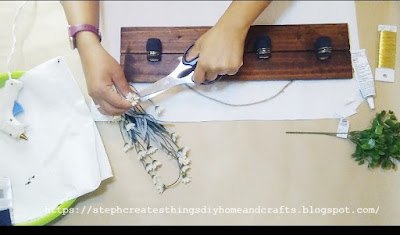
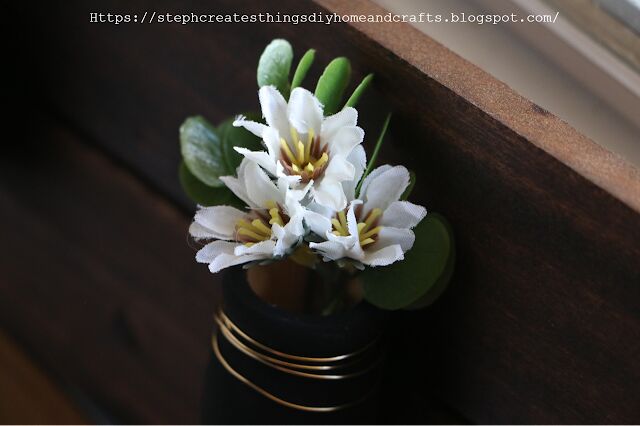
You're ready to start adding in your flowers, and greenery. Take your scissors, and cut both your flowers and greenery. Make sure that when you insert them into your wooden cup you can still see some of the stems on both. If you can no longer see the stem, then chances are your flowers are too short. And since the cup is not real deep, you want to make sure that you don't do that.
When adding in my flowers, I went ahead and added some hot glue on the back side of each flower and the greenery. I noticed this helped keep the flowers in place, and there were no worries about any of the flowers, or greenery falling out of the cup. I had some gold leaf stickers that I decided to add to my wooden board. This is completely optional, but I love how the gold looks against the honey color.
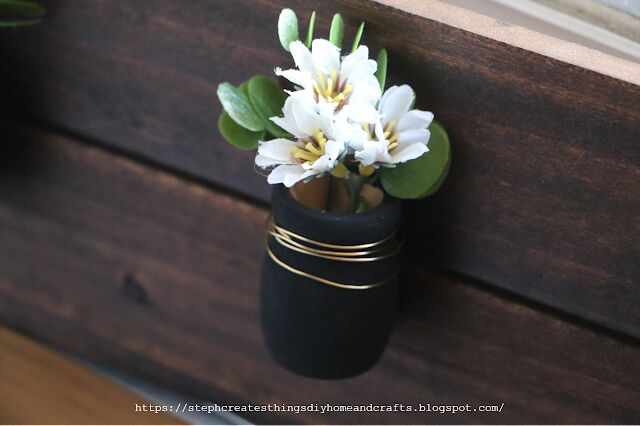

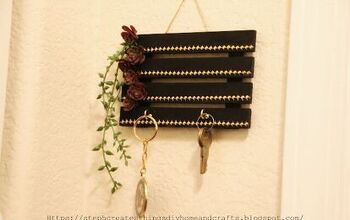
That's it, you are all done! All that is left is to hang your beautiful design. I hope that you have enjoyed this simple DIY hands-on project. Let me know in the comments below if you'll be creating your very own. Thank you so much for stopping by.
Comments
Join the conversation
-
What an adorable idea. Simple to do. Great for Christmas gifts.
-
Not a question really, just would liked to have seen this project hung on a wall. Just to get the full impact, very nice jobBTW.


Frequently asked questions
Have a question about this project?