


DIY Nursery Wall Decor on a Budget

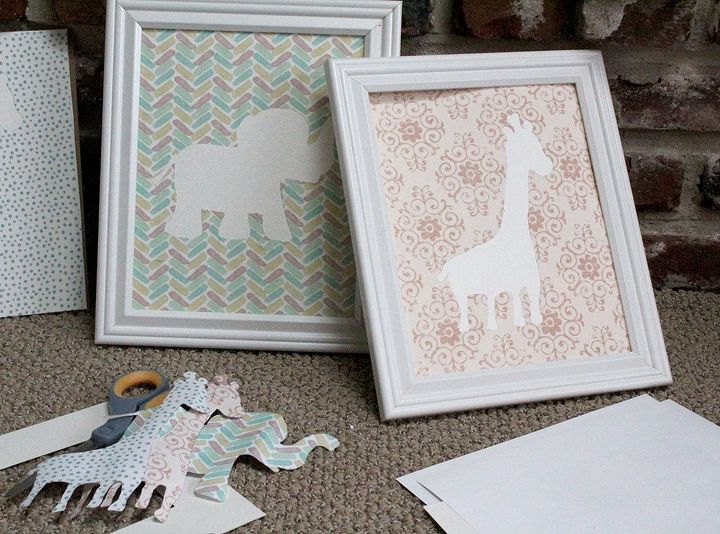
If you are looking to save money while decorating your kids' rooms, here's a great solution: make your own wall art! This easy tutorial will show you how, with just a few items, you can make these adorable baby animal textured prints that are perfect for any nursery. It's the perfect way to save money without compromising quality! Anyone can do this DIY (seriously!) - the hardest part is using an X-acto knife. Read on to find out all the details.
I started by printing and cutting out the animal templates. These templates are available for free - https://www.justmeasuringup.com/nursery-wall-art/.
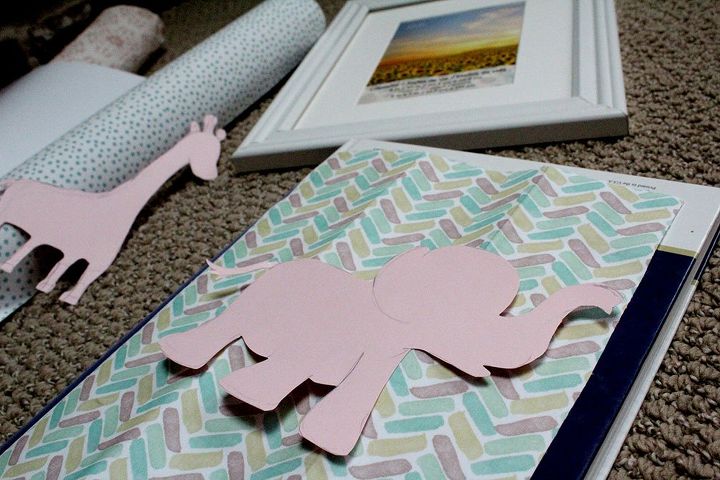
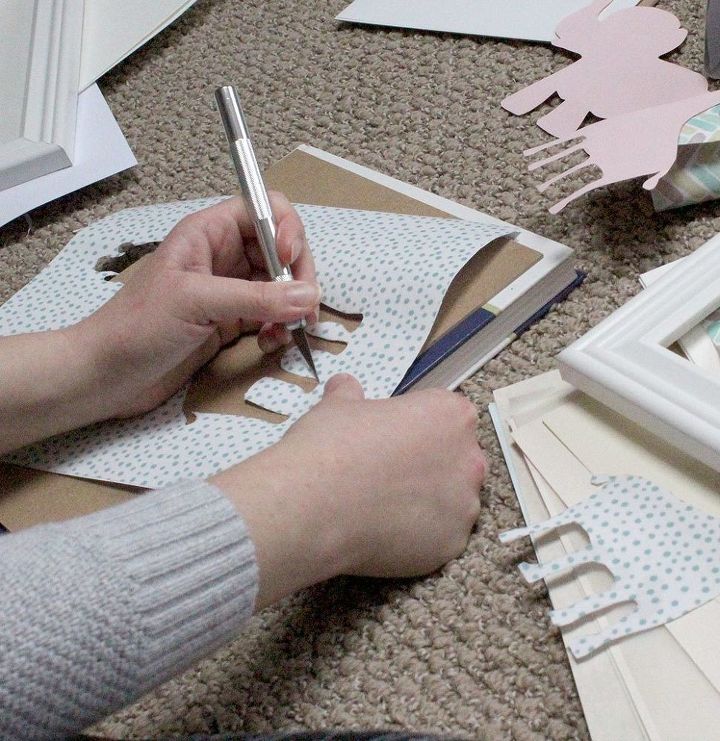
After printing the animals, it's time to cut them out. First cut the animals from the original printout. Then, you'll want to carefully cut out the shape from the paper (or adhesive fabric) you'll be displaying in the frame.
I cut out the animals using the X-acto knife. This was much cleaner than using a pair of scissors.
Once everything is cut out, it's time to adhere the fabric onto the background paper and carefully pull to remove any bubbling or wrinkles.
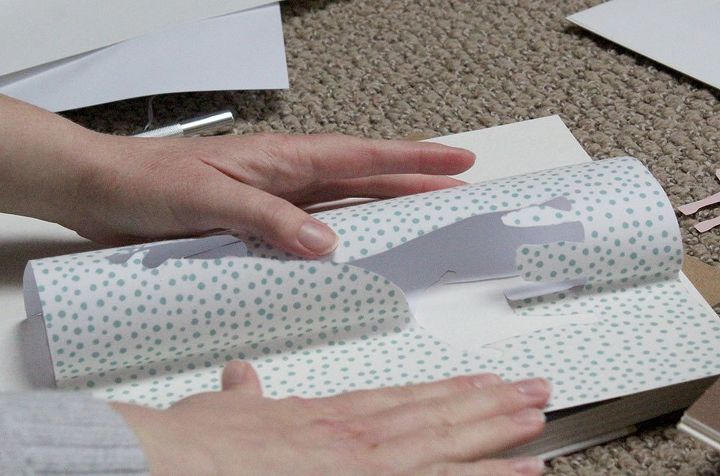
Trim the background paper, if necessary, so that everything looks neat and it fits in the frame you are using.

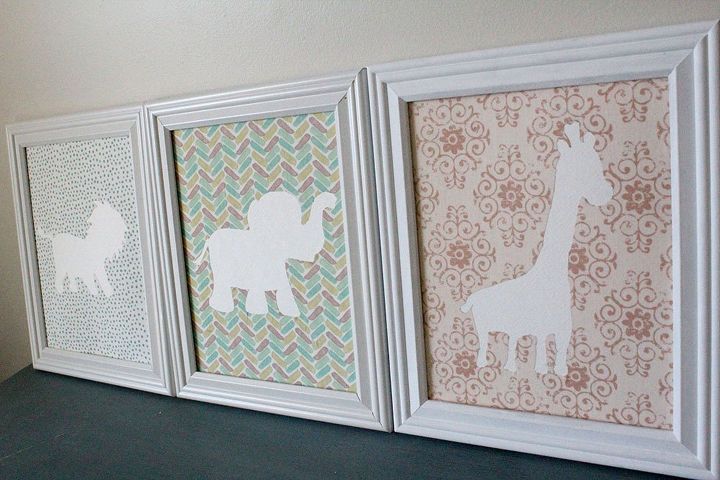
All that's left to do is frame, hang, and enjoy!
Resources for this project:
See all materials


Comments
Join the conversation
-
Very cute! I've used the baby announcement, tried the 3d of objects in it and then framed. Usually big hit

-
What a simple but adorable project. I think I will make these for new Grandbaby. I will use the shapes that were cut out of the printed papers instead of the white ones, just put them on contrasting patterns. Thank you for this great idea!


Frequently asked questions
Have a question about this project?