


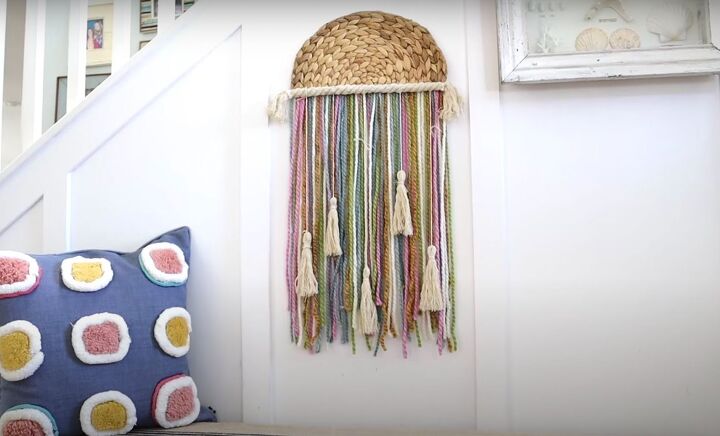
Here's How to Make Gorgeous Boho Rainbow Wall Decor
Today we are going to create a beautiful and unique piece of boho rainbow decor that will add a pop of color and texture to any room.
This easy DIY tutorial will guide you through the process step-by-step to make a DIY yarn tapestry to proudly display on your wall.
This post was transcribed by a member of the Hometalk editorial team from the original HometalkTV episode.
This placemat craft is easy to make and only requires a few simple and easily accessible materials. So grab what you need and let's unleash your artistic side while we make this gorgeous DIY yarn wall hanging.
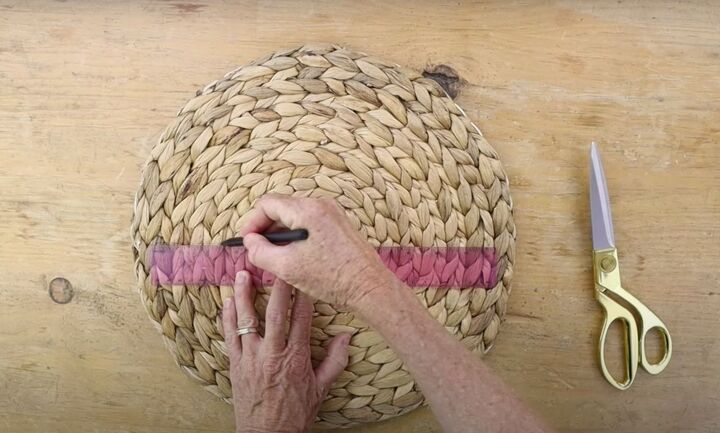
1. Measure and cut your woven placemat
Start your boho wall décor by marking the center point of the placemat.
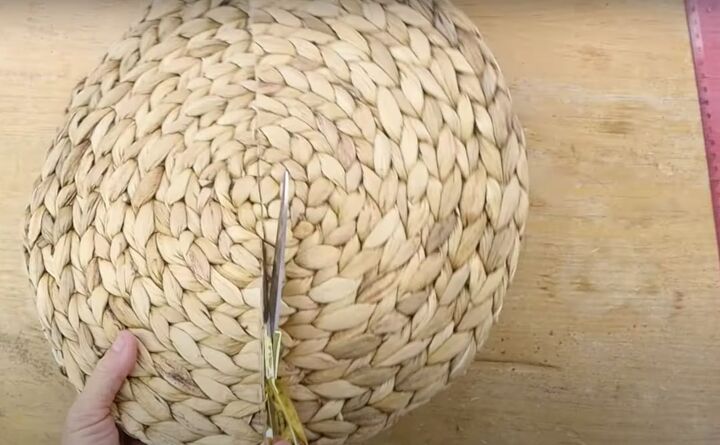
Cut along the line, so you have two halves. You're only going to need one half of the placemat for this DIY project, so you can save the other half for another home decor craft.
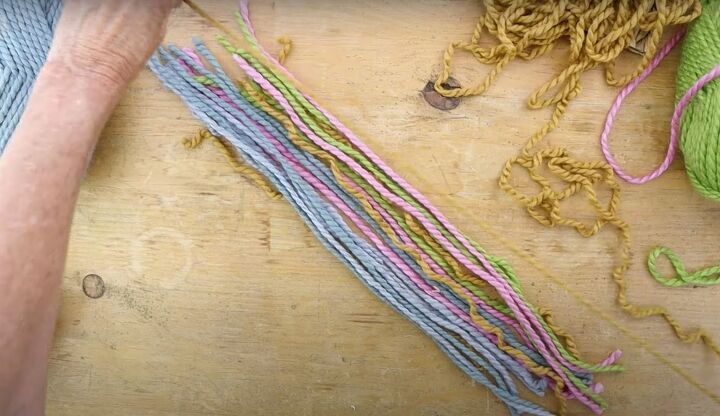
2. Measure and cut your yarn
Next, I took some colorful yarn and cut it into 2 foot lengths. You don't want it to be perfectly two feet, it's okay to aim for imperfection as it adds to the carefree spirit of the boho aesthetic. So, make your bottom pieces varying lengths for a more authentic-looking boho wall decor.
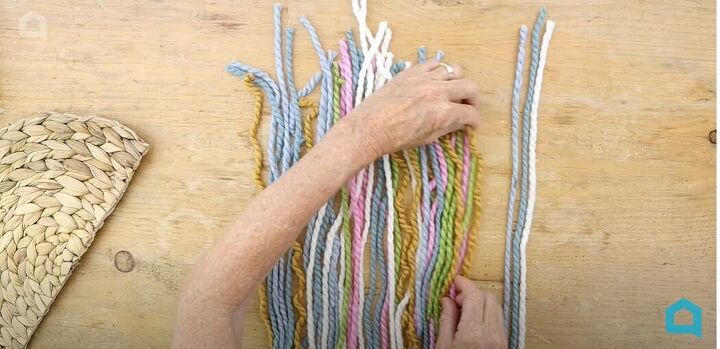
You are going to line the pieces of yarn up, mixing the colors until you have a row that is the same length as the width of your placemat.
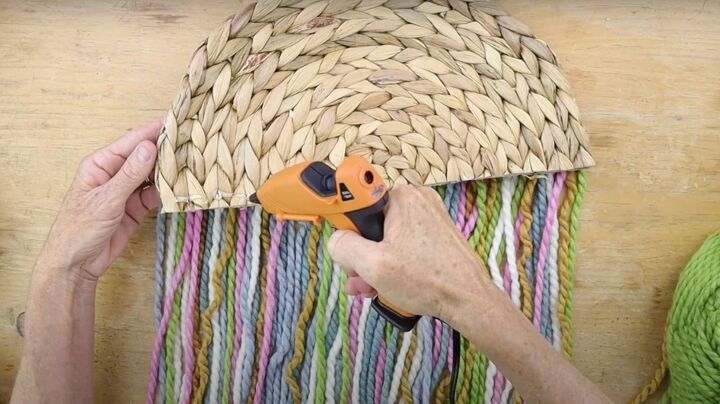
3. Glue the yarn to the placemat
Once I had enough pieces of yarn, I was ready to attach it to the placemat. I added some hot glue along the bottom edge of the half circle and then flipped it over and attached it to the top portion of my yarn strands.
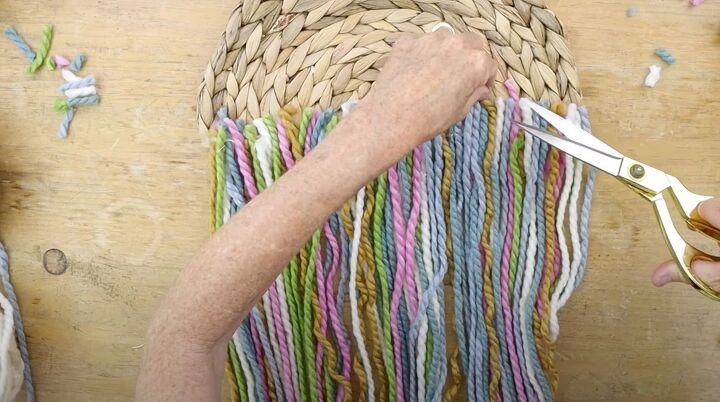
4. Cut the excess yarn
Once the glue was dry, I flipped the DIY boho wall hanging over and trimmed any excess yarn at the top to give it a neat appearance. You could also add ribbon over the yarn at the top for a more polished look but this isn't necessary as no one will see the back of your wall art.

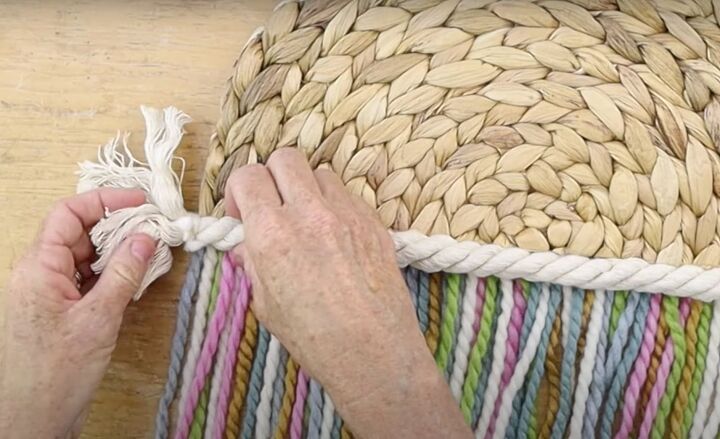
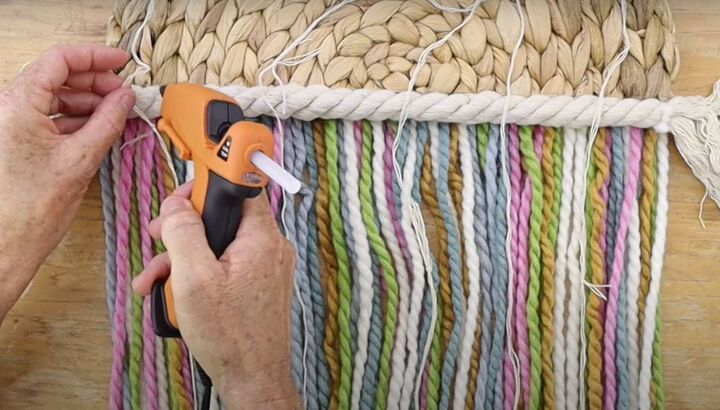
5. Attach cotton rope
Next, I took some white cotton rope and cut it to a length that was approximately an inch and a half longer than the width of my placemat.
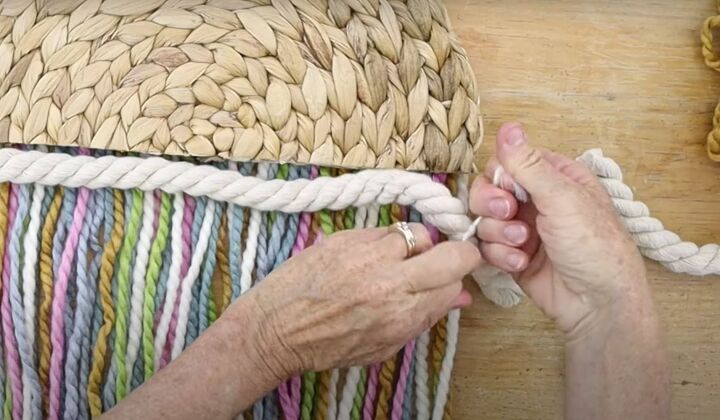
Then I cut 2 pieces of white yarn, about two inches in length, and tied one piece around each end of the rope about where the placemat ends.
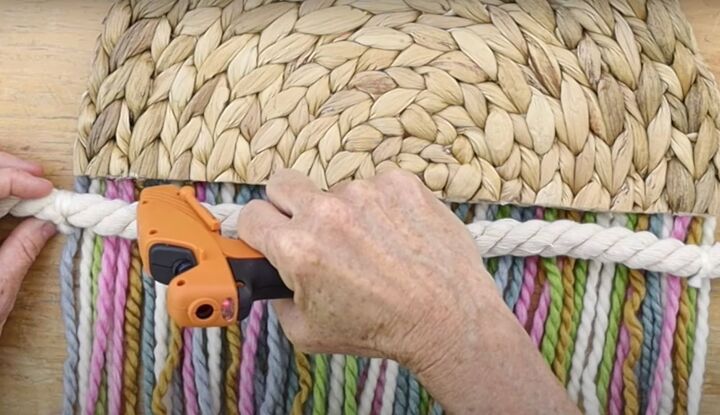
With the rope tied off, I glued it in place along the raw edge of the placemat. I applied the glue in small sections to ensure that it didn't dry too quickly and gave me sufficient time to properly place the rope.
6. Add tassels at the ends of the rope
Once the glue was dry, I unraveled the ends of the rope to create little tassels on either side. You can use your fingers or a comb to fluff out the rope and make nice, full tassels.
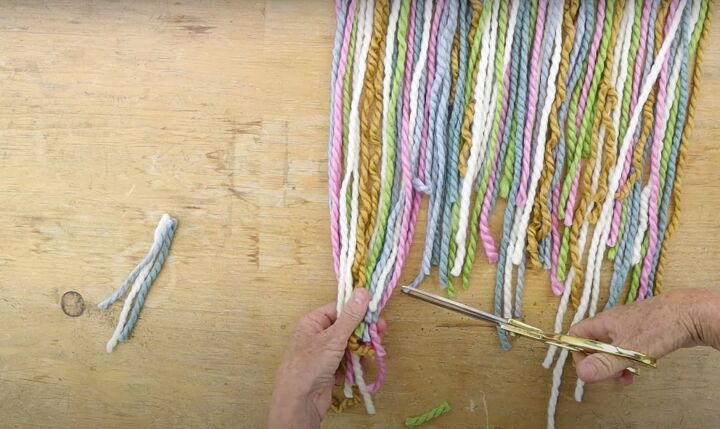
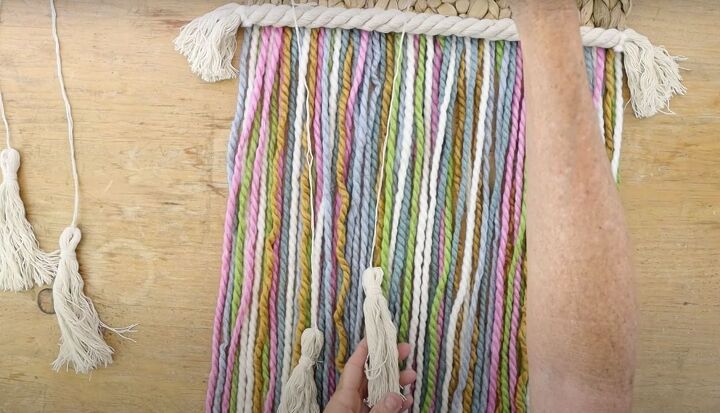
7. Trim the yarn at the bottom of the boho rainbow wall decor
Next, I gave the bottom of my wool hanging art a trim. The goal was to achieve an organic look rather than a straight line. Make sure to cut some of the pieces to different lengths, adding more depth to your project.
8. Make tassels for the bottom of the colorful boho wall decor
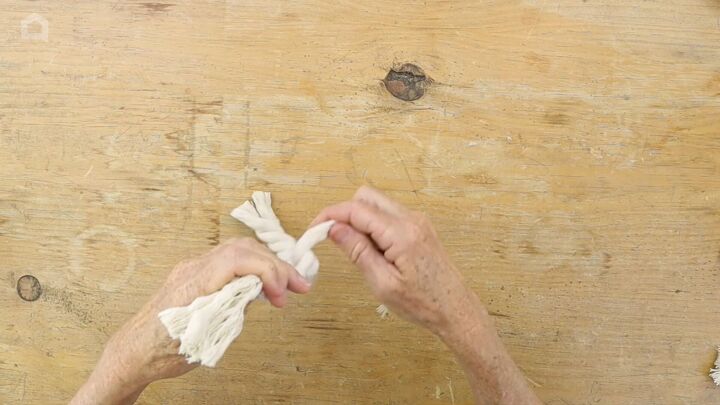
I decided to enhance the appearance of the wall hanging with more tassels. I cut a 10-inch piece of the cotton rope and divided it into three sections
I did this until I had five sections.
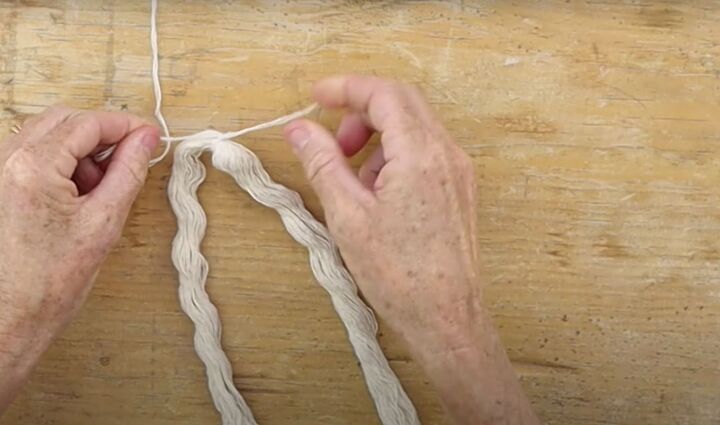
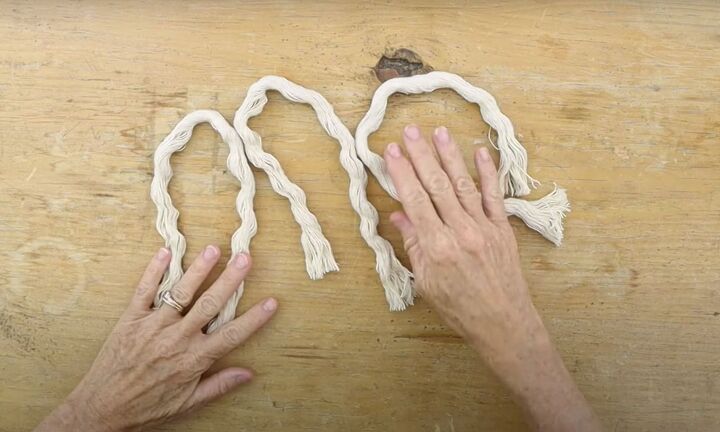
I took one of the five sections and folded it in half, then I threaded a few strands of yarn through the fold. I tied it in place to create the hanging mechanism for the tassel. I repeated this process with the rest of the sections.

Then I wrapped yarn around each section about an inch down from the top and tied it off. Trim off the excess yarn from the knot.
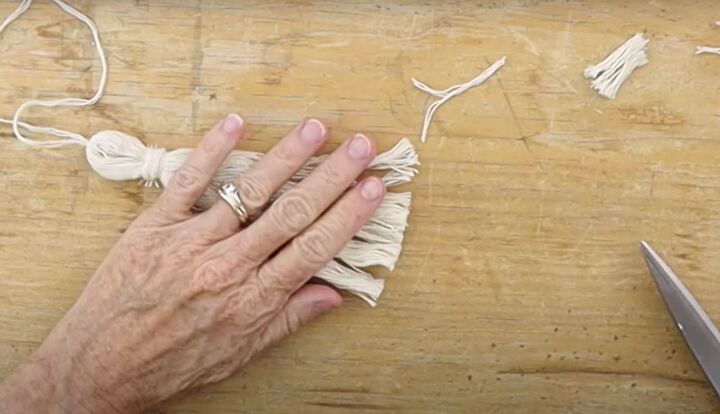
When I had all five made, I used my fingers to pull apart some of the strings and then trimmed up the edges. I also shook them out to fluff them up.
9. Attach the tassels to the bottom of the DIY wall hanging
Next, I arranged the tassels on my boho wall hanging, placing them in spots that I felt would look appealing. To add more visual interest, I staggered their placement rather than placing them in a straight line.
Finally, I took my glue gun and attached each one to the top, right along the cotton cord. Don't worry about the excess pieces of string at the top, you can cut those off when you’re done.
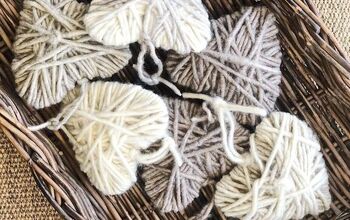
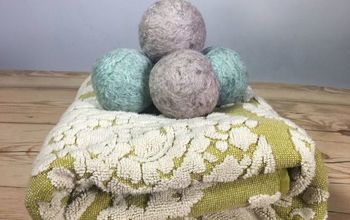
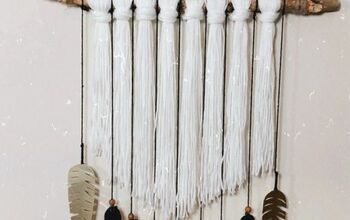
More Boho projects
Boho rainbow decor tutorial
And there you have it! Beautiful and one-of-a-kind Boho rainbow decor that will bring a touch of color and charm to any room. Not only is the project simple to create, but it can also be personalized to suit your individual taste. You can choose different colors of yarn to match your decor or use different textures to add even more interest.
So go ahead and display your new creation with pride and please share how your project went in the comments below!
Resources for this project:
See all materials


Comments
Join the conversation
-
This is great! I’m seeing these in many decor stores. Can’t wait to try one. Thanks for sharing!
-
I love Boho anything and this is so colorful. I have a small wall that this will look great on. Thanks for this idea.


Frequently asked questions
Have a question about this project?
What did you use to cut the placemat in half. It looks really thick and would be difficult to cut and get a nice clean cut.