


Easy Steps to Change Gallery Wall for Christmas | Before & After

Does the idea of changing your gallery wall for Christmas seem intimidating?
Worry no more.
I take you through some easy steps to change your existing gallery wall to bring the holiday spirit of Christmas into your home.
Especially when decorating my home.
Decorating for Christmas automatically puts a smile on my face.
How about you?
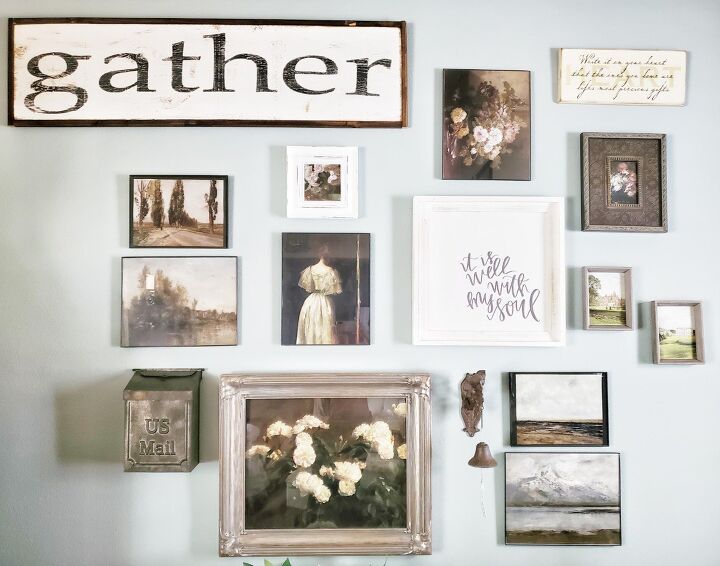
This year, I decided to tackle giving my gallery wall and change it over for Christmas.
In this tutorial, I will share a tip (step 3) that I learned that helped make the whole process a breeze.
- Scissors
My number one source for getting inexpensive prints is from Etsy.
I will link where I found my prints, here.
There are so many to choose from, it can be overwhelming.
Picking a theme can help narrow down what to look for.
- Norman Rockwell
- Reindeer
- Sleigh Rides in the Snow
- Santa Claus
- Poinsettia (red or white) floral prints
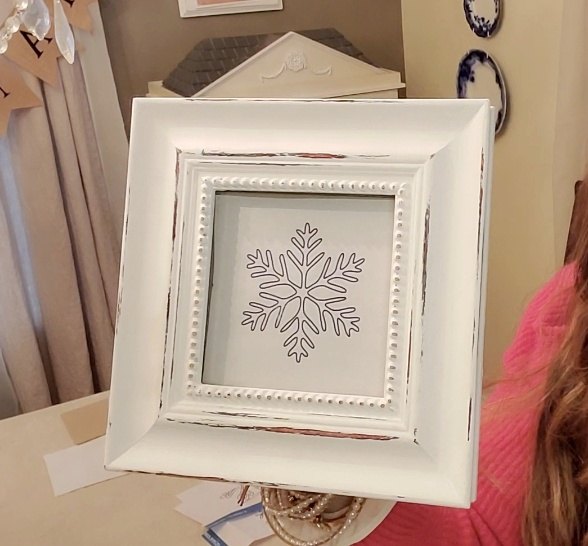
- Snow flakes
- Victorian home in the snow
- Thomas Kinkade
- Vintage family around the Christmas tree, to name a few.
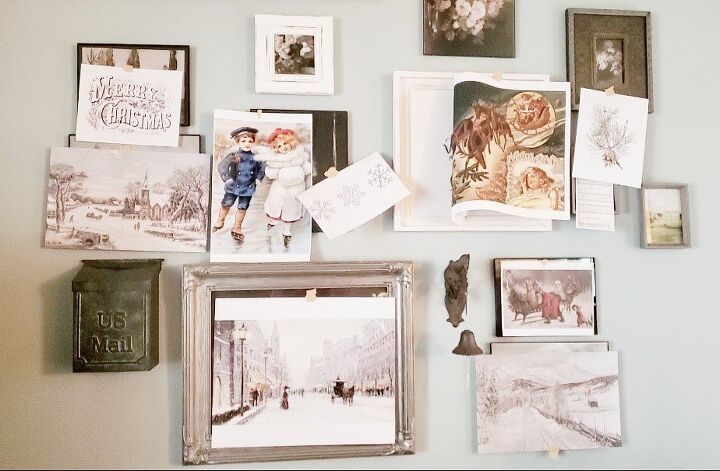
There are two quick ways to plan out the placement of your prints.
- Place all the prints on the floor and figure out where you want them.
- Tape them onto the frames temporarily. Note: don’t use really sticky tape cause it can ruin the edge of the print. Ask me how I know.
I think #2 helps with visualizing how it will look when finished.
Both ways will work.
To keep this project from getting overwhelming, only take down one frame at a time.
You will know where it goes once you change out the print.
It makes the process so much easier!
I actually got this project done in less than 40 minutes.
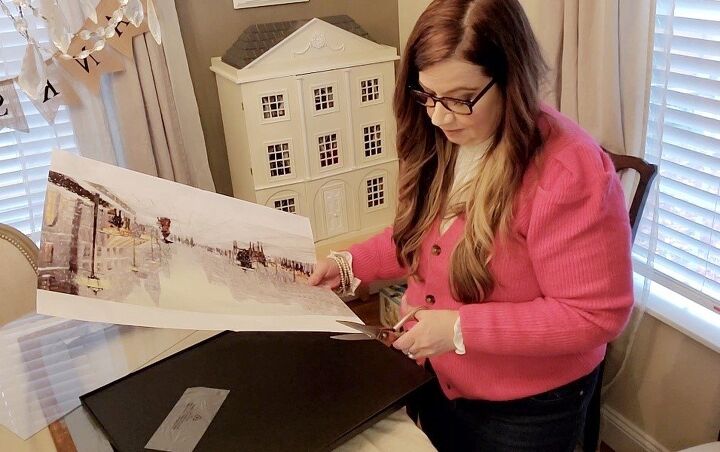
The only thing you’ll need are a pair of scissors.
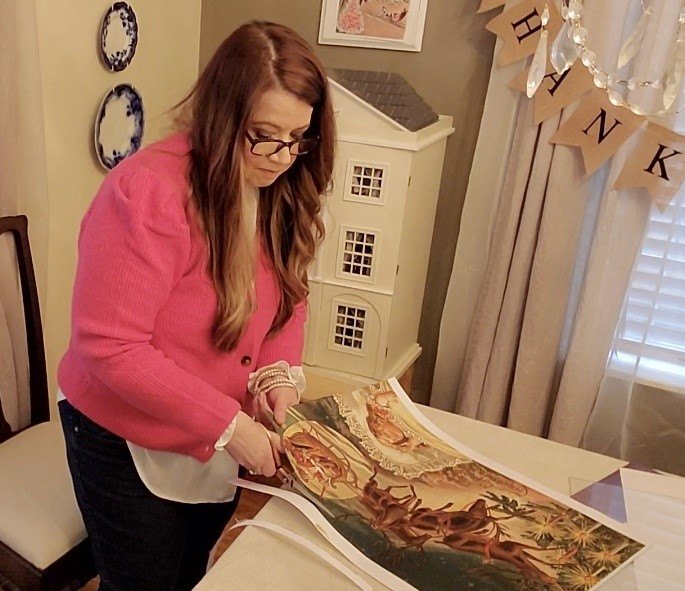
You may need to cut your print to fit into the frame.
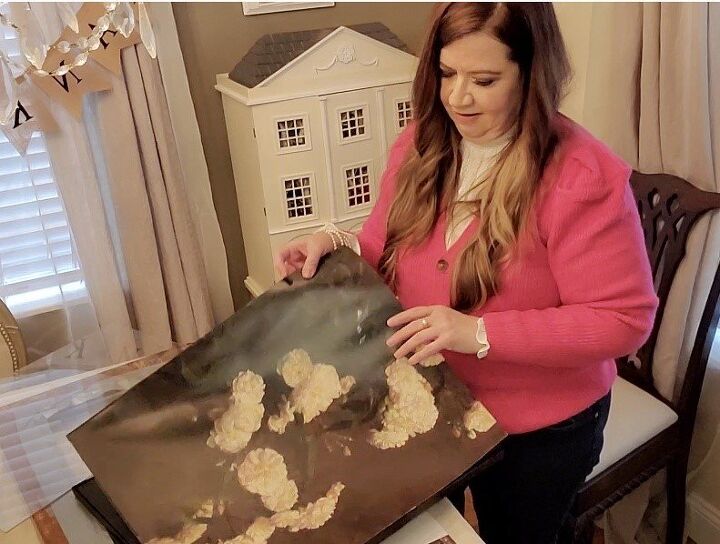
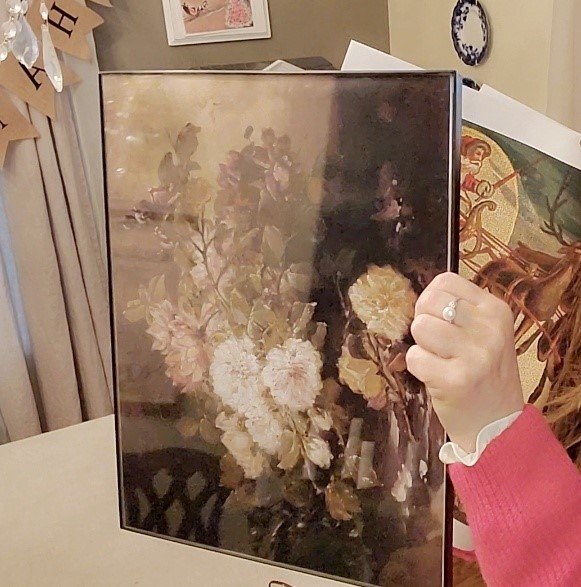
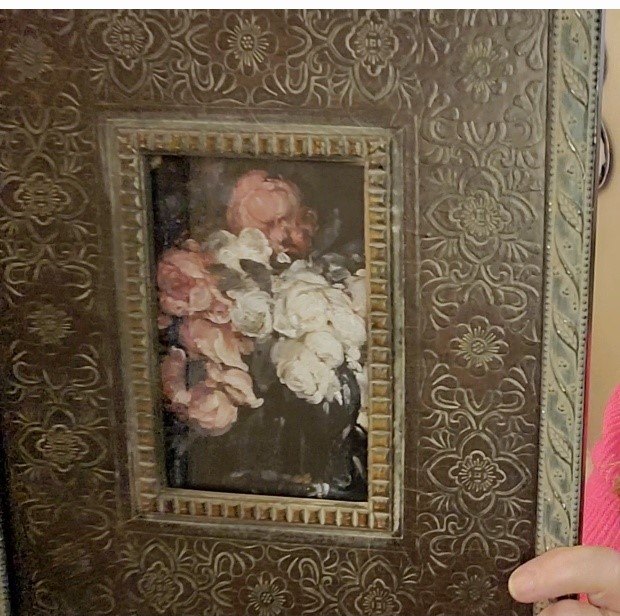
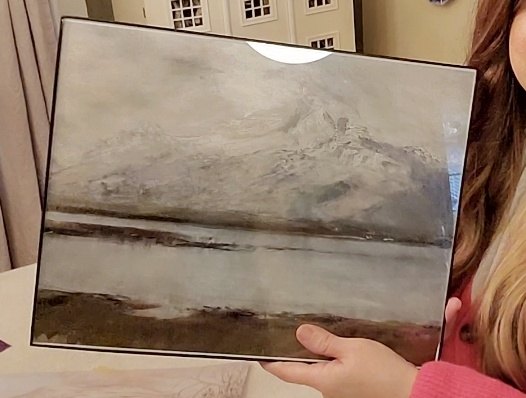
Depending on your frame, you’ll need to pop out the old print.
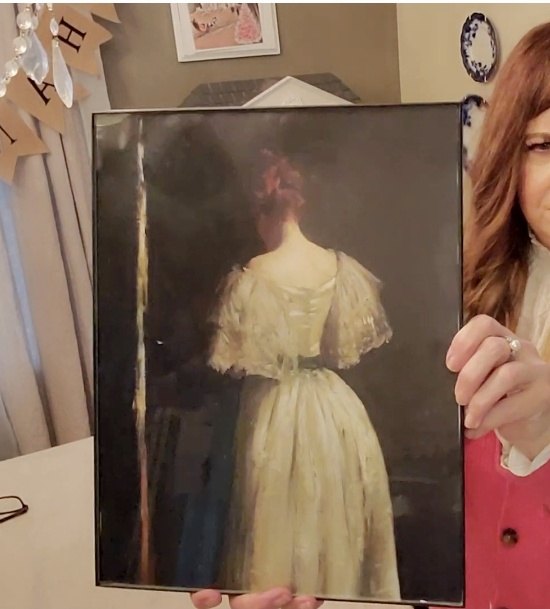
For this frame, I had placed a simple black frame into this ornate frame and secured the back with duct tape.
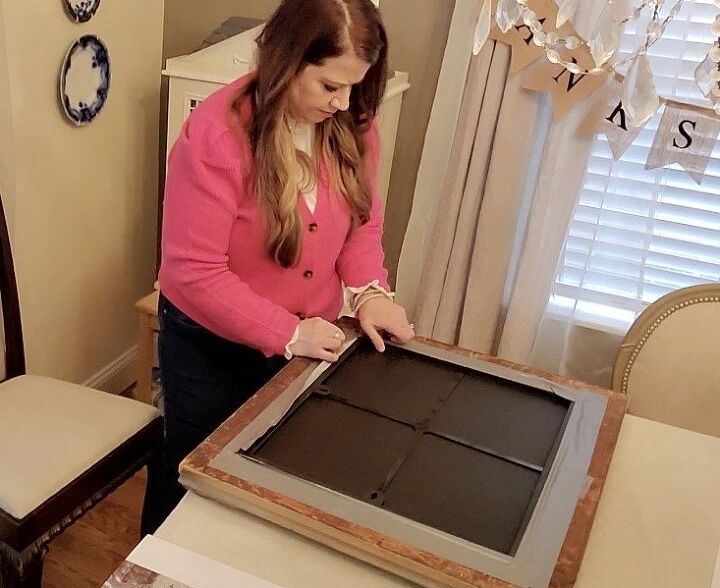
Once I removed the black frame, I popped open the front glass.
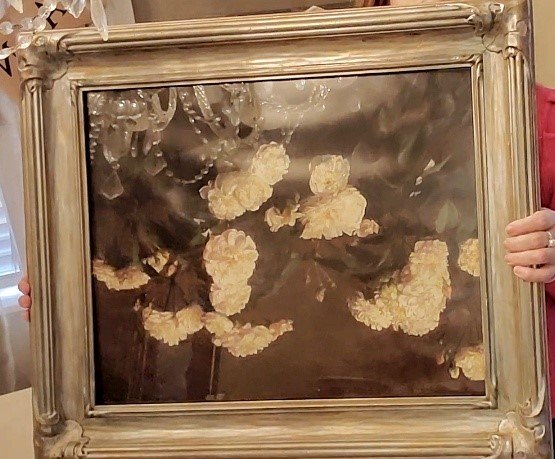
I pulled out the old print.
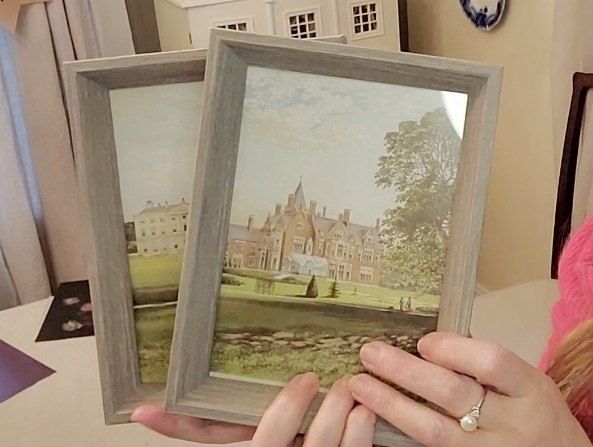
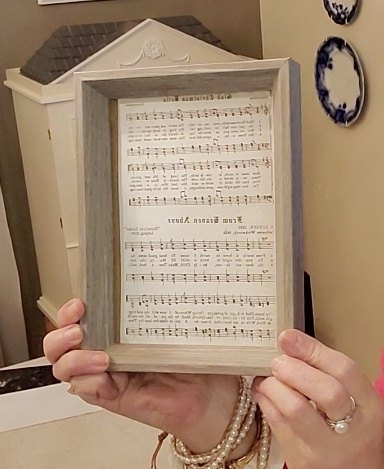
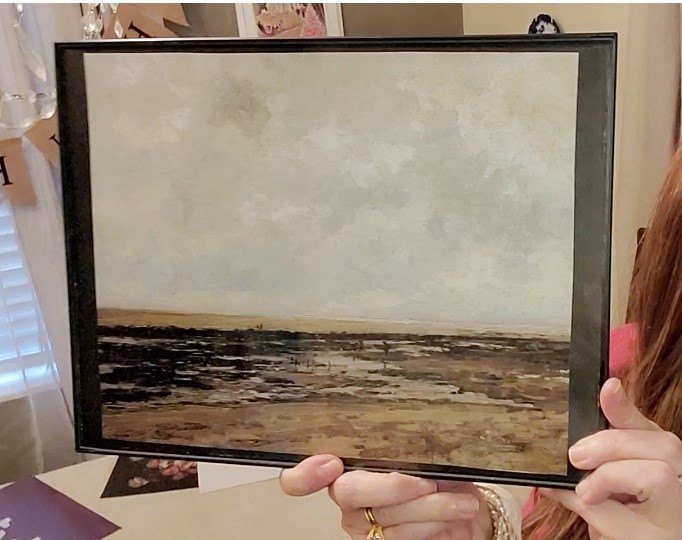
As I took out my prints, I collected them all together and rolled them up with a rubber band placed in the middle to secure them to use later.
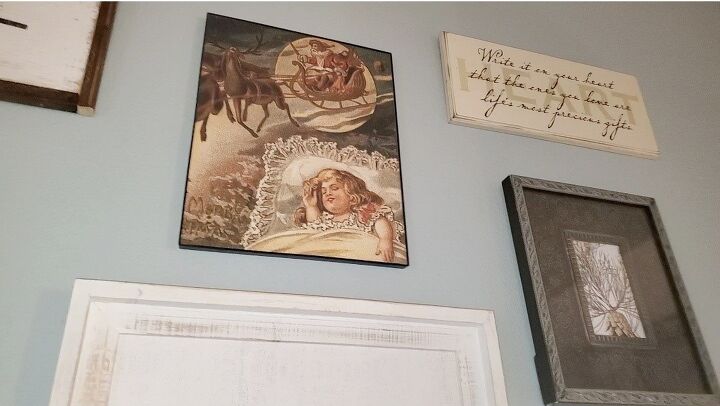
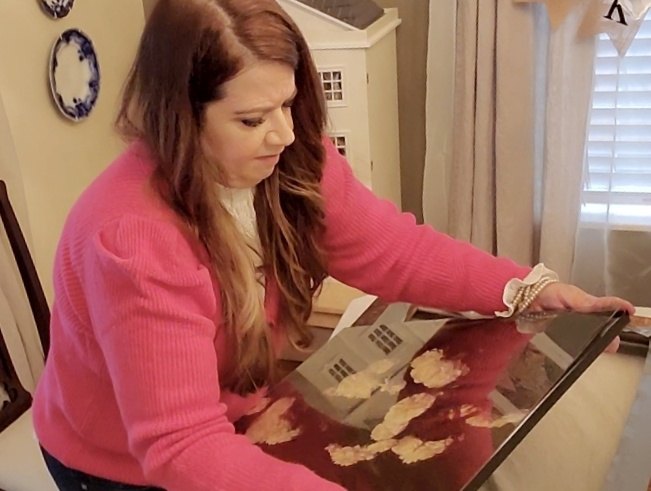
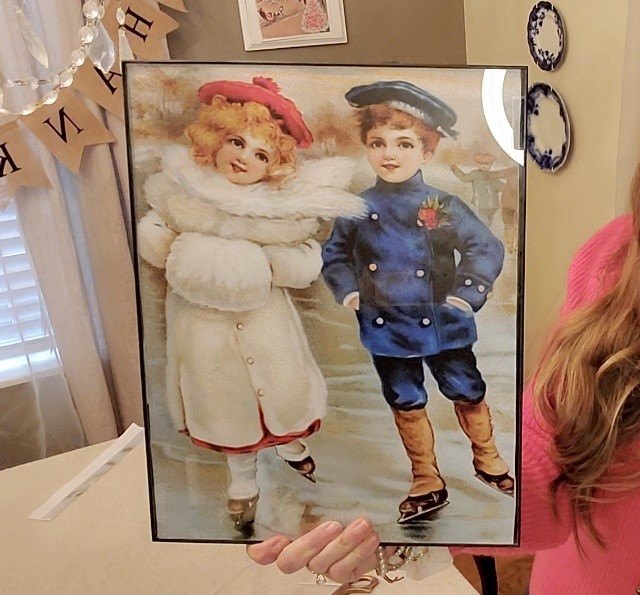
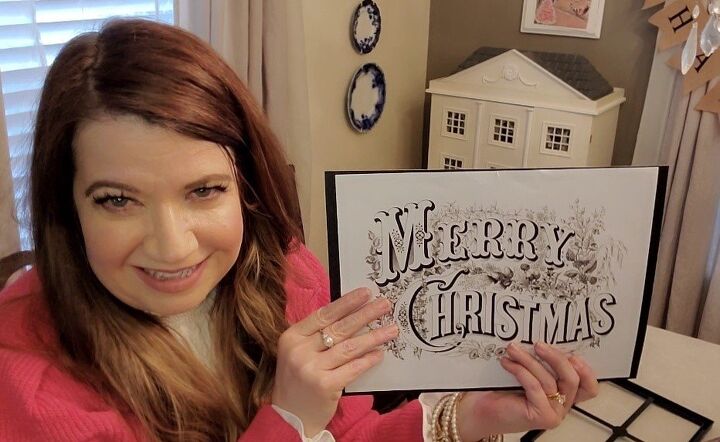
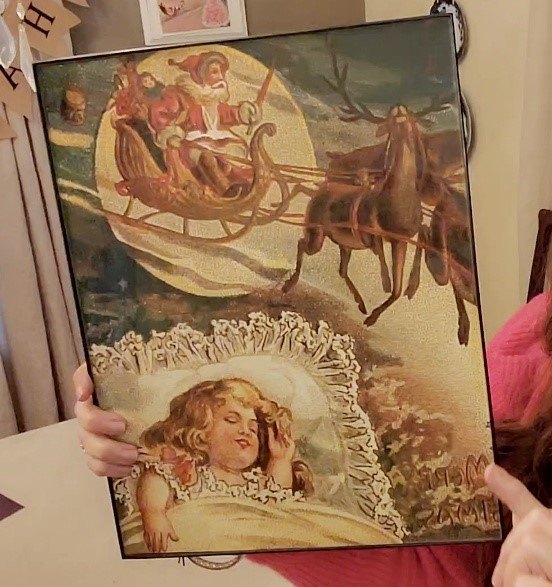
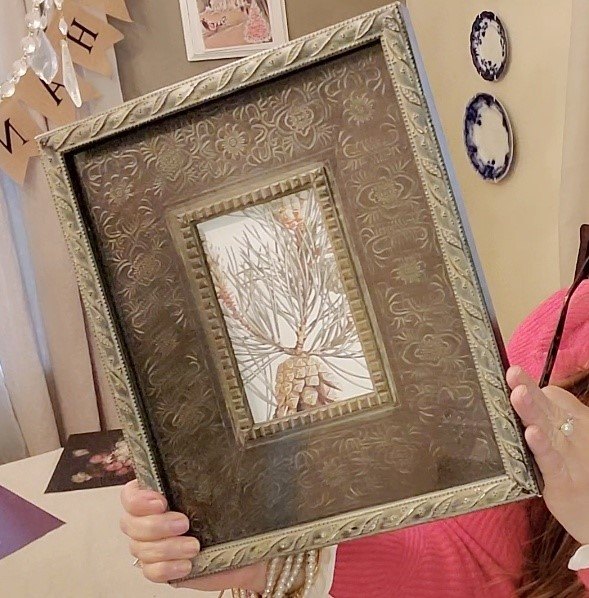
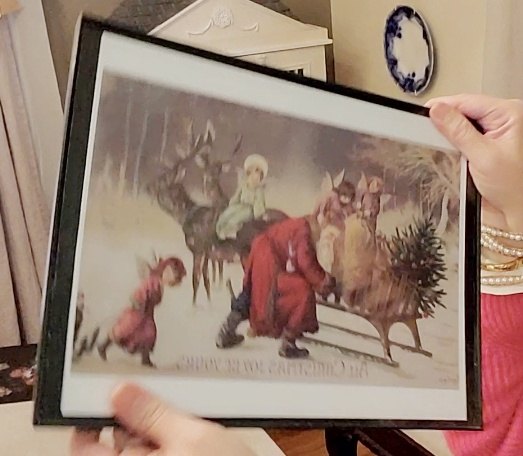
Place the new Christmas print into the frame.
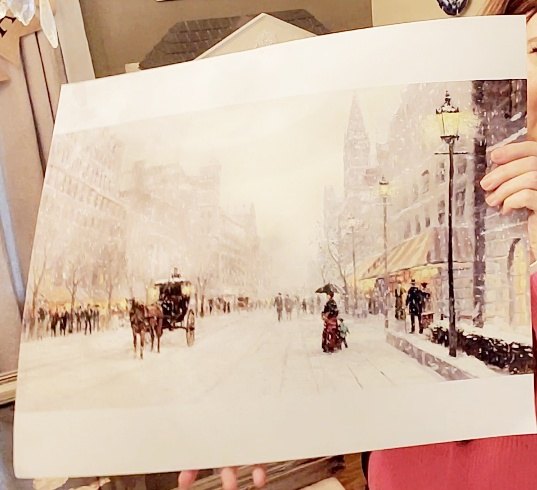
If it doesn’t fit, cut the print with your scissors. Like the photo below.
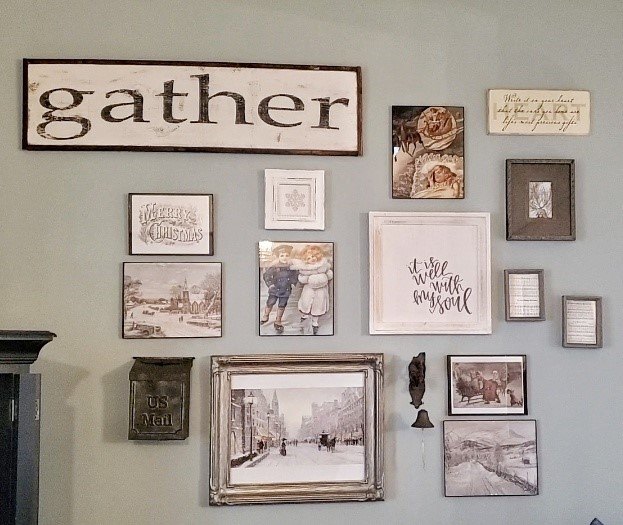
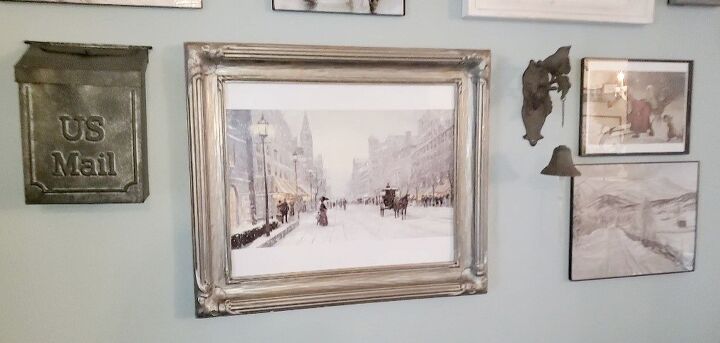
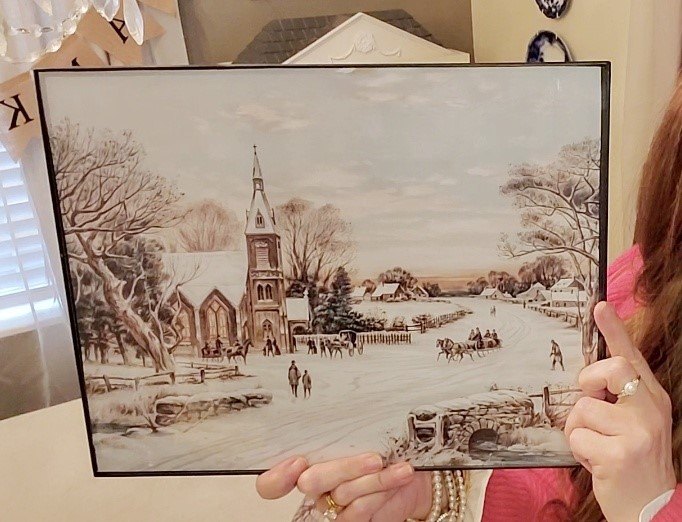
Doing this process of changing the frames one at a time made this a simple makeover.
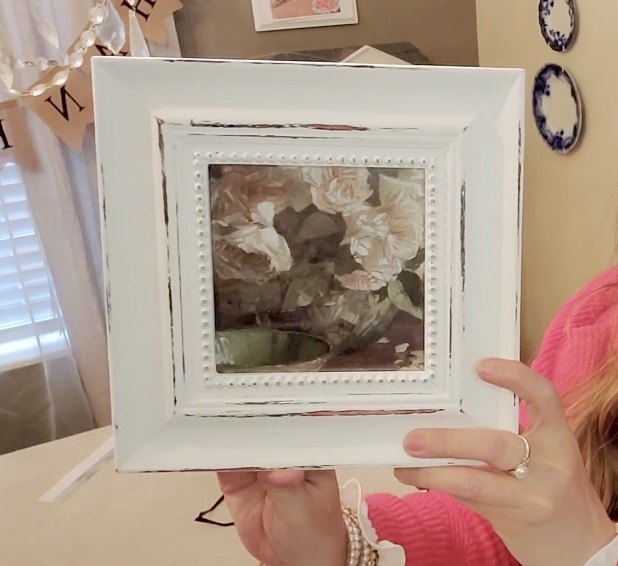
I hung this frame back onto the wall.
I love how it turned out!
Repeat steps 3 to 7 for each frame.
Some of the frames may have different backing.
Some have prongs or latches.
Here is a YouTube video where I show you changing my gallery wall for Christmas.

I hope you enjoyed this tutorial of how to change over your gallery wall for Christmas.
Wishing you a wonderful Christmas season.
There is so much to be grateful for this year.
One being family.
Have a blessed time with those you love.
Until next time.
Bye for now.
Here is another post with a DIY of a Christmas wreath made with dictionary pages.


Frequently asked questions
Have a question about this project?