


Halloween Pumpkin Shadowbox
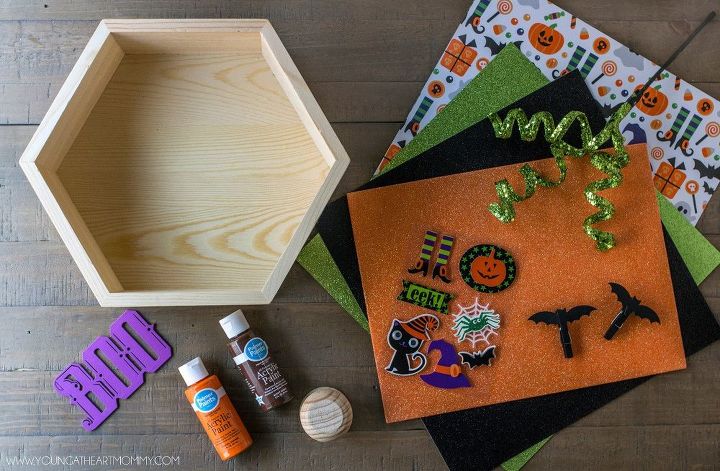
10 Materials
Medium
Here is an easy way to transition your home decor into the fall season. Transform a wooden shadowbox into a fun and festive pumpkin that displays your favorite Halloween memories. No carving necessary!
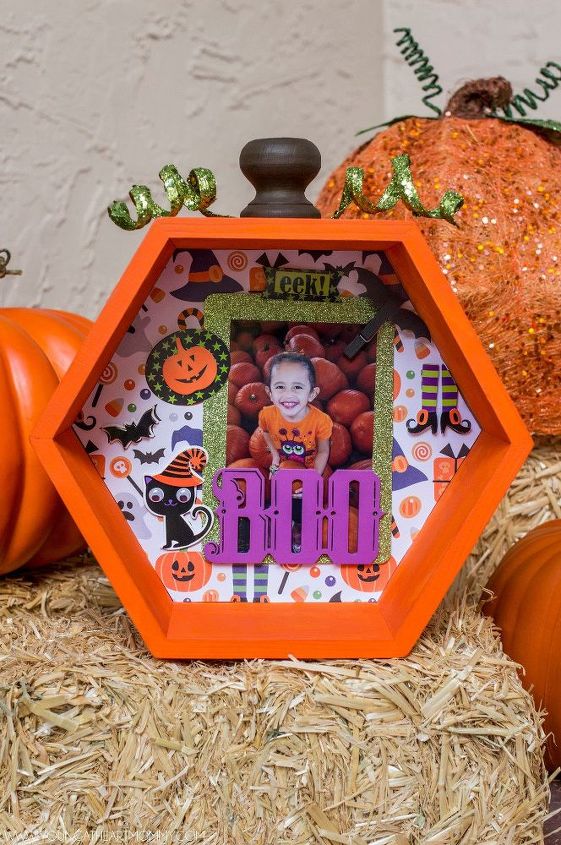
Ready to a get a little crafty? Here is step by step tutorial on how to turn a boring wooden shadowbox into a whimsical pumpkin frame!
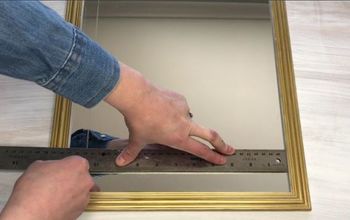
Begin by cutting out the piece of paper that will act as a background for your shadowbox frame. Take a pencil and a sheet of wax paper. Lay the paper flat on the shadowbox opening and push towards the middle so you are covering the area inside. Use your fingers to push the wax paper flat so it fills all the edges and crevices. You are basically using this as a mold.
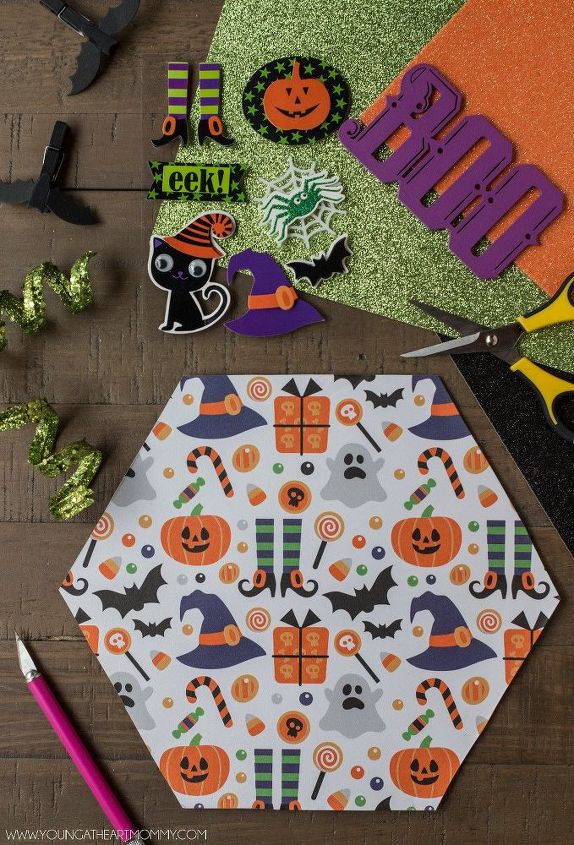
Once you have a tight fit, take the pencil and trace the inside surface area. Take your time and try to be as accurate as possible. Use scissors or an X-Acto knife (LOVE this nifty tool) and cut out the template. Trace the outline onto the scrapbook paper. Once cut and trimmed, place to the side. I did the decorating later!

Protect your work surface with newspaper or a plastic tablecloth. Paint the wooden doorknob with brown acrylic paint. Allow to dry and add a second coat. Wash and rinse your brush thoroughly before moving onto the shadowbox.
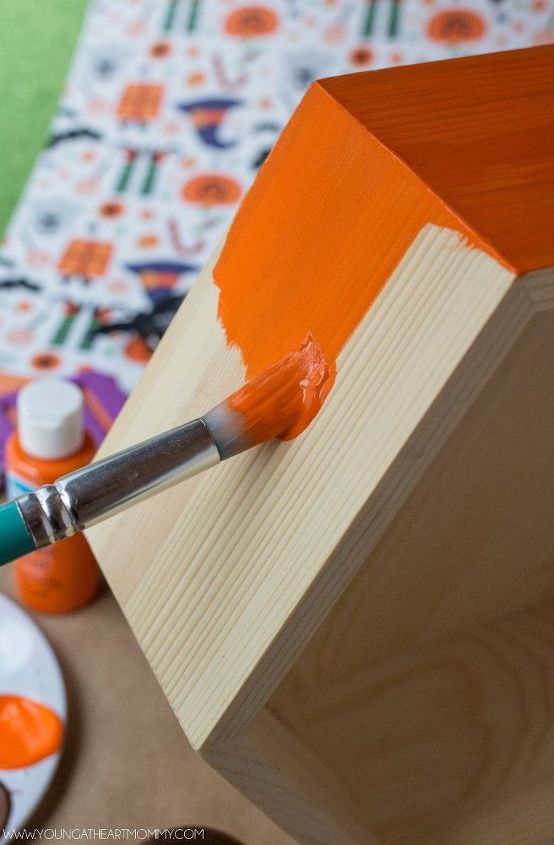
Paint the entire shadowbox orange, excluding the inner center. Since this area will be covered with paper later on, it’s not necessary. Make sure to get all of the edges and corners. Two to three coats of paint will help you achieve a vibrant orange that resembles a pumpkin. While I prefer the matte look, you can always add a layer of Mod Podge to the outside for a glossy finish.
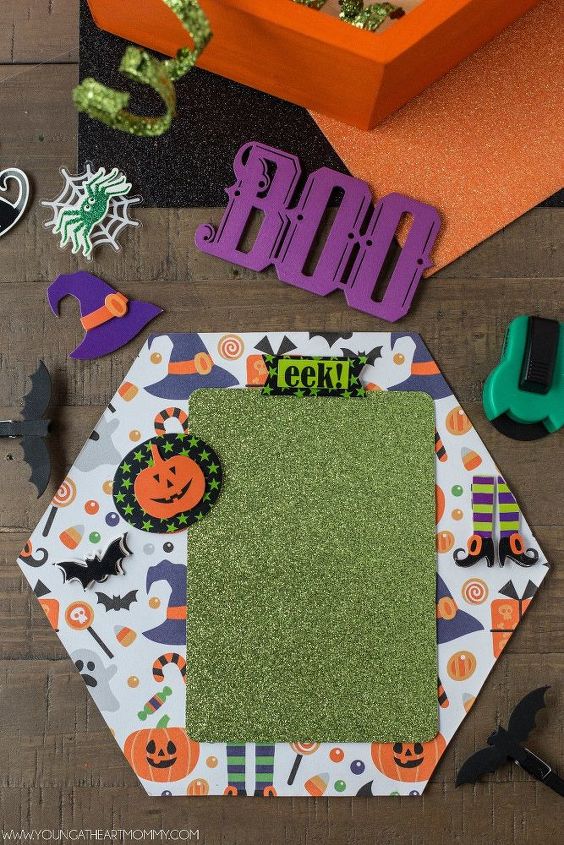
While the shadowbox is drying, decorate the paper insert. Use glittered paper or foam sheets to cut out a rectangle a little larger than a standard 4×6 photo. Since I take the majority of my snapshots vertically, this influenced the way I chose to design the layout. I rounded the corners and attached the piece of card stock to the Halloween paper using a hot glue gun. The themed paper I chose for this project also had matching stickers so I added a few of those for a 3D look.
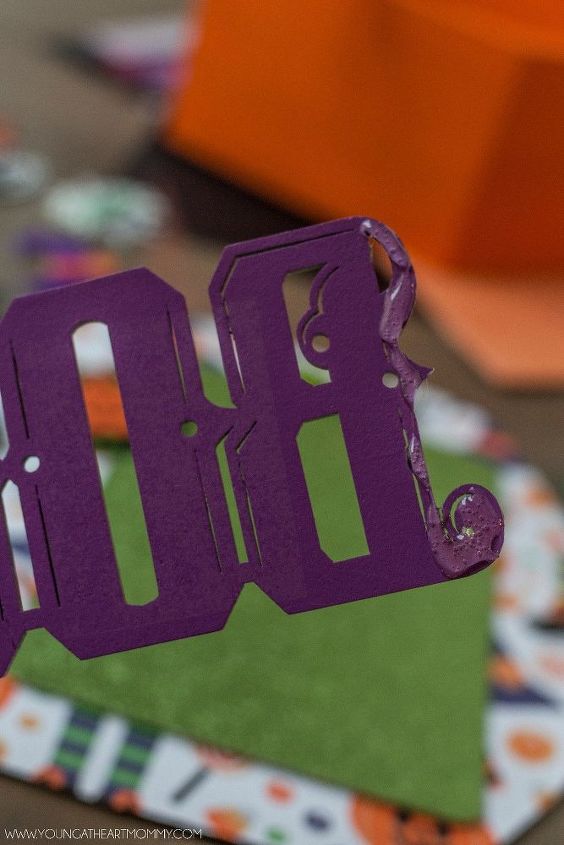
The way in which you design the template is completely up to you. I found this wooden BOO sign at the craft store and thought it would be a fun way to incorporate a pop of color. It also happened to be a close to perfect size for holding the photo in place. By adding a generous amount of hot glue to just the two side edges of the sign, I secured it to the bottom portion of the card stock.
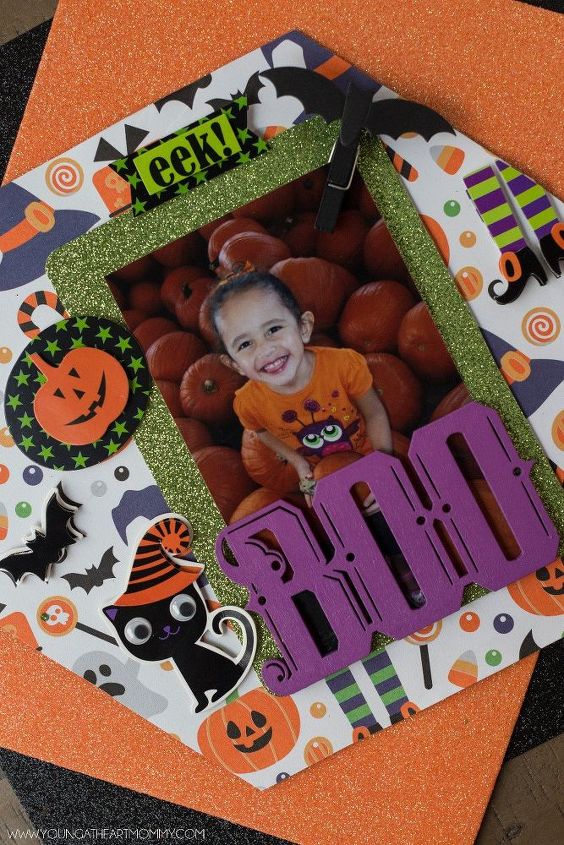
After trimming the photo a tiny bit on each side, it slid right down inside of the sign. If you cannot locate a similar wooden tag or would rather take the easy route, find a spooky clothespin to hold the photo in place. Either way, you want to be able to change out the picture without ruining any of the decorations. Once you are finished decorating, pop the sheet into your shadowbox. It should fit nice and snug as is but adding glue to the back is always an option if needed.
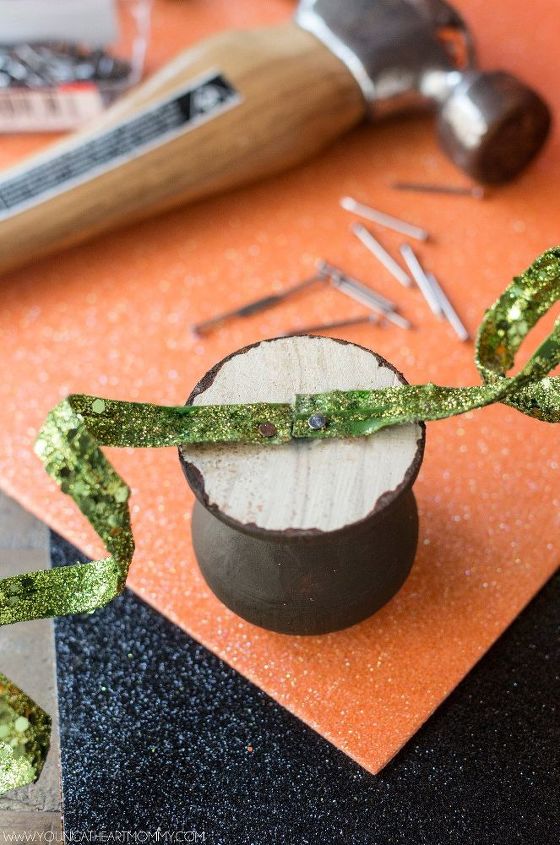
By now the doorknob should be dry. Use scissors to clip two curled pieces from the glittered spray. Flip the painted knob over and attach the edges in the center, horizontally. I do not recommend using a hot glue gun for this step because it will not hold due to the spray having a plastic foundation. Two small nails, one in each side, will hold it into place. Just make sure they go straight through and be careful not to crack the wood during the process.
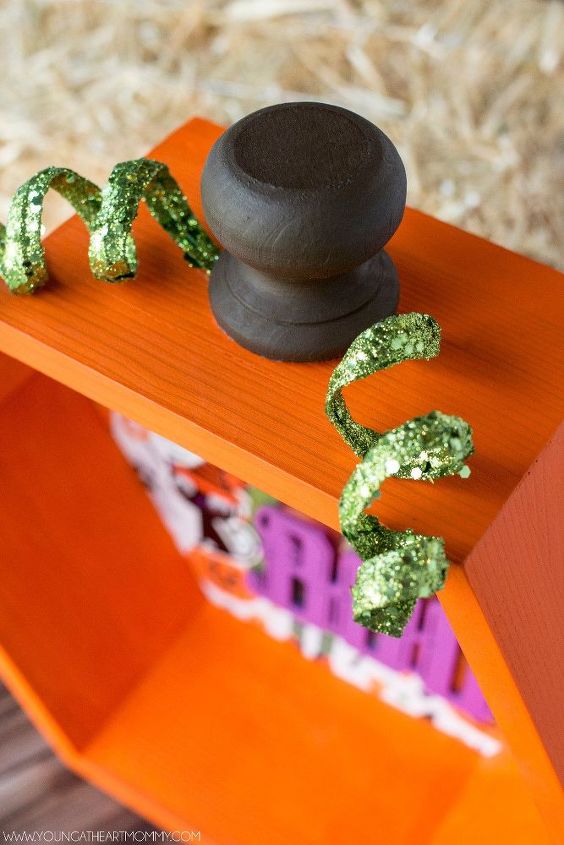
Most knobs come with a screw insert on the very bottom. You can use this to attach it to the top of the pumpkin. An alternative method would be to adhere with the hot glue or wood glue.

Want more details about this and other DIY projects? Check out my blog post!
Comments
Join the conversation
4 comments
-
So cute! Great for any holiday.
-
This is so darling!


Frequently asked questions
Have a question about this project?