


How to Build a Large Canvas for Painting?
I have this huge empty wall in my home that is sort of a focus wall of the living area. I wanted a big art piece here that would grab anybody’s attention who walks into this area. Also, the daylight here is amazing, so I decided to build a huge textured canvas art. In this article, I have all the details on how to build a large canvas from the scratch for painting.
Size of the Canvas:
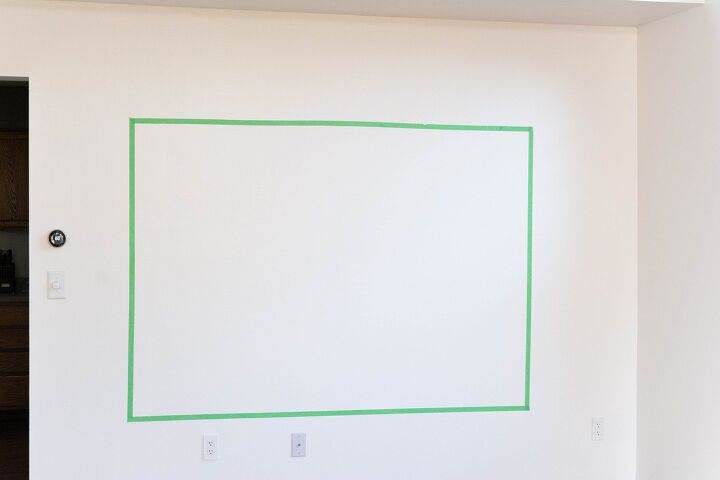
Before getting into the build, lets figure out the size of the canvas. To do this, grab a painter’s tape and mark the location on the wall to see what size suits the wall. The canvas size should be not too big and not too small. My wall is about 9 feet long and 8ft tall. I finalized the canvas size to be 78inches by 54 inches. It is exactly 6-1/2 feet by 4-1/2 feet.
Watch the video tutorial for better understanding
How to build an extra large canvas for painting
Step – 1 : Build the frame
This frame is made out of 1×2 pine wood strips. Make sure they are straight when you buy. Lay them on a flat level surface until you start to build.
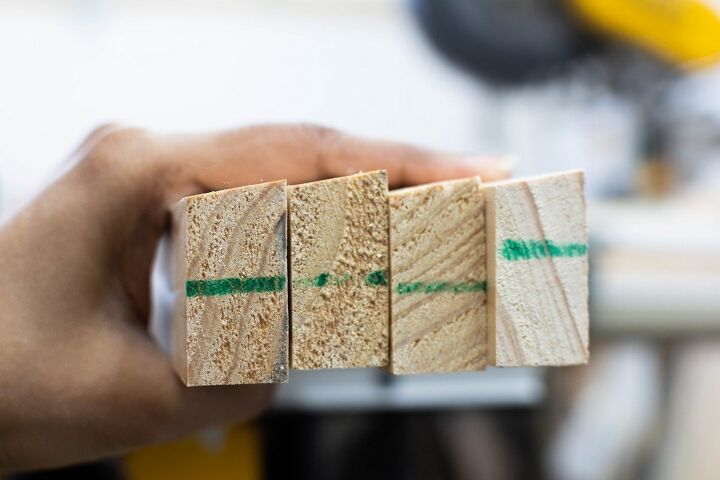
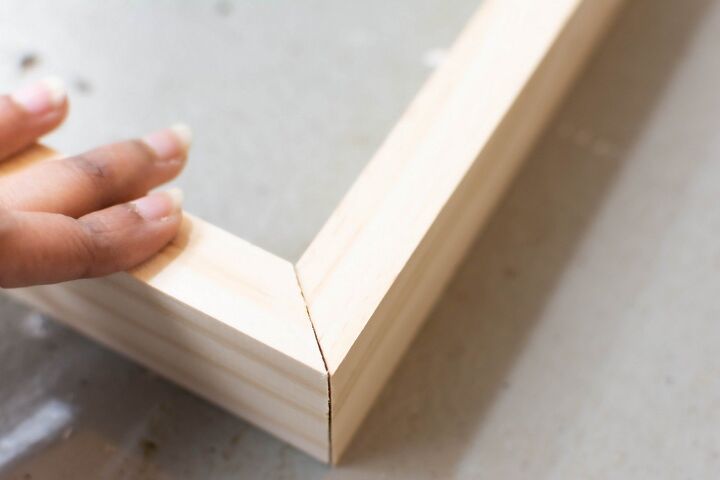
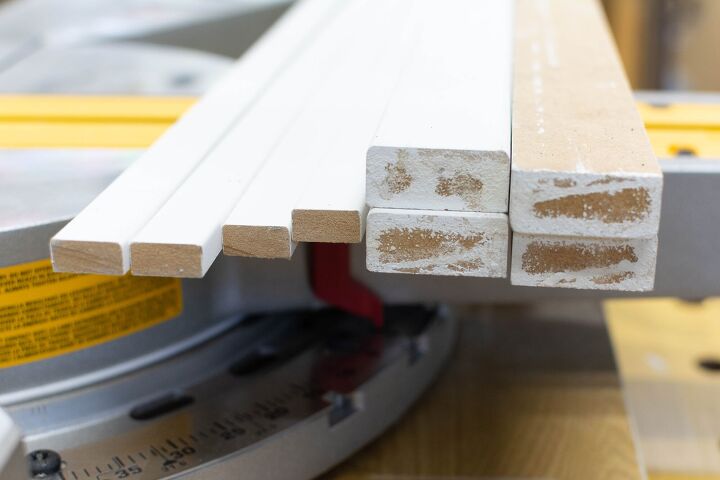
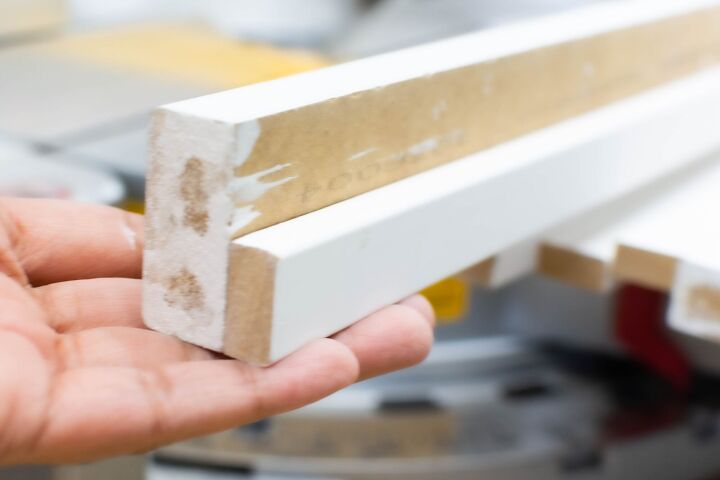
Before cutting the wood to required lengths, cut a mild bevel on the shorter side of the four framing pieces. I used my table saw with blade set to 10 degree to cut the bevel. This bevel doesn’t have to be perfect, you can also use a hand planer or a sander for this purpose. Post cut, the wood strips should look like in below image. With this bevel on the frame, the inner edge of the wood will not poke through the canvas when you wrap and paint the surface.
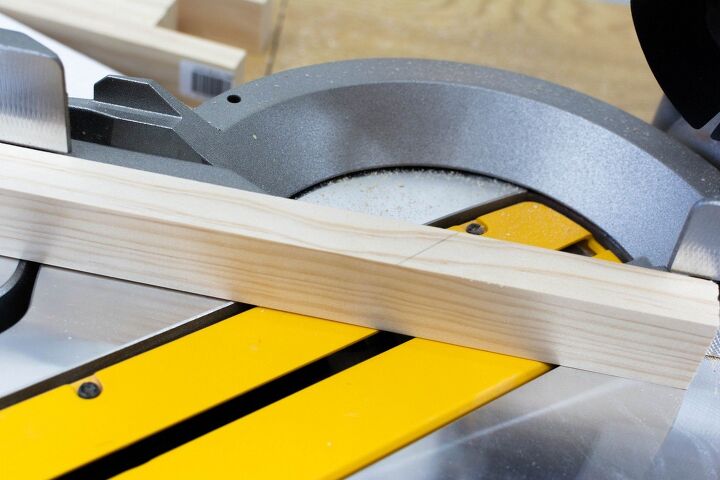
First, lets cut the four sides of the rectangle. In order to have miter corners, set the miter saw to 45 degree angle, place the flat side facing down and bevel side up to make the first cut. Then measure the length you need and flip the wood to make the next cut. In my case, two of them are 78 inches long and other two are 54 inches.
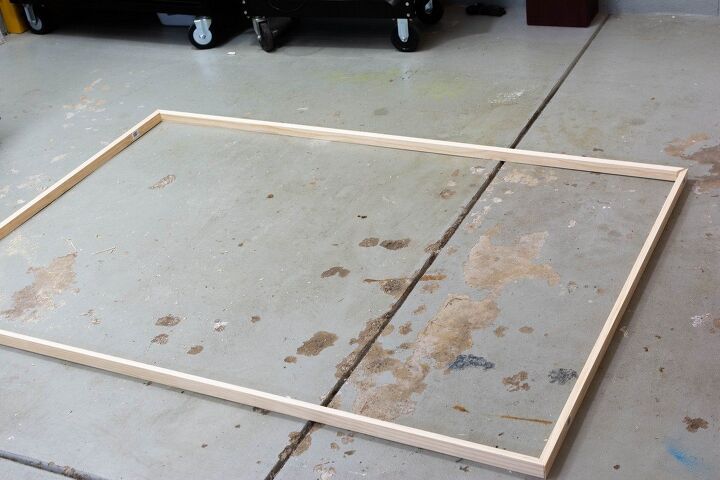
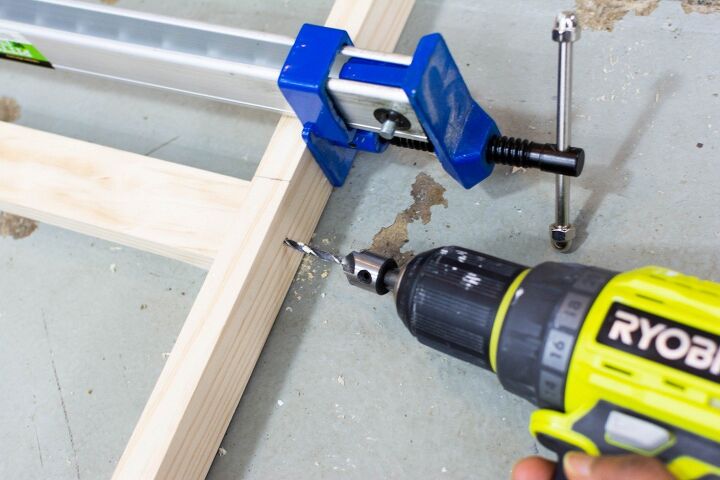
After cutting, place all the four pieces on a flat surface with bevel side facing up. To attach these miter edges, first apply a slight amount of glue and clamp them together using corner clamps. Next, drill a pilot hole on one end at the center and then connect with a screw. Just make sure the screw head is a little bit out (as shown below). Repeat the same on other three sides.
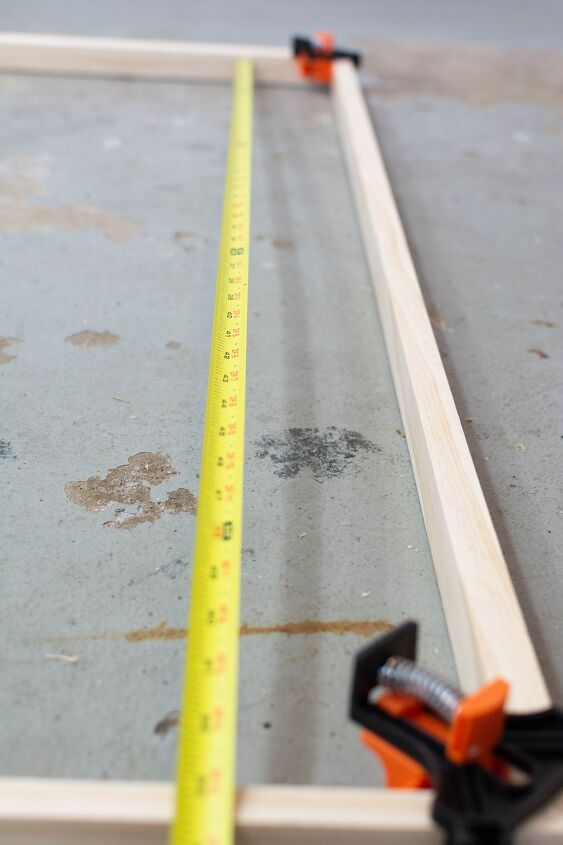
Next, measure the inner dimension of the short side of the frame and cut four straight edge pieces.
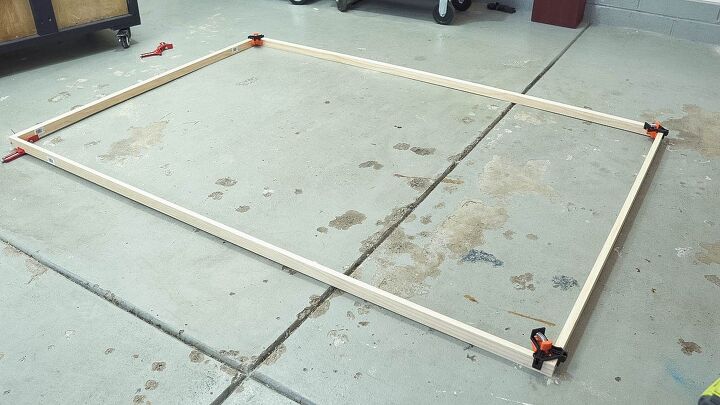
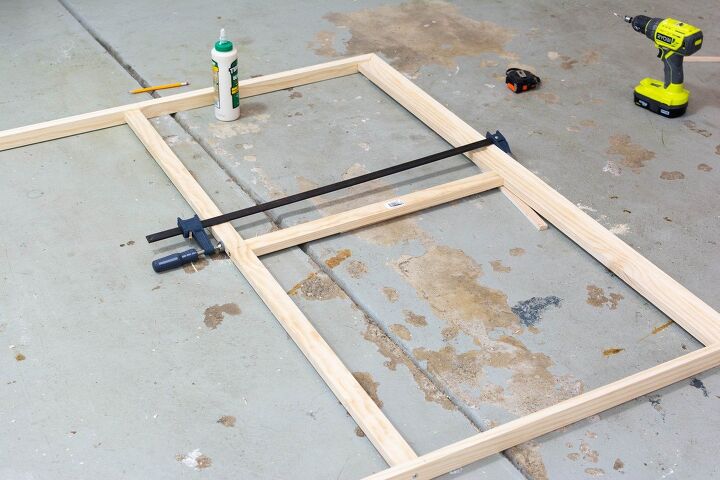
Fix one on each sides of the frame to get more support. Refer below image for the position and orientation of the wood support. Raise about quarter of an inch using scrap wood, apply glue and clamp them together. Then drill pilot holes on the sides of the frame and attach with two-inch screws. Now you can also tighten all 4 corner screws.
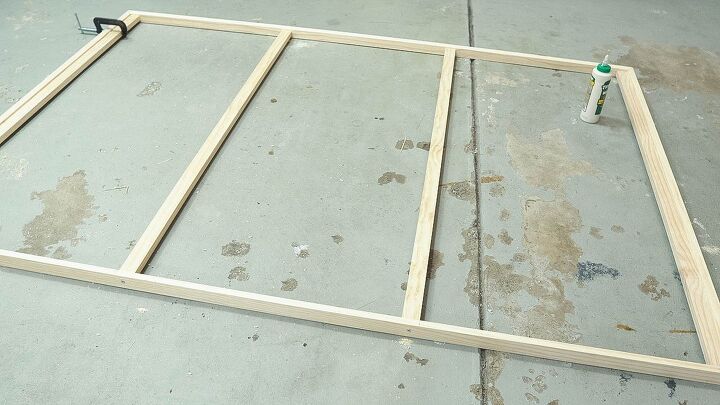
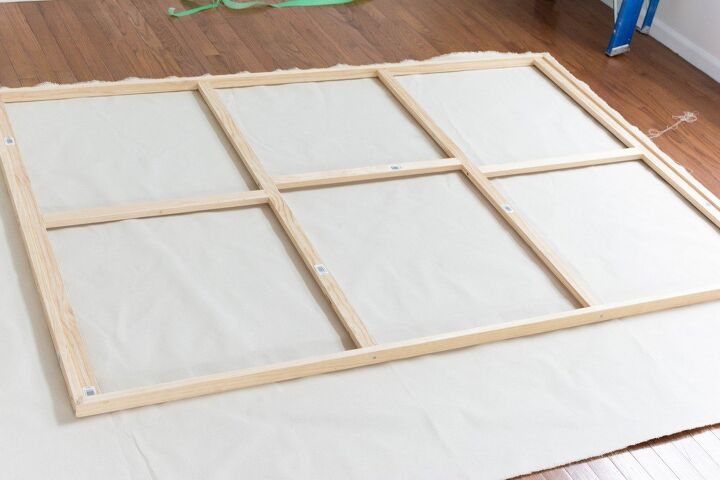
Next, add two more support frames in the middle at equal distance. Mark the distance on the frames and attach to the outer frame by raising quarter of an inch.
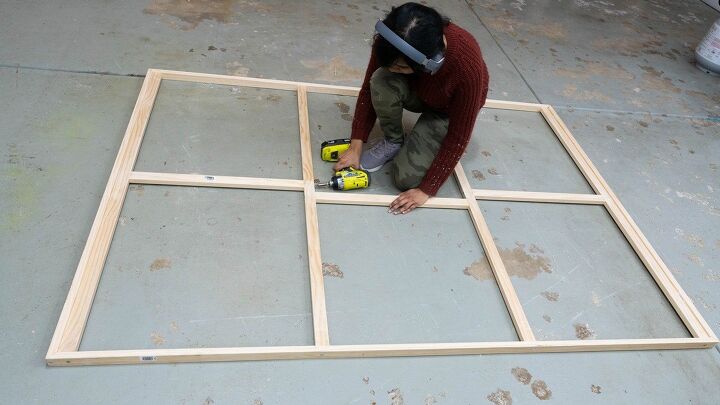
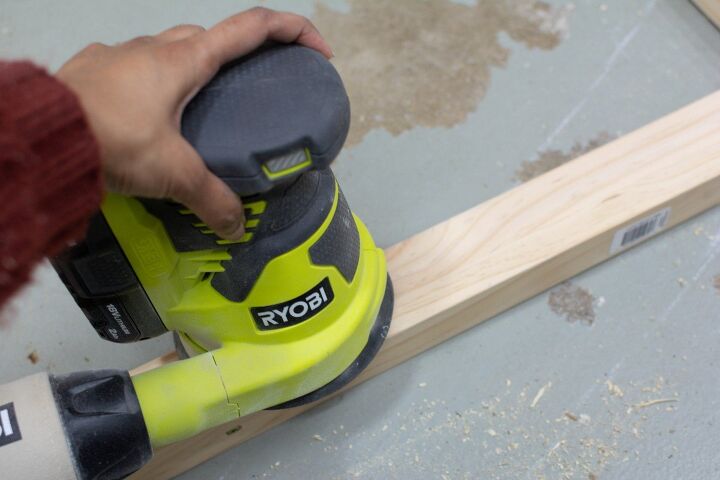
Same way, measure, cut and add three more connecting pieces for the support. First attach the end pieces and finally the center. The center one is staggered to have better access with the drill. Once done, sand the whole frame and also smooth the edges so that the canvas doesn’t tear when wrapping.
Step – 2 : Wrap the canvas
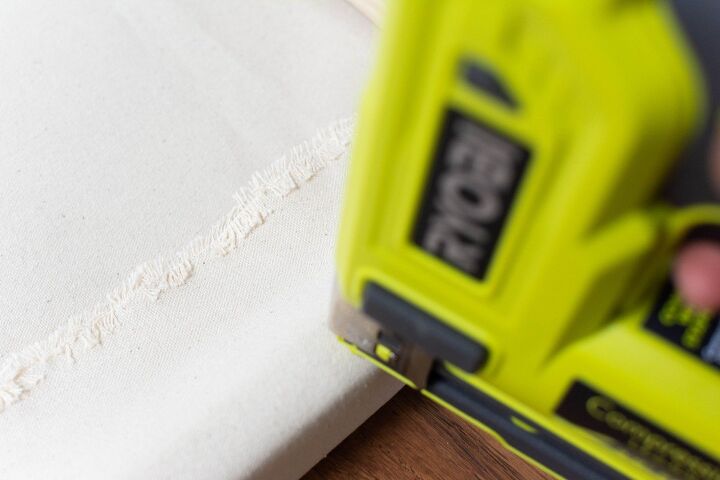
Its easier to work with unprimed canvas when compared to a primed one. So, I bought 3 yards of unprimed medium weight cotton canvas from a local art store. Lay the canvas on the floor. Then, place the frame on top of it. Bevel side should face down. Now start wrapping the canvas and use a staple gun to secure. Since this canvas is not primed, you do not need canvas pliers for this step.
Start from the middle on the two longer sides. Hold the canvas tight and staple. Then slowly continue towards the edge. Next do the shorter sides and finally the edge. The edge can be little tricky. Cut off the excess canvas if needed. Then carefully fold the canvas on the edge and staple.
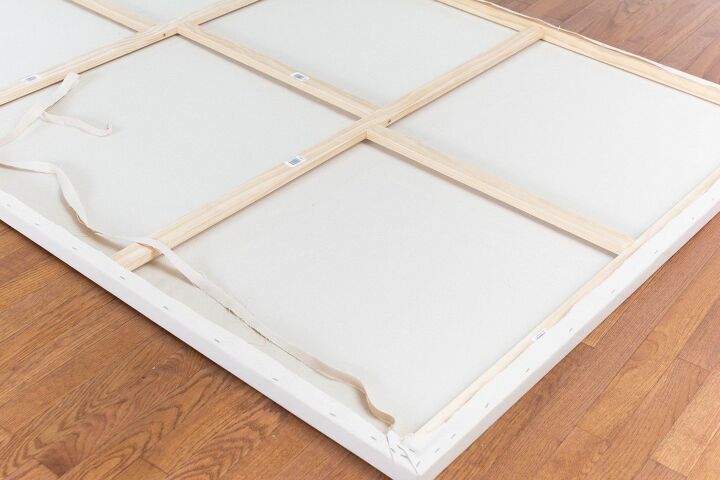
As you can see in below image, there are folds and wrinkles on the canvas. Do not worry about it, it will go away after priming the canvas.
Step – 4 – Paint
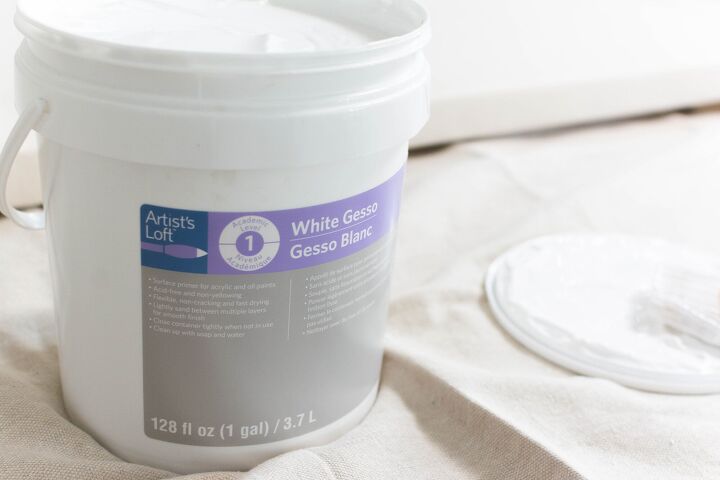
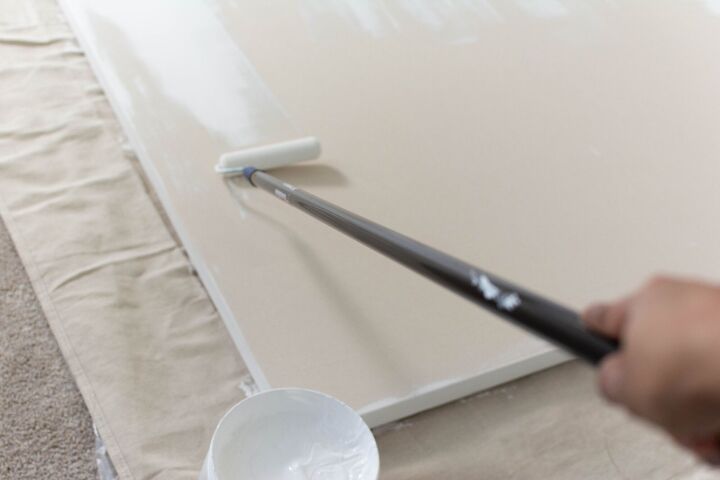
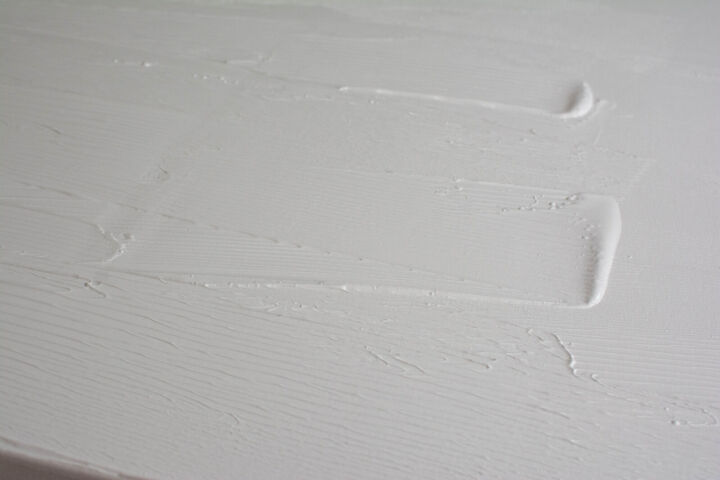
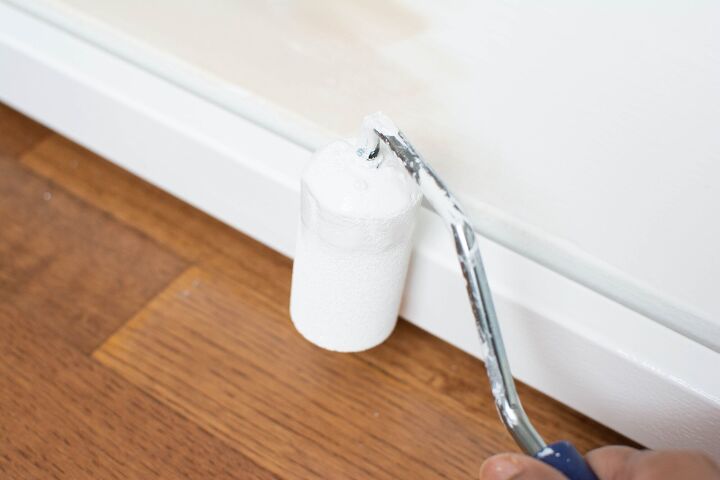
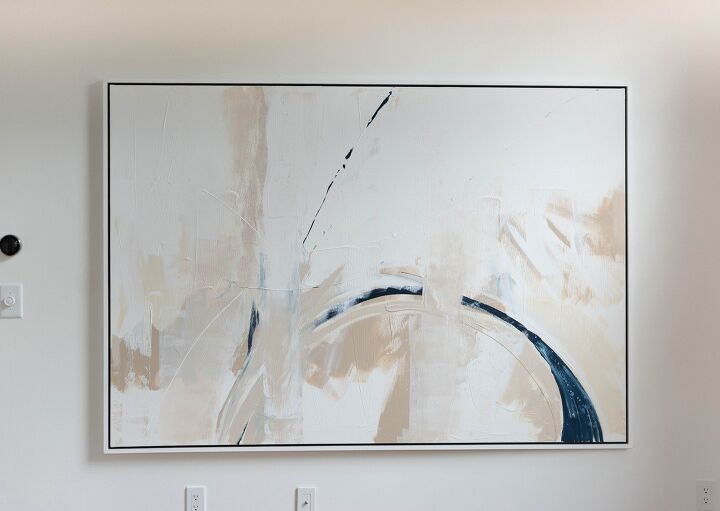
Disclaimer: This is not an art tutorial and I am not an artist. So, I am going to be brief about this painting part. Basically, I wanted a simple abstract textured art piece with neutral colors. So, I began by creating texture using the roller and the same gesso primer. I did not have any strategy for this. I just went with the flow until I was satisfied. The thicker areas may take longer to dry that the other area. So, let it dry for a day or two and then add layers.
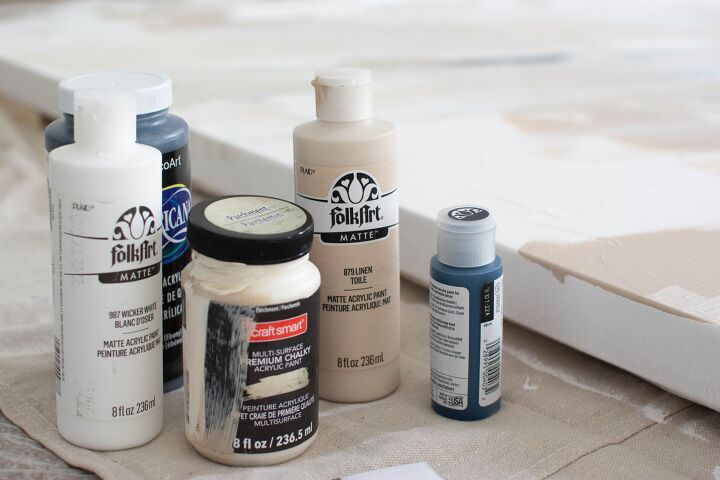
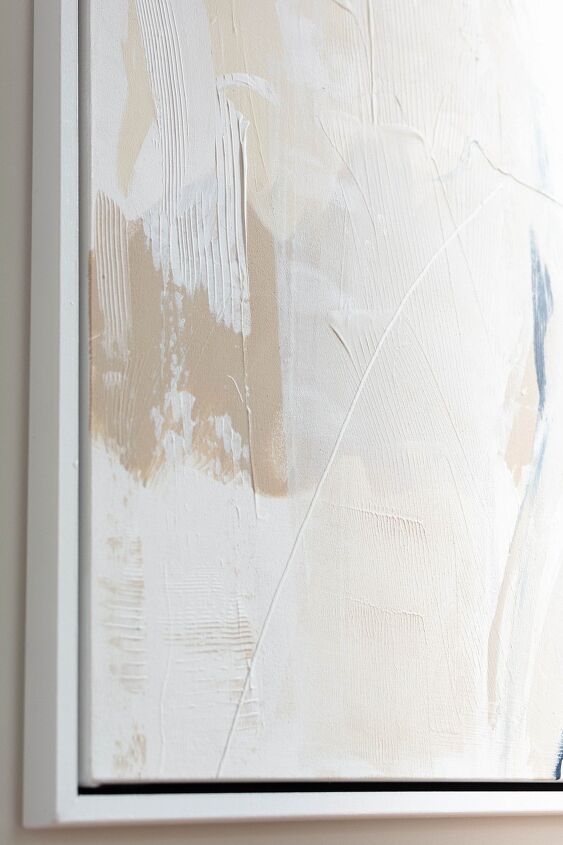
Once dry, I painted the surface with acrylic paints and also mixed acrylic paint with gesso to get the colored texture. I worked with it until I was happy with the composition.
Note: I have seen people use joint compound and wood putty to create the texture on canvas. But I was worried that they might crack and fall out in course of time. So, I preferred to stick with gesso and I am glad that I did. It came out, just the way I wanted!
Step – 5 : Frame the canvas
This is an optional step. But, I think a frame not only elevates the art piece to another level but also completes it. There are different ways to build a frame and I chose to build a floating frame for the canvas.
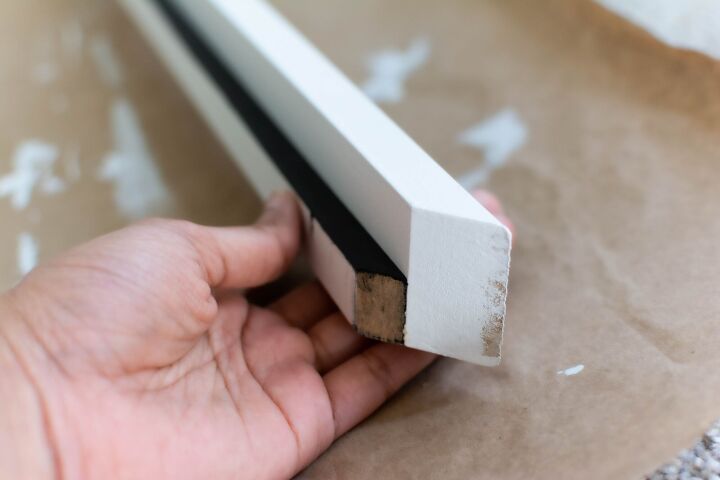
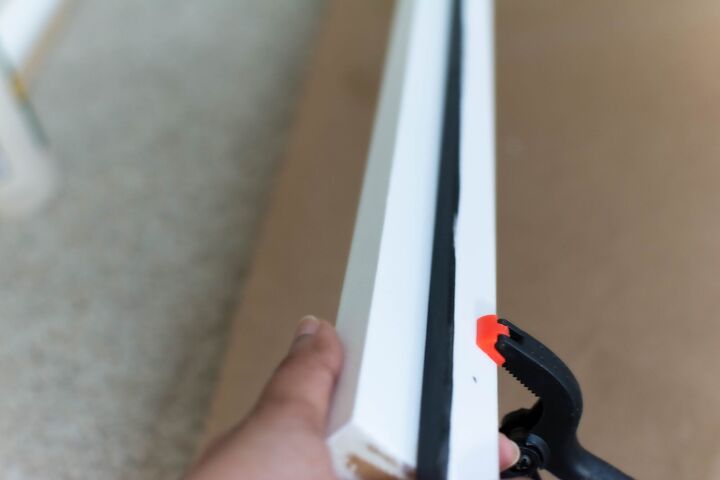
To build this frame, you need 4 nos of 1×2 primed mdf strips and 4 nos of 1/2 x 1 inch strips. Basically, the one inch strip is sandwiched between the canvas edge and the 1×2 frame. I painted the 1 inch strip in black and 1×2 MDf into semi gloss white. Then attached them together with glue and nails The black strip should be aligned to one side of the MDF.
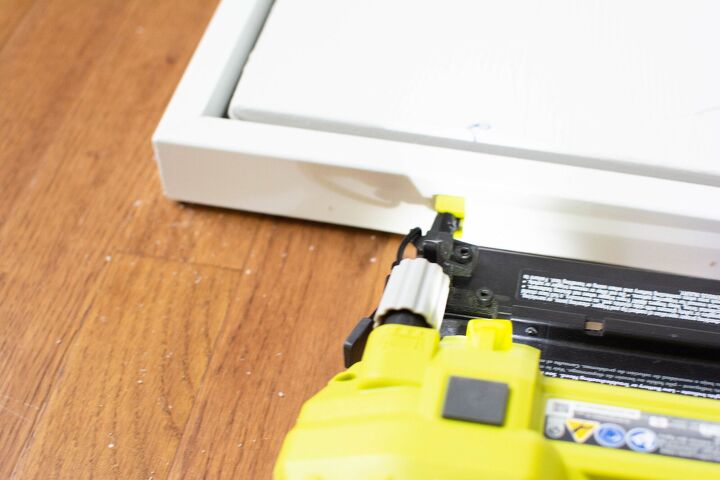
Next, cut the frames to required size with miter edges and attach to the canvas sides using E-6000 glue and nail. Finally, fill the nail holes with wood putty and give a final coat of paint for the frame.
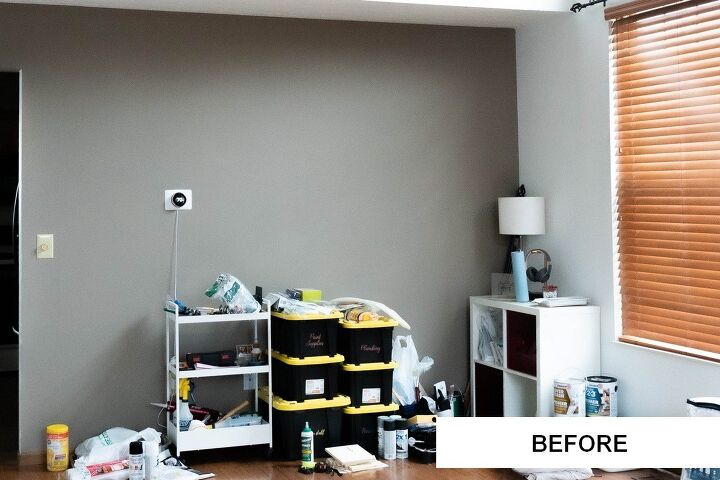
I moved the Thermostat to the left of the wall, scraped off the textured ceiling to make it smooth and painted the wall with whisper white from Behr.
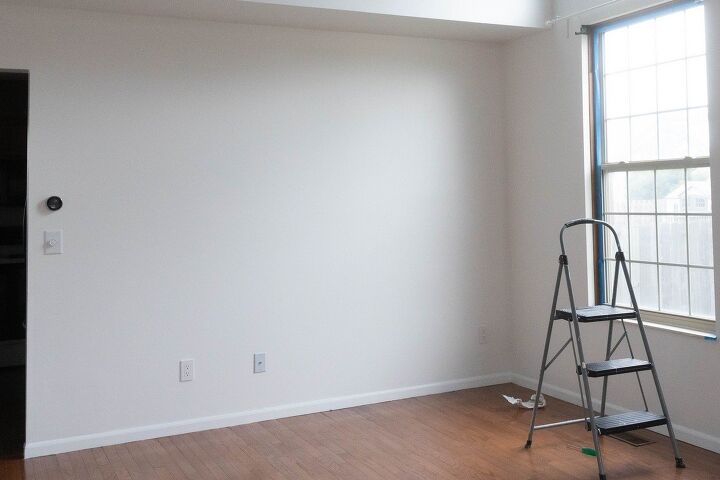
To mount the canvas, I simply drilled long screws into the dry wall stud and hung the Art.
I also installed battery operated focus lights on the ceiling, as we do not have a power line on the ceiling. The spotlights are easy to install and it can be controlled with a remote. Best part is that it has various dimmer adjustments and the lights heads can be rotated to set your focus on the object. I think this a good solution to highlight the painting and art pieces you want to display in your space.
more pictures on my blog https://www.thenomadstudio.com/how-to-build-a-large-canvas-for-painting/
Don't forget to watch the video tutorial.


Comments
Join the conversation
-
I am inspired but I don't think I can accomplish this task.


Frequently asked questions
Have a question about this project?