


Leaning Gallery Wall / Command Center

by
Stacy Davis
Easy
“Be Patient. The Best Things Happen Unexpectedly. “ This was the case when Hometalk contacted me to see if I would be interested in doing a project that showcased Walls Republic wallpaper. A giant thank you to Hometalk and Walls Republic for allowing me to create this project. If you have any questions on the wallpaper, they would be the ones to ask. Here is their website…
http://www.wallsrepublic.com/
I chose to do a leaning wall shelf… BUT, somewhere along the way, it morphed into a Magnetic Gallery Wall / Command Center. Since this project leans against the wall, it is renter-friendly. If you have small children, I would definitely talk to some experts on the best way to attach it to a wall so that it wouldn’t fall on them. Also, I use super strong neodymium magnets, which can be very dangerous if swallowed. For this reason, these magnets should be kept out of reach of small children and pets.
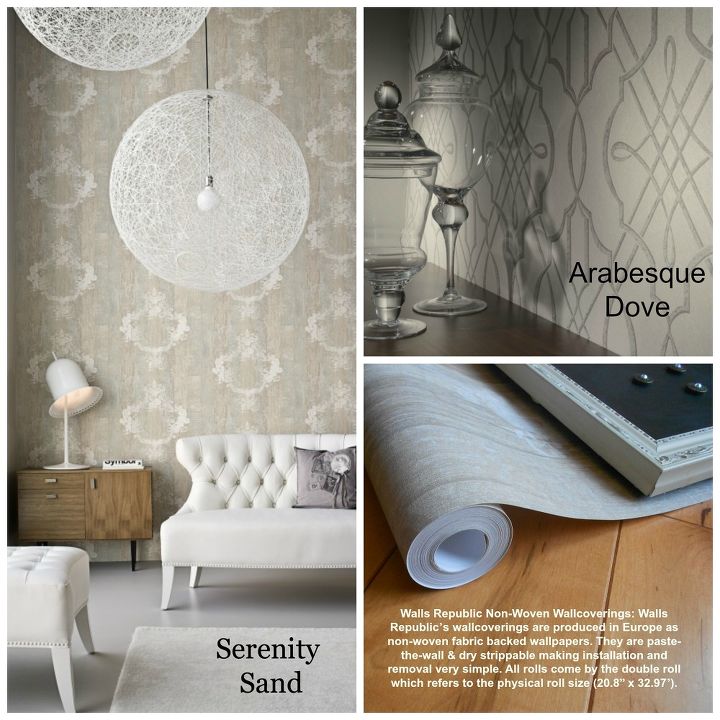
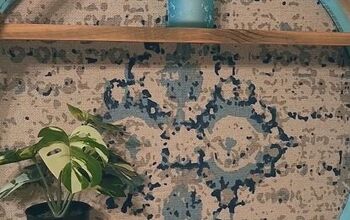
I was given 14 different styles/patterns to choose from and believe me, it was hard to choose just one.
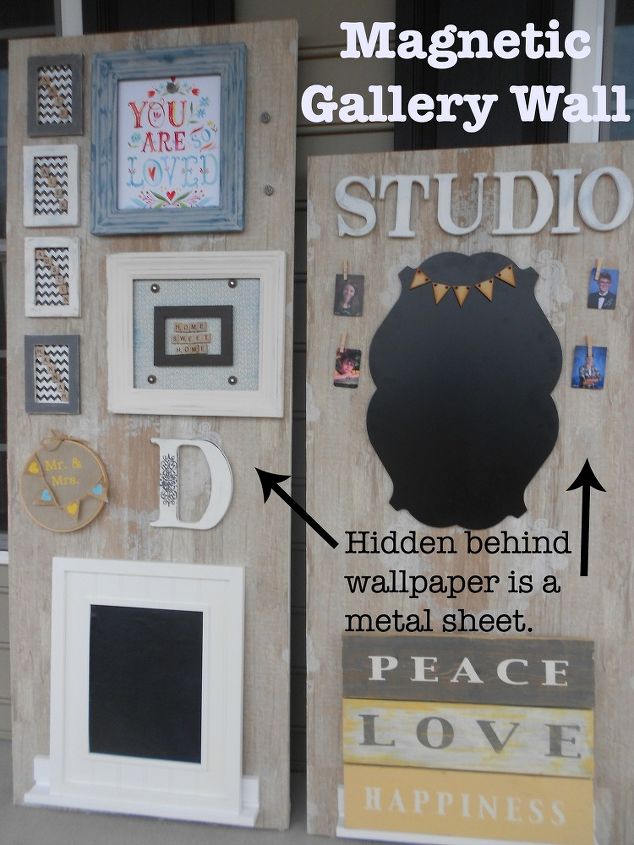
Here is one arrangement... almost everything on the top half of the shelf is held on by magnets. Below, I rearranged a few things...
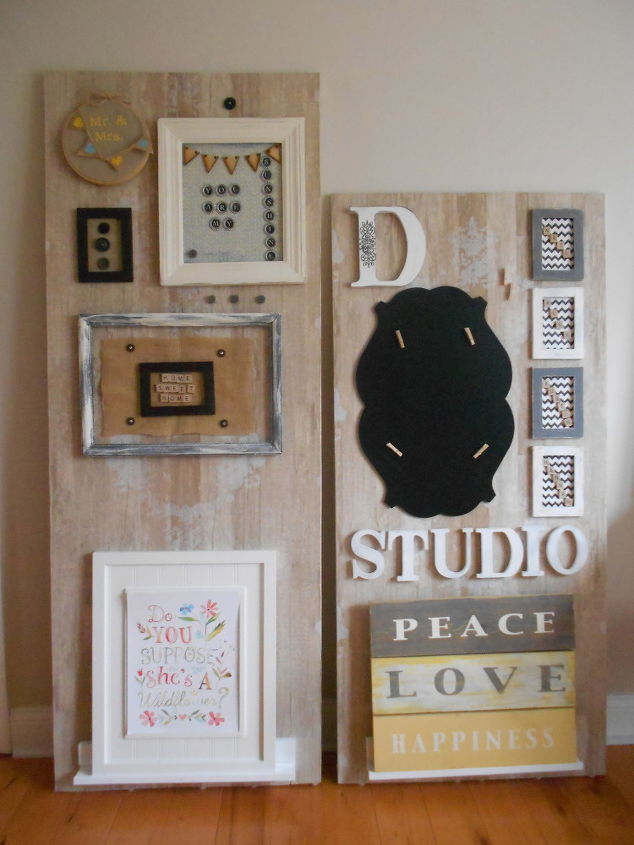
It takes a gallery wall and adds an element of fun. Within minutes, you can have a whole new look and also change up your color scheme if you like. I like to spell out "momisms" (my quotes of the moment) in frames for my family to see. We had just moved into our house a few months ago and I had done very little with decorating until this project. My son came back from a weekend away and found the boring dining room had been changed into a creative craft studio. He smiled and said, "I have missed this so much." Previously, all the creative things and pictures were stored in the garage. We are renting and I didn't want to add any holes to the walls and command strips didn't appeal to me. One roll of wallpaper and the entire feel of this room changed. It was kind of like, If you give a mouse a cookie.... but it was if you give a
Items for the project – for 2 leaning gallery pieces
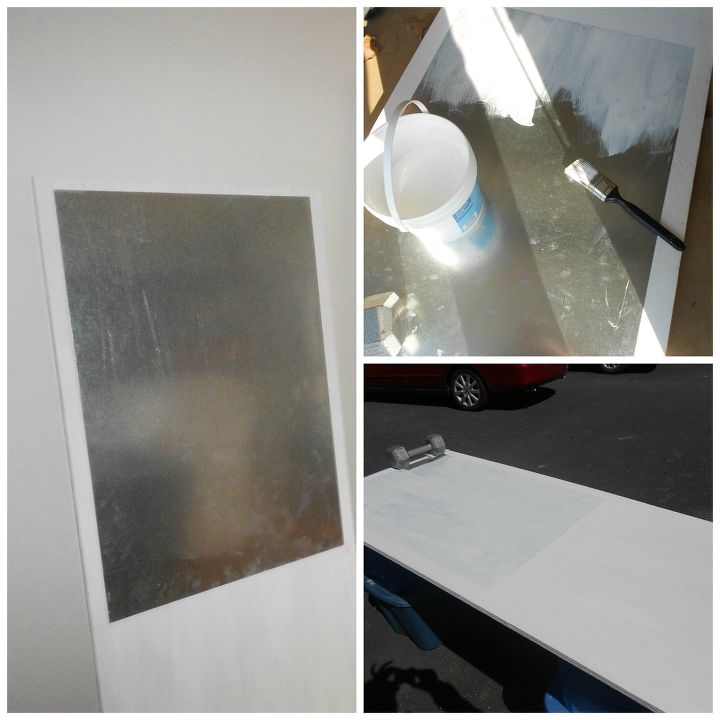
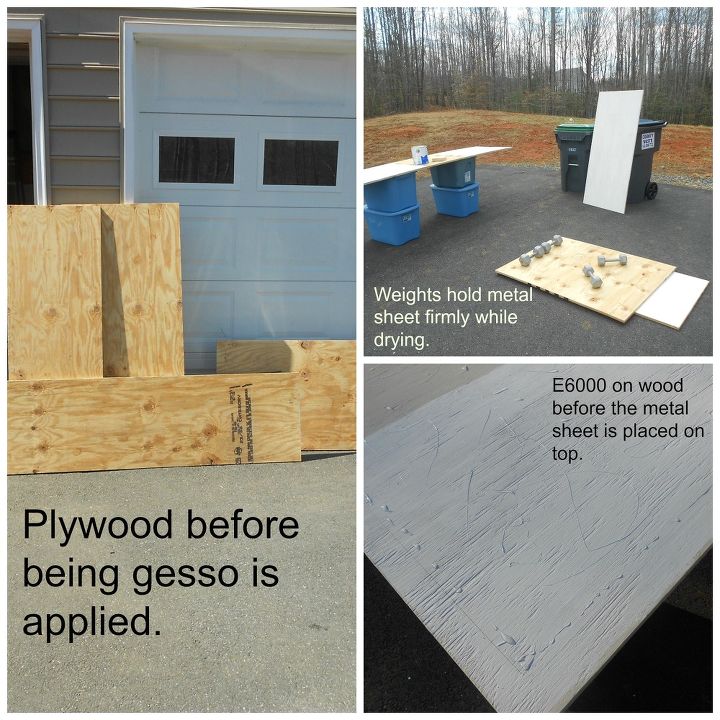
The next day, prime your surfaces that will be wallpapered and decide what you would like to do with the back. The wood only needs two good coats of gesso or primer but I put three coats on the metal sheet. I used gesso instead of primer because I had a huge bucket from years ago that I wanted to use up.
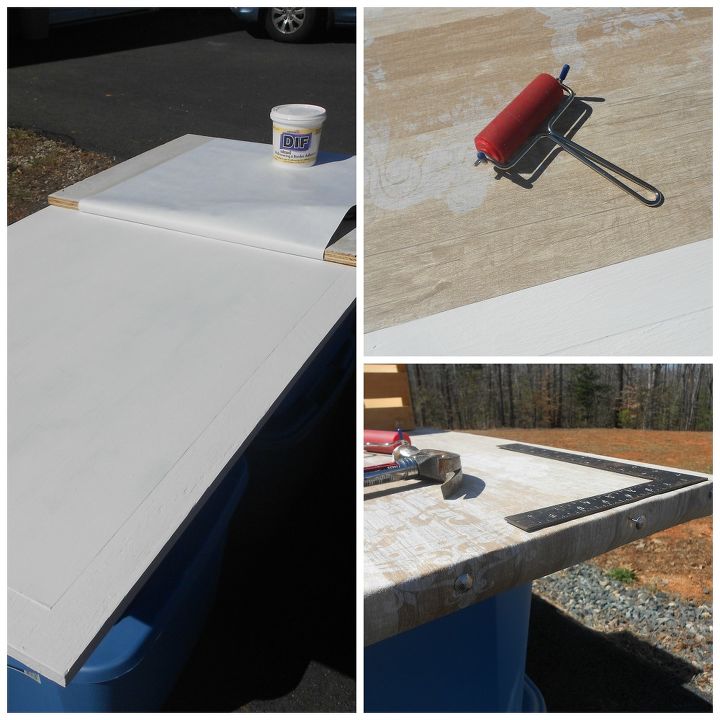
I cut my wallpaper to wrap an inch onto the back at the top and bottom of the shelf. I took the measurement of the face of the board and added about 4 inches to it. My wallpaper was 21 inches wide so if your shelf is 24 inches wide you will add some pieces to each side centering the main wallpaper sheet to the middle of the board. I would put a pencil mark on the middle of my board and the middle of my wallpaper. When these marks lined up, I knew both were centered correctly. Then I would place something heavy in the middle so it wouldn’t shift. I would flip half the wallpaper to one end and working from the middle to top or middle to the bottom, I would generously apply the wallpaper adhesive in a 6 inch section. I used a brayer to press the wallpaper firmly into the adhesive and then a damp sponge to remove excess adhesive. To hold the wallpaper firmly in place you can either clamp something against it while it dries or add your upholstery tacks at this time. I let this dry completely before adding wallpaper to each side.
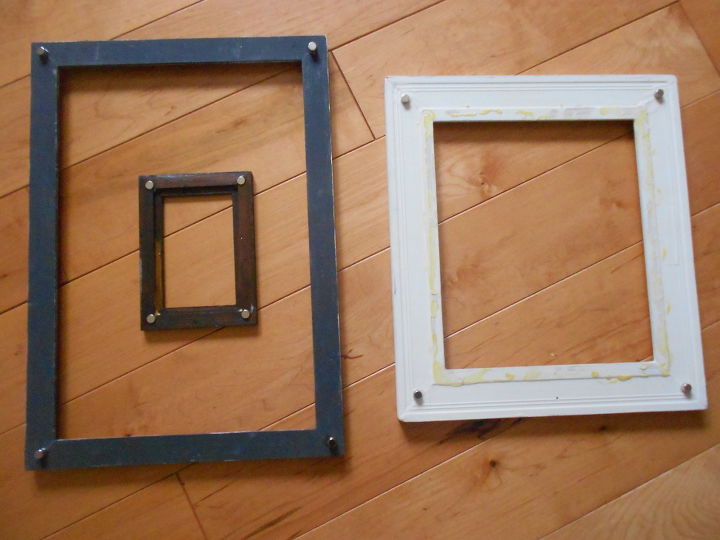
Here are the backs of three picture frames so that you can see the magnets have been applied to each corner. I was lucky that I already had all these empty frames on hand.
Comments
Join the conversation
4 comments
-
Oh my goodness Stacy you knocked it out of the park and then some! I love this idea even more than the leaning shelf. You went with one of my absolute favorite wallpapers too. :) You're going to get such great use out of this- AND since it's renter-friendly I just may have to try making one of my own! :D Bravo to you. @Walls Republic check it out!
-
What a great project Stacy!! We love this idea and how versatile and adaptable it is to any space! Your video at the end is amazing and shows off your project so nicely! :)


Frequently asked questions
Have a question about this project?