


Paint A Chalkboard Wall
6 Materials
$30
2 Days
Easy
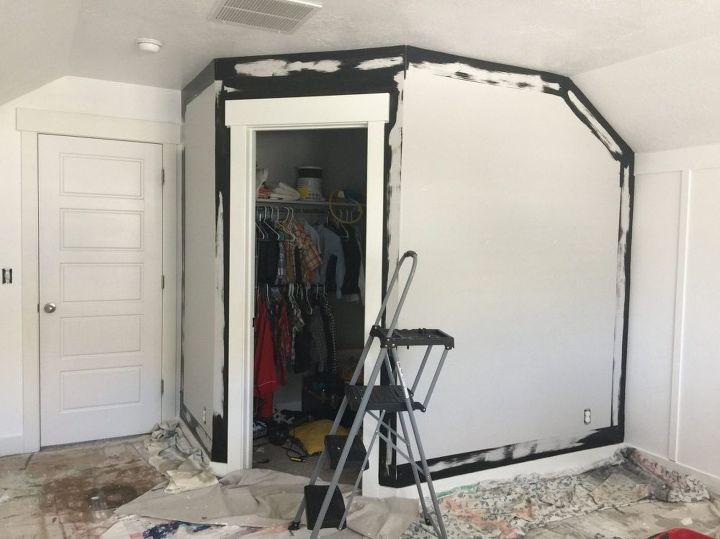
This project helped me discover the beauty of a paint edger. If you buy those little rectangular brushes just for edging and then barely dip it in the paint so the sides don’t get paint on them, it saves SO much time with cutting in.
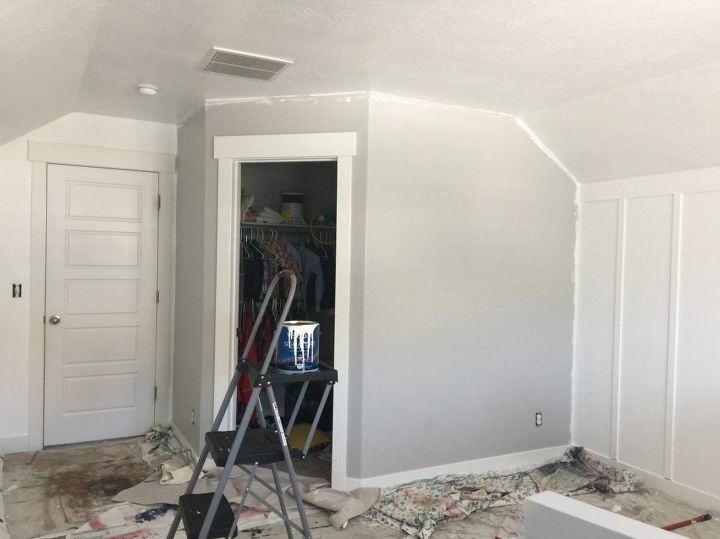
At first, I tried cutting in with a small brush but my lines were wobbly and it was painfully obvious next to a white wall. So I pulled out a brand new edger, dipped it in the paint just a bit and then spread the paint across the edger by rubbing it on the dry part of the tray. Then I slowly dragged the edger across all the edges (where the ceiling meets the wall, walls meet walls, trim and baseboards, etc.) and ended up with this.
After I cut in all the edges, I rolled the paint across the rest of the wall. I was SUPER impressed with the coverage of this paint. It was so thick that I only needed two coats and this was taking a very light wall to a black wall.
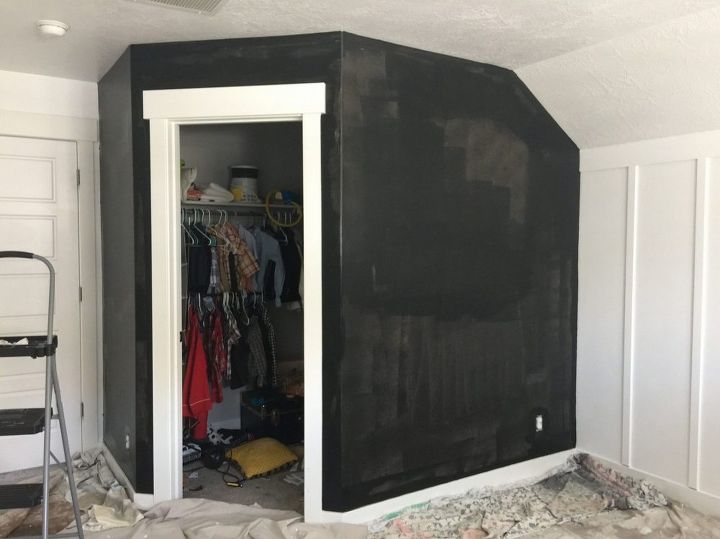

After it was all painted, I let it cure overnight before writing on it with chalk. And my kids got super excited about drawing on the wall so I let them season the wall.

I love this new boys’ room! Big thanks to Devine + Target for working with me on this project!
For other projects, visit https://www.honeybearlane.com/.

Want more details about this and other DIY projects? Check out my blog post!


Frequently asked questions
Have a question about this project?