


Pallet Sign DIY

I have wanted to make this sign for about 8 years to go above our bed and I didn’t change my mind about wanting to do it after all that time! So I finally got motivated to get it done after changing the accessories to update our bedroom.
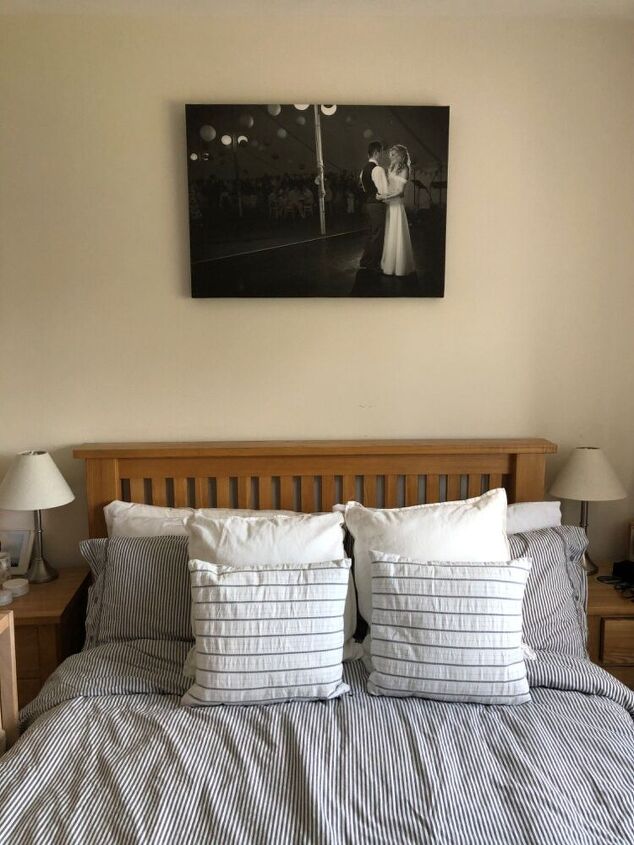
This is the before of the room. We have had this canvas of our first dance at our wedding hung above our bed for 10 years. After updating the accessories in here I thought this looked a bit dated and didn’t go so well with the room. This motivated me enough to finally get this project done!
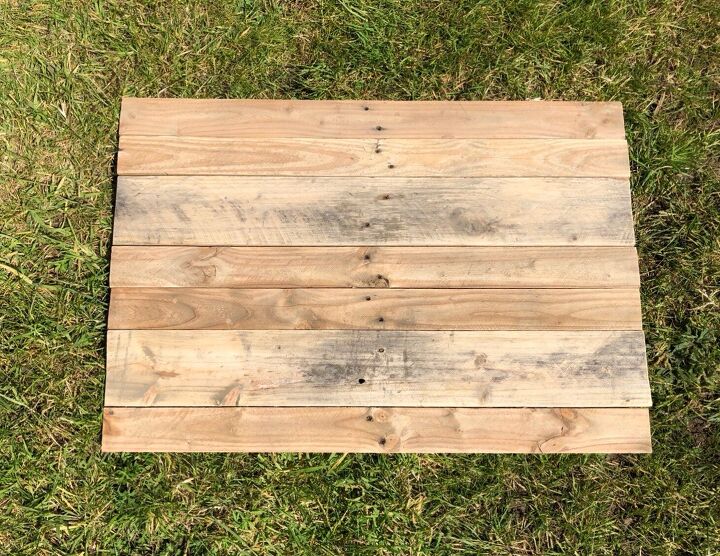
My husband put together the sign for me using pallet wood.
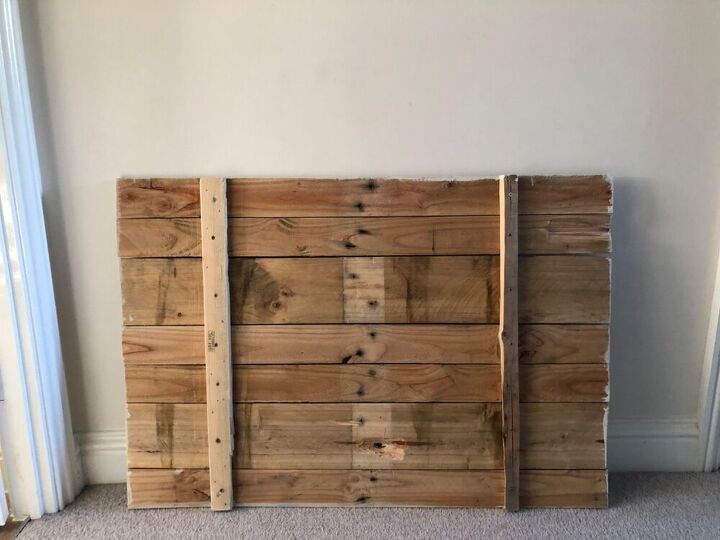
This time I also tried a different method of constructing it by using two vertical strips of wood to hold all the pieces together. I then lightly sanded the wood to ensure it was all smooth.
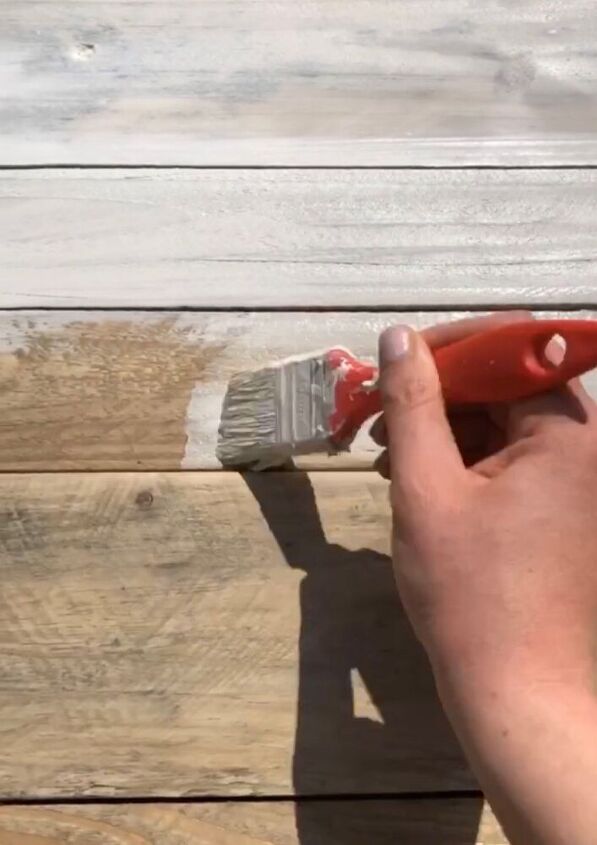
I painted the sign using a watered down eggshell to create a light, more whitewashed look.
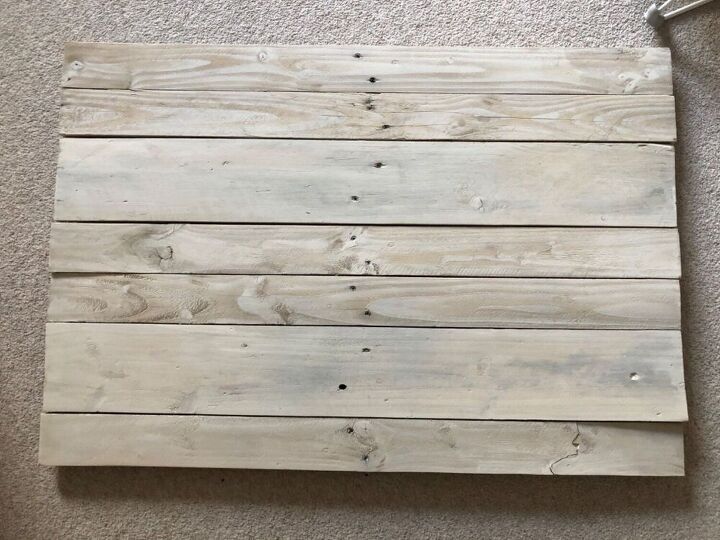
I wanted the grain to show through and this look is so quick and easy.
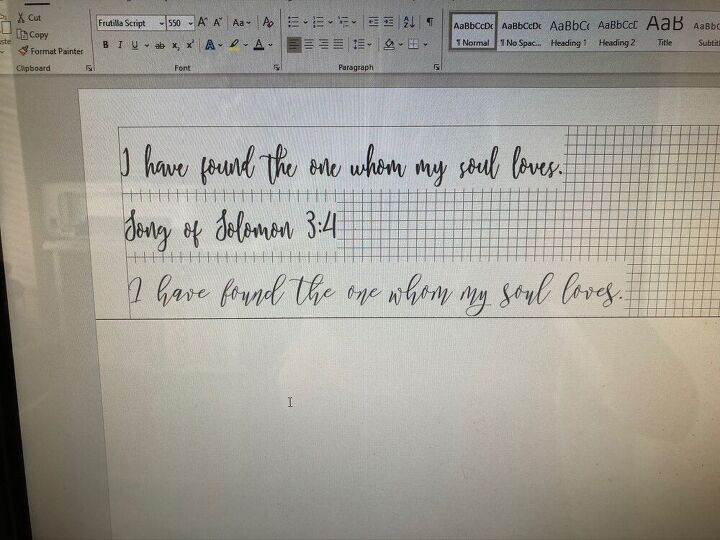
I then picked the font I wanted to use for the wording. Once I had picked the font I estimated the size of the lettering and arranged the text on the sign before printing it to check the font size worked. I then flipped the lettering horizontally so that it could be transferred directly onto the sign.
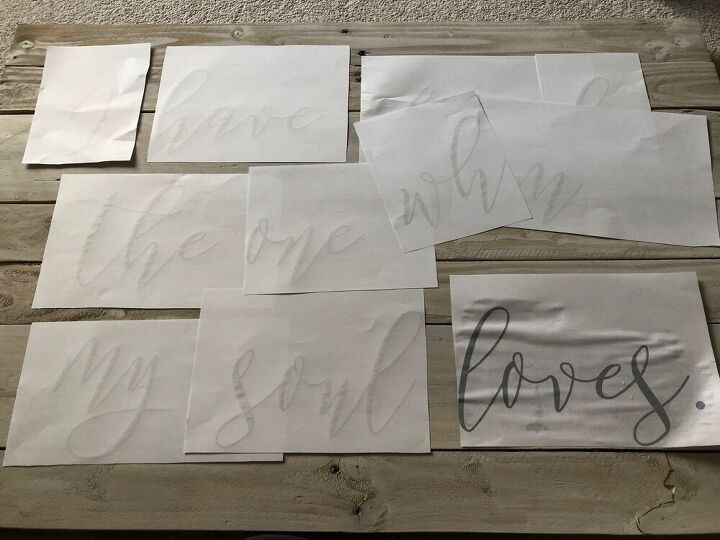
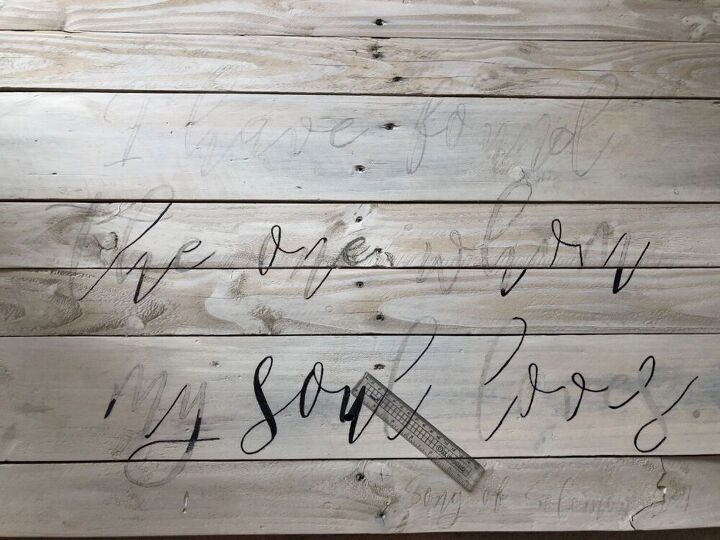
I arranged all the wording onto the sign using a ruler to space out the words evenly.
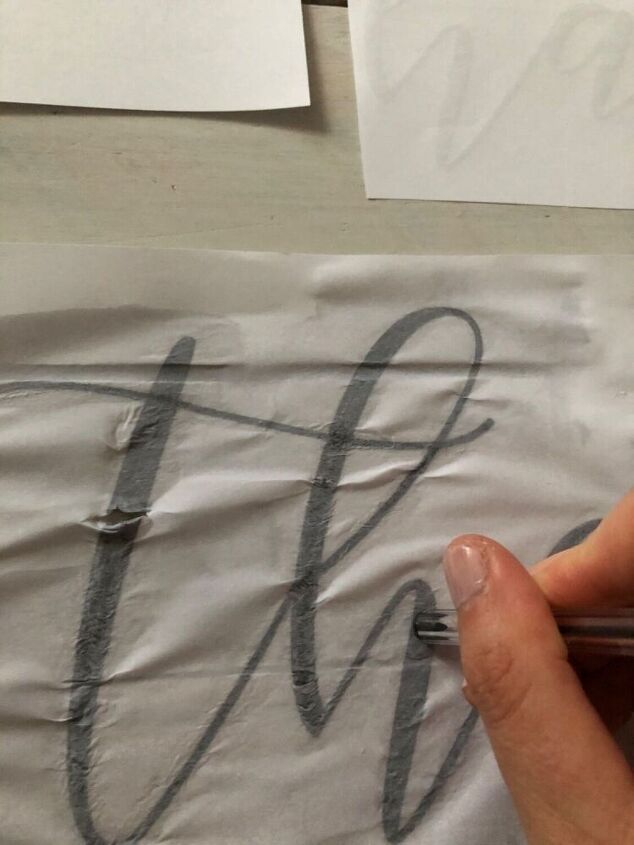
I then transferred the text onto the sign using the ink transfer method; however, this did not work for some reason. I’ve not had this happen before but I think perhaps the paint was too thick and there was not enough wood underneath to absorb the ink. So I then decided I would need to paint on the text by hand.
I continued to use the ink transfer method and then went over the edges of the letters lightly in pencil so I could see the outline well.
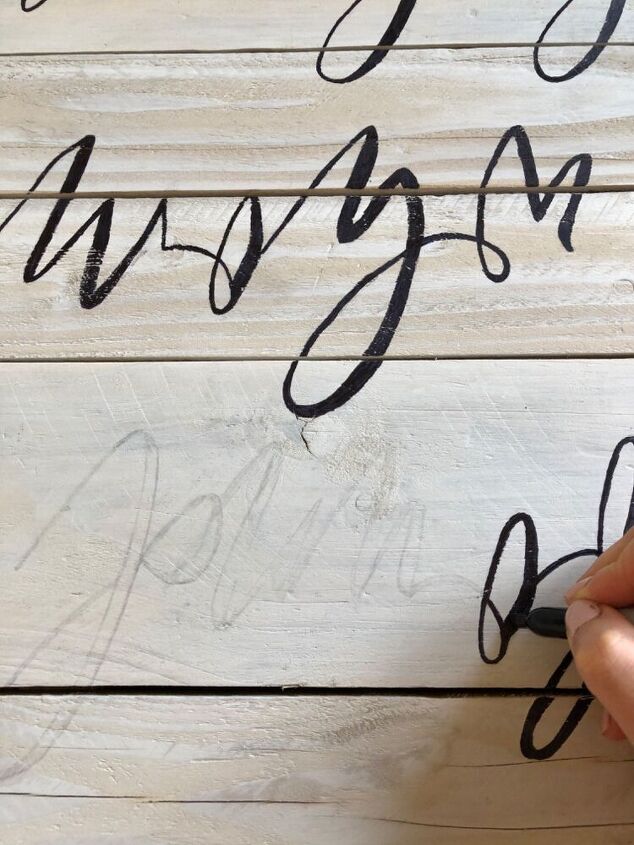
Instead of using paint I decided to do this project with a Sharpie marker. This is the first time I have used one for a sign but as some of the lettering was quite thin I wanted the details to be as neat as possible. I love how easy it was to draw it on with the Sharpie and I wouldn’t be able to really tell the difference compared with acrylic paint which I have always used before.
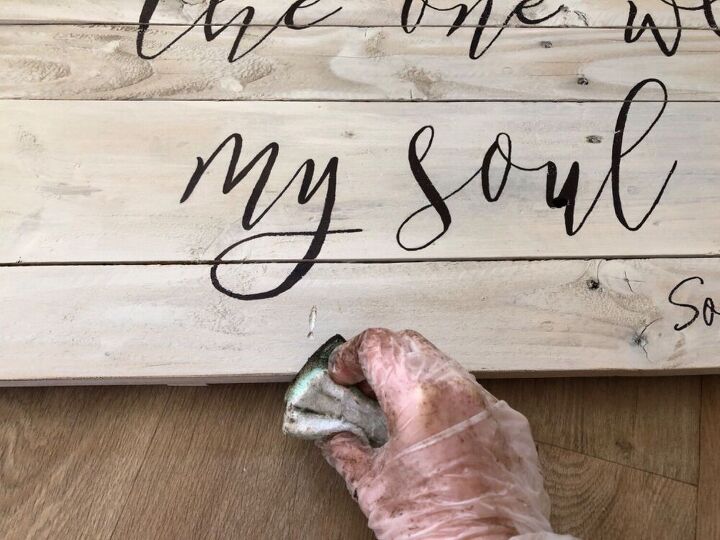
After I had finished the lettering I took a dark wax and applied it with a sponge lightly to the edges and over parts of the wood. I then buffed with a lint free cloth. The wood was not particularly weathered so I used this technique rather than sanding to distress the piece. This just added a bit of character and more of a rustic look to the sign.
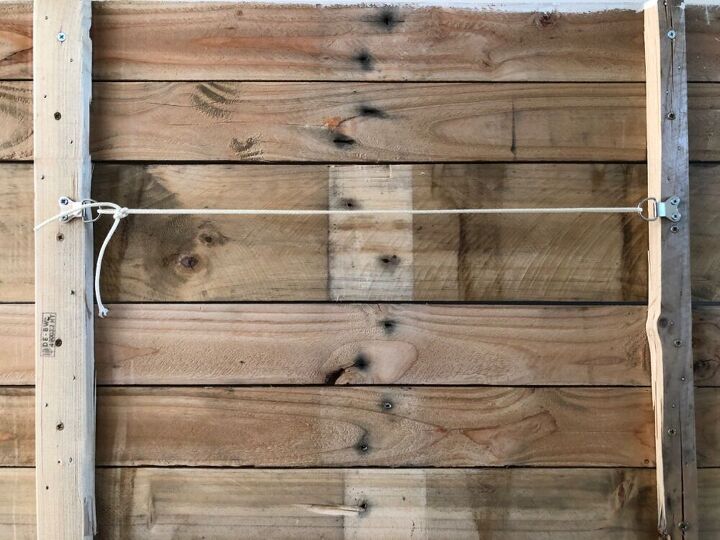
I used hooks and picture string on the back of the frame to hang it.
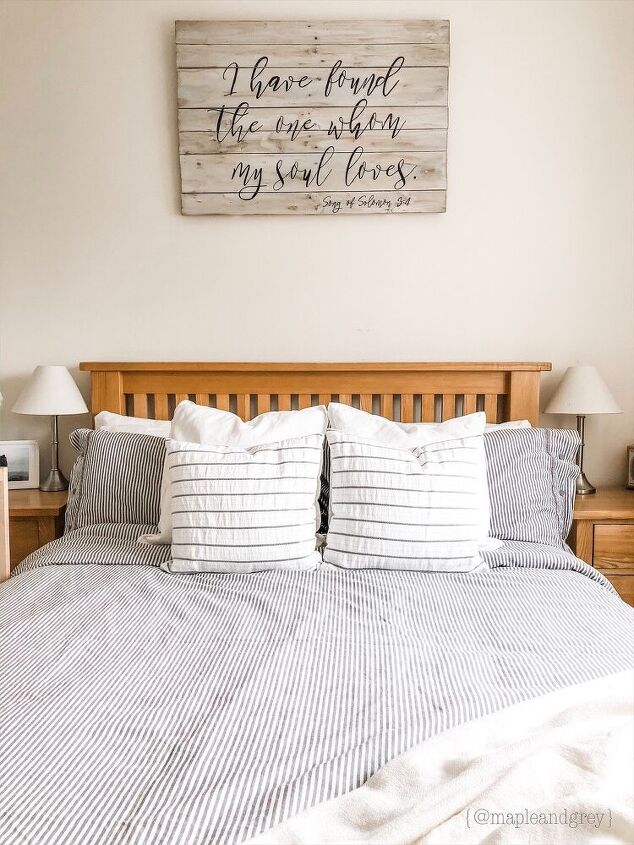
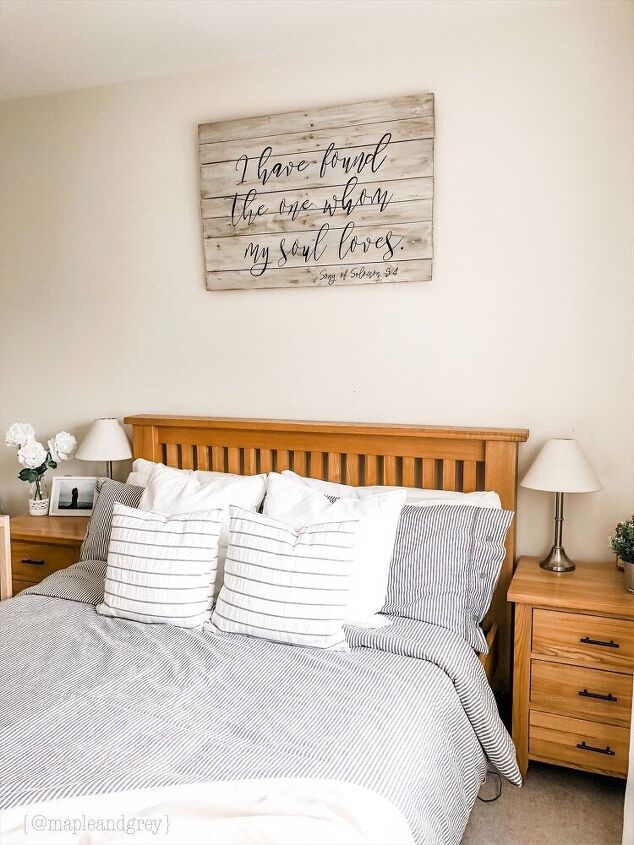
I love the finished result! Once I got started it was so quick to transfer the text with the Sharpie. This has added such a great finishing touch to this room and I’m so happy I FINALLY got around to making it!
To see more of this and other projects follow along on Instagram!
~ Rachel ♡
Comments
Join the conversation
-
Beautiful! You did an amazing job!!!


Frequently asked questions
Have a question about this project?