


Show Stopper Shadow Box!
Medium
I loved making this home decor project! I used materials I had on hand except for the box. Although time consuming because of the drying time between steps, it was a lot of fun, and I was very pleased with the end result. I think there is so many ways a crafter could go with this .. I can't wait to design another one!
This project actually began in my mind when I was looking for a storage box for a pear gourd wreath I had made. The dried flowers were pretty fragile and I was a little leery about packing it away. That’s when I thought of a shadow box. Why not frame it as wall art? I could make a box .. something eclectic… maybe a combination of scrapbook paper and aged mirror.
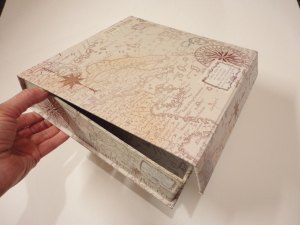
The biggest dilemma was finding a suitable box. Who knew finding a 10 x 10 x 2.5 inch box, with a lid, would be so hard? Sometimes, I get a bit antsy when I’m itching to do a project and can’t find just that certain thing I think I need. But, I’ve learned that a little patience goes a long way, and if I just wait, something always seems to show up. And it did!
My daughter and I were checking out the clearance aisles at Burlington Coat Factory, one day, when I saw a pile of magnetic clasped boxes on the shelf. So unexpected, and more than PERFECT! And, only $1.99! A clasp option would make the box easily accessible to switch out whenever I wanted.
This project actually began in my mind when I was looking for a storage box for a pear gourd wreath I had made. The dried flowers were pretty fragile and I was a little leery about packing it away. That’s when I thought of a shadow box. Why not frame it as wall art? I could make a box .. something eclectic… maybe a combination of scrapbook paper and aged mirror.
The biggest dilemma was finding a suitable box. Who knew finding a 10 x 10 x 2.5 inch box, with a lid, would be so hard? Sometimes, I get a bit antsy when I’m itching to do a project and can’t find just that certain thing I think I need. But, I’ve learned that a little patience goes a long way, and if I just wait, something always seems to show up. And it did!
My daughter and I were checking out the clearance aisles at Burlington Coat Factory, one day, when I saw a pile of magnetic clasped boxes on the shelf. So unexpected, and more than PERFECT! And, only $1.99! A clasp option would make the box easily accessible to switch out whenever I wanted.
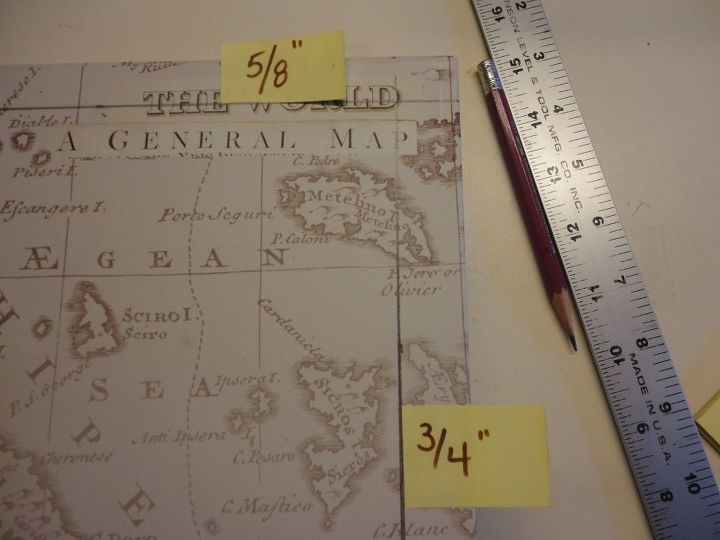
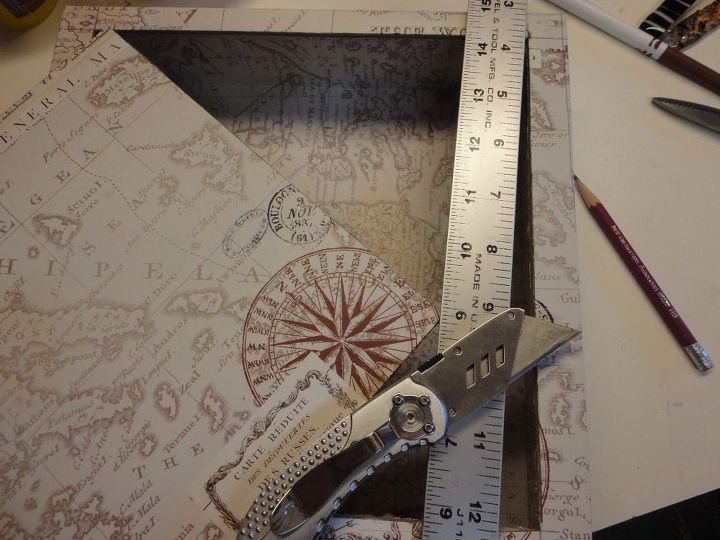
With the clasp at the bottom, I measured in 5/8″ from the top and bottom of the lid, and 3/4″ on each side, to cut out a frame opening. Cut nice straight lines by running a sharp utility knife along a ruler’s edge. Seal the whole box with gesso. Let dry.
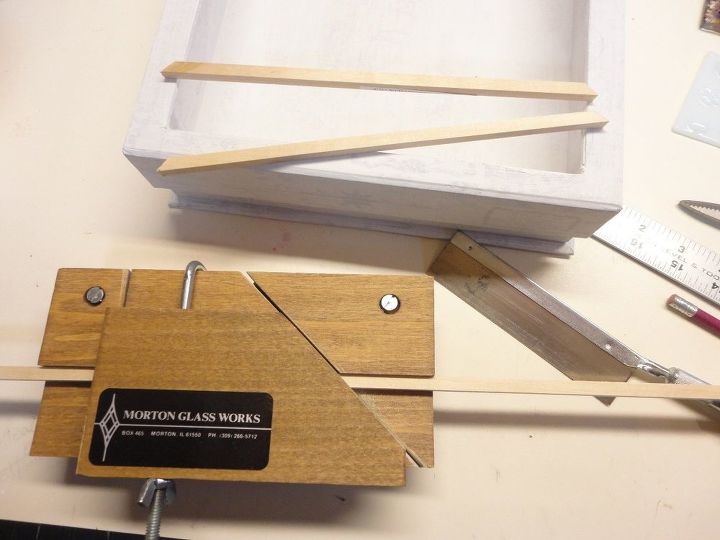
A 1/4″ sq. craft stick was mitered for the frame opening.
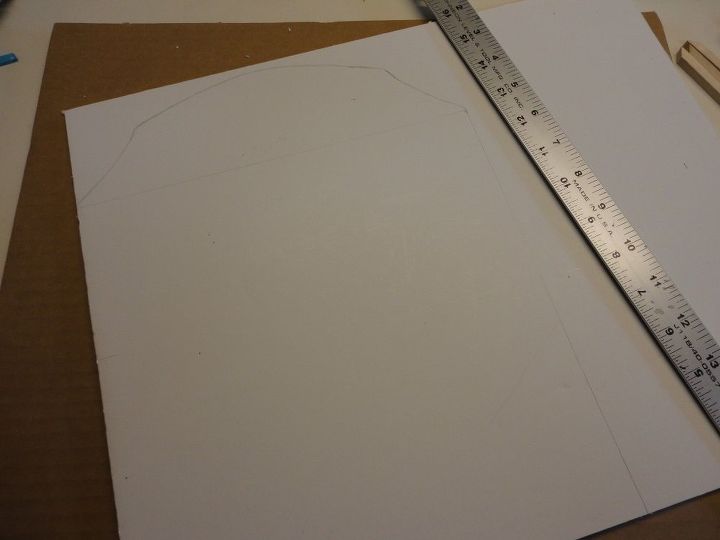
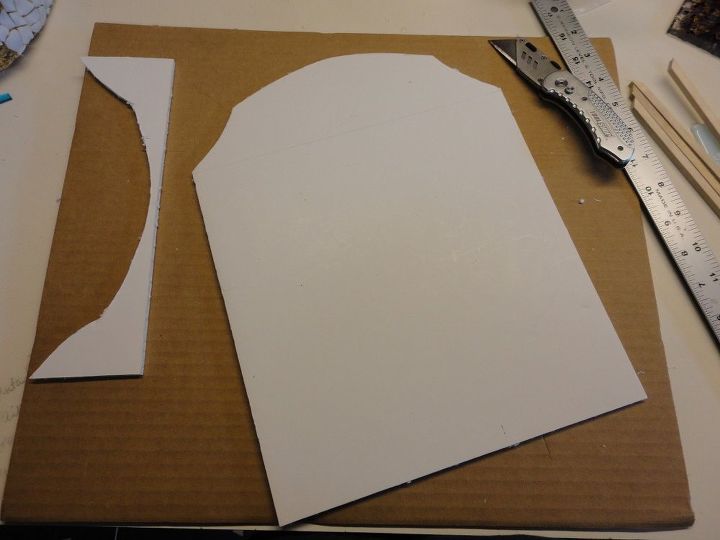
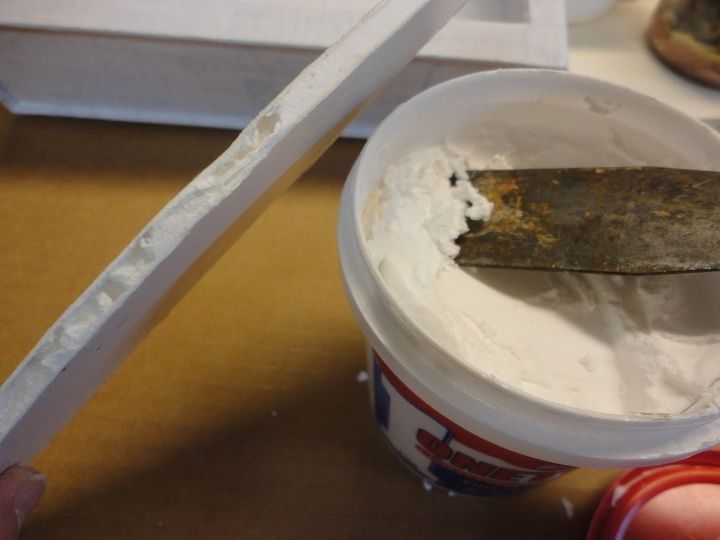
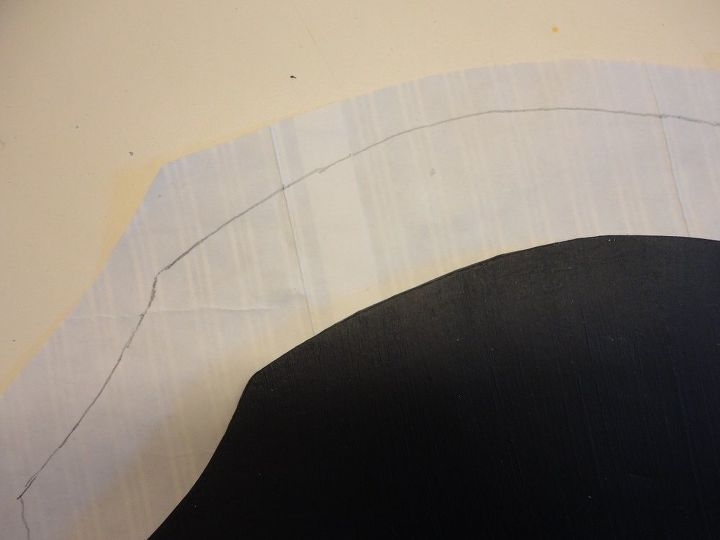
Trace the box on a piece of foam core board, and draw an arch at the top. Lie flat, on padding or cardboard, and cut out with a utility knife. Fill in rough edges of foam board with lightweight spackling. When dry, sand lightly to smooth. Seal board with gesso. Let dry well.
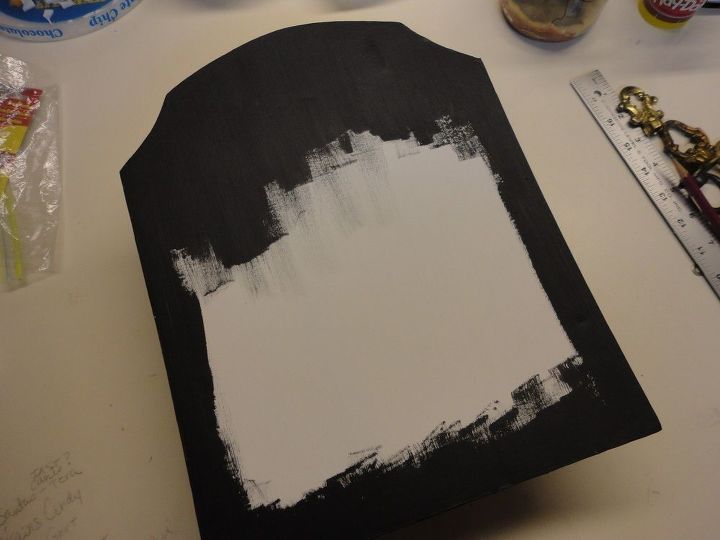
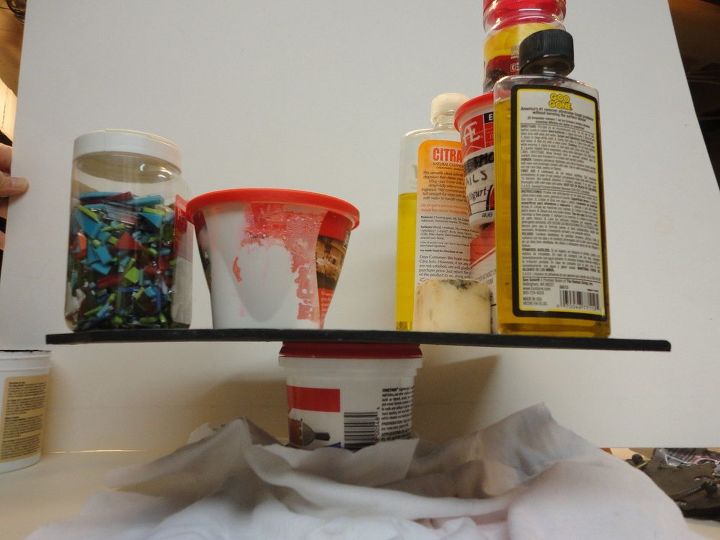
Paint the box, frame pieces, and foam board with black primer or craft paint. No need to paint where the box and foam board will be glued together. The second picture, below, may look a little strange, but the foam board will curl when painted. I laid mine over a container, weighing each end down, past center, to dry. Once dry, I turned it over, laid it flat on my worktable, and weighed it down to flatten again. Trust me, please, it works.
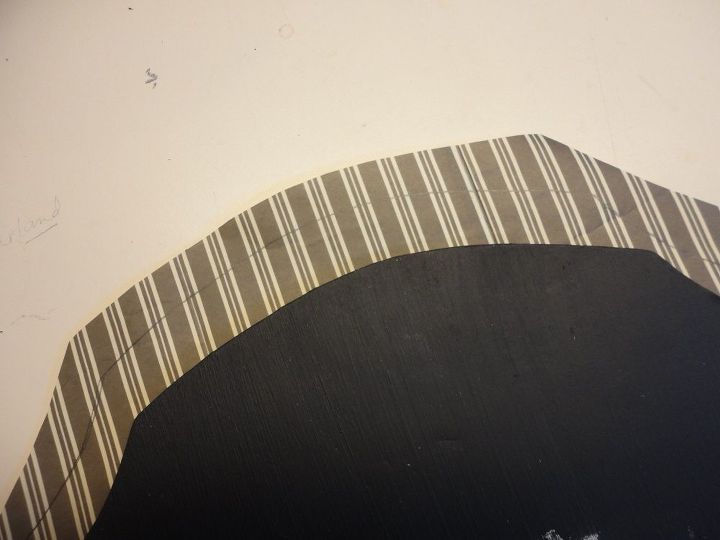
I knew I had been saving a cool, striped C.J. Banks clothing sack for a reason. After smoothing it out with a warm iron, it covered the long foam board with no seams.
There's a lot more to see! Click on the blog link below ..

Want more details about this and other DIY projects? Check out my blog post!


Frequently asked questions
Have a question about this project?