


Wallies!
Hi, Liz here from SimpleDecoratingTips.com, a DIY & decorating blog. This post is from our former house, a 100 year old house... and the entry I redid for pennies by using Wallies!
When it came time for me to do something with the walls in our very small front entry, I had envisioned wallpaper.
Then I discovered Wallies and the project changed dramatically!!
Unfortunately though, sometimes I can envision too well for my own good, and so when I went shopping for wallpaper, I really couldn't find the pattern and color that I had created in my mind for these walls.It's hard to tell in the one and only 'before' picture that I can find of the entry, back from when we bought this house,
OK, like just about impossible to tell, but there was a green and tan striped wallpaper sporting a moire satin finish in the entry... probably from the mid 80's. Once that was removed, which wasn't too hard to do... (ha ha especially considering I hired someone else to remove it for me.) but I have removed tons of paper myself, and this one really was pretty easy.
It was solid vinyl so that top layer of vinyl just peeled off, then the paper backing easily soaked in the hot steam and peeled right away, leaving the old plaster walls. There were a few cracks and pretty large blemishes, so the sheetrock guy, skim-coated the ceiling a bit, and the large cracks in the walls, leaving a pretty smooth surface for me to work on.After priming the ceiling and walls, painting the ceiling fresh white in a flat finish, and prepping and painting the woodwork, I was ready to do the walls.
The reason I finish the woodwork first, before the walls, is to give myself some grace.
When I couldn't find wallpaper that seemed right for the room, I stumbled upon Wallies.
I had no idea the range in pattern, color, size and subject matter Wallies has to offer.I previously thought of them as colorful children themed wall appliques. What a surprise.
What I had been envisioning in the entry was a black, (or soft black) and white toile feel, but, unlike most of the wallpaper I could find, I wanted the background wall to be just a little bit warmer than just stark white.
When I found this Wallies toile basket pattern, I was thrilled:
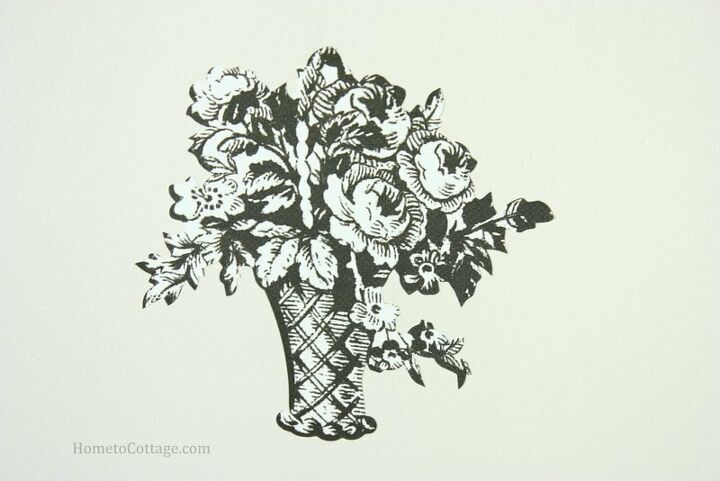
(this exact pattern is now discontinued)
But there are tons and tons of choices of Wallies available here!
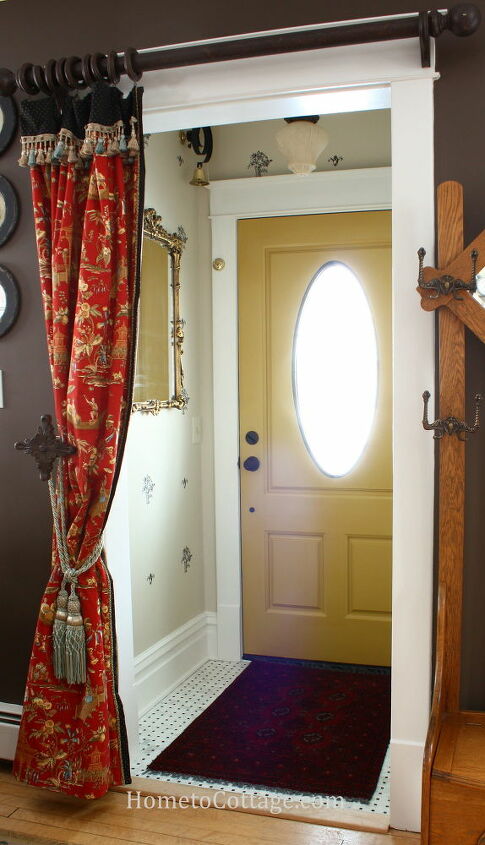
So now, equipped with the toile basket from Wallies, I could paint the wall any color I desired, which was this very light tanish grayish color, by some, this color is called 'greige'.
Once the walls were painted 2 coats and totally dry, then I could commence to create my own toile wallpaper look with the Wallies on my chosen background.
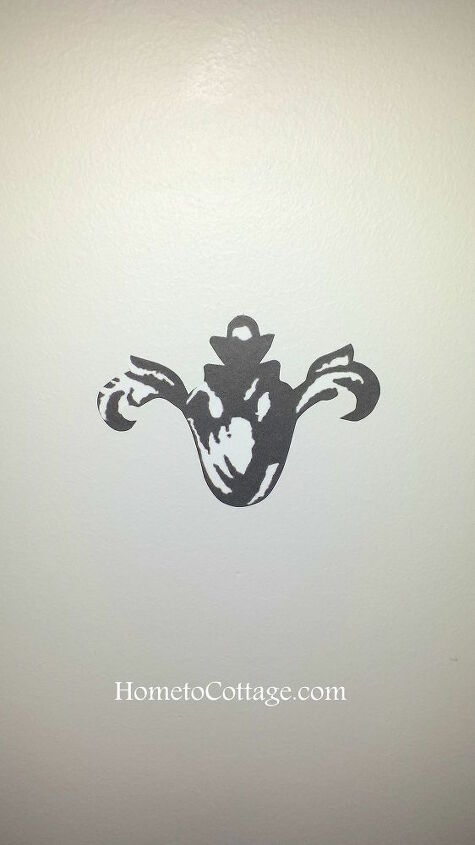
This particular toile basket pattern came with a little fleur de lis applique too. I'm referring to them as appliques, but they are totally like wallpaper, just perfectly die-cut pieces of wallpaper.
Then it came time to apply them to my wall, after I carefully measured out the exact placement pattern for each Wallie and marked it lightly with pencil.
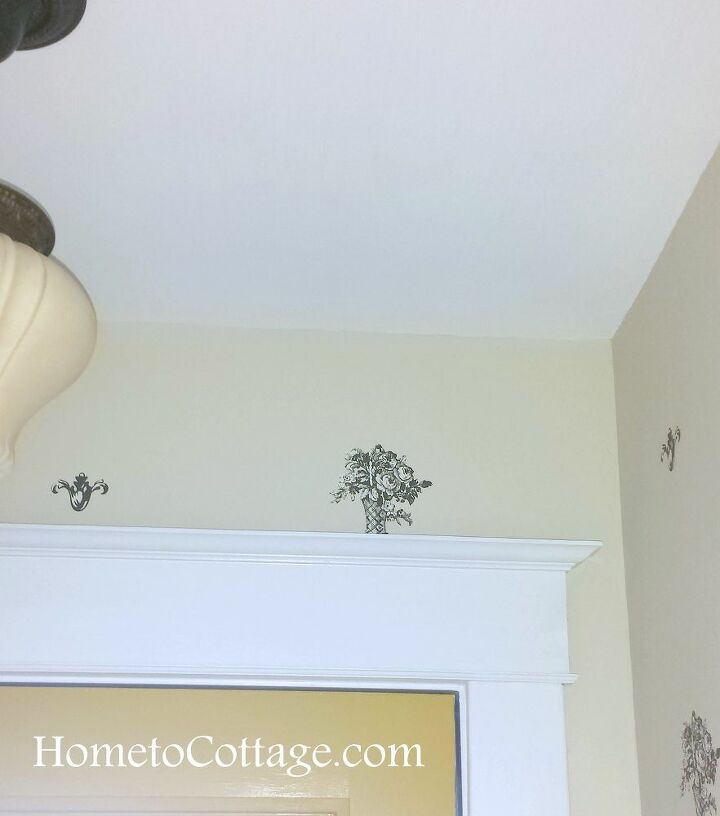
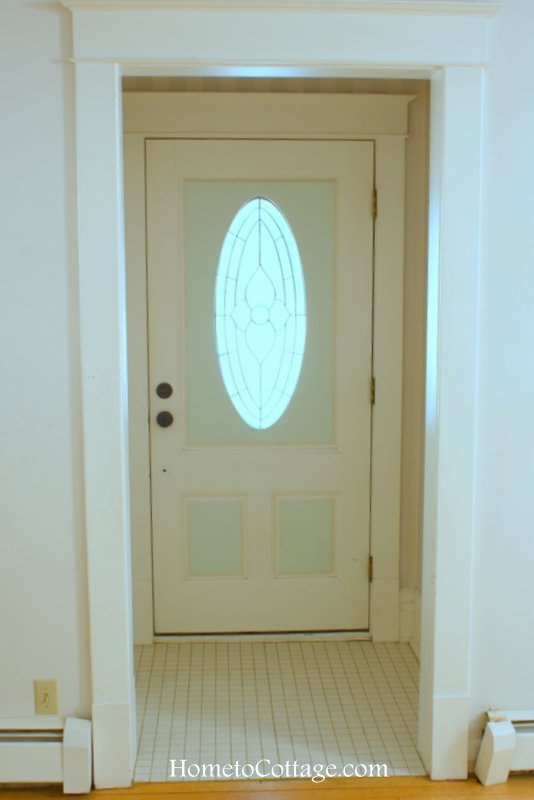
I can be a bit of a freak when it comes to patterns and such, plus, I have wallpapered a lot, so when it came time to measure and decide exactly where to place the basket and fleur de lis pieces, I was very careful to continue the pattern over the doorways to be parallel from the adjacent walls.You can see how that meant that the bottom of the basket above the door would be cut off, but that was the appropriate placement for it matching the pattern. I treated each little Wallie as how I would install prepasted wallpaper.
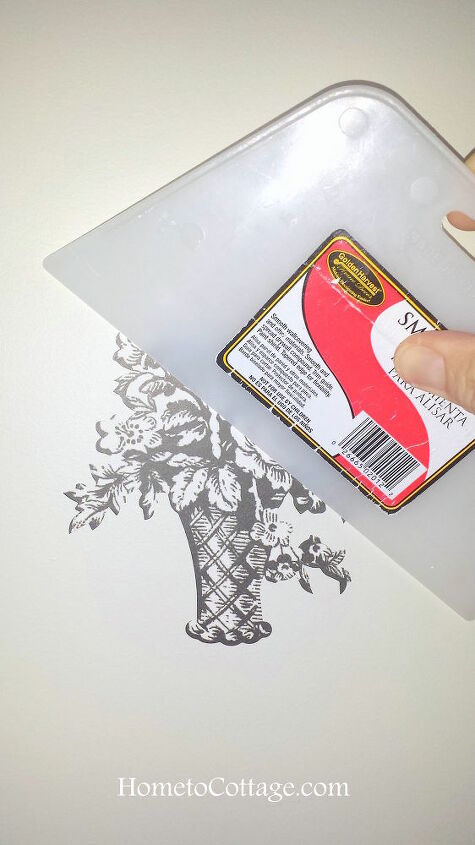
I dipped one at a time in warm water, then lightly folded it in half, not creasing the fold line, and after a couple minutes of 'booking' (which is a simple term meaning folded glue side together and resting for a couple of minutes.)
I then placed the single piece on the wall, smoothing the air bubbles out with a vinyl smoothing tool. (if you don't have a smoothing tool, for this small of a project, you could use a clean paint brush or even soft cloth)
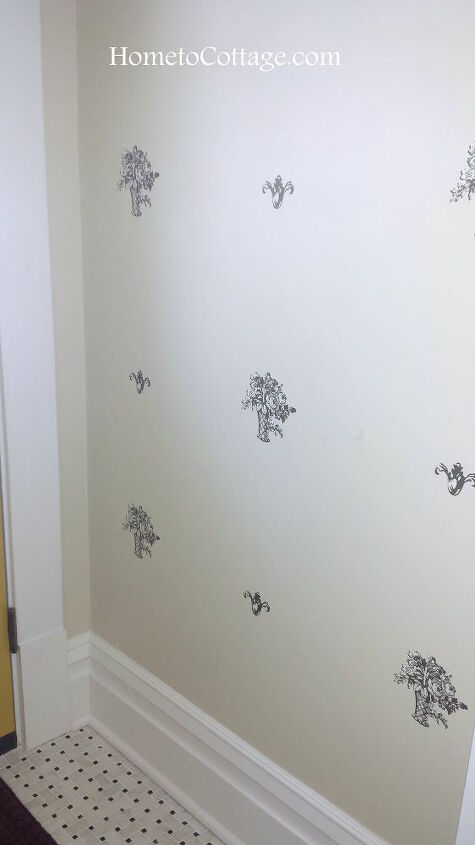
Here you can see the pattern a little better.
My goal, by spacing it out, was to help it not feel too 'busy' with pattern. I was able to do this whole room with just 2 Wallies packages! Granted, the room is only 4' x 4', but the high end wallpaper I was considering for this room would have been a couple hundred dollars, instead my Wallies investment was under $12 and I'm really pleased with the finished look.
It's fun too, when people come in, they think it's wallpaper, but then are like, wait, what?
Be sure to stop by my DIY & decorating blog Simple Decorating Tips to see all the projects I've written about...


Frequently asked questions
Have a question about this project?