


DIY Entryway Closet Makeover

Since recently updating our entryway I thought it was time to also update our entryway coat closet. This project definitely made our small closet more functional without spending any additional money as we used all items we had on hand!
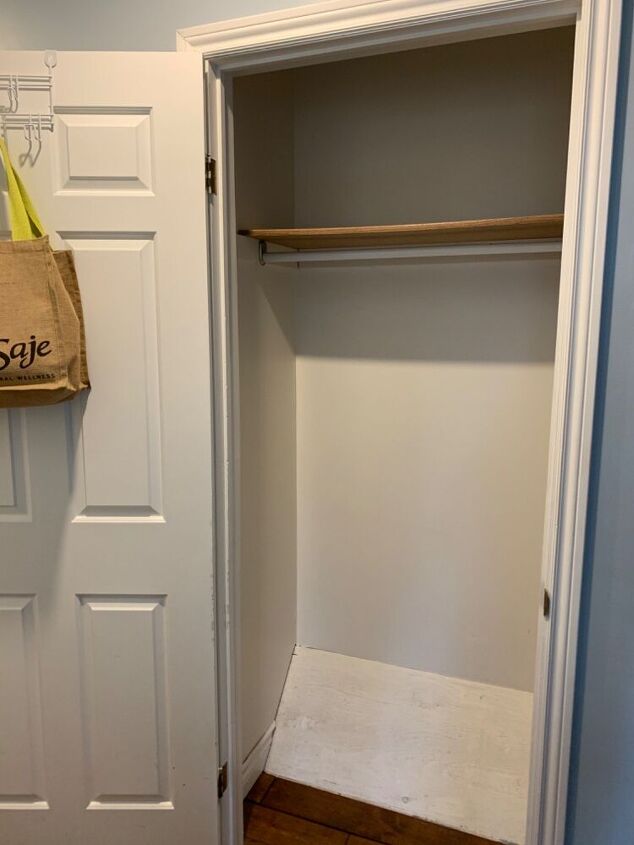
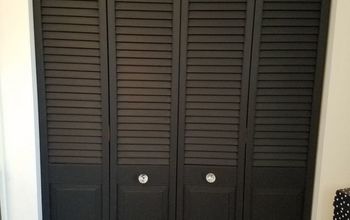
This is the before picture. As you can see there is not a lot of storage area for shoes, etc. Time to add some DIY shelving with reclaimed wood we had on hand.
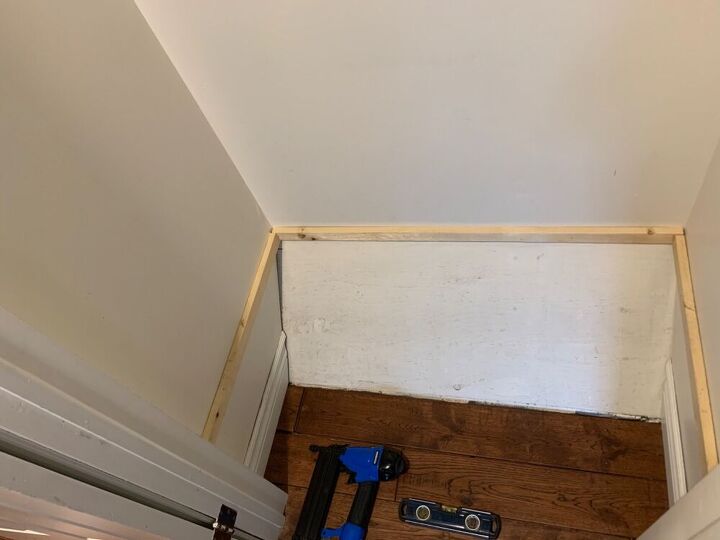
First step we did was measure the areA we wanted to add a bottom shelf to. Then we used 2” X 2” strapping to create something for the wooden shelves to sit on/nail into. We used a level to ensure the bracing was straight and screwed the bracing into the wall (try to hit studs if you can).
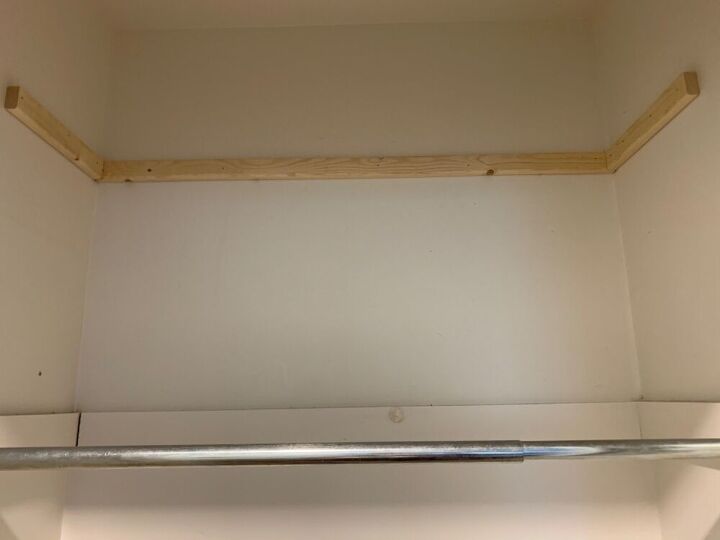
We then repeated the same process up top in the closet as we wanted to add a shelf up top for storage as there was a lot of wasted space. I also removed the existing shelf that was sitting on top of the already existing bracing as it was not real wood.
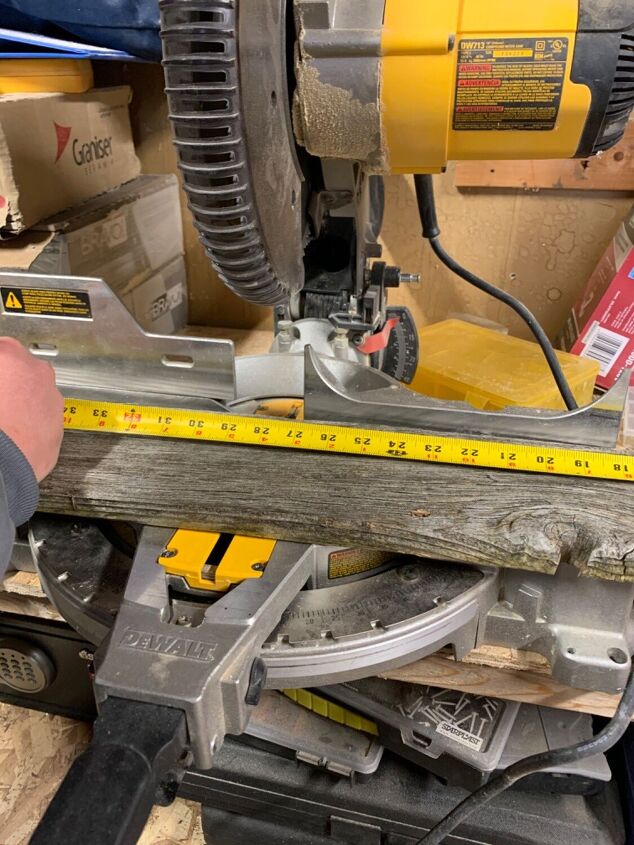
We used reclaimed deck boards for our shelves. Simply measure your space & make cuts accordingly.
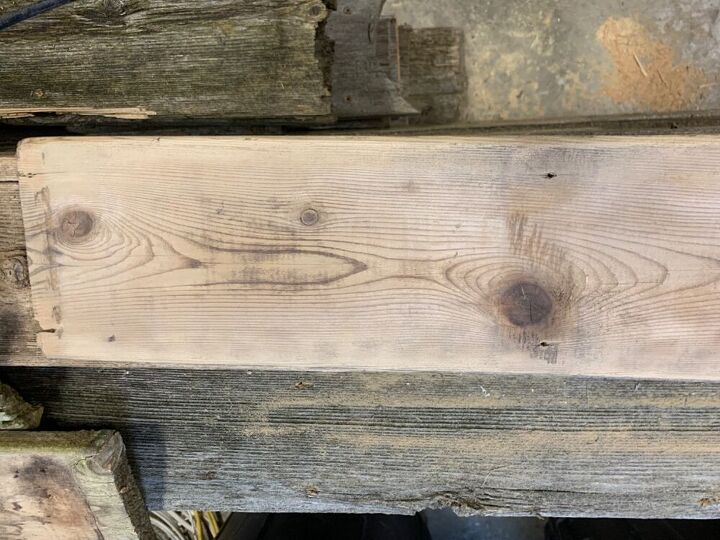
I chose to use the opposite side of the board that was facing down when used as deck boards. I personally liked the look of the lighter wood. I used my palm sander to get the boards smooth, using 120 grit.
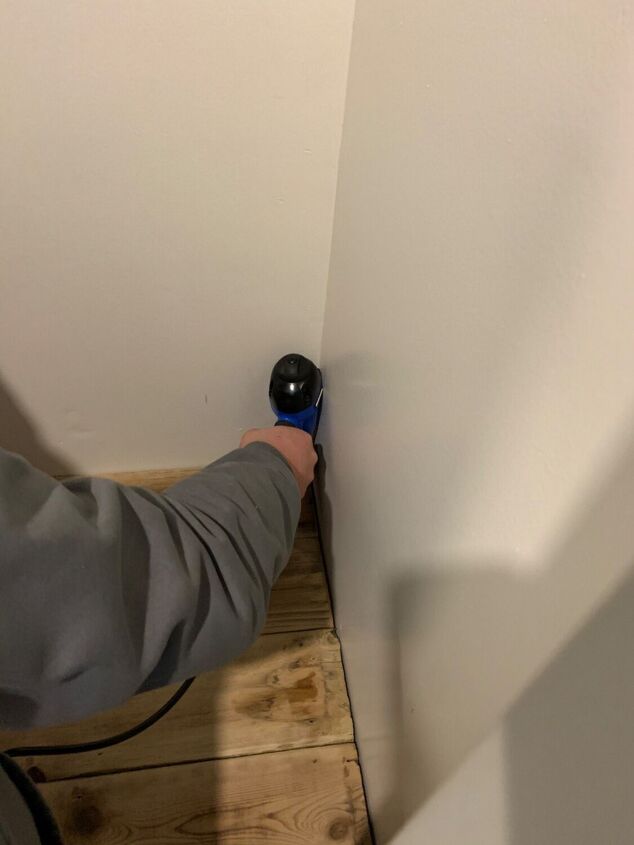
The next step consisted of nailing in the boards to the bracing. We used our Brad Nailer/finishing nails to do this step. It’s completely up to you on how big/small you want your shelves to be depth wise. All three of the shelves are different depths to maximize as much space as possible while still keeping things functional.
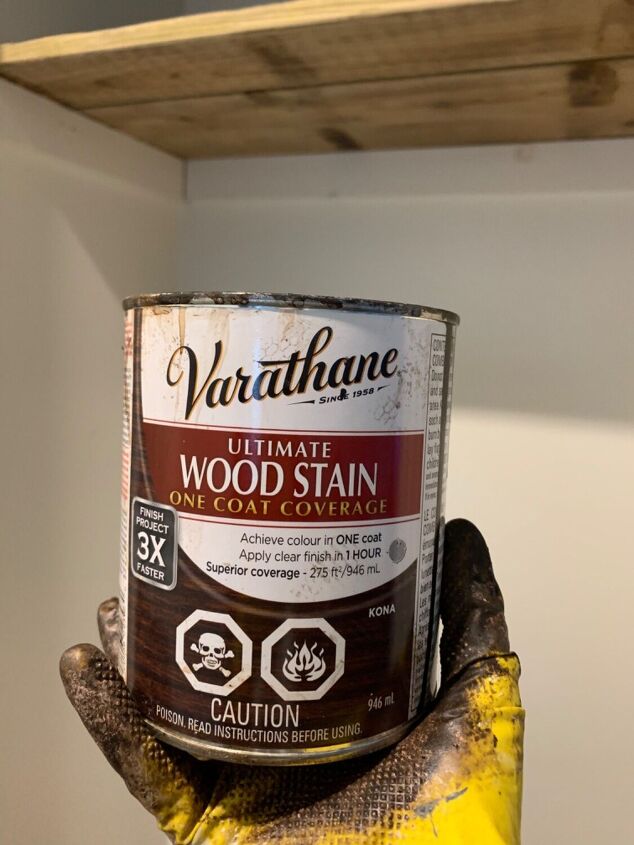
I decided to stain the bracing for very top shelf to try and match the wood we were using. I didn’t bother doing this for the very bottom shelf as you would never see the bracing. I also didn’t bother touching the bracing for the middle shelf as it was painted the same colour as the walls.
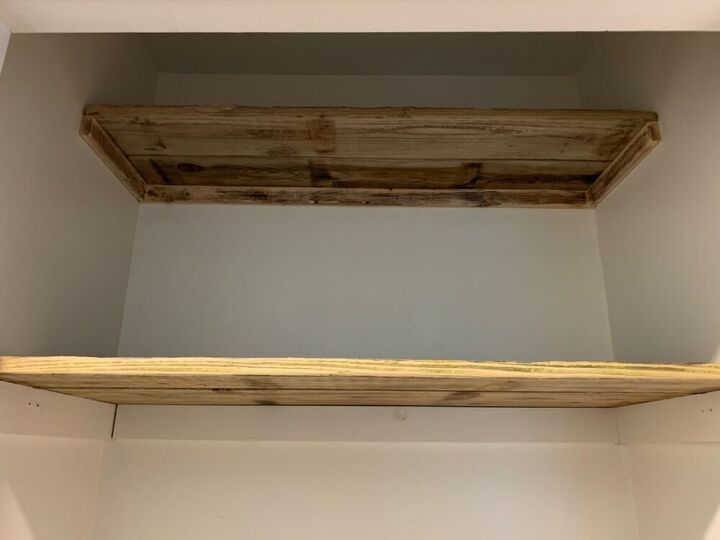
You want to ensure the good side is facing down for the top to shelves as those are the sides of the boards you will see. This picture shows the stained bracing for the top shelf.
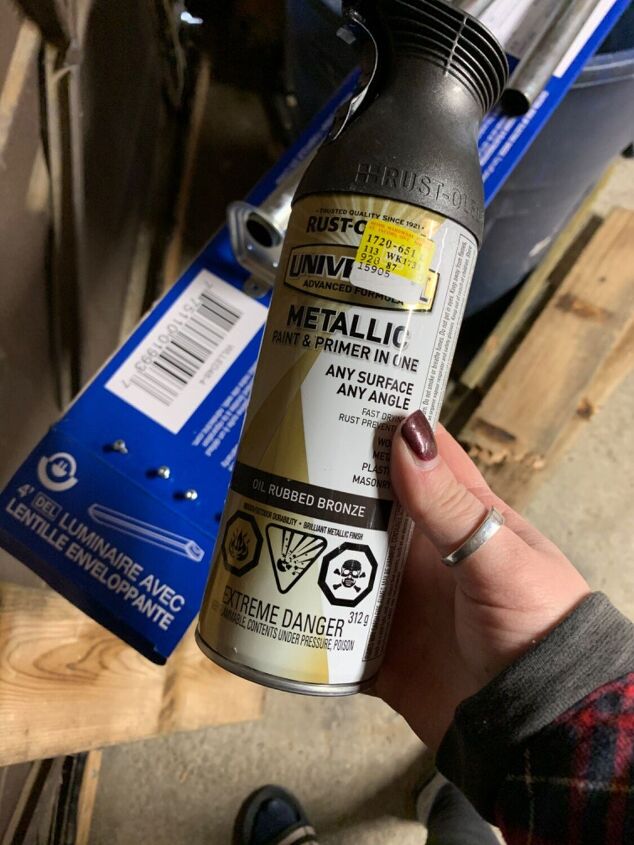
The next step is to paint the coat bar. I did not like the original metal bar. I decided to spray paint the bar and screws with Rustoleum two in one paint/primer. A tip I use when spray painting screws is to put the screws into cardboard to make it easier.

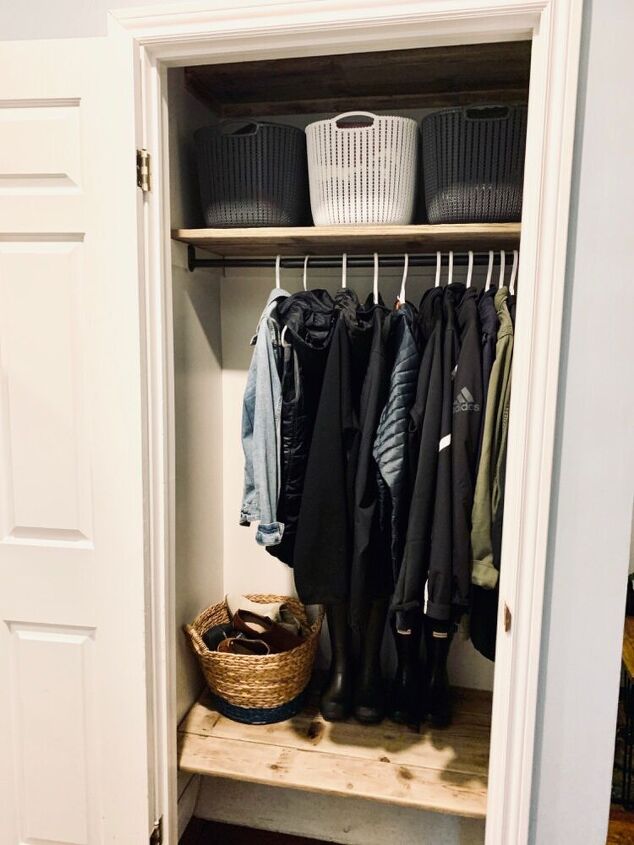
After installing the coat bar back up I then added baskets from Dollarama for additional storage. This is a great way to hide hats,gloves, etc.
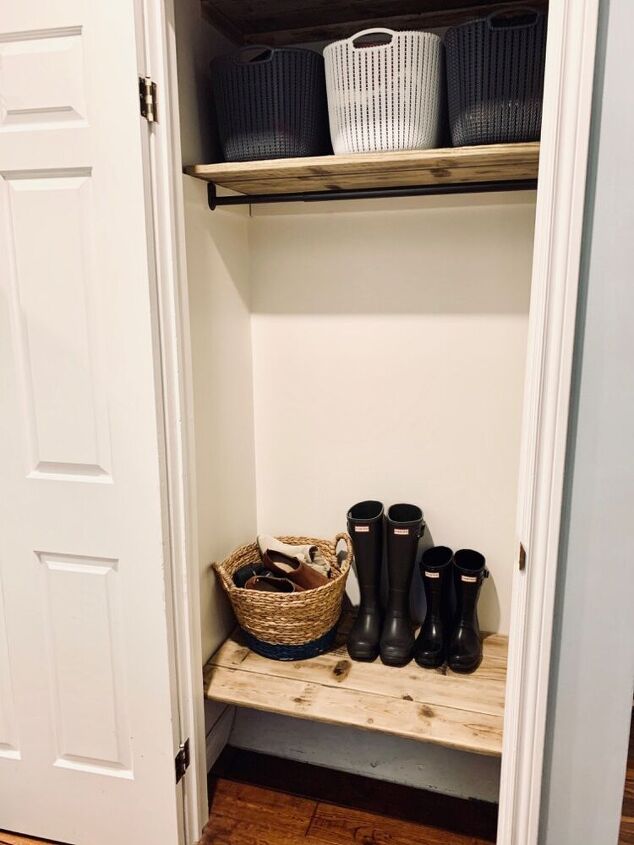
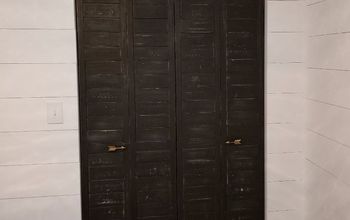
This is the finished space (without our coats). We gained way more storage for shoes, etc. I love how it turned out and that we used all materials we had on hand!
There is also space underneath for three additional baskets!
Resources for this project:
See all materials


Comments
Join the conversation
-
Awesome, and how you were able to use what you already had on hand....budget friendly!😀
Loving the way you used the baskets.
-
Yes!


Frequently asked questions
Have a question about this project?
I’m just curious about what you store in those really high bins?
How can I put lattice on Concreate outdoors
Is that bottom shelf slanted down? If so, why? How does anything stay on it?