


DIY Potato Box

Best potato box!
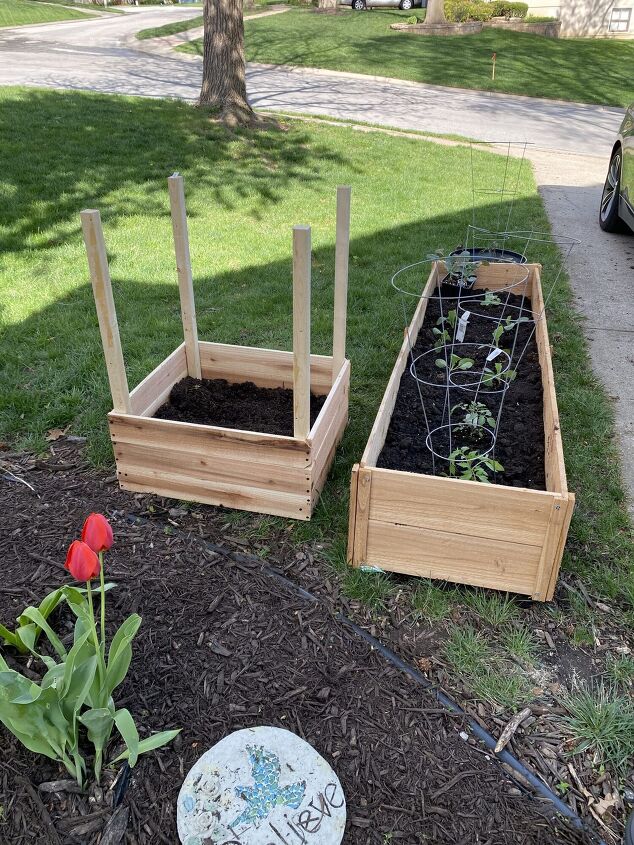
While walking around Lowe’s with the kiddos looking for vegetables to plant, they both decided that they wanted to plant potatoes. We bought them and thought I may just put them in our raised beds along the driveway. Our back yard has a forest and is so shady along with our deck where we tried container gardening the last two year. I decided to see other suggestions for growing potatoes and I found an old article on a potato box. I thought I would share the tutorial I made with you in case you want to make one also!
Materials:
6, 3.5″ x 72″ cedar fence post
1 5/8″ exterior wood screws
Wood glue
Miter saw
Drill and bits
Cut list:
4- 2×2″ at 33″ for supports
18-1×3.5″ cedar fence pickets at 24″
18- 1×3.5″ cedar fence pickets at 21″
Build:
Step 1:
Make all of the cuts per the cut list above
Step 2:
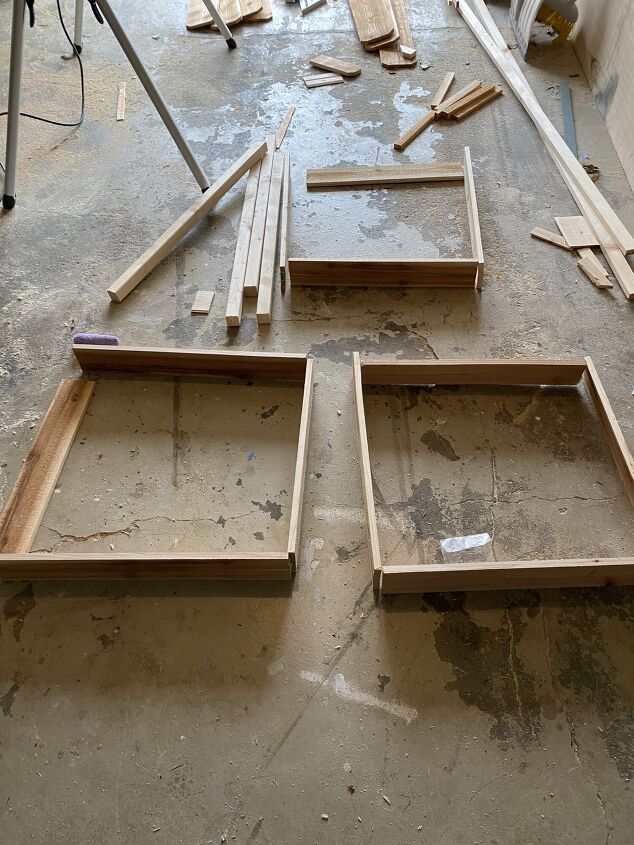
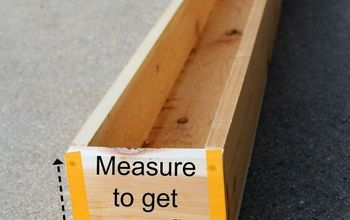
Screw together 2 of the 24″ and 2 of the 21″ pieces to create a frame.
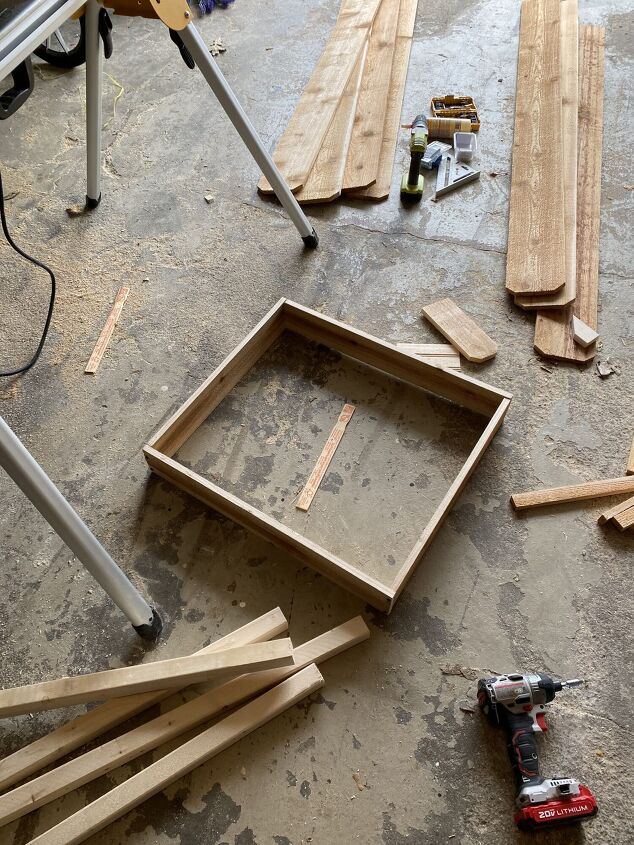
Step 3:
Repeat this process until you have 9 of these frames. These 9 frames will be stacked on top of each other to create the potato box.
Step 4:
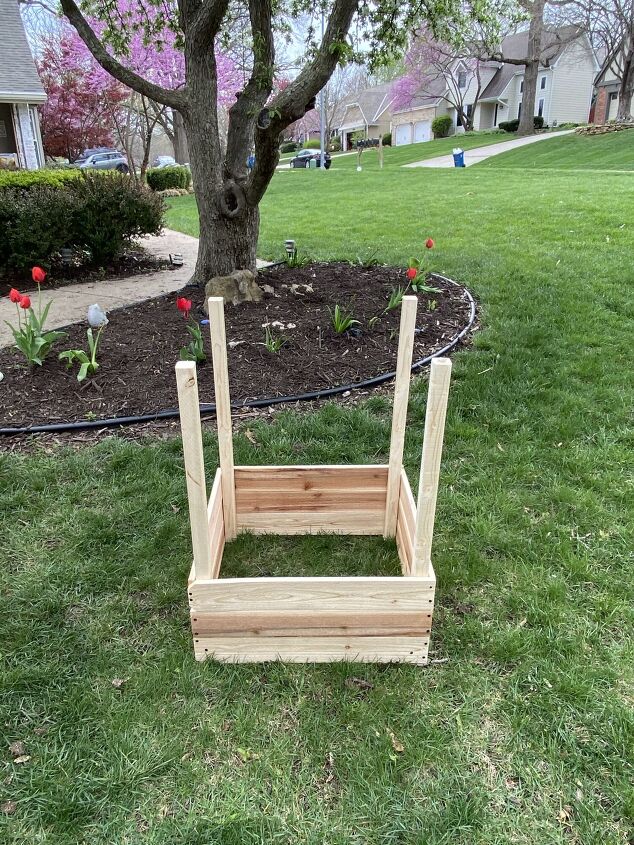
Attach the four 33″ 2×2 with screws in each of the four outside corners of your frames.
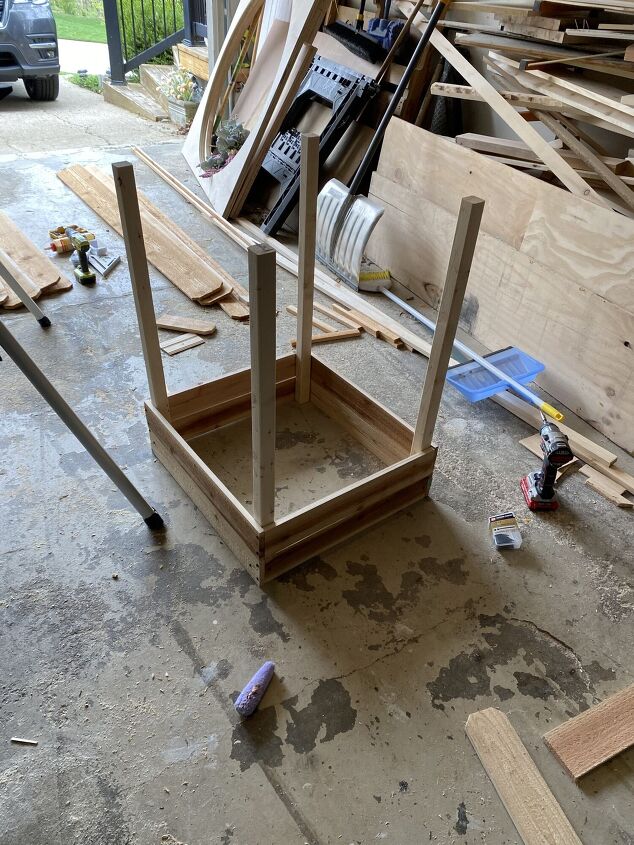
Step 5:
Stack two more of the frames onto the original base frame. This will make up area that you plant your potatoes.
Plant:
Step 6:
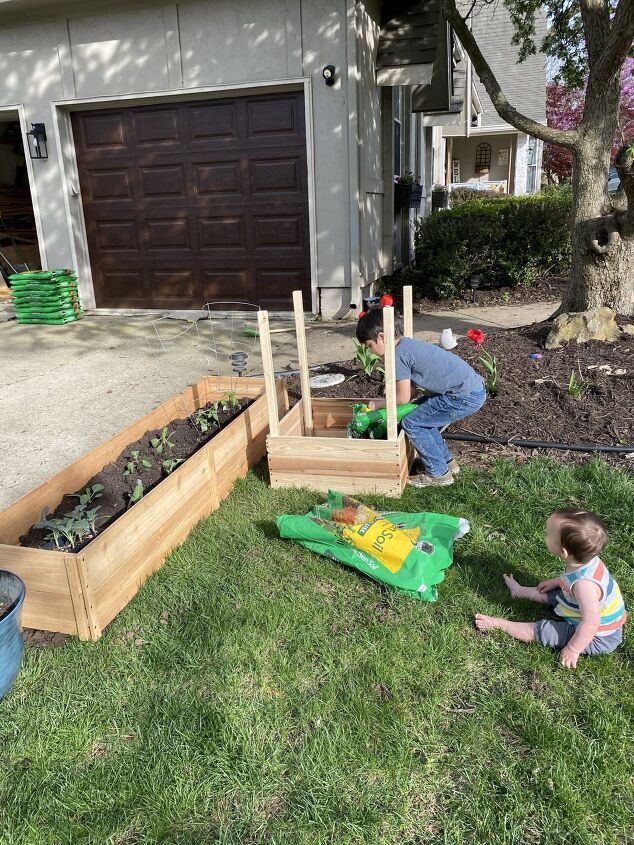
Pick the location of your planter box somewhere where you will get at least 6 hours of direct sun. Add a bit of soil to the bottom.
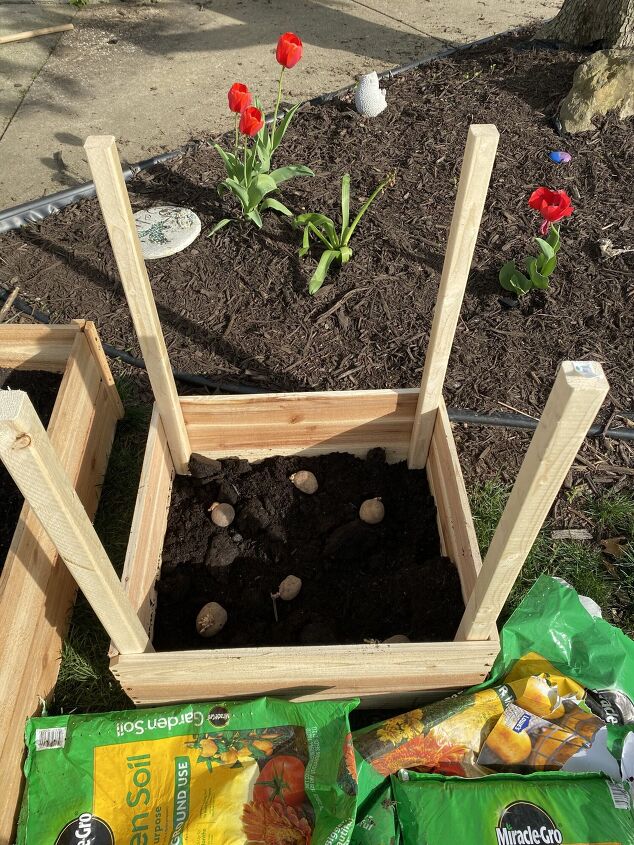
Step 7:
Plant the seed potatoes 4″ deep and cover them with soil.

Step 8:
When your plant reaches 12″ high add more frames and soil. Make sure not to cover more than 1/3 of the plant. You will continue adding soil and frames throughout the growing season until all 9 frames have been added.
Harvest!!!!
Step 9:
To harvest your potatoes remove one of the bottom frame boards so you can access your potatoes. Remove all of the potatoes on this level. Once you are done reattach board. Continue to do this process of removing frame boards until you reach the top.
Hope you enjoy the million ways to eat a potato!!


Comments
Join the conversation
-
May I suggest using small hinges on one of the sides. I would alternate for stability. Moving the hinges board to the right as I add each new frame. At Christmas time Christmas tree bases go on sale and they have great hinges where all four sides come apart. If reusing each year maybe this could be an option a cup hooks could be used in place of screws for easy removable and reattachment.
-
I agree, it does look like a great family project, plus you get potatoes! My mom always had a garden, one of my favorites was green grapes, if she would have planted potatoes, that would have been my all time favorite! Great job!


Frequently asked questions
Have a question about this project?
what does it look like with all the framing done?
How often do you remove board from each level?
How do you remove the bottom board? I thought the 2" x 2" were screwed in to the inside corners from the inside, where the dirt will be.