


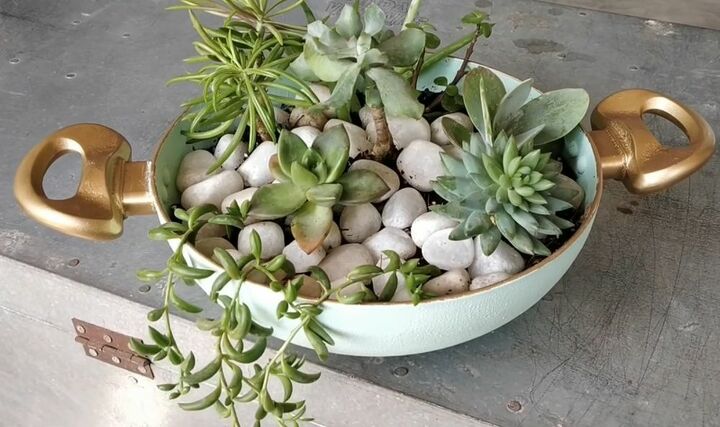
Your Guide to Making a DIY Succulent Planter From an Old Frying Pan

Over the course of this step-by-step tutorial, I’ll be guiding you through the very simple process of transforming an old frying pan into a unique and beautiful succulent planter. I used a pan with handles for my planter but when making yours, feel free to just use this guide for succulent planter ideas as it’s just as easy to make a succulent wall planter.
The whole process for this DIY project is quite simple, but there are many little tips and tricks that I found while crafting my succulent planter. I have included all of the additional tips in this guide to help you make your best succulent planter.
In my project, I've attached some feet to make it a stationary ornament that I can place outside. Use my method to inspire your succulent planter ideas, as you might find that it looks best in your kitchen or with a hanger to become a succulent wall planter. Either way, by following these steps, you’ll end up with a great-looking planter for your succulents and perhaps other plants too.
I always find that having all of the tools and materials that I need in one place is the best way to start. Having it all there makes the process much quicker and easier.
As you can see, I didn't use any special or expensive tools and materials to make my succulent planter.
Here's what you'll need for this project!
- Frying pan
- Screwdriver
- Drill
- 6mm to 8mm drill bit
- Deburring drill bit
- Black of wood
- Gold spray paint or acrylic paint
- Polyurethan
- Masking tape
- Light teal acrylic paint
- Sponge paint dabber
- Small paintbrush
- Wooden beads
- Ruler (vernier calipers)
- Sandpaper
- E6000 glue
- Potting soil
- Coconut fiber
- Succulents
- Rocks or pebbles
- Newspaper
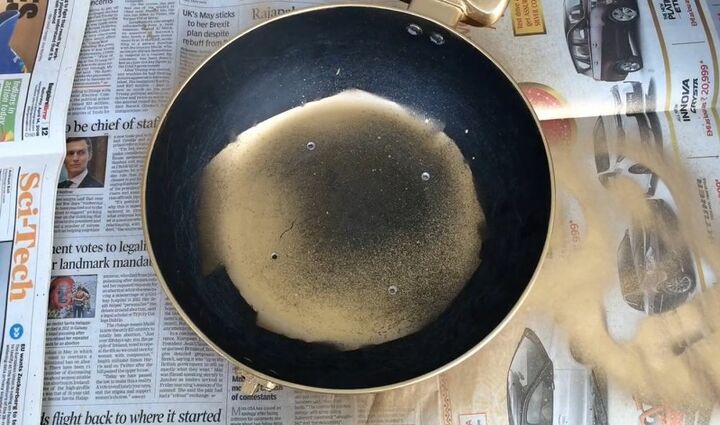
As a part of the preparation stage, I always make sure that I lay down plenty of newspaper onto the surface that I’ll be using for the project. As I'm planning to use a lot of paint to perfect my succulent planter, it’s a good idea to lay down newspaper to protect the work surface.
Of course, the most important material used in this succulent planter guide is the frying pan. When I made mine, I used a two-handled frying pan, but feel free to come up with your own succulent planter ideas using different types of pans. The key is to use old cookware that you don’t want anymore and repurpose it into a beautiful place for you to display your succulents.
Frying pans make for greater succulent planters because they’re made of metal, which will retain more moisture for the plants in arid climates. The height of frying pans also gives them an advantage over deeper pots as a shallow planter creates an even distribution of moisture.
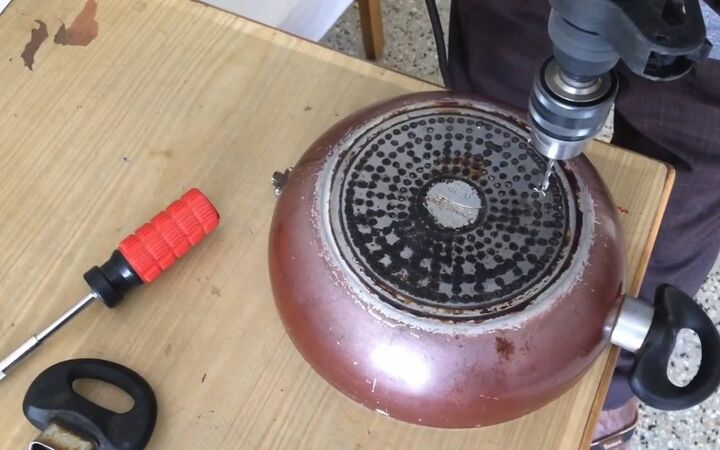
To ensure that the work surface stays intact, I put a block of wood underneath my frying pan before drilling the holes. Drilling from the inside, I made four holes in the base of the pan to allow for water drainage.
When selecting the size of the drill bit to use for drilling these holes, I didn’t want one that’s so big that much of the water would drain out, or too small that the pan would retain all water poured in. I used a 6mm drill bit, but anything up to around an 8mm drill bit should be fine.
Another good idea is to go over the drill holes with a deburring drill bit afterward. Using a deburring drill bit helps to smooth the holes, remove any burs from the holes, and create a slip that allows the water to flow out better while also removing the ridge that may stop water from flowing out.
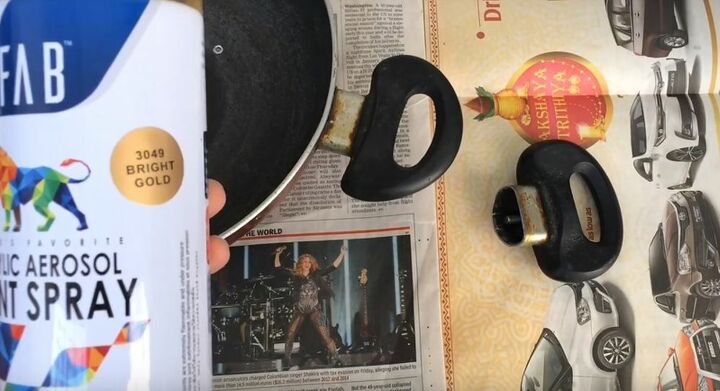
It’s not a huge problem if you can’t remove the handles, but if you can unscrew them with your screwdriver, spraying the handles gold becomes much easier.
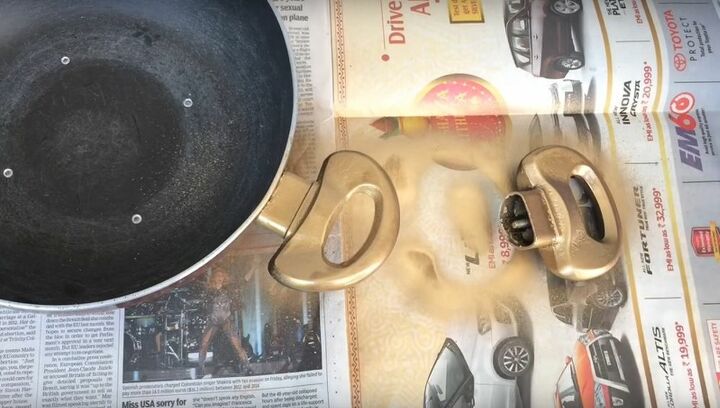
Once you have removed the handles, lay them on some newspaper and spray them with your gold spray paint. I always do at least two coats of gold spray paint as, most of the time, the handles are black, and one coat doesn’t always give a smooth, all-gold finish.
Just remember to wait between spraying each coat of gold paint: The paint usually takes between 15 and 30 minutes to dry.
If you want to keep the outside or inside coloring of your pan, I suggest you stick on plenty of masking tape around the handle that you’re going to be spraying gold.
To make sure that I don’t have too much to paint over later, I always use masking tape to cover any areas that I don’t want to be the color that I’m spraying. For my succulent planter, I chose to go with a gold rim, so I used masking tape on the inside and the outside.
As I only had a gold can of spray paint to hand, it was necessary to use a lot of masking tape to cover up the rest of my succulent planter. In hindsight, I would have used less masking tape on either side of the rim, and used a small paintbrush to paint it gold.
When coming up with your succulent planter ideas, consider buying a small pot of gold paint or spraying the gold spray paint into a small pot and then using a small paintbrush to apply it to the rim of your succulent wall planter or standing succulent planter.
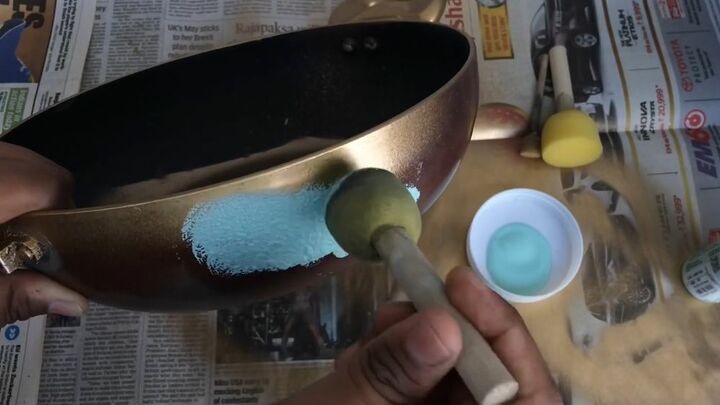
I decided to go with a light teal acrylic paint for the outside of my succulent planter as I think the color goes nicely with the gold and suits the cute plants going into my succulent planter.
Instead of using a paintbrush or spray paint, I like to use a sponge paint dabber as it allows for a bit more accuracy and less wavy application. I gave the project two coats of the acrylic paint to make the coloring stand out and give it full coverage. Be sure to give the paint enough time to dry before applying the second coat.
When I was making my succulent planter, one of the handles couldn’t be unscrewed, so getting between the handle and the rim to apply this coat of paint was difficult.
This is why I’ve now included the small paintbrush in the tools list because it is a much better tool for getting into smaller areas. Also, if you do get some teal paint on your golden handles or the gold rim, you can always touch them up with a bit of gold paint with the small paintbrush.
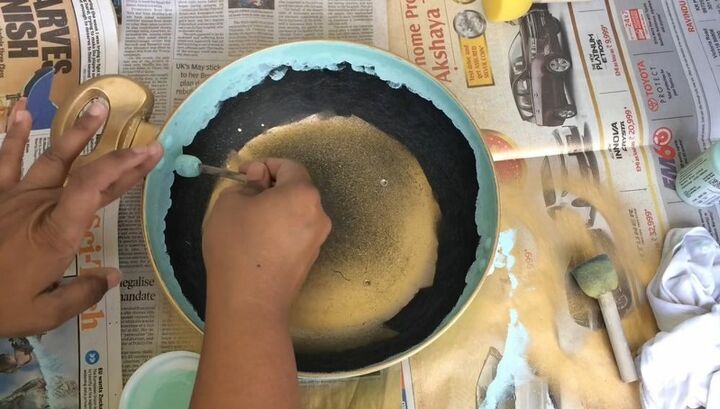
For the inside of the succulent planter, I decided to go with the same teal as I used on the outside. As you won’t be seeing much of the inside – there will be plants and soils in the pan – you don’t need to paint too far down. Of course, you can choose a different color for the inside than you did the outside.
Precision isn’t as necessary when painting the inside, so I just used the sponge paint dabber again to apply two coats of paint to just below where I want to soil line to sit.
This is the final stage of the painting so, to make sure that all of your hard work stands the test of time, it’s a good idea to spray on a few coats of polyurethane to seal in the paint.
If you’re making a succulent wall planter, you probably won’t need to add some feet to your creation. As mine was a standing succulent planter intended for hanging plants too, I needed some short legs to hold my creation a bit off of the ground to allow for water drainage.
I found that a few simple wooden beads of the same size were sufficient to make the feet on my succulent planter. Now, I am a stickler for accuracy, so I used my vernier calipers (even though a ruler would have been enough) to measure the height of each bead, making sure that they were all a similar height.
To create a good hold on the pan and to shave off a bit of height where necessary, I used a bit of sandpaper to sand down the wooden beads. With each bead measuring the same height, I knew that my succulent planter will stand flat on a surface.
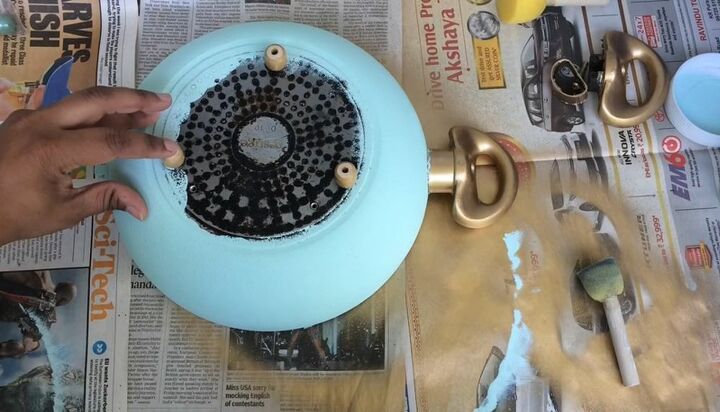
With a flat top and three even-height beads, I then used some E6000 glue to stick the feet to the base of my planter. When doing this step, it’s best to avoid sticking the feet over the holes or right beside them as being close to the water drainage can damage or discolor the succulent planter foot.
Just to make sure that the wooden beads stick down firmly to the pan, I put a few heavy items (in this case, plates) on top of the beads to give some pressure while the glue dried.
All that’s left to do after sticking the feet on is plant the succulents!
First, I put in some cubes of coconut fiber to provide air pockets and offer oxygen to the root zone. Next, I added some – but not all – of the high-quality potting soil to about one-third full, breaking up the larger clumps with my fingers.
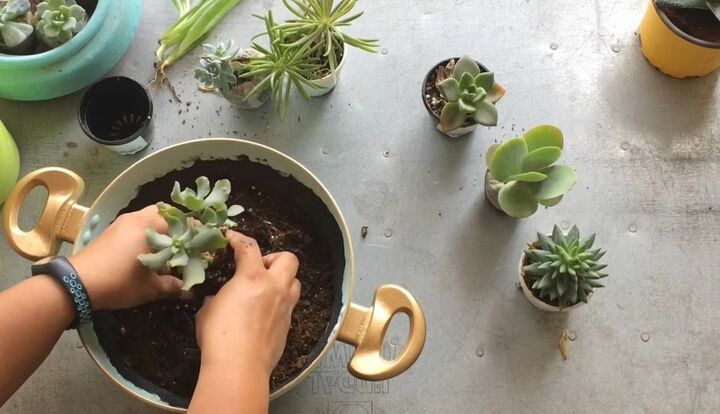
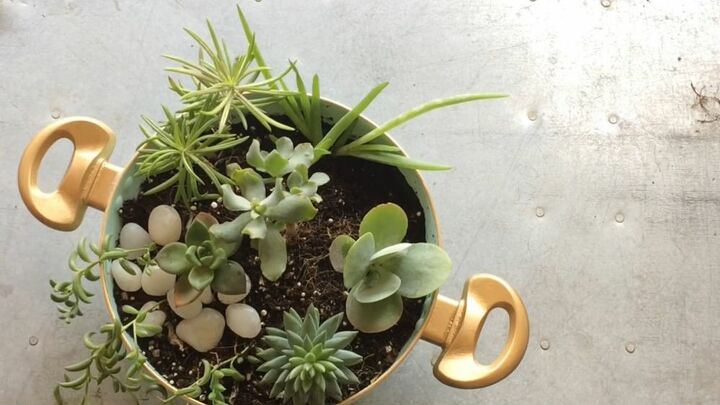
With good base soil in place, I then took the succulents out of their pots and work them into the soil. This is the part where you’ll get to play around with the arrangement to find the best setup for your succulent planter.
After finally finding an arrangement that I liked, I put on a little bit more soil in the gaps to bring the soil line to just above where I finished painting on the inside.
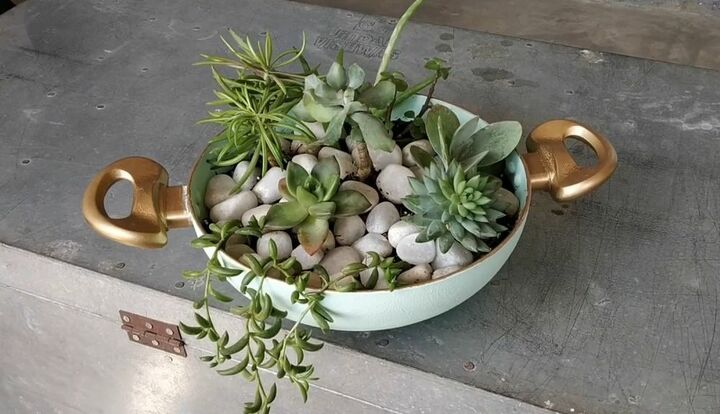
To add some final decorative elements to my succulent planter, I placed some white rocks on top of the exposed soil. I always find that doing this with my potted plants helps the overall aesthetic, but putting rocks or pebbles down also helps in another way.
Rocks and pebbles aren’t just for decoration: putting them on your succulent planter to cover the soil also helps stop the soil from blowing away as well as keeping moisture from the base of the succulent plant.
When coming up with your own succulent planter, consider the color scheme that you’ve chosen for your project as you can buy many different colored stones or rocks from garden stores. One of my succulent planter ideas was to use some colored slate, but I chose to place the white rocks as they add to the overall brightness of my display.
It’s also a good idea to consider where the planter will be placed and if it’ll be a hanging succulent wall planter. If hanging or fixed to the wall, you won’t want to add more heavy items to your creation, and if placed high up, it may not even matter what rocks or pebbles you choose if people can’t see them anyway.
Congratulations! You’ve Created Your Very Own Succulent Planter
By following the steps that I’ve laid out above, you’ll find it easy and quite quick to build your own unique succulent planter. Just be sure to take care when painting and drilling by using a block of wood under the pan when drilling and having plenty of newspaper down to cover the work surface.
Feel free to use this guide as the outline of your own succulent planter ideas as you don’t have to use the same color scheme or type of pan. I found that it’s very helpful to have a small paintbrush at the ready to apply paint to the more intricate areas accurately.


Comments
Join the conversation
-
Yes it’s a great idea 👍
-
Really cute idea. I am going to try this. I have Succulents and love them. They do not need much water maybe 2 twice a month.


Frequently asked questions
Have a question about this project?
What catches the water that drains out the bottom?
Love your idea! I just wanted to ask where you got your succulents, and what varieties did you choose? I have never had a succulent garden before, although I'd love to make one now, so I'm not sure which types are best to add to the collection. Thanks for sharing!