


DIY: Mini Crate Make Over
It all started with a cute cream and pink crate with a pretty pink flower.
It was perfect for what I wanted at the time.
But… always resourceful, I decided to reuse the mini crate in my work space.
Because my work space has a vintage vibe… a mini make over was in order.
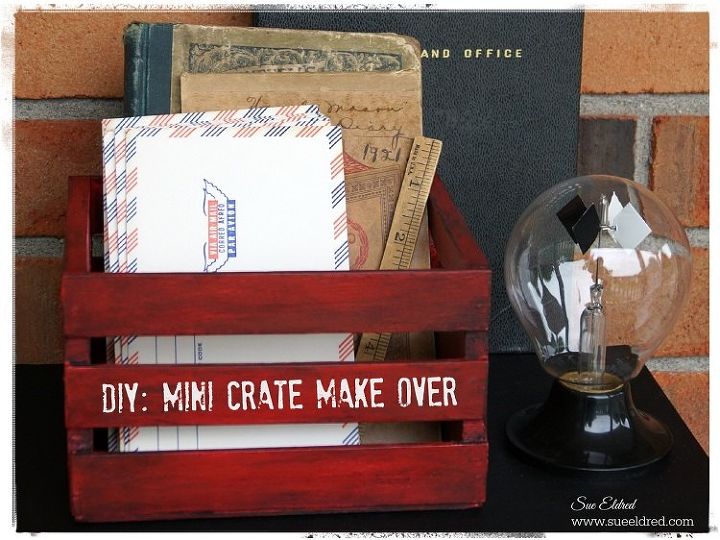
For links to the products used on the "Mini Crate Make Over" make sure to click on the original blog post link at the bottom.
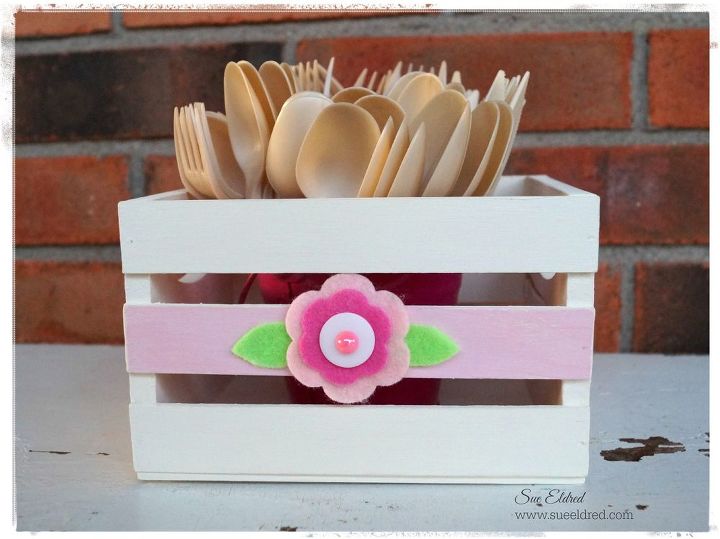
The cute cream and pink crate that I made for a Earth Day Project.
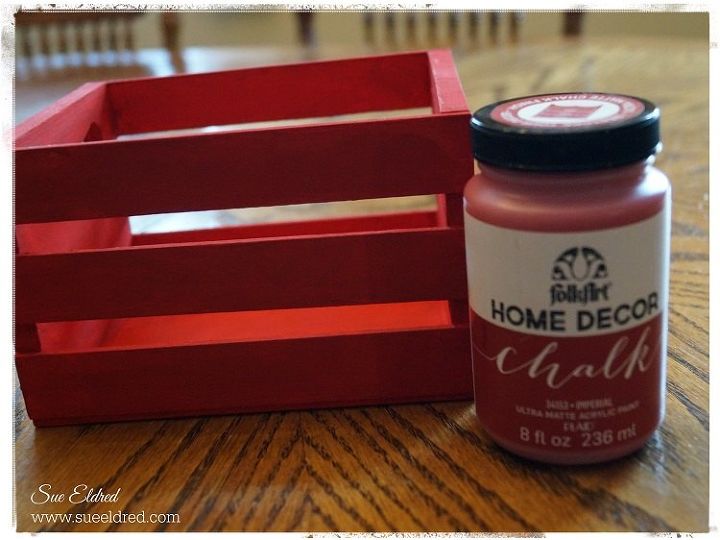
I took off the flower embellishment and gave the mini crate* a light sanding.
Then I painted the crate with FOLKART Home Decor Chalk, Imperial*.
Being an impatient crafter, I was tempted to start my next color right away. Make sure to wait. Allow a couple of hours for the piece to dry before adding the next color. (trust me)
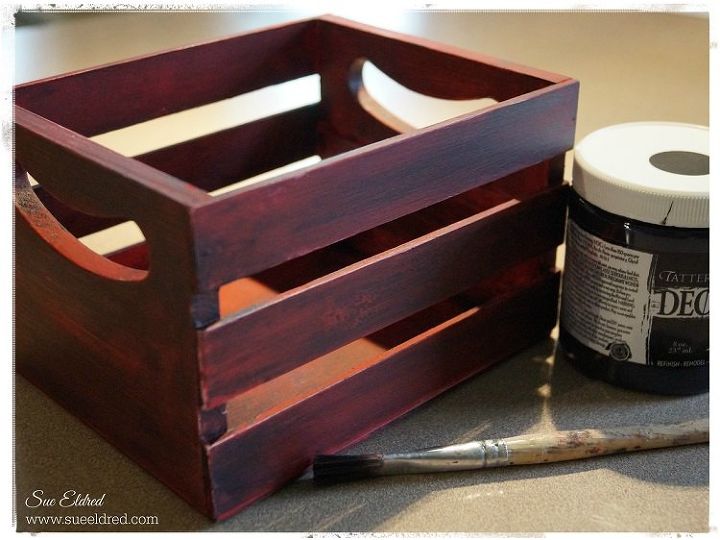
Next, I gave the crate a light coating with black Home Décor paint.
Use a small paint brush to get into those corners.
With a soft, damp, clean cloth, wipe off the black paint to give it an aged distressed look.
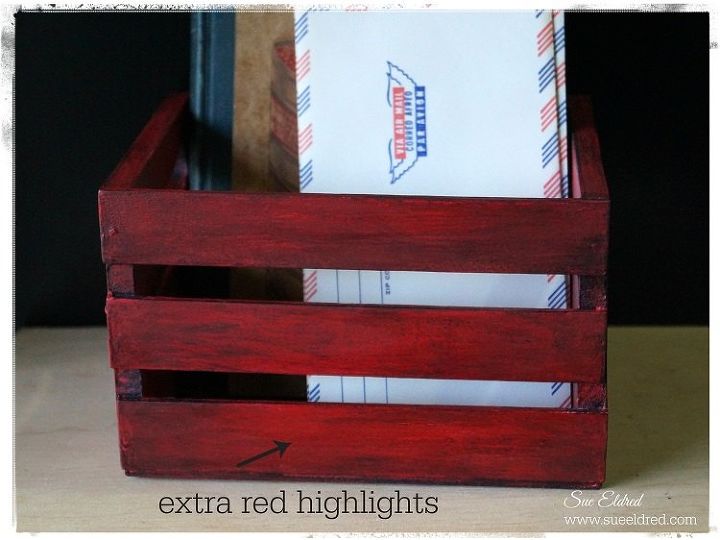
If you start to think it looks to dark, just add highlights with the red paint directly over the ebony paint.
If you like a matte finish, you can stop right here.
I wanted a little more sheen, so I applied clear Home Decor Wax.
With the wax, you apply a thin coat, wait one hour and buff with a clean soft cloth.
For more information on the products used on this project click on the original blog link below.

Want more details about this and other DIY projects? Check out my blog post!
Comments
Join the conversation
1 comment
-
What a cute and practical makeover!


Frequently asked questions
Have a question about this project?