


Dry Erase Desk for Homework

With a piece of plexiglass, glue and paint you can convert your child’s desk into a huge, fun dry-erase board for practicing spelling and maths.
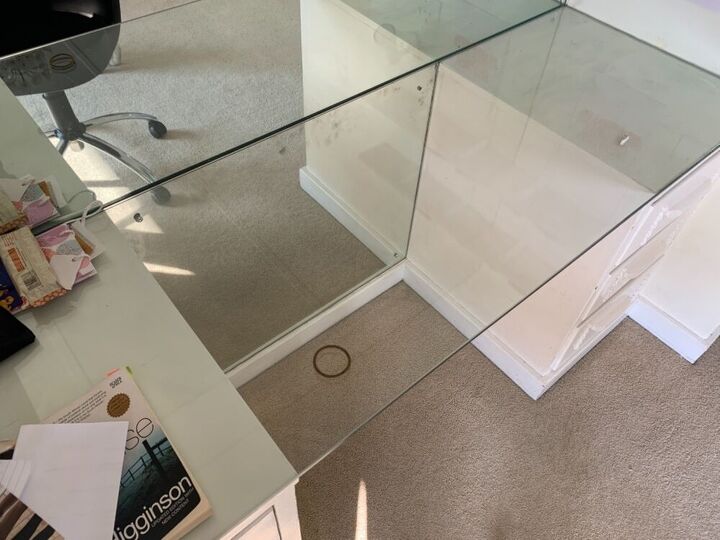
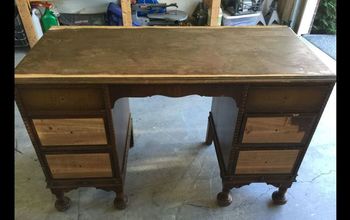
The idea for this project came from my daughter. Her study desk is an old dressing table with a glass top (thick safety glass) and she was practicing her science calculations on it with a marker. Writing on the table is a lot more fun than writing on paper, it seems. You can also write a lot bigger, which is great for smaller children. So, why not turn the desk into a feature? Anything that will encourage the person sitting at the desk to work harder.
Few people have a glass table to hand but a big sheet of plexiglass over your normal desk would work even better. Be sure to put some stoppers underneath to prevent it from moving too much and scratching off the design.
My idea involves painting the underside of the glass because this particular table has an unsupported section in the middle but you could also just put a paper sheet with a fun design beneath the plexiglass to get the same effect.
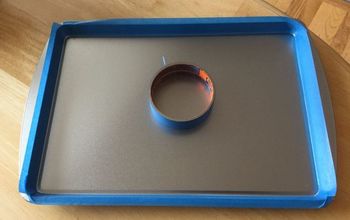
Clean the back surface
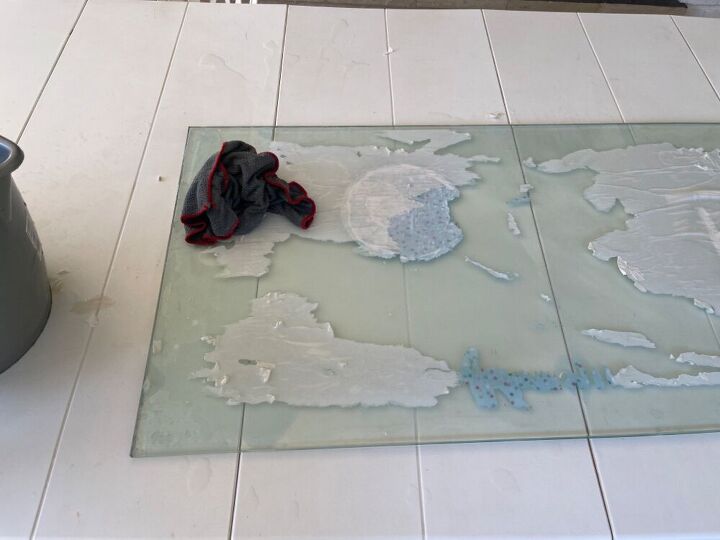
I took off the glass to clean. This particular plate of glass required a bit more elbow grease than normal because I had experimented with sticking paper and mod podge. Normally you would get away with a good wipe or some spirits, anything that you would wash windows with. Remember that you are painting on the back so that side needs to be particularly clean and that you could be adding marks as you handle the pane.
Draw out a design
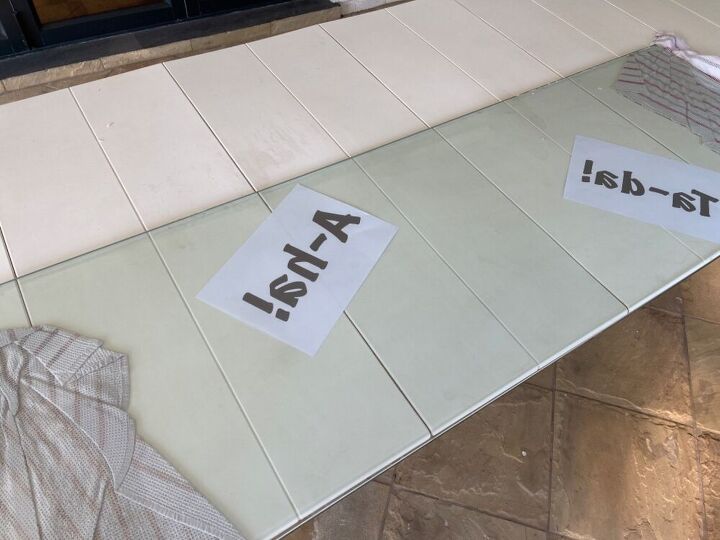
I drew out my design on paper and placed it in position underneath the pane. Putting tea towels beneath lifts it off the table a bit and makes it easier to handle. You are working in reverse on the back of the glass which means that you need to reverse any lettering. This is quite easily done on a home computer. You also need to think about where your child would naturally write whilst sitting at the desk, how he/she would sit, how long her arms are and whether she is left or right-handed.
Don’t make the design too busy and keep the main writing surface light, otherwise the desk will look messy and your sprout won’t be able to read his writing.
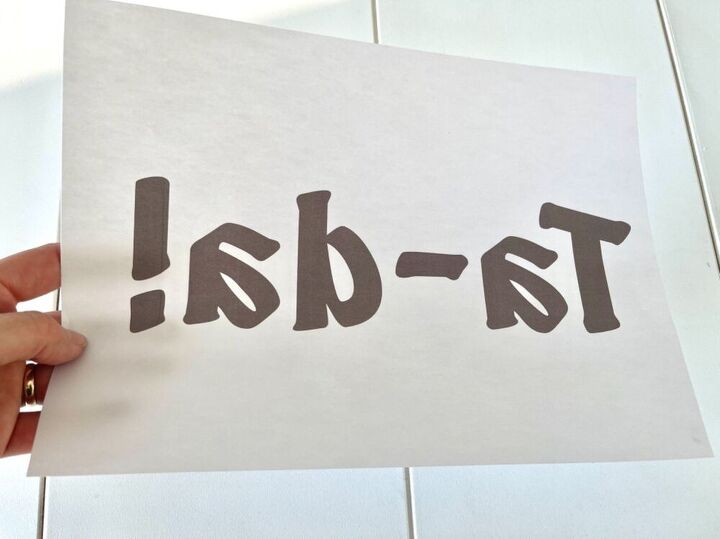
I did the lettering in Procreate and flipped it over.
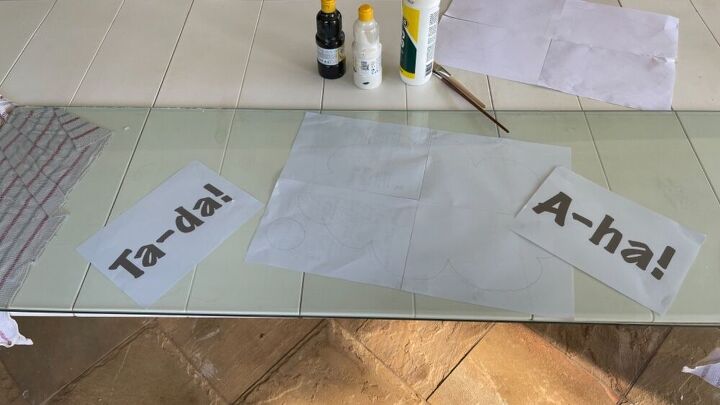
Check the layout
Working in reverse plays tricks on one's mind so I took a photo of the layout on my phone and then reversed it to see what my design would actually look like. It needed some adjustments.
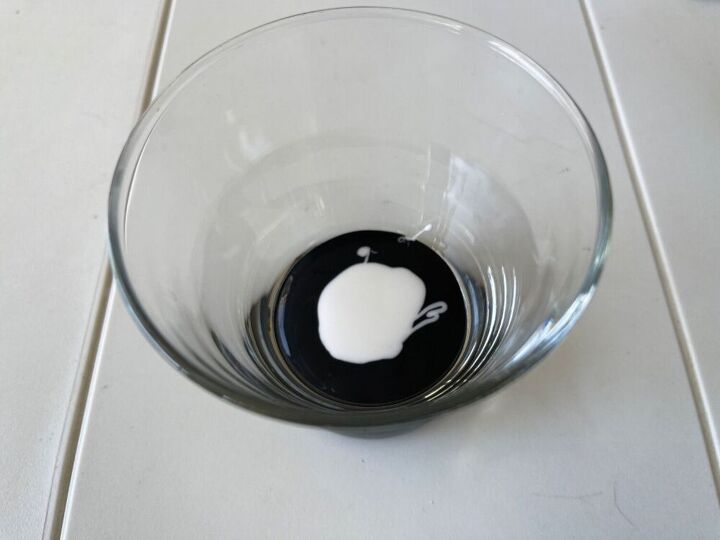
Mix paint and glue
I used cheap poster paint mixed with a blob of wood glue but you can also use acrylic. In both cases the design can be easily removed and updated. Using enamel paint (without glue) or specialized glass paint will give a more hardy, long lasting result. You could also use stencils or vinyl. Or, as mentioned, just create a design on a big sheet of paper and pop it under the glass.
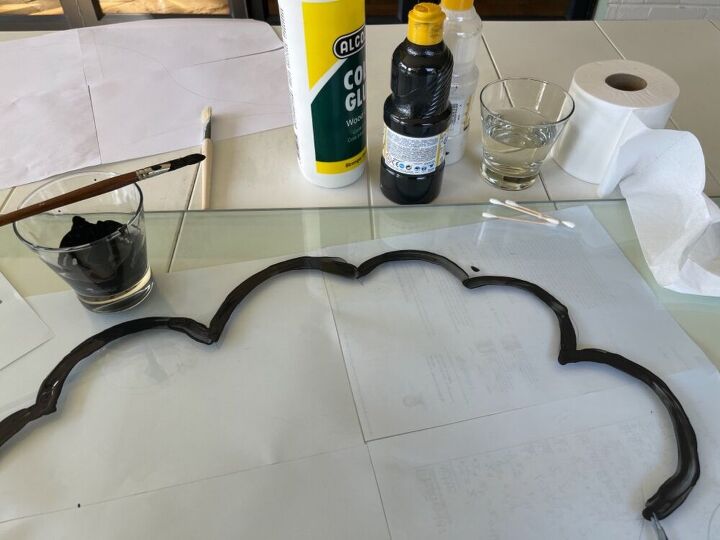
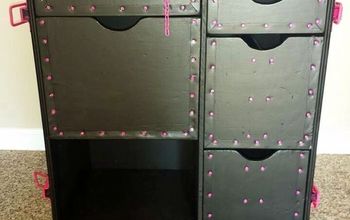
Start painting
The black outline was done first, followed by the white. The paint seems very thin in places so use a nicely loaded square, soft brush. Hold the brush horizontally and don't press down too hard. To prevent freehand painting tremor, I found it helps to sit with my elbow or wrist on the glass but I had to be careful not to smudge or leave marks. You may also have to go over sections again - bear this in mind when you decide on a design because if you design is too intricate you are going to struggle.
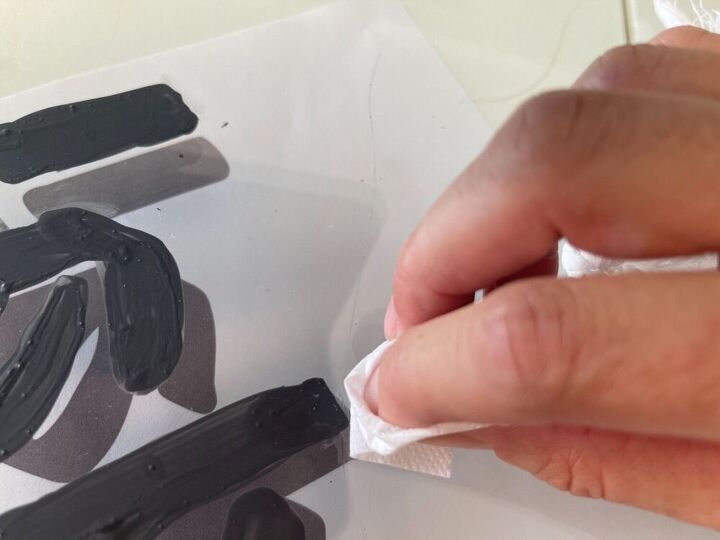
Clean the edges
Use a damp Q-tip and toilet paper to tidy the edges. I ended up wrapping clean pieces of toilet paper around one Q-tip in order not create so much plastic waste. The quicker you clean the edges, the easier it is.

I used a bigger brush for the larger areas.
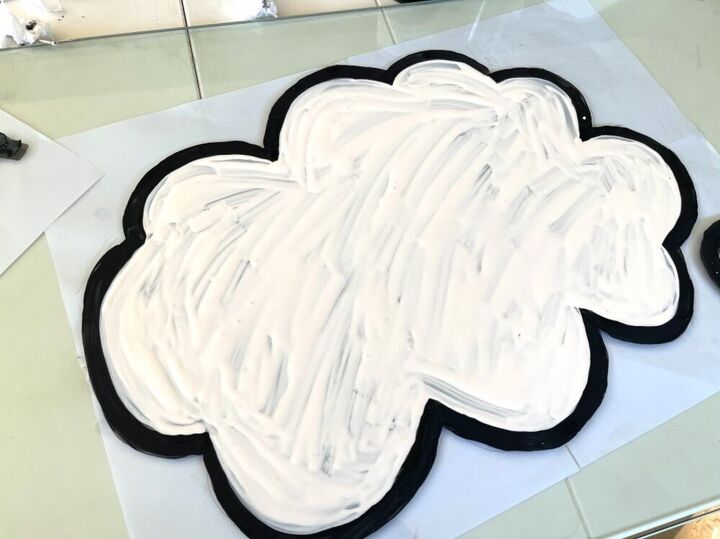
The fact is that you will not be able to see how good the paint coverage is until it dries. The picture above was of the first coat and there were a lot of visible brush marks - not great for my cartoon thought bubble design. I had to give it a couple more coats.
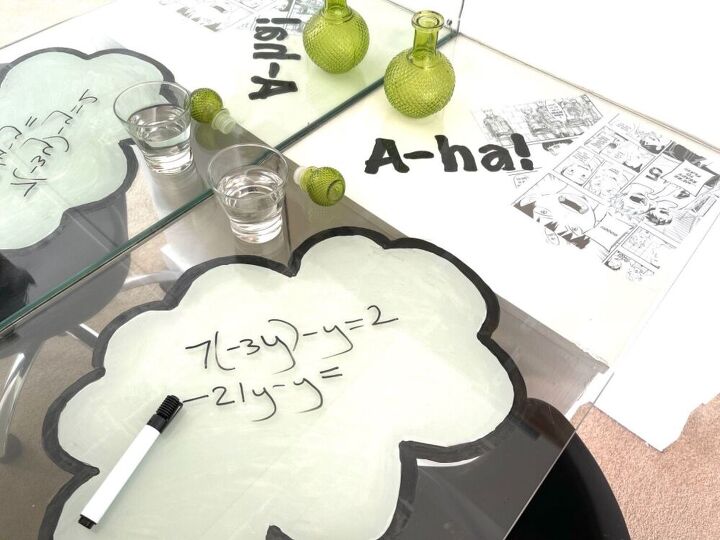
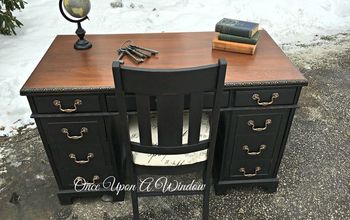
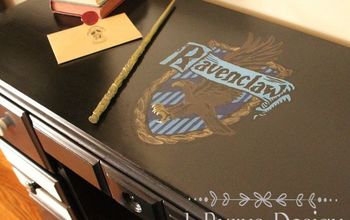
With the paint dried and all the edges cleaned up, the only thing that was left to do was to put the glass back into place. I also added some photocopied sheets from comic strips beneath the glass to complete the graphic novel look. If you don't want to paint the glass you could always use just this method to create the same effect.
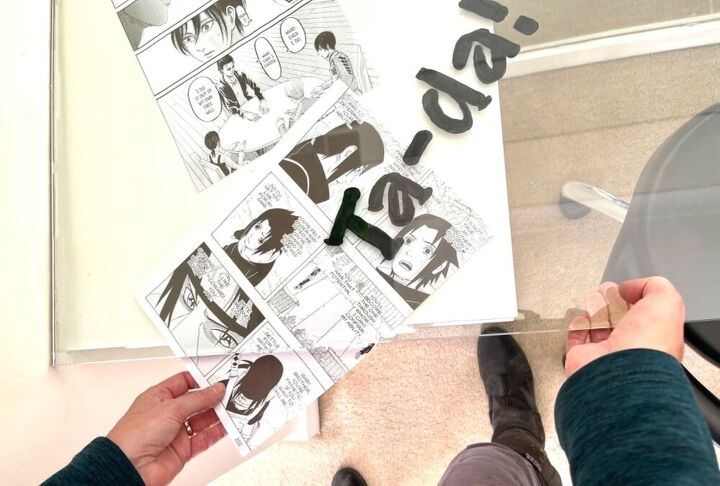
I added some comic strips.
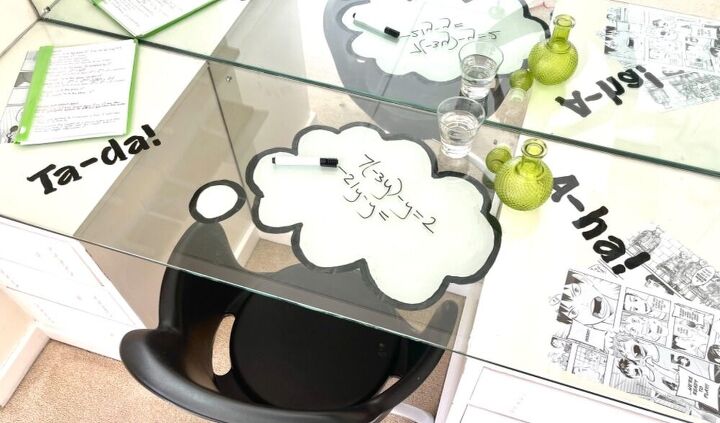
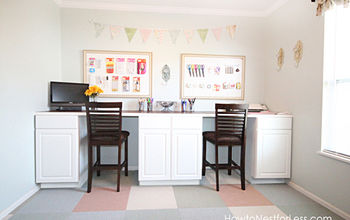
Never mind using it as a dry-erase board,I like the overall look so much I would use it in an office too.


Comments
Join the conversation
-
Fun and functional! Love the whiteboard clouds! I would be doodling the heck out of those.
-
Thea, this is a fabulous idea, wish I thought of it when my boys were in school . As always you are ahead of the curve !


Frequently asked questions
Have a question about this project?