


How to Update and Office Chair

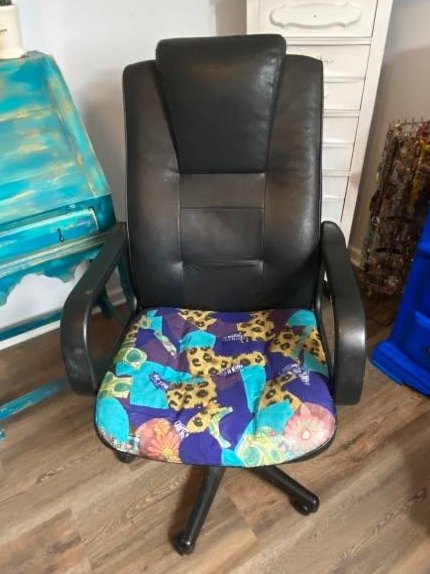
I had this structurally sturdy office chair. But the seat was damaged and ripped. So I decided to give it an easy update!
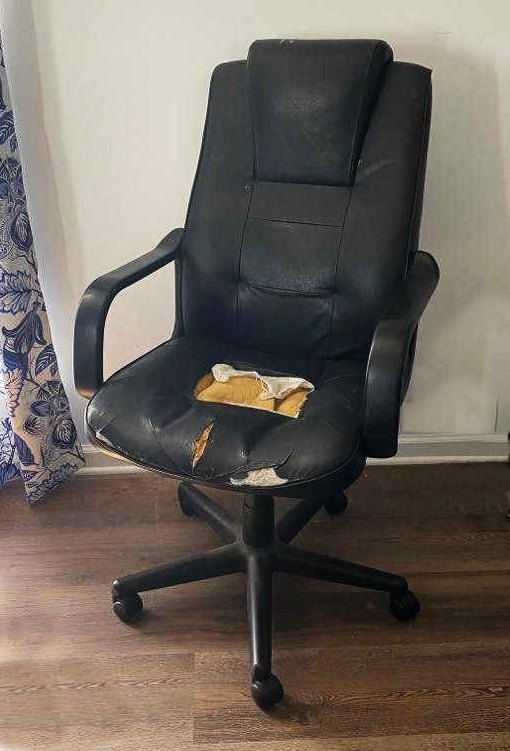
You can see what an eyesore this chair has become. But it is quite sturdy and still functionally sound. Let's fix this seat and give it a new look.
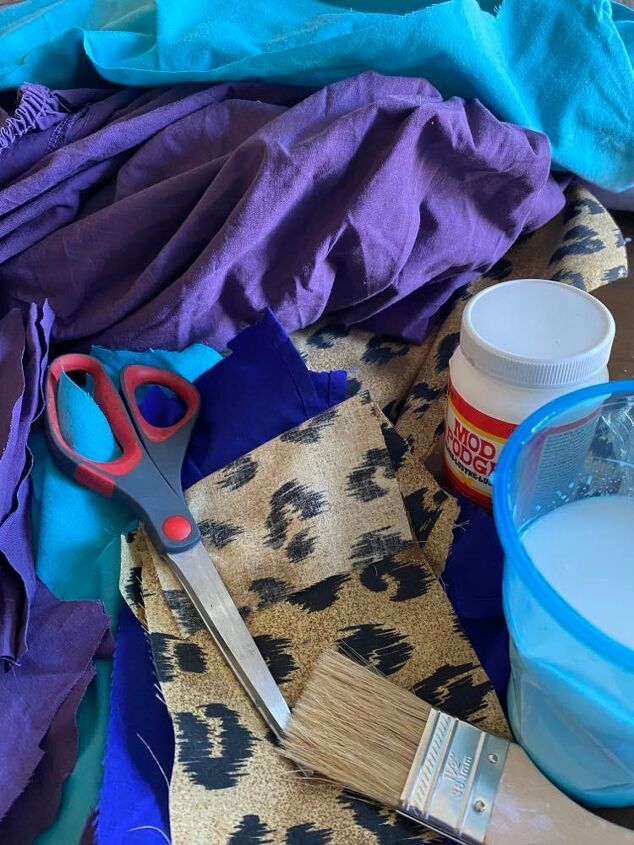
I grabbed some leftover fabric including old pillow cases and project remnants. I selected bright and bold fabrics.
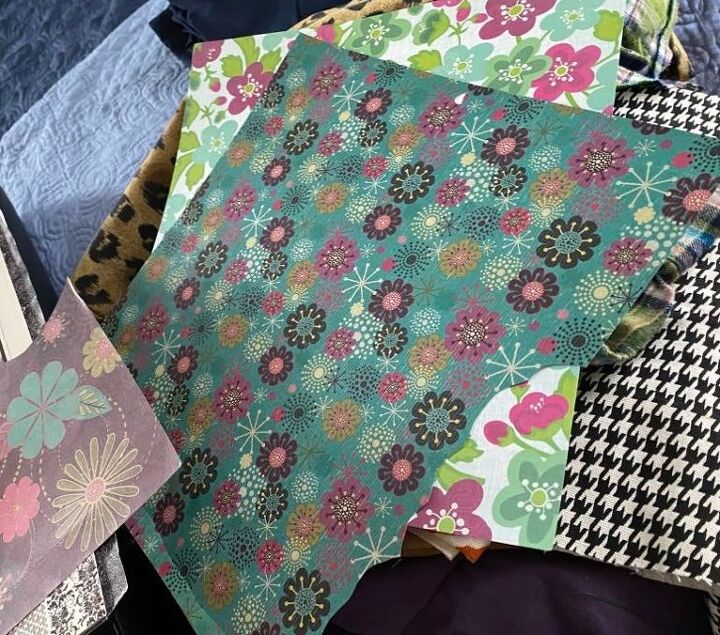
I also selected some colorful scrapbook paper with complementary designs to add some interest to the seat
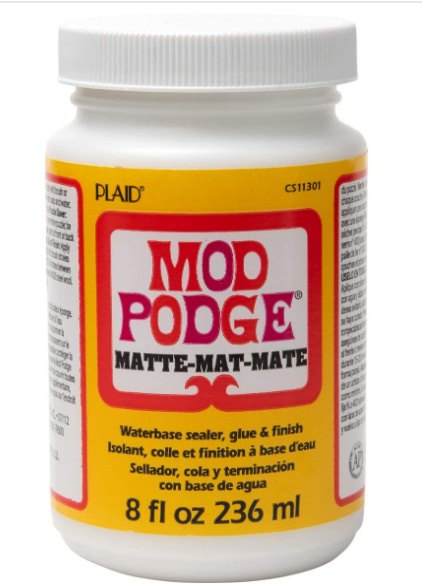
Mod Podge is just what this project needs. Mod Podge is a liquid glue-like product that is perfect for adhering both fabric and paper in decoupage projects.
Before adding the new seat surface, I needed to repair the torn seat. I used duct tape to cover the ripped area. This provided a smooth surface for the fabric. It also ensured that the seat would not be further damaged by daily use.
In order to properly clean the chair in prep for the Mod Podge, it was necessary to disassemble the chairs by removing the arms and the back of the the chair.
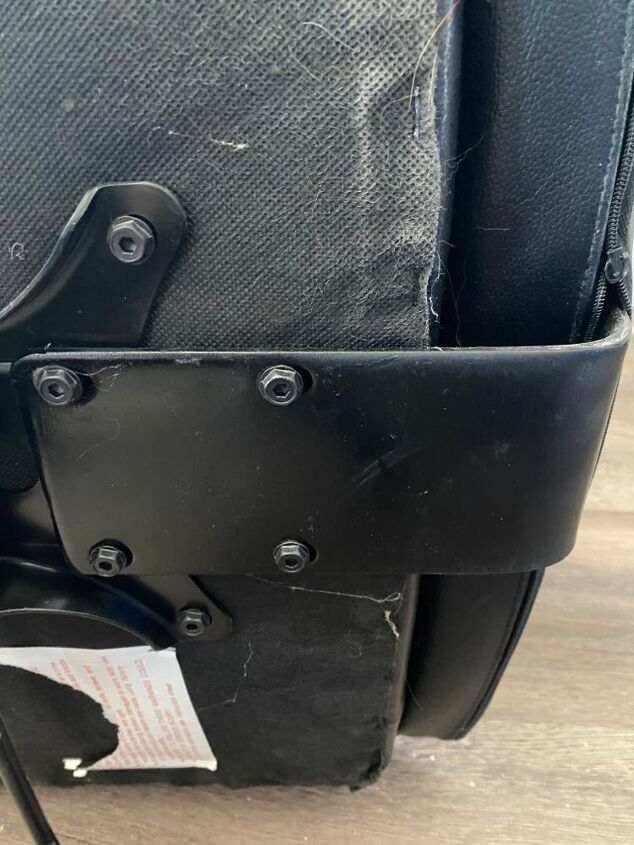
Both processes were completed by removing a few screws.
I cut strips and squares out of the fabric. Work in a small area about 8" x 8". Once that area is complete, move on to another areas. Brush on a liberal coat of Mod Podge. Lay the fabric onto the Mod Podge. Smooth the fabric onto the seat surface with your fingers eliminating air bubbles or bumps. Apply a think coat of Mod Podge over the fabric. Select your next piece of fabric, brush some Mod Podge onto the seat, then lay the next piece of fabric down slightly overlapping the edges of the last piece that you Mod Podged into place. Continue until you have covered the entire surface.

I used a patchwork pattern for my seat but you can use any pattern of your liking.
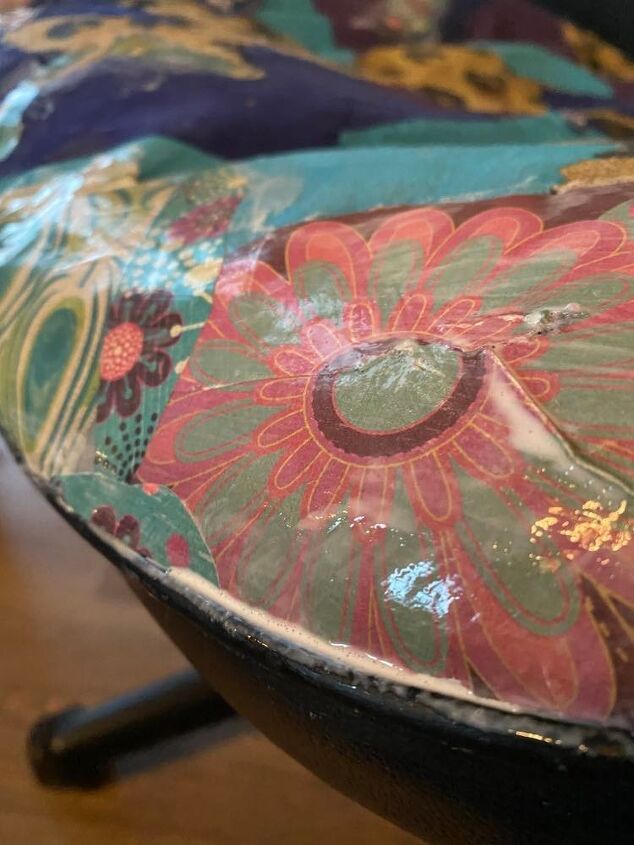
I Mod Podged beyond the edge of the seat. Once the surface had completely dried, I trimmed the edges with sharp scissors and/or a razor blade. I gave the seat one more coat of Mod Podge allowing the liquid to pool in the edges ensuring the edges were sealed.
I allowed the seat to dry for 24 hours. You might want to allow additional drying time if your coats are thicker.
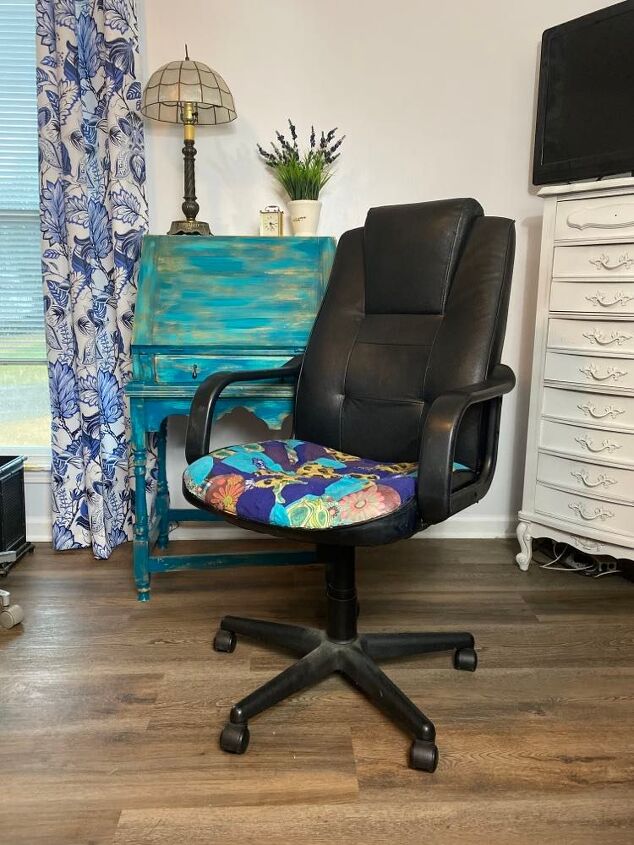
This was an easy project! And I don't need to spend $150 on a new office chair!


Comments
Join the conversation
-
I have a chair very much like yours and was going to chuck it. Now at least I have an idea of how to make it useful again. Thanks for the duct tape hint!
-
I'm wondering about the comfort level of the chair, whether it will hold up to spills, & whether it is noisy or crunchy sitting on it.


Frequently asked questions
Have a question about this project?
Can you do this with a cloth seat?
Can I try this on leather torn i. Car seat
Really cute, and simple. Definitely can see ur artistic self each time it's used. But, why not also cover the top half?