


Hidden Storage for Charging Cables

So many charging cables…so little patience! I was so tired of searching through a ball of tangled cables that I decided it was time to take control.
I had been storing my ever-growing ball of charging cables in a bowl. Very frustrating.
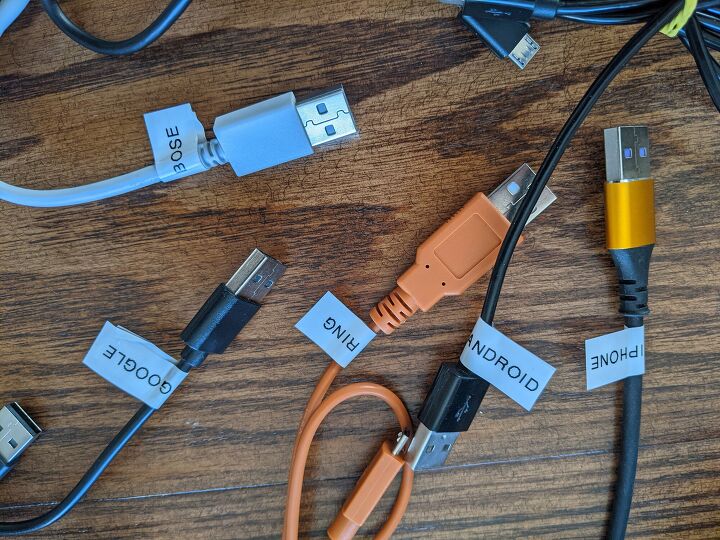
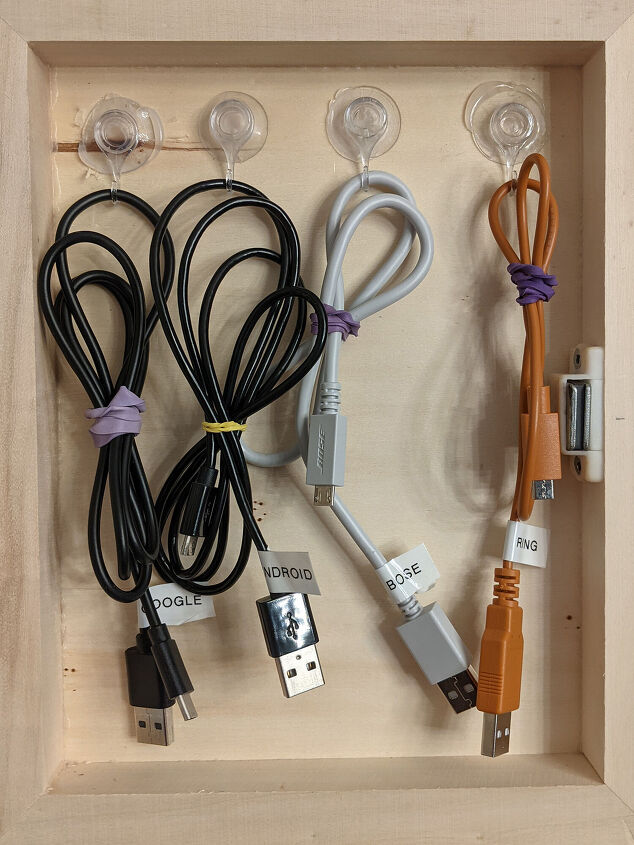
The first thing I did was sort out the cables, gathered them with elastic bands and labelled them.
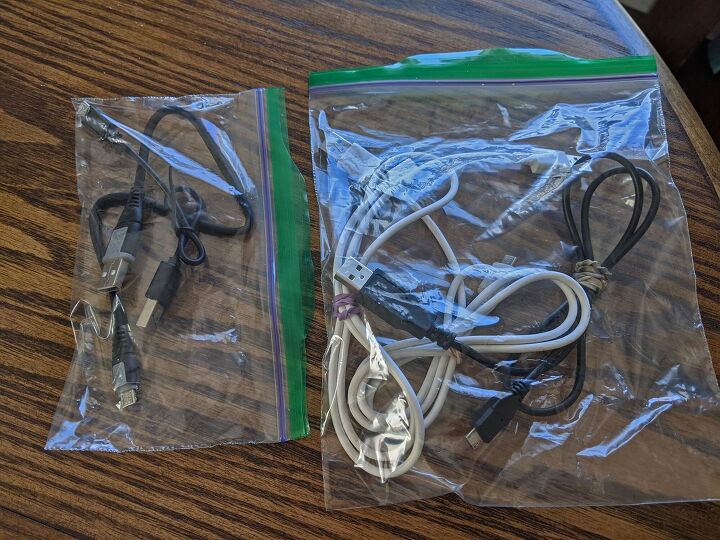
The duplicates, I sorted into zip-lock bags and stored them in a junk drawer as back-up.
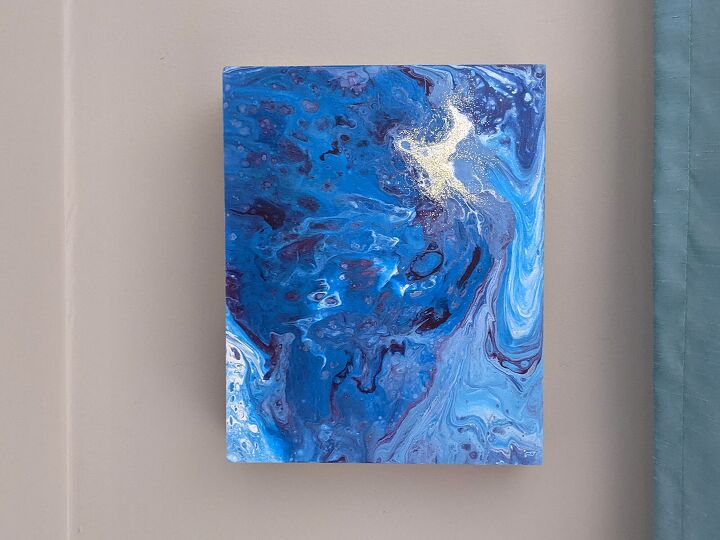
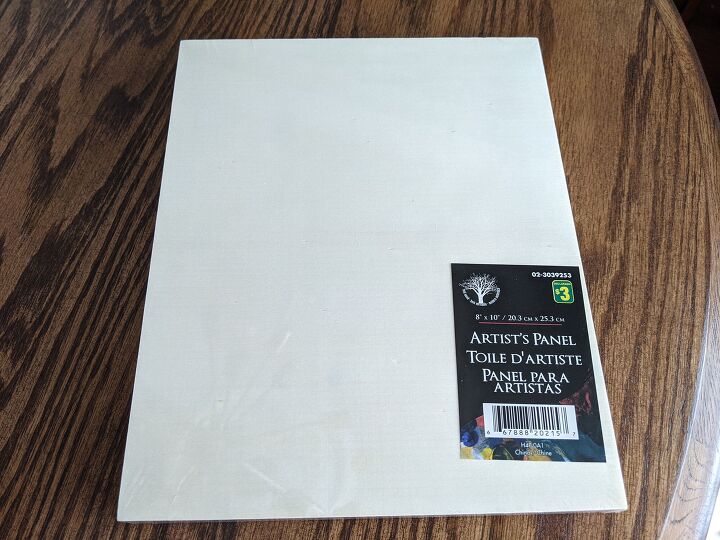
I purchased two wooden artist’s boards at Dollarama.
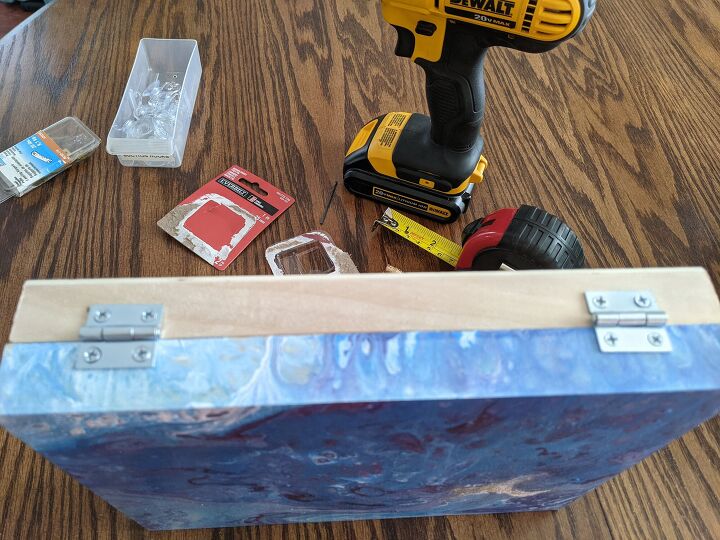
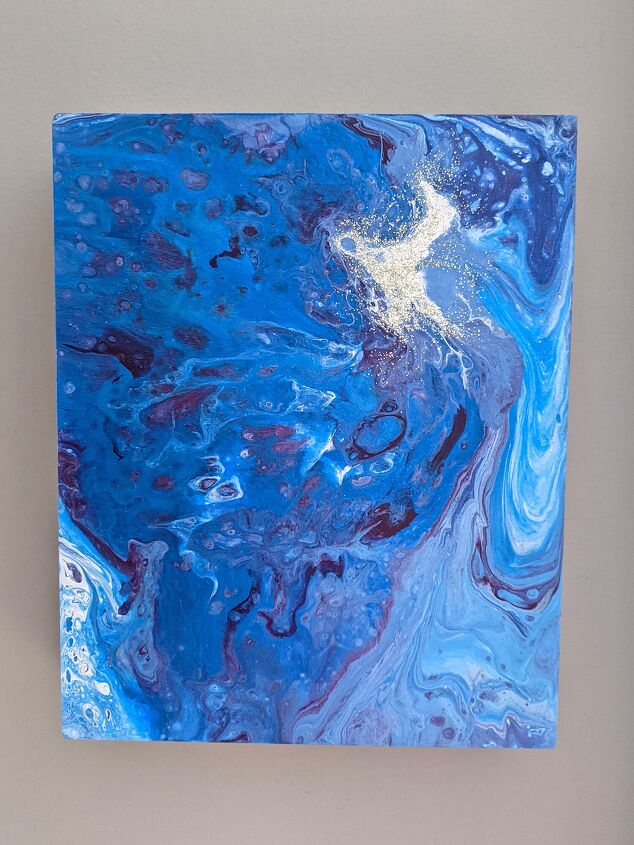
I did a paint pour on one of them. I won’t get into too many details on that as I have already gone into greater detail on paint pours on my projects page. I used shades of blue and gold glitter for this one.

I stacked the two art boards, so the backs were face-to-face and joined them with hinges, so it resembled a box.
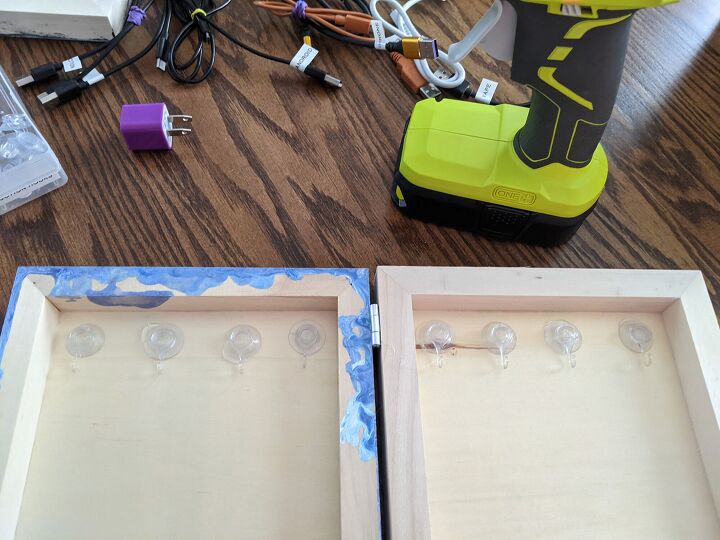
I was planning to use command hooks inside, but I wanted eight and the cheapest I could find was $16…no way! So I used suction hooks and hot glued them on, four on each inside panel.
(Update: with regular use the suction hooks didn't hold up very well and a few fell off. I will be replacing them with command hooks after all.)
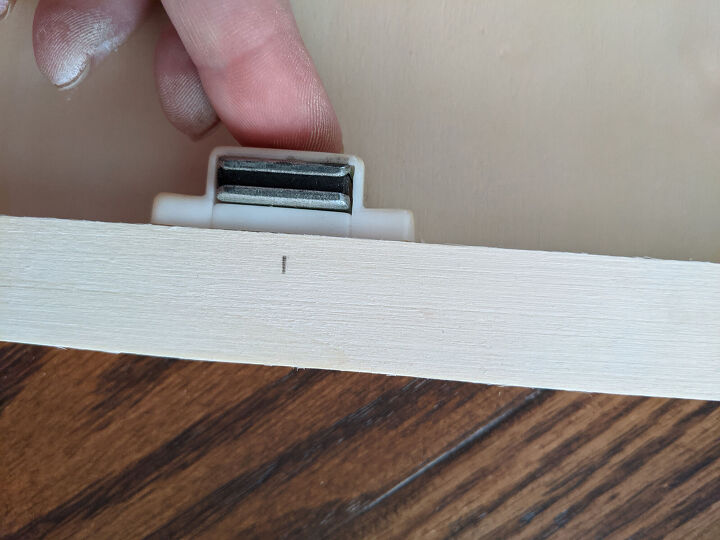
I also added a magnetic closure inside. This was an old one I had in my garage, but I have bought them at the dollar store before. Guess how much they were? LOL (Ironically, not a dollar.) I marked half way down on both sides with a pencil, screwed the magnet on one side and the metal plate on the other.
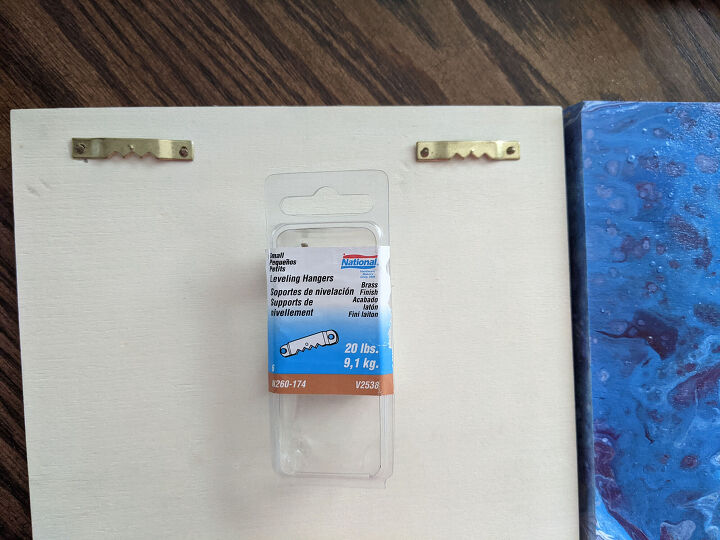
Then I flipped it over and added leveling hangers on the back, to attach to the wall. I would have liked to do keyholes, but I’ve never done it before so this would have slowed this project down dramatically, so I opted for quick-and-easy.
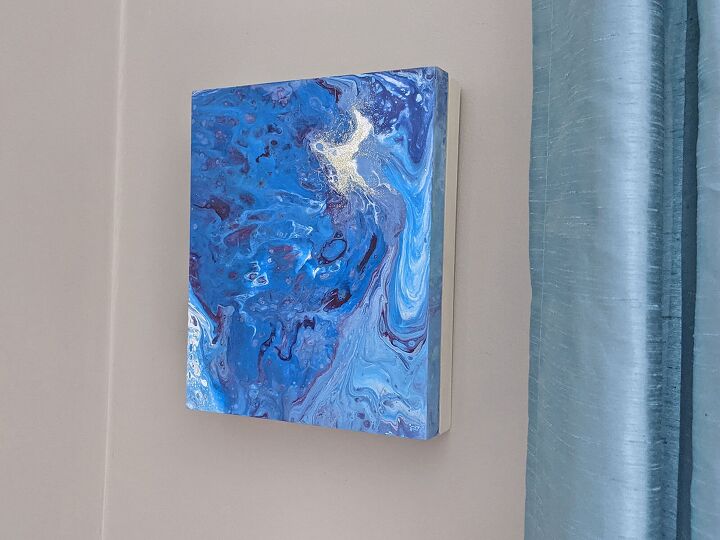
Then I attached it to the wall…hung my charging cables…and DONE!
I thought about painting the edges of the back panel, but you can’t really see the back in the space I've hung it. And it blends pretty well with the wall colour, so I left it.
This was a quick and easy project, but it’s so helpful!! It has inspired so many new ideas – I could get larger art boards and add a few shelves for nail polish, or even larger for annoying BBQ utensils. Or do a collage of four or six. The possibilities of this concept are endless! I hope it inspires ideas for you too. :)

Resources for this project:
See all materials


Comments
Join the conversation
-
This is great idea. You can easily customize to suit your needs size wise. Just get the darned things from laying around is my thought
-
Really good idea. I think I want to do one for jewelry. Love it. Now I just have to learn how to do paint pours. Thank you.


Frequently asked questions
Have a question about this project?
This is a great idea. I do have a question.....I have my mom's old green bread box that I finally just recently painted white. But, somehow the magnet stopped connecting. Do you have an option of how I could replace it so I can close the bread box?
This is cool and functional. What do you think of putting one over an electrical outlet By creating an opening in the backside canvas, and being able to charge the items out of sight, too?
Why not screw cup hooks into the underside of the wood frame?