


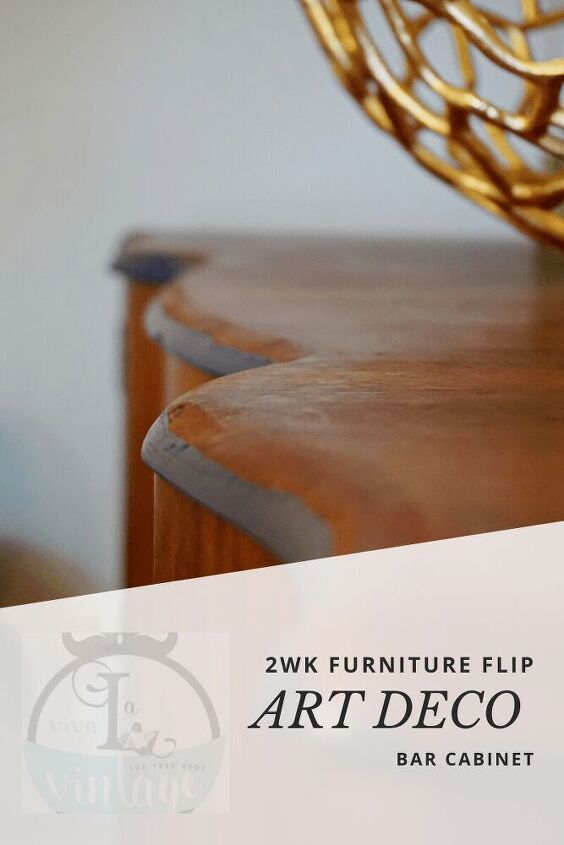
2WK FURNITURE FLIP

Restoring an Art Deco Bar Cabinet
Good morning everyone!! Well today is the reveal day of my piece I chose to work on for the 2wk furniture flip hosted by Nicole at Design_it_Vintage. Along with Nicole and myself, there were four other participants, who picked a long overdue furniture project and gave it some love and attention. I chose to work on an art deco cabinet at my mother’s home. I purchased it several years ago at an auction for about $25, before art deco made it’s most recent great comeback. I’m shaming myself for waiting so long to show this cabinet some TLC, but better late than never right. It’s so funny because I happened to be at my mother’s house when Nicole discussed the challenge and I looked over at this piece and said YES! Let’s do it – count me in!!
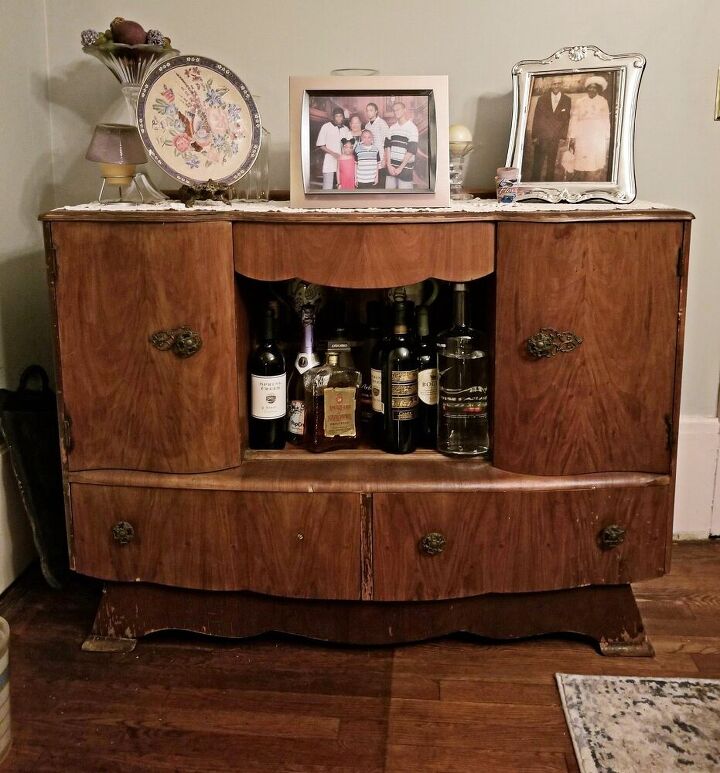
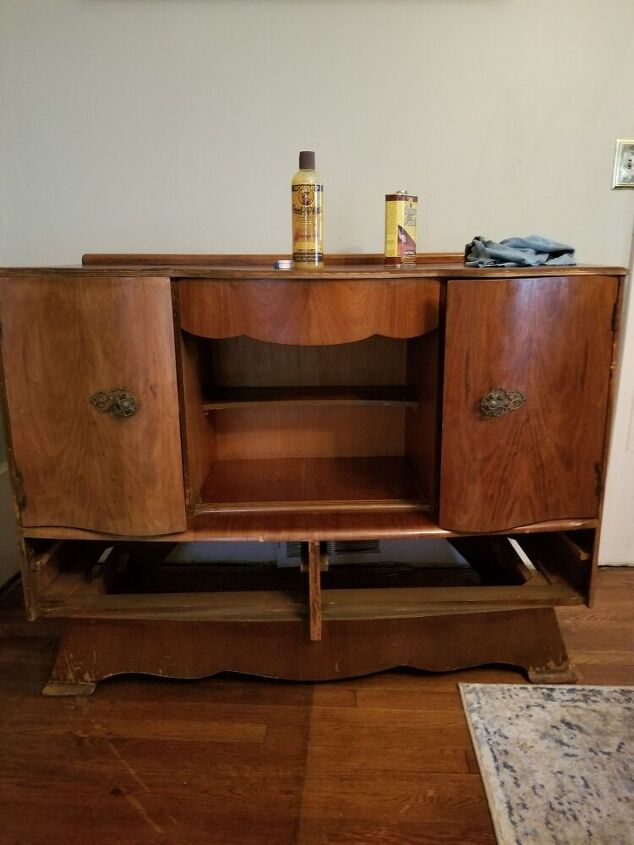
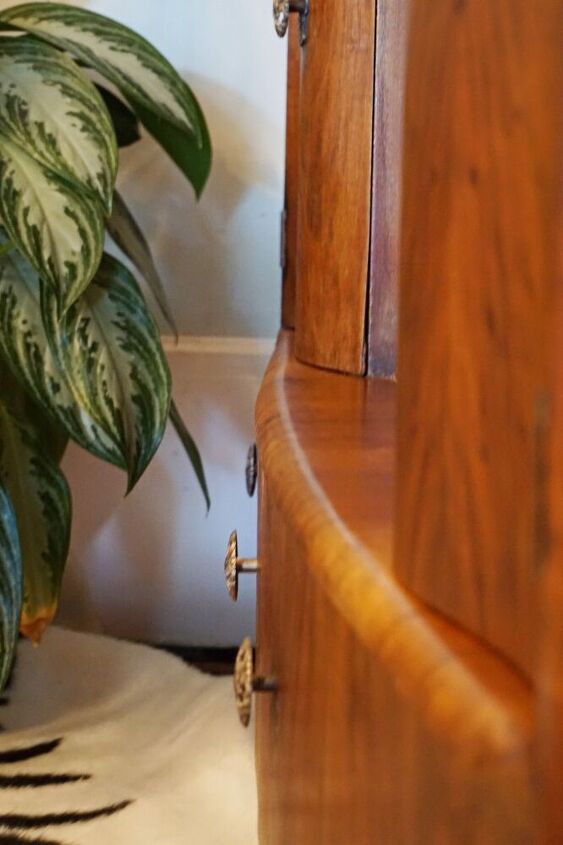
As you see here, the cabinet has suffered a bit of neglect (not that it was in pristine shape when I purchased it) but the wood is in complete dire need of attention , there was a missing handle and the beautiful brass knobs needed polishing.
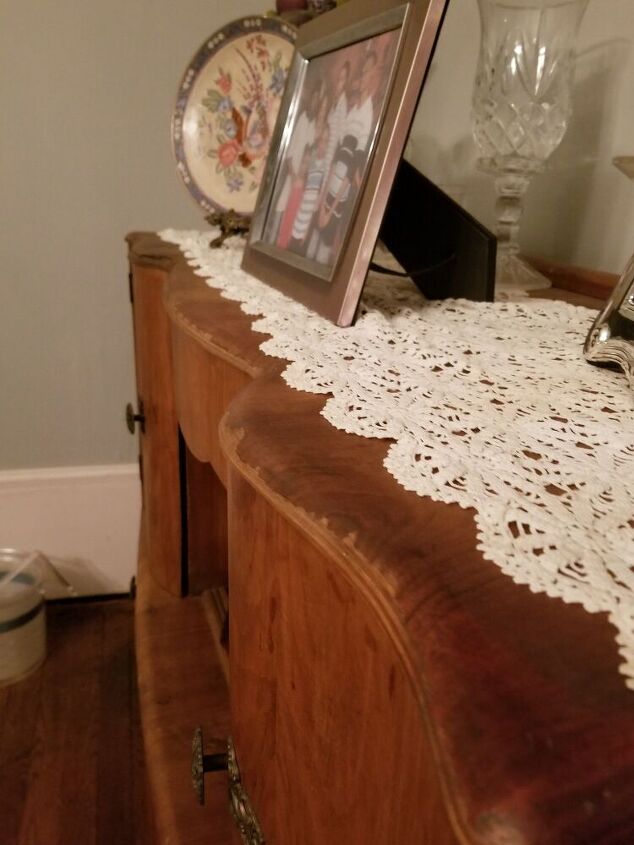
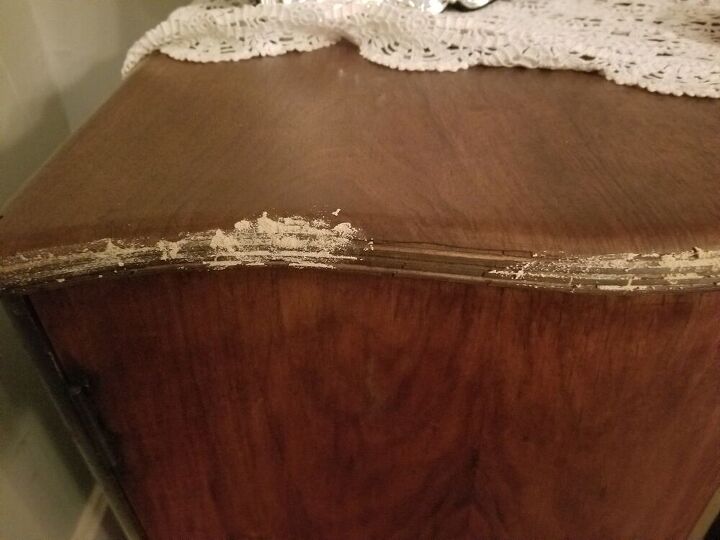
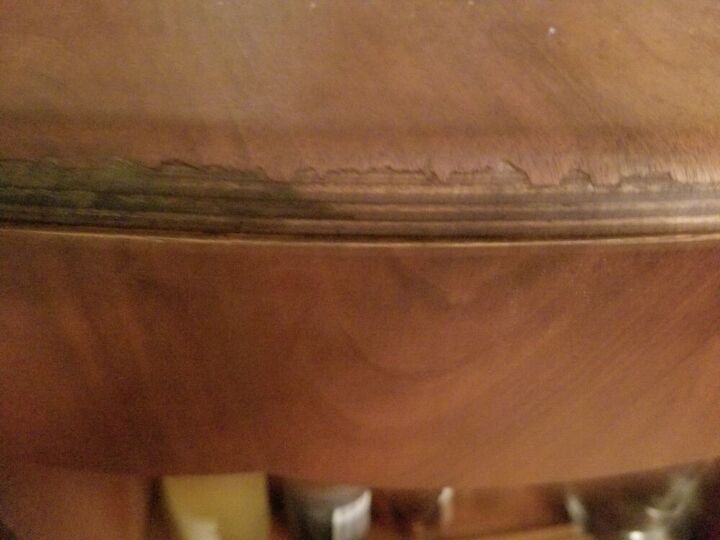
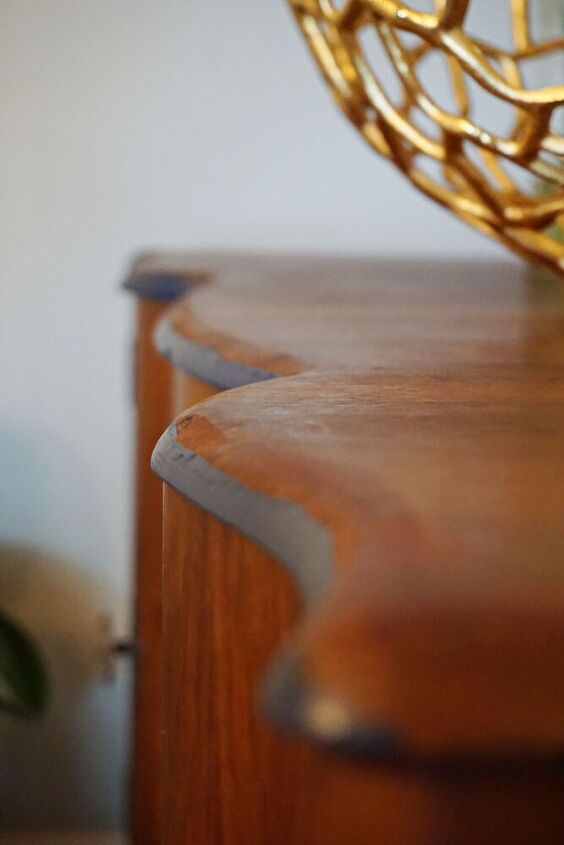
The veneer in this area was cracking and chipped. There was basically nothing left to create the art deco signature Waterfall appearance.
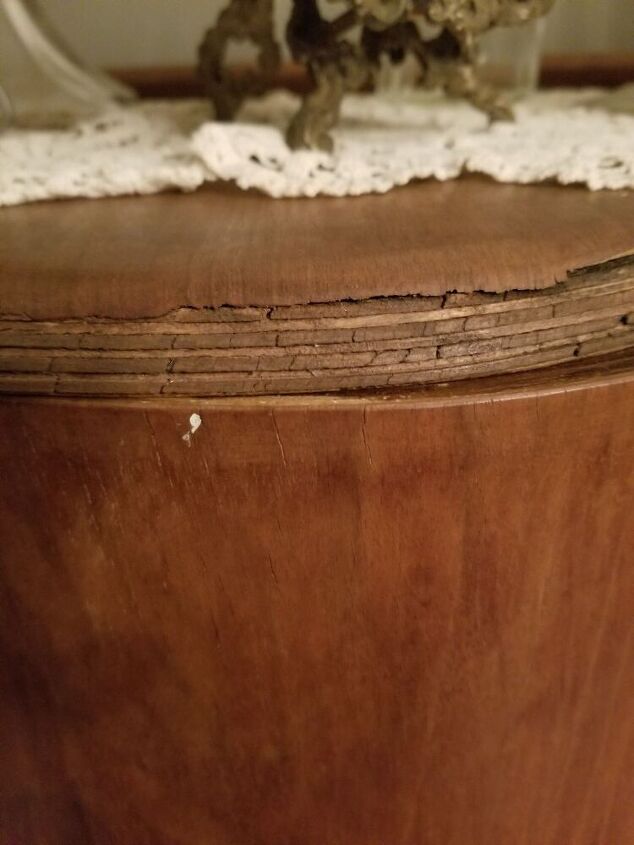
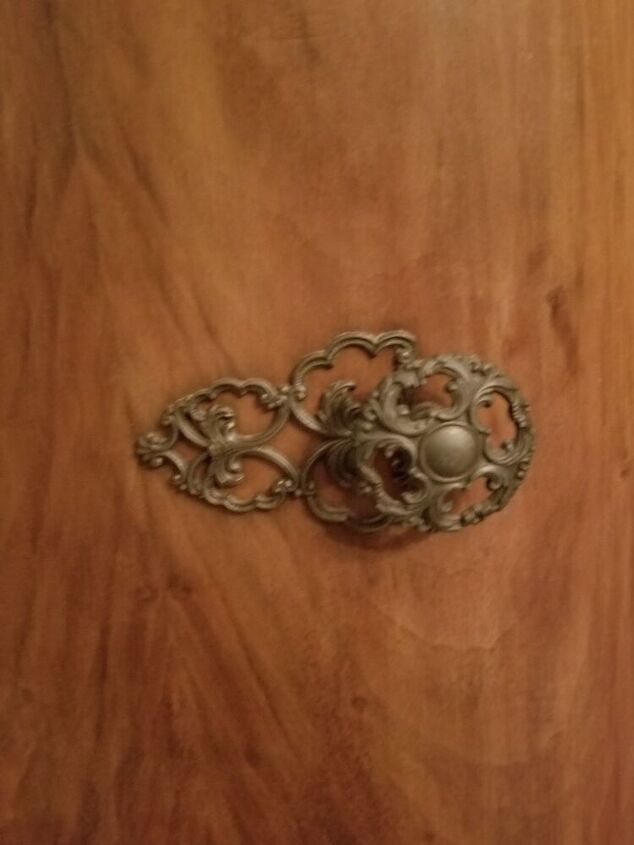
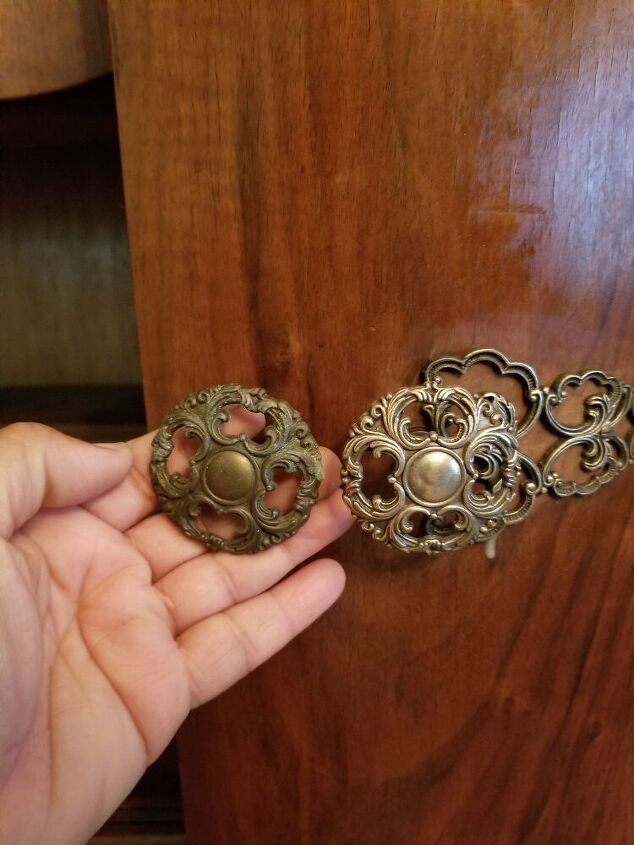
The crafted decorative brass knobs were dull (a closer look of the wood you can see it’s dry)
The first thing was clear it out and wash it down with Murphys Oil Soap. Next, I used a sanding block to gently sand the top. Afterwards, I applied a dark walnut stain all over it. The wood began to look much better. The front doors were in pretty good condition, so no sanding was needed there. The only flawed area was the curved edge. I’m not a master craftsman to redo an entire veneer.
After sanding was able to get a bit of a smoother finish (where it wasn’t so chippy and cracked looking). I added some wood filler in the crevices and let that dry overnight, then sanded some more.
I was not too thrilled how the wood filler looked once I finished sanding it, but at least it filled in the crevices. I tried to stain it but – NOPE.. didn’t look good AT ALL.. (insert big sigh)
I cleaned the handles with Barkeepers Friend (oh and the missing knob was found in a drawer – YAY!!!)
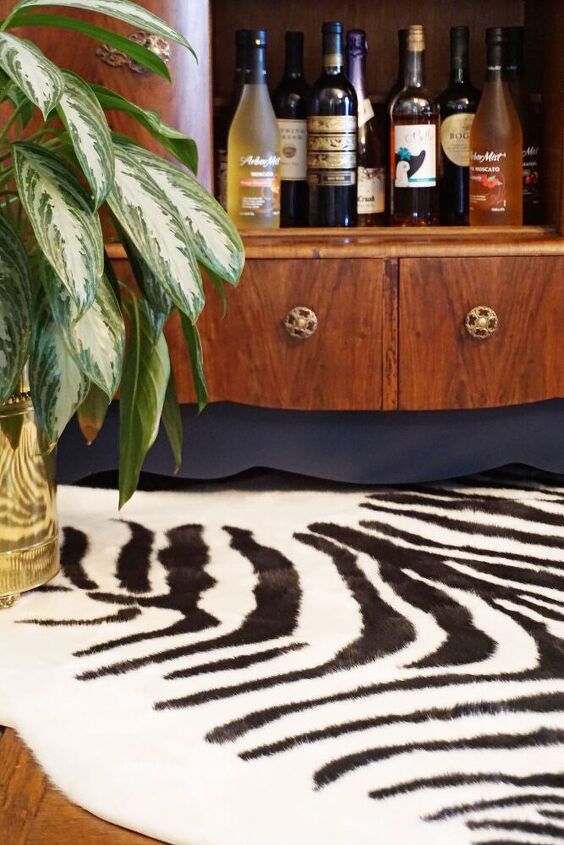
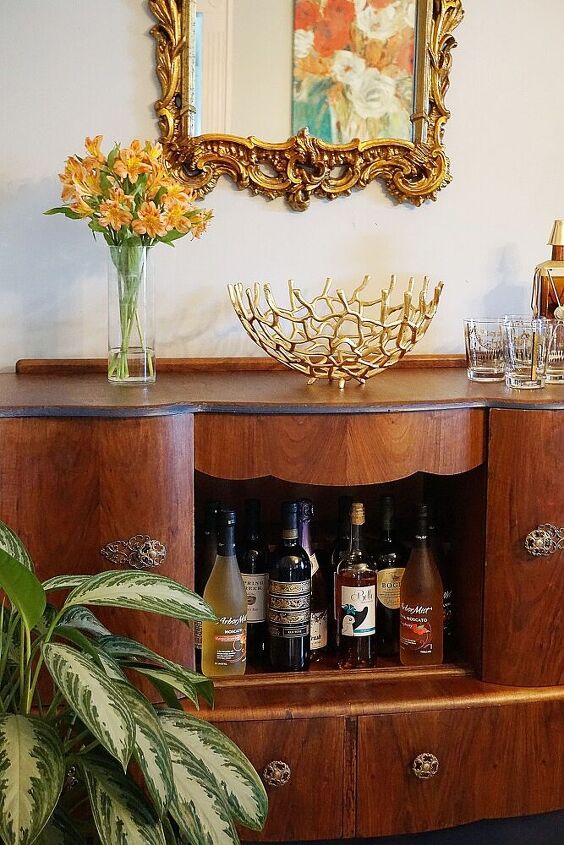
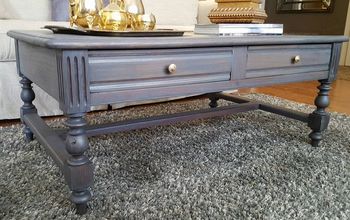
Ok so not to fill in every detail about it, I’ll just show you the finished look. Here it is all refreshed, revived and re-styled – looking swanky.
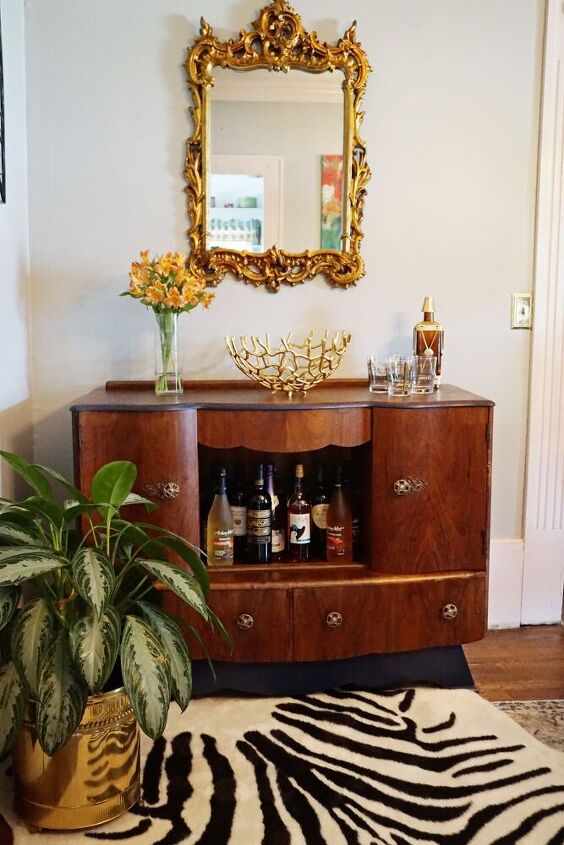
The wood is back gleaming and you can see the beauty in the grain.
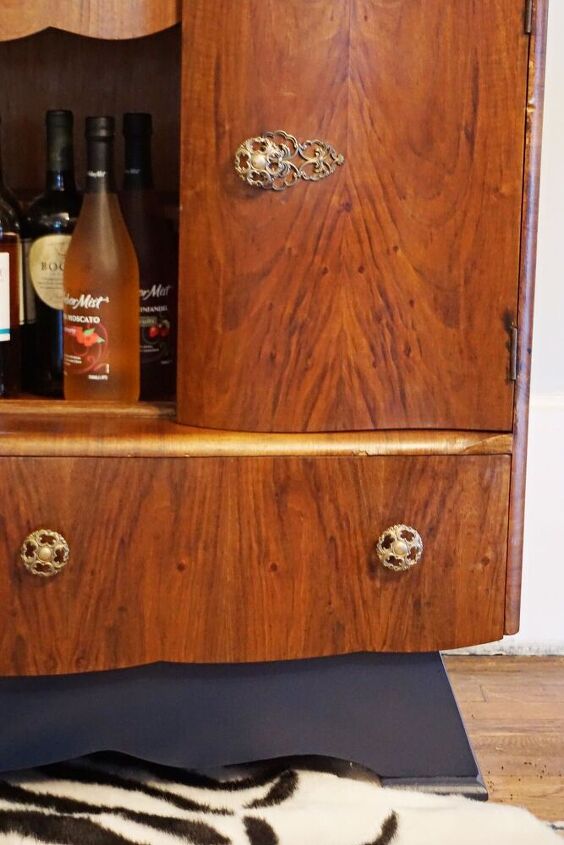
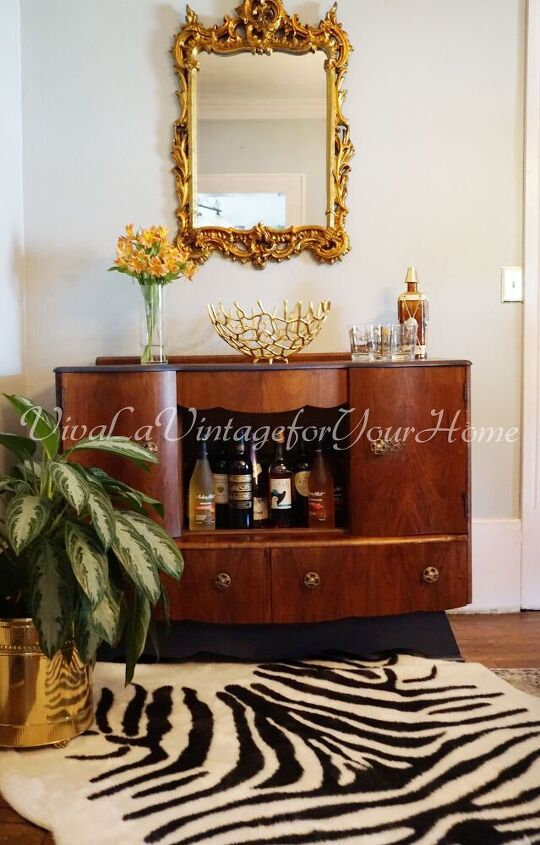
The base was given a coat of navy blue paint (which matches the fabric on her seat cushions.
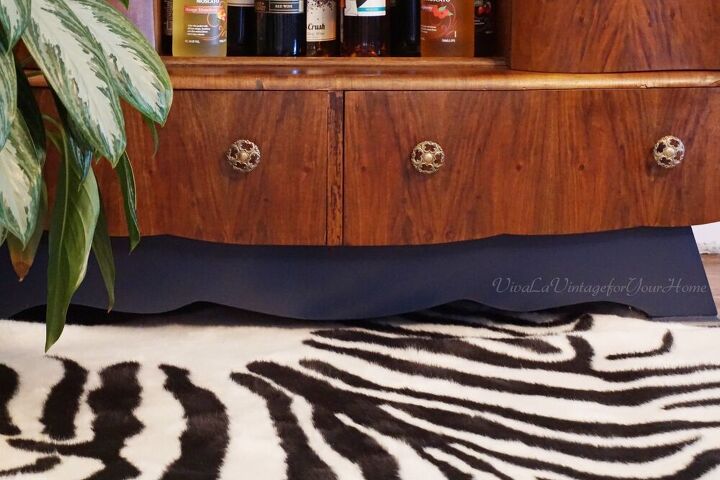
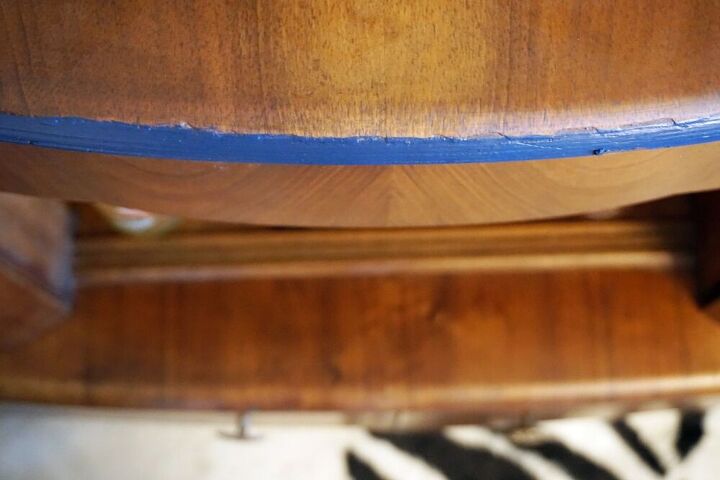
Since I couldn’t get the curved edge with the waterfall look, I painted the edge as well.
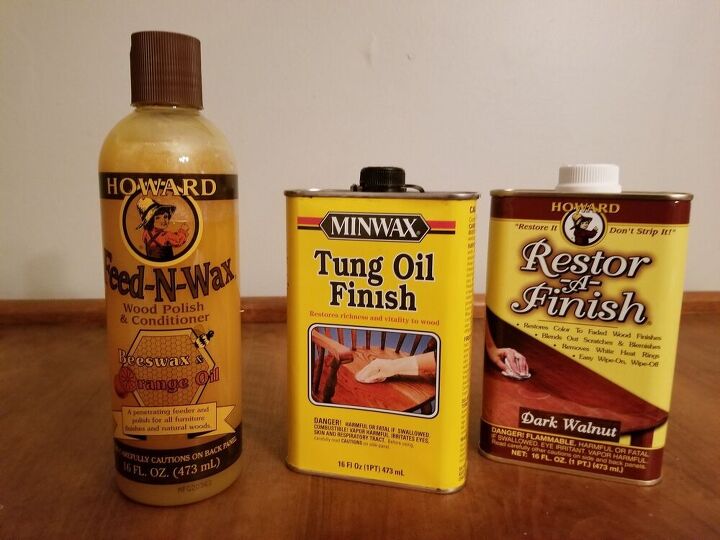
The wood looks so healthy now.. and these three products created that miracle
I can’t tell you how happy I am that I worked on this piece.
My mother is simply pleased with how it turned out and she even let it stay styled like this (except for the rug – heeheeheee). I’m glad I was able to accomplish this project and it was because another match was struck under my butt. It’s something about that word “challenge” that makes you say “fuk-it…. I’m game”. Thanks Nicole for hosting and count me in on the next 2wkfurnitureflip – now back to the ORC.. If you’re out thrifting and see a piece that needs some TLC – I hope this comes to mind and encourage you to get it. Happy hunting, while you thrift your house into a home!
CIAO!!!

Resources for this project:
See all materials


Comments
Join the conversation
-
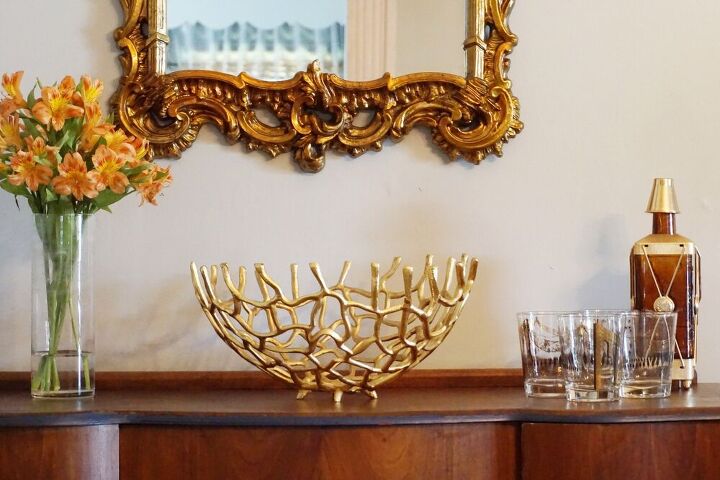
Nice job and where did you get that bowl , love it.
-
Beautiful! You have a wonderful eye for detail and I love how you styled it.


Frequently asked questions
Have a question about this project?
Where are the cushions which the base is made to match?
Nicely done! Your restoration & refresh looks great!