


Adding Piping to Dining Room Chairs is Easier Than You Think!
Here is how I added piping to my dining room chairs for a more finished, professional look. You don't even have to sew if you don't want to. I'll show you both ways! Here's a peek at the sew method. For full details and the no-sew method, follow the link to my bloggity blog.

Piping adds a beautiful, finished look.
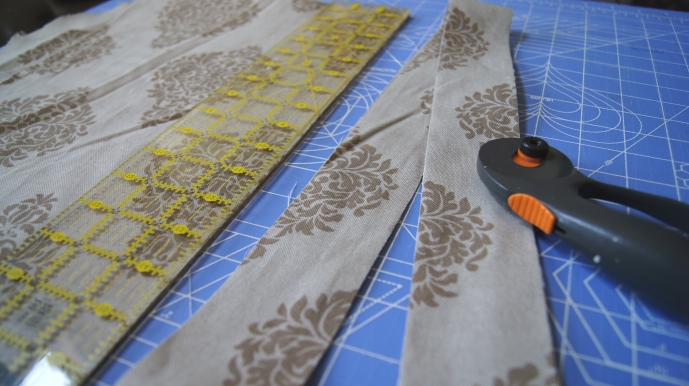
Cut your strips two inches wide and sew together end to end, right sides together, to create one long strip.
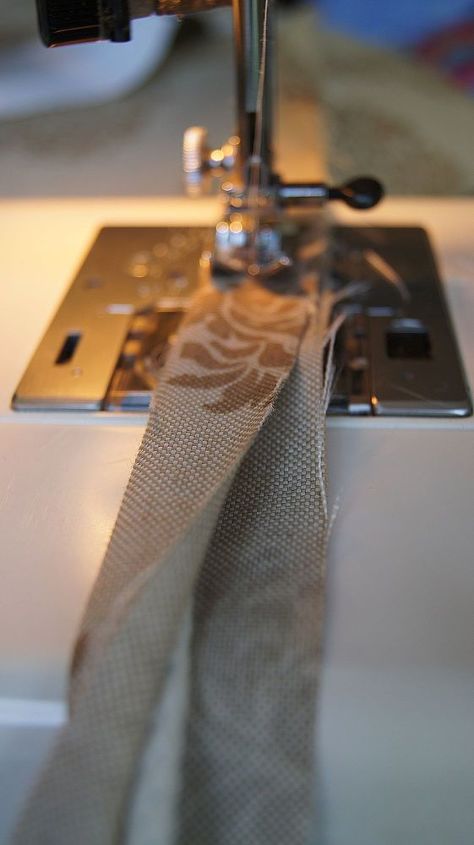
Fold over cotton cording and sew.
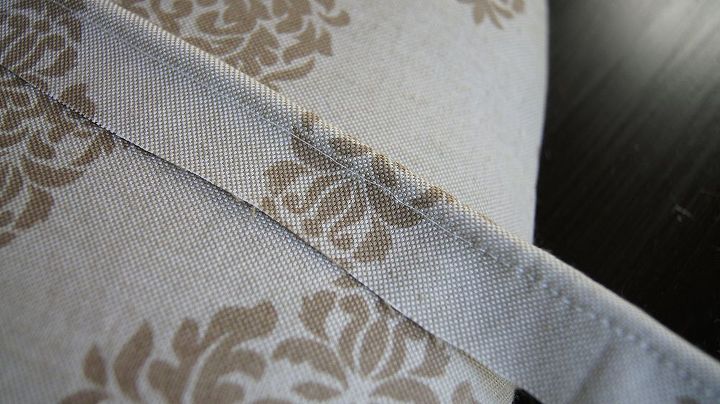
Tada!
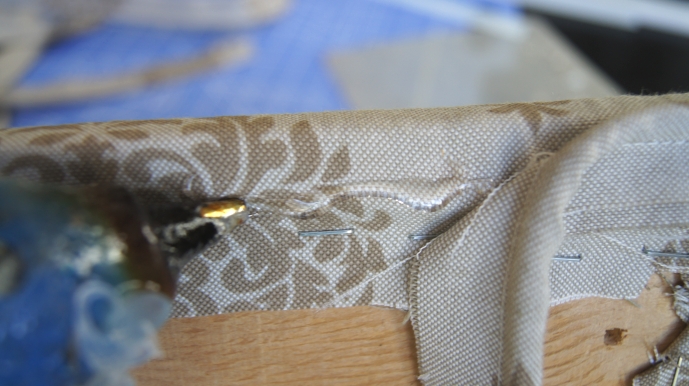
Hot glue finished piping in place.
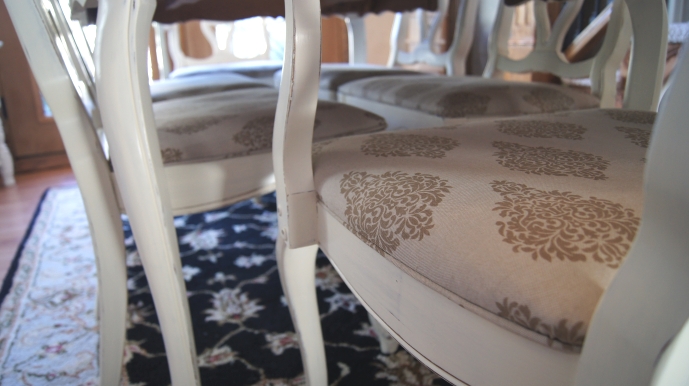
Ooh la la pretty!

Want more details about this and other DIY projects? Check out my blog post!
Comments
Join the conversation
4 of 8 comments
-
Looks very finished. I studied your piece of fabric and it looks like it was cut on the bias. Do you have a trick for doing that and making it simple. I would love to hear it was not cut on the bias???? Thanks.
-
Yes, I love your answer. I was thinking you might need bias to make the curve but you have proved it's not needed. The piping makes so much difference in making a professional looking cushion. Thanks for your creativity and sharing.


Frequently asked questions
Have a question about this project?
Can you share your source for this fabric? I'd love to find some.
Thanks in advance.