


Chair Cover DIY
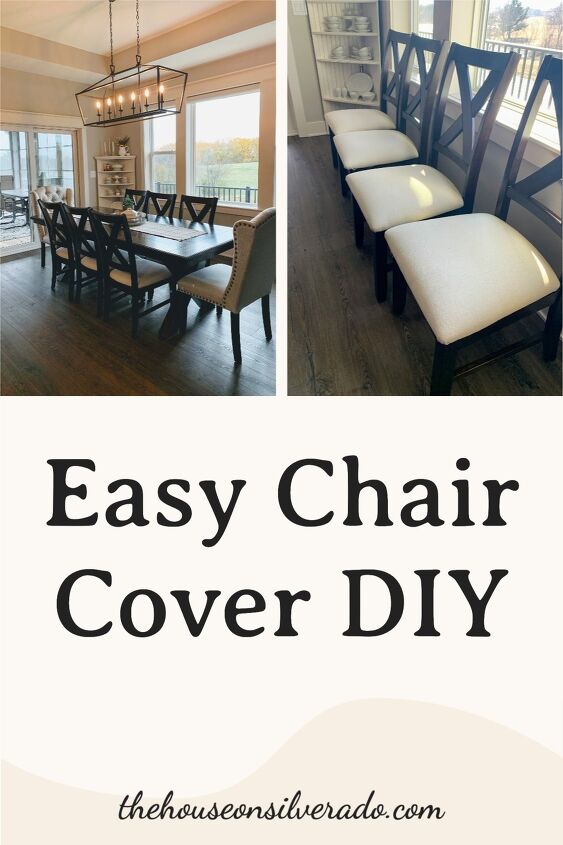
It’s DIY time again, and this time I’m sharing how I gave my dining area an easy and inexpensive makeover with this simple Chair Cover DIY using painter’s drop cloth.
And by simple, I mean really simple. Can you operate a staple gun? Then you can completely recover your chairs in an hour or two, depending on how many chairs you have.
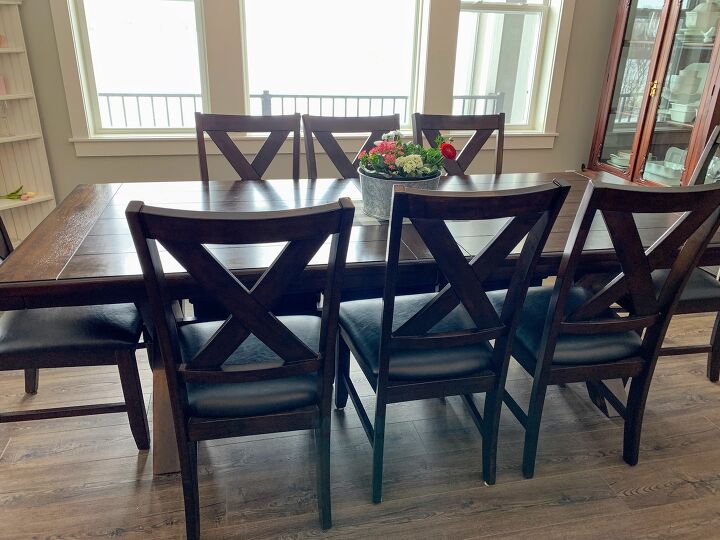
BEFORE my Chair Cover DIY
Here’s my “before” picture…

I love our dining table because it’s big and can seat a lot of people. Here it is with 8 chairs, but at holidays, we expand it with the hidden leaf underneath, and we can easily get at least 14 people around it. It’s heavy and solid and I like the style of it.
What I didn’t like was how dark the whole table was against my dark floors.
You might remember when I painted my kitchen island bar stools a few months ago?
A can of General Finishes Milk Paint and about 2 hours of my time solved the problem of the redwood undertones that were bugging me.
I was so happy with how my barstools turned out, that I seriously considered painting this table to lighten it up and add some contrast to this area of the kitchen.
But, it’s an expensive table, and what if I regretted it later? So, before I went for the paint, I decided to try something else first.
Chair Cover DIY
Choose your fabric or drop cloth
Have you ever used painter’s drop cloth for anything other than, well, painting?
If you’re looking for heavy, neutral fabric that won’t cost an arm and a leg, drop cloth is the way to go.
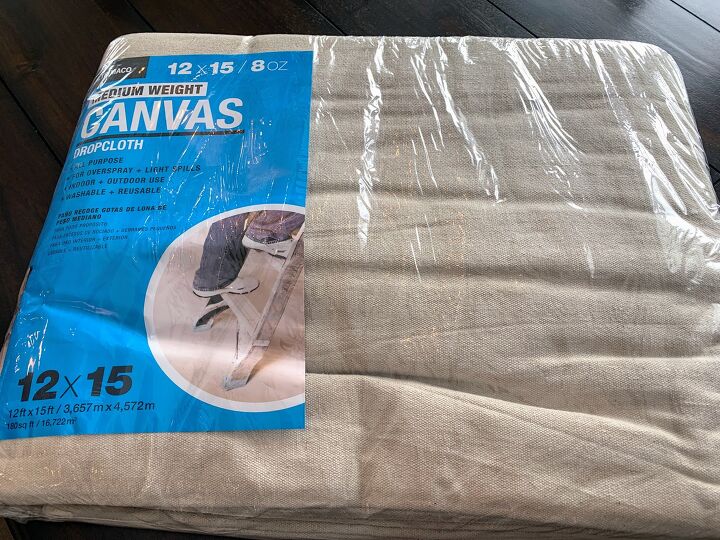
Of course, you can use this same easy Chair Cover DIY method with any sort of fabric you like, but I went with this medium-weight canvas drop cloth.
For about 30 bucks, I got this huge 12’x15′ piece of heavy canvas that was way more than enough to cover the seats on all 8 of my dining chairs with plenty left over, too.
The creamy ivory color and the rustic texture of the drop cloth works nicely with my farmhouse home decor.
The drop cloth comes in smaller sizes too, so if you’re doing fewer chairs, you likely won’t need a piece this big, but I wanted some extra canvas to tuck away for recovers if needed.
One thing I love about using drop cloth is that because it is so inexpensive, if a spill or stain happens, it’s no big deal.
Right now, we don’t have young children, so the light cream color of the drop cloth has stayed nice and clean.
However, we have our first grandbaby on the way soon.
I like that I don’t have to worry about little messy hands touching expensive, hard-to-clean fabric. I can just unstaple the seat cover, throw it away, and redo it with a new piece of drop cloth in a matter of minutes.
Here's how to reupholster a dining chair.
Remove Seats from Chairs
Turn your chairs upside down and determine how to remove the seats.
The seats came out of my chair frames with the easy removal of a few screws.
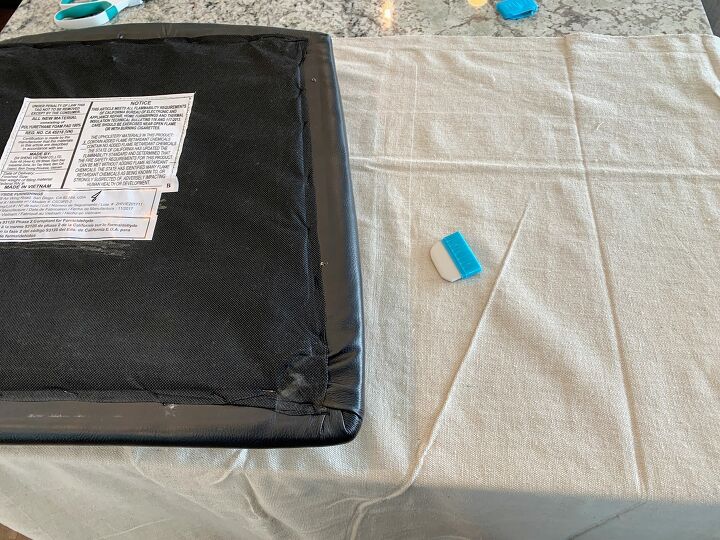
Side note: I did not remove the original faux black leather on my seats, I just covered right over it. If you have a pattern on the seats of your chairs that shows through the canvas, you can double up the drop cloth, or place some quilt batting under the drop cloth to give it more coverage. However, if you get the medium or heavy weight drop cloth, it will likely be thick enough to cover without anything showing through.
Lay the seat upside-down on the canvas, and determine the size needed for your chair seat. You want enough to easily fold under the seat on all sides about 2 inches.
Measure and Cut
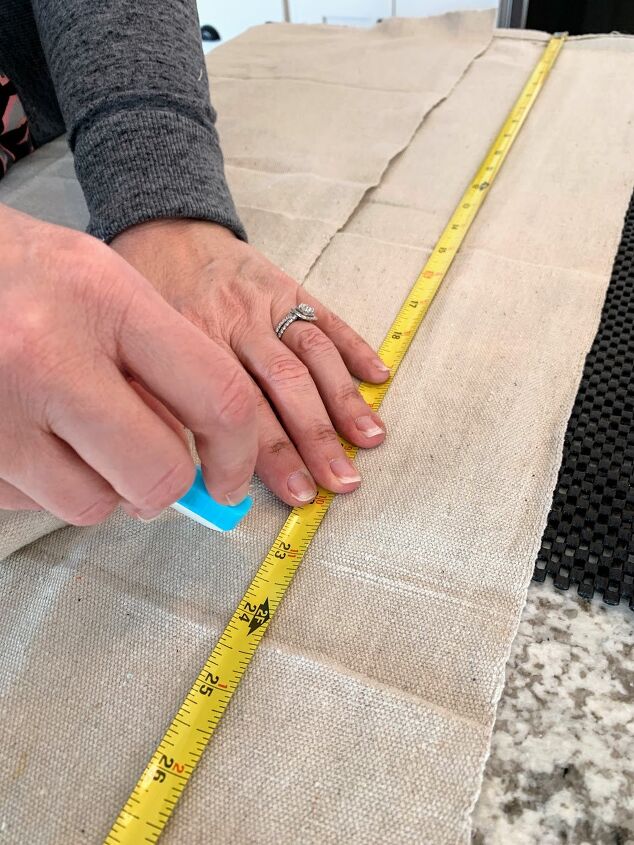
Once you know the measurements needed for each chair cover, use a pencil, or tailor’s chalk to mark the drop cloth, and then cut each piece to size.
Wrap
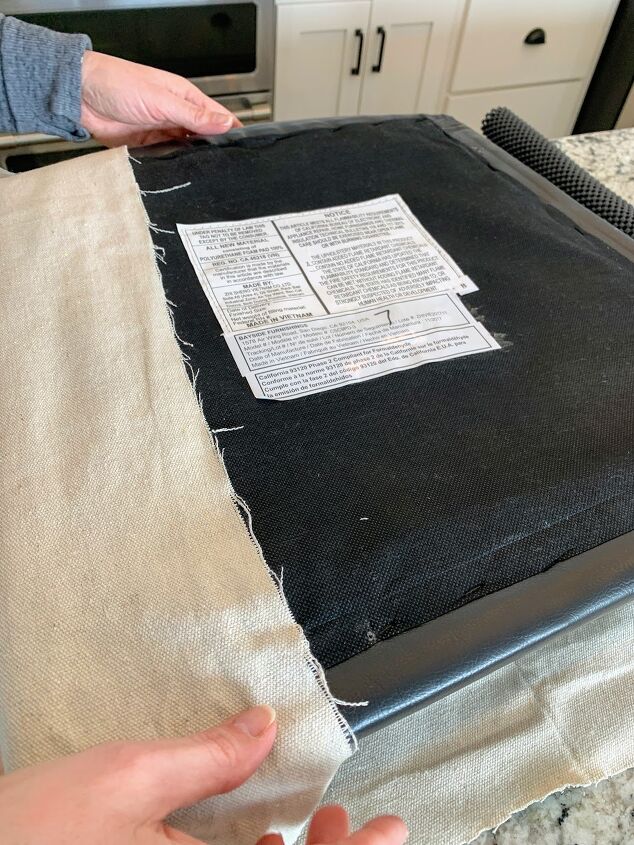
Fold the edges around all sides of the seat, pulling tightly to ensure there are no wrinkles, and also to keep the fabric from sliding around too much.
Staple
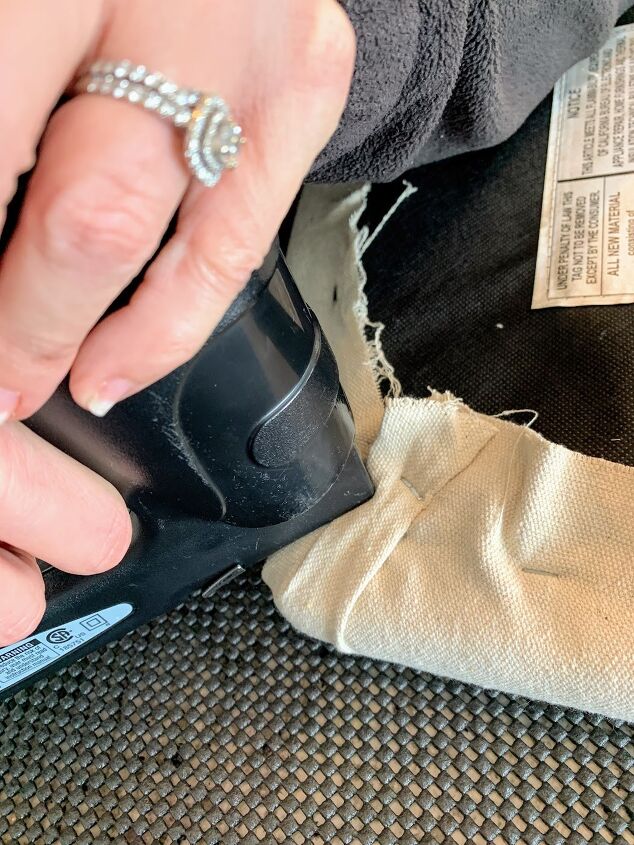
Use a staple gun to attach the drop cloth to the underside of the seat. You can use a regular staple gun, but an electric one will make this job so much easier.
Take your time with the corners especially, carefully tucking and overlapping them so that wrinkles are less visible on the top. You want most of the gathering to happen underneath the corners of the chair seat where they are not noticeable.
Continuing stretching, gathering, and stapling as you make your way around the seat.
Re-attach seats to chair frames
Re-attach the seats. The screws may go through the overlapped sections of drop cloth on the undersides of the chair seats, and that is just fine.
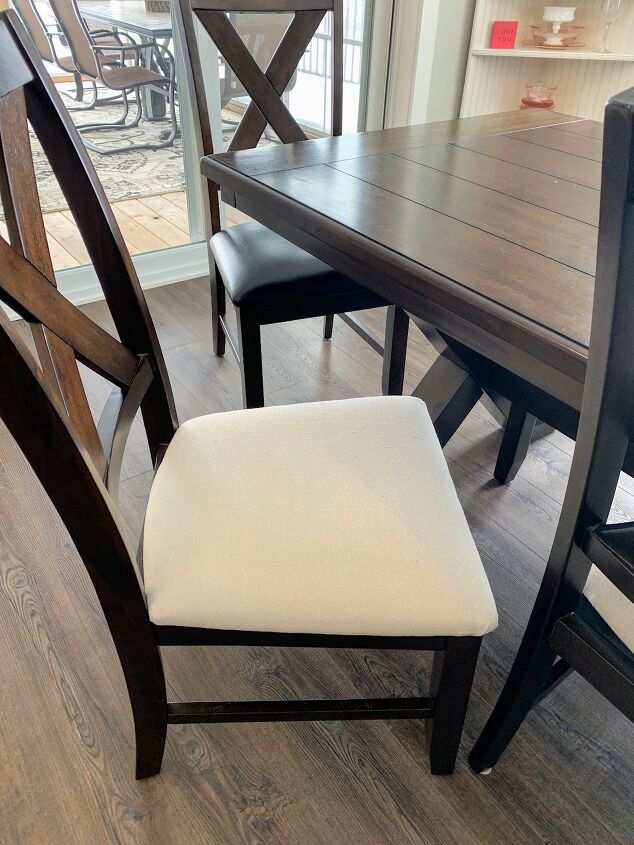
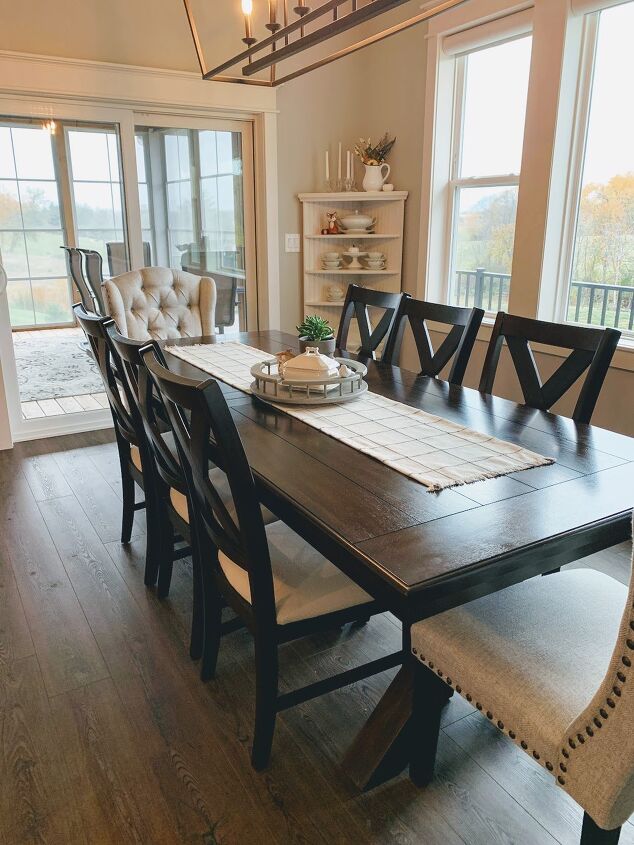
Oh my gosh, don’t they look so much better than the faux black leather?!
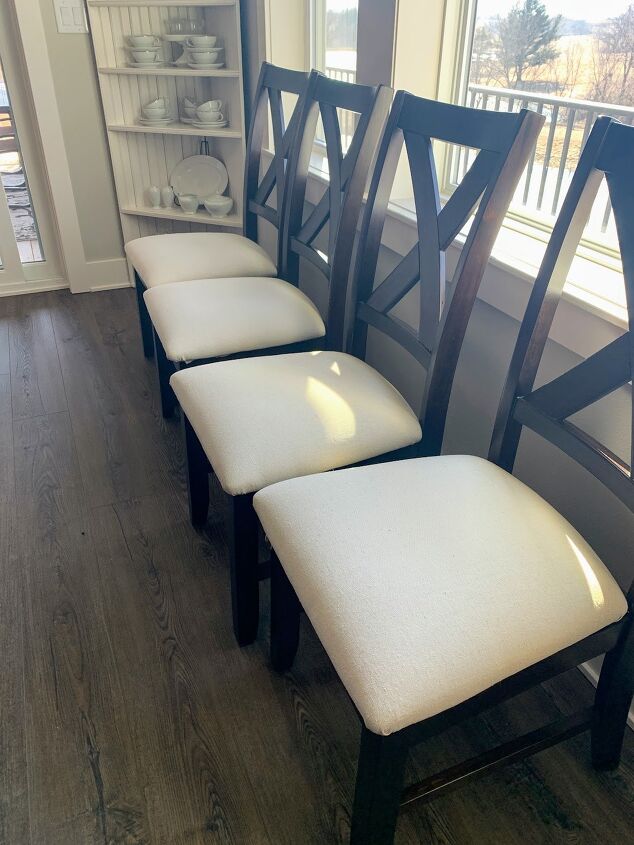
Just this simple change on the seats of the 8 dining chairs that came with my table made a big difference in lightening up the space.
One more change…
Because we often have large family dinners around this table, we are always in need of extra chairs.
Originally, I purchased a couple of antique carved-back chairs that I intended to paint and add to the ends of the table.
After further consideration, I decided some light-colored upholstered chairs would help in my efforts to brighten this area up, and also serve to accent and anchor the space a bit more.
Through the magic of online shopping, I ordered this beautiful set of two Ashely Jeannette Dining Chairs and had them shipped right to my house.
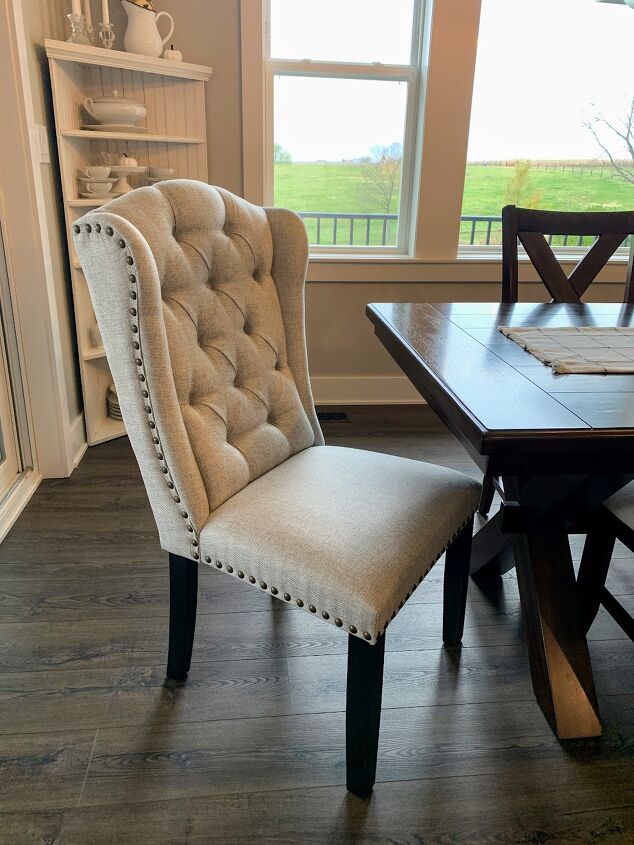
I love the nail-head trim and the tufted backs, and the colors are a nice complement to my Chair Cover DIY side chairs.
What a huge difference for so little effort and money.
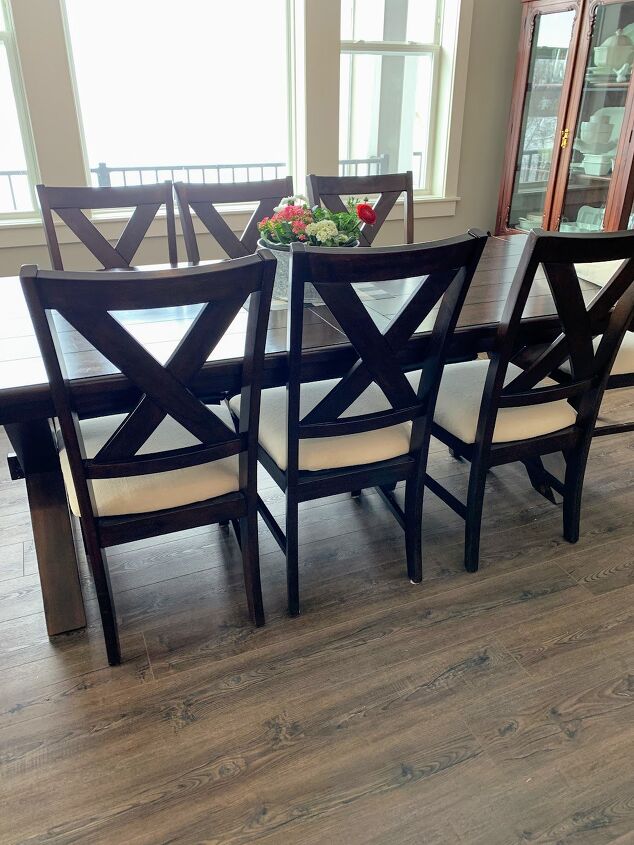
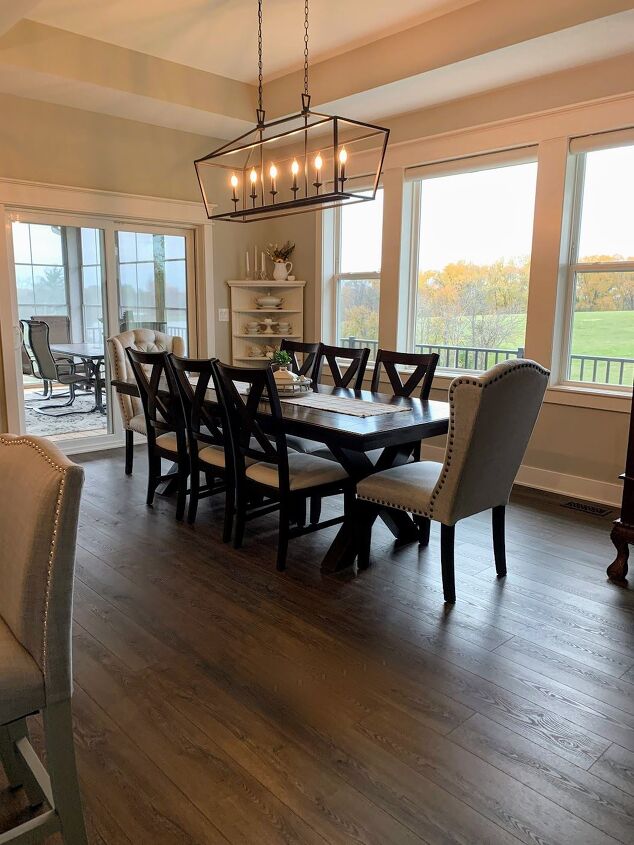
Before and After
The lighter chair colors are so much better, don’t you think?
The pretty espresso wood of the table now contrasts against the creamy color of the chairs for more visual appeal and brightness.


One more project…
But wait!
I have one more thing planned to brighten up this dining area.
See that beautiful china cabinet?

I love it so much. I love the glass on three sides, the curvy legs, the beautiful original hardware, the intricate details in the wood…
It fits perfectly in this space, and is a great place to display my white ironstone collection. At night, it lights up automatically thanks to the LED lights that my husband mounted under the shelves and I placed on a timer.
The not-so-good part? Someone before me refinished it (badly) in a stain with red undertones again. 😒
No worries though, me and my new Dixie Belle Paints have some plans! Stay tuned to see the transformation soon.

Let’s stay in touch! Visit The House on Silverado at https://thehouseonsilverado.com/ and follow on social media, so you won’t miss a thing!
Facebook —– Instagram —– Pinterest
This post contains affiliate links for your convenience. Thank you for reading and supporting my blog.


Comments
Join the conversation
-
Love this idea.
-
I would spray some fabric protector on them, you might not have to replace if a spill happens. That really did brighten up your room and matched nicely with the two other chairs!


Frequently asked questions
Have a question about this project?
how does the drop cloth holed up ? I don't have that kind of chairs but I would need to make cushions do you think it would work?
How do you keep the light colored seats clean? I love the look but I am concerned about keeping the clean.