


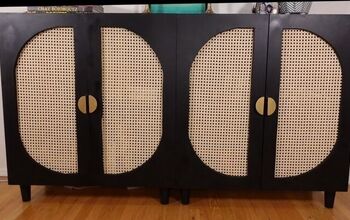
DIY Cane Cabinet
I am so excited to share this project, talk about transformation. For this makeover cabinet I wanted something new, something modern, something fresh with lots of textures and a sleek design. Used as a focal point in our formal living room to center our stunning mirror and for storing our board games.
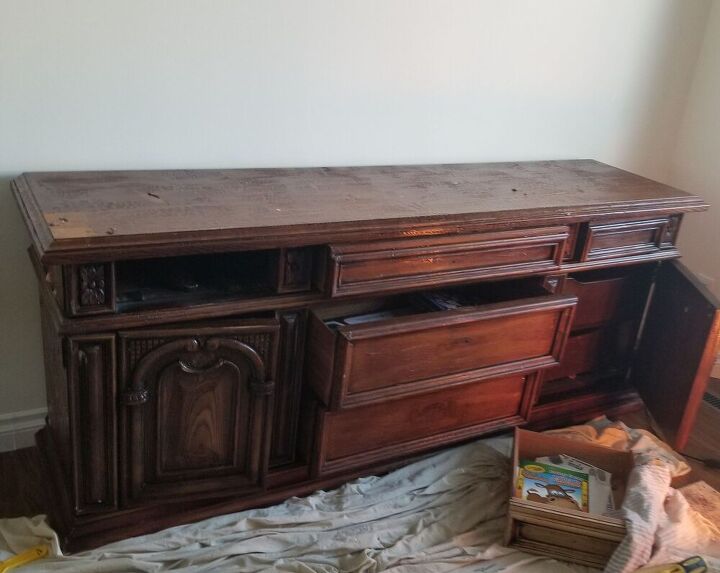
Installing the woven cane fronts on the doors and adding metal legs changes everything about this cabinet. A background story about this now a cabinet was picked up from Kijiji advertised as a free dresser. I also bleached the whole cabinet and you can find the step by step of how to's here
The cost for getting this cabinet modernized was $70, the caning is what cost me the most for $42 and I purchased the metal legs on kijiji for $20 and the wood for framing was $8.
Material
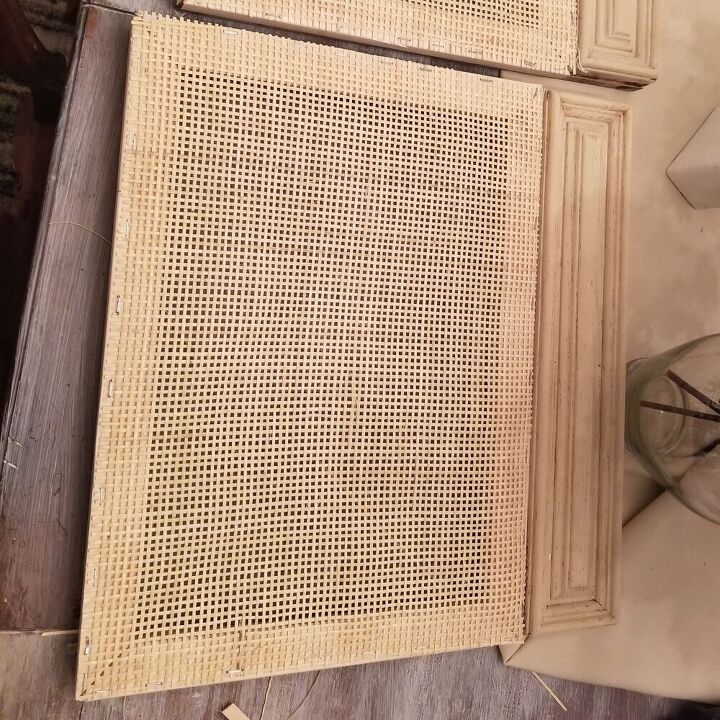
- Cane of your choice, the one I used is a 5 X 5 radio cane
- Moulding 3/16-inch x 7/16-inch x 4 ft.
- Wood Glue
- Staplers
- Old dresser
- Door pulls
- 1 x 2 wood
Directions
- Measure and mark your boxed wood frame and cut out your door fronts using a jigsaw.
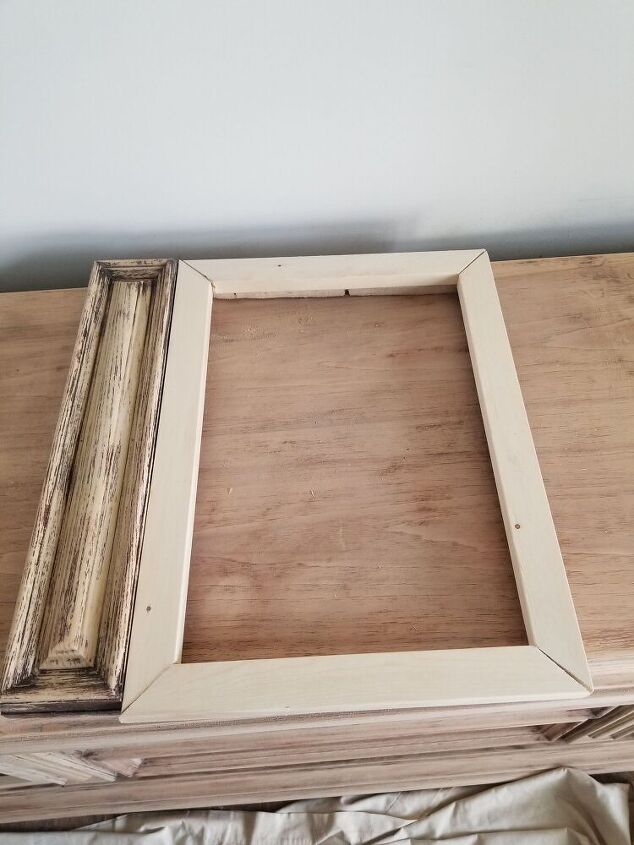
- Measure and cut your 1 x2 to add on top of your frame
- Get your cane ready, by submerging it in water for about 20 minutes.
- Remove your cane from water and place it on clean flat surface, i used a clean sheet then placed heavy flat items on top, i used a table
- Place your canning on a flat surface, measure your door front opening and mark the cane
- Using a sharp scissors cut the required amount required to cover the front of each door.
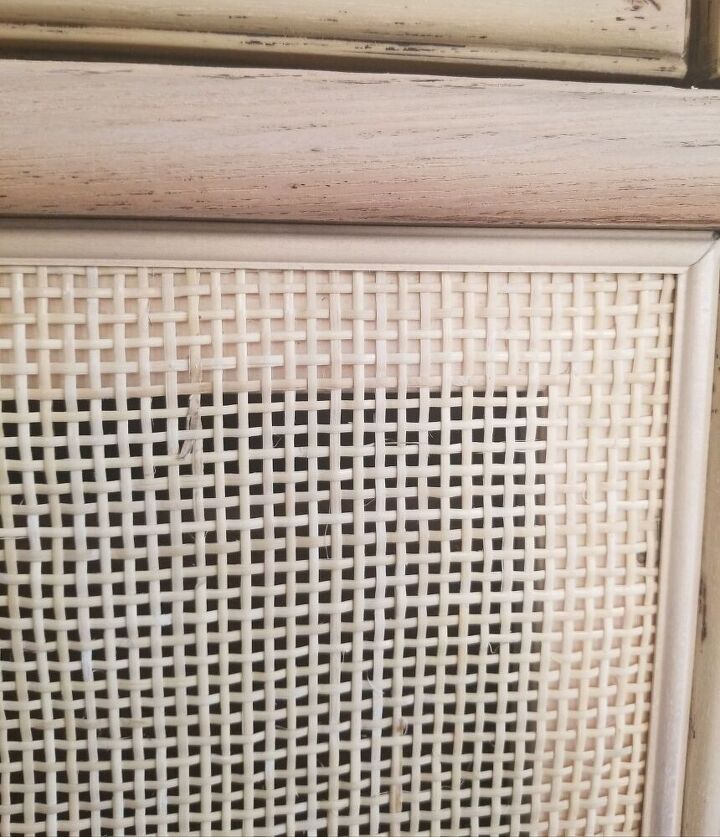
- Place the cane on top of your framing, making sure everything is aligned and staple down with a staple gun
- Apply wood glue along the perimeter of your cane for your framing.
- Add Alexandria Moulding 3/16-inch x 7/16-inch x 4 ft. Basswood Decorative Moulding around your door front for framing
- Install your door knobs and you are all done.


Comments
Join the conversation
-
very handsome outcome
-
I love the piece. I am inspired but I (like others here) would like to know what bleaching method you used. After Googling, it appears a 2 step process like Zinsser Wood Bleach works best. Before you apply it though, you have to completely sand the piece. It bleaches the wood but it doesn't strip stain/paint.


Frequently asked questions
Have a question about this project?
How did you bleach the furniture?
The title of this article is "How to bleach your furniture", but then it doesn't say a word about that???
All that bleach in our water supply??????