


Modern Hairpin Leg Table Makeover

I had an old table that was in solid shape, but the style was dated and old. Instead of tossing it, I decided to give it a very modern makeover with hairpin legs. While sanding and stripping aren’t my favorite jobs, the process was simple enough and the results were outstanding. If you have an old table in need of an update, I say give this DIY a try!
Supplies:
- Paint Stripper
- Paint Brushes
- Plastic Scraper
- Power Sander
- Stain
- Rags
- Clear Polyurethane Sealer
- Drill
- Screws
- 4 Hairpin Table Legs - Dining Table Height
- Gloves
- Googles
- Drop Cloth
- Tape Measure
- Respirator Mask
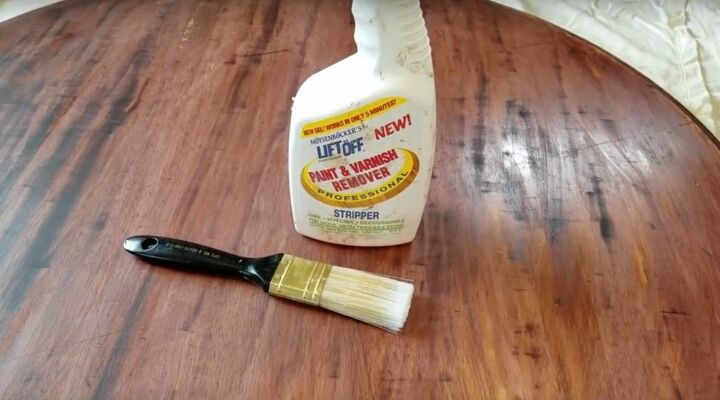
Step 1: Apply Paint Stripper To The Tabletop
The first thing I needed to do was get the old stain off the table and strip it down. Although, I wouldn’t say it’s an easy task, the best way to do this is with a chemical stripper. However, paint and varnish removers can be caustic, so use them with care. A drop cloth, heavy rubber gloves and a respirator mask are recommended and always work in a well ventilated area. To apply the stripper, I squeezed some on the tabletop and used a brush to spread it around the wood. Then I let it sit for about 20 minutes until the finish began to get soft.
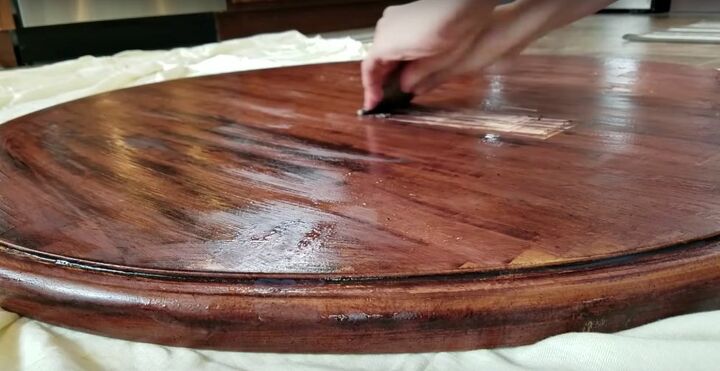
Step 2: Scrape Off the Finish
Next, I scraped the old stain away with my plastic scraper, careful not to gouge the wood. I worked in small areas and went back over any tough spots a second, or even third time, applying more stripper, if necessary. When I was satisfied, I wiped the table down with mineral spirits on a rag to remove any leftover chemical residue that would prevent an even stain application later in the process.
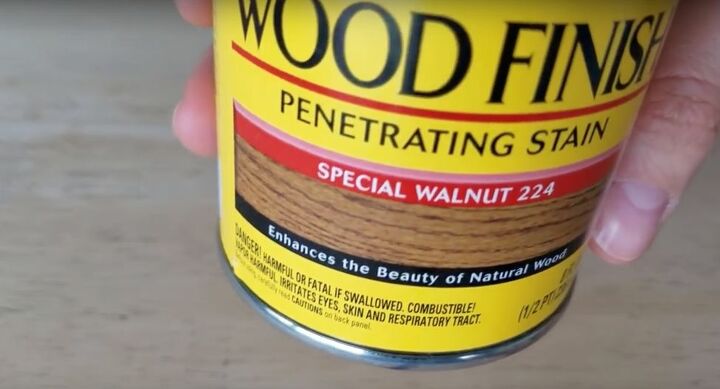
Step 4: Stain the Table
I wiped the table down with a rag to remove any dust or debris and got ready for stain. I used a rag to apply it in long, even strokes in the same direction as the wood grain. Then I used another rag to remove any excess stain, before I applied the next coat.
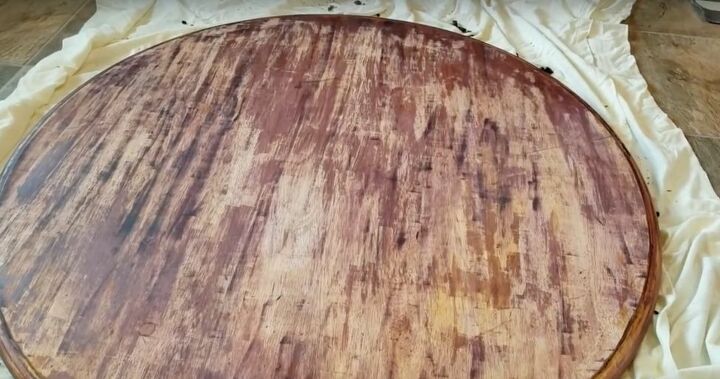
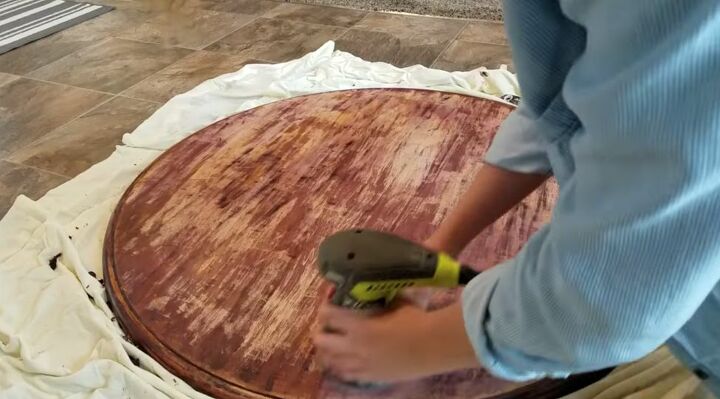
Step 3: Sand the Table
With the majority of the original finish gone, I started sanding and sanding and sanding. Clearly, this step took a while, even with a power sander. The job could be done manually, with a sanding block, but it would be even more labor intensive. My goal was to remove any residual finish and smooth out any bumpy or lumpy spots on the table, so it would be ready for stain. The clearer and smoother the wood is, the better and more uniformly the stain will take to it.
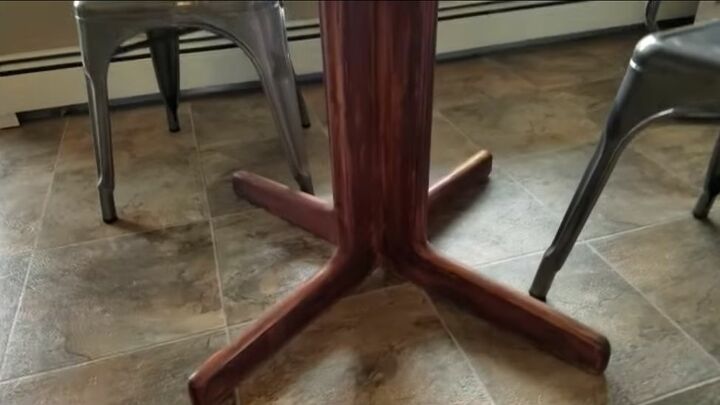
Step 6: Remove the Old Table Base
With the tabletop looking brand new, it was time to ditch that old, dated base. I turned the table over and laid it upside down so the base was easier to access. Then I simply unscrewed it from the tabletop using my drill. You can either discard the wood from the base or better yet, keep it for your next upcycle!
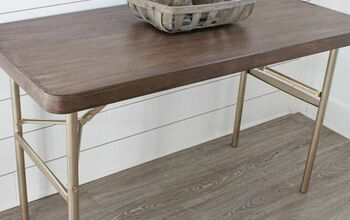
Step 7: Add New Hairpin Table Legs
The last step in my table makeover was to add the fabulous new, modern, hairpin legs. I purchased them online. I ordered ones that were specifically made for dining tables. Your own table and chairs will determine the height you need, but in general, dining tables are about 30” high and require a 28” leg. Installation was quick, I just measured for placement and used my drill to screw the legs into the base.
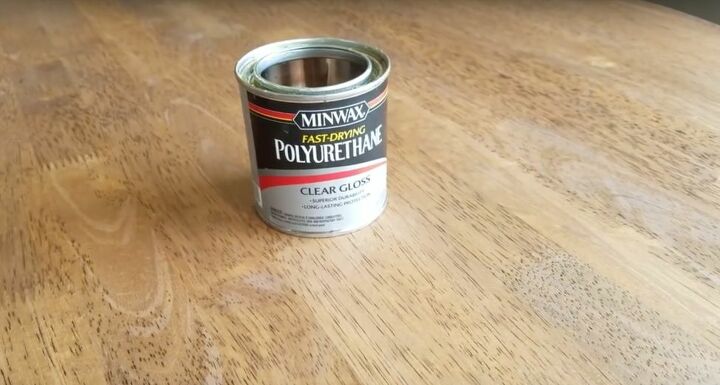
Step 5: Apply Sealer
Once I was happy with the color and the stain was completely dry, I grabbed a brush, and in the same long, even strokes, I applied a few coats of clear polyurethane sealer in a gloss finish. You can choose a matte or satin finish for a more rustic look if you prefer, the application is the same. In between each coat of sealer, I sanded the tabletop and wiped away any dust, to ensure a perfectly smooth finish.
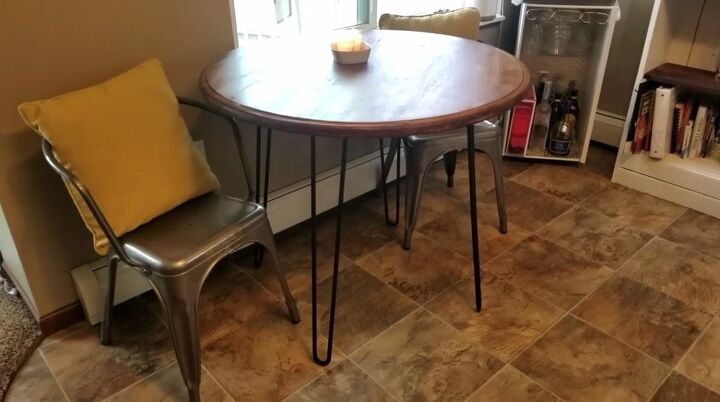
I wasn’t thrilled with the style of this table at the start, but now I am in love. It’s a total showstopper with its newly refinished tabletop and stylish mid-century hairpin legs and it only took me a weekend to make it over. So before you toss that old table or pass one up at the curb, why not roll up your sleeves and try this DIY? It’s a quick and inexpensive way to add some modern charm to your home.
If you know a friend who loves a good makeover, be sure to share this post!
Comments
Join the conversation
-
Looks great!
-
Love it ....very nicely done😍


Frequently asked questions
Have a question about this project?