


Grain Sack Inspired Kitchen Table

by
Tonya Diehl
9 Materials
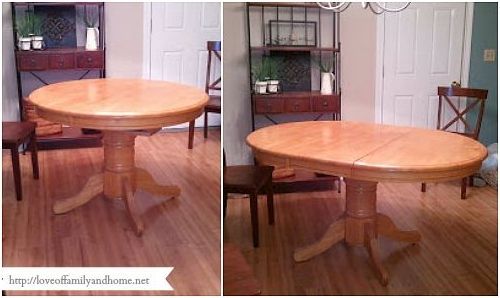
I found this old pedestal table on Craigslist a few years back. The table was a light oak color when I first got it. I knew that I wanted to paint it to match to match our kitchen cabinets, but didn't really have a ton of experience painting furniture. However, I decided to just follow the basic rules- sand, prime, paint! The table turned out really pretty, but there was one step that I left out and that was sealing it. Even though it held up pretty well for a few years, it is definitely starting to show the abuse we have put it through (or mostly the abuse I have put it through). You see, this little table gets used for everything, including all of my crafting! The kids color on it and also work an occasional craft project as well. Things always get messy and over the years, the table had gotten destroyed.
A true "before" shot of the table. This is what it looked like the night I brought it home.
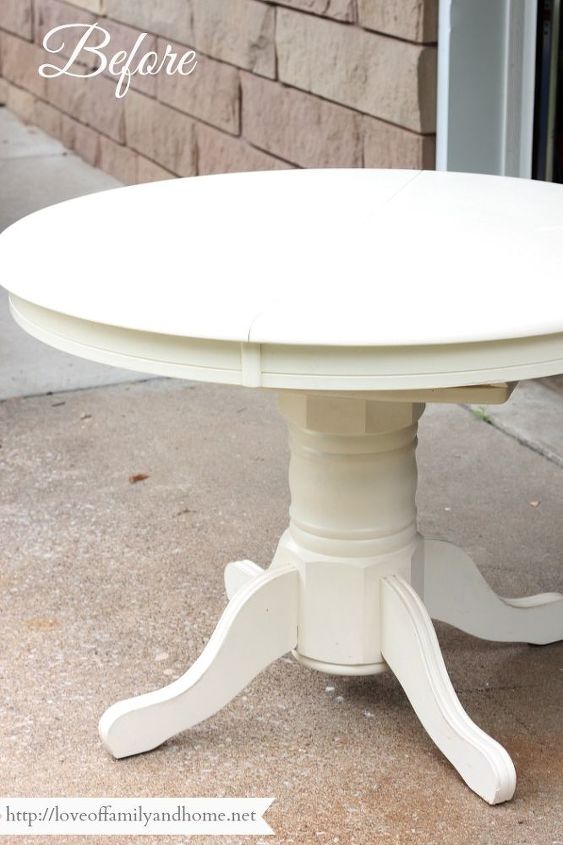
A true "before" shot of the table. This is what it looked like the night I brought it home.
Here is what it looked like just a few weeks ago. Now I know what you are thinking, looks pretty good, huh?!
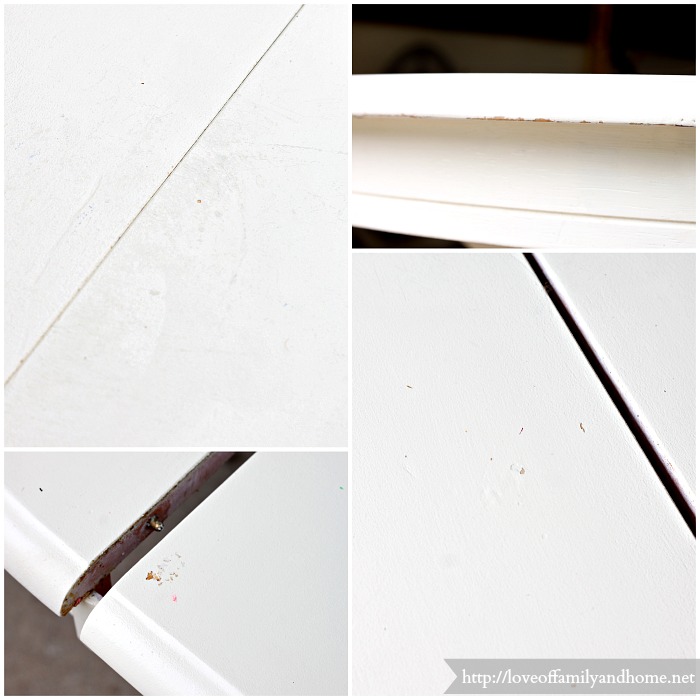
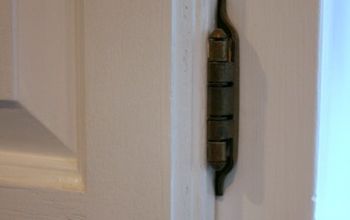
See what I mean, chipping paint and scratches GALORE!!
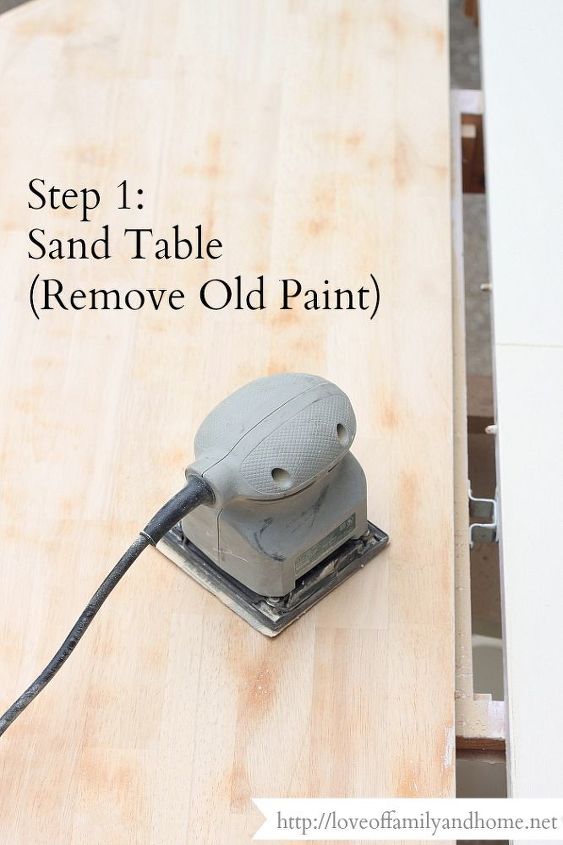
So I stripped the table of all the old paint.
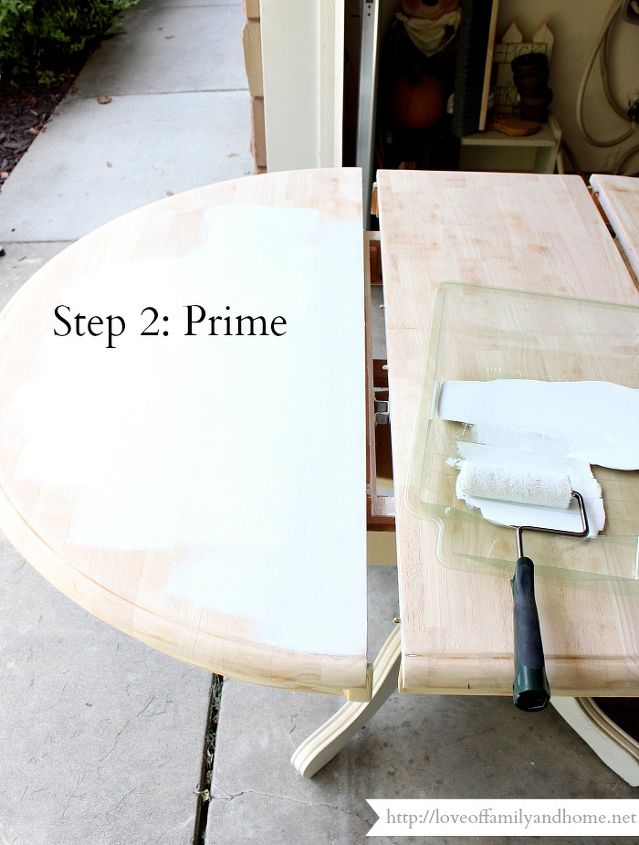
Primed it.
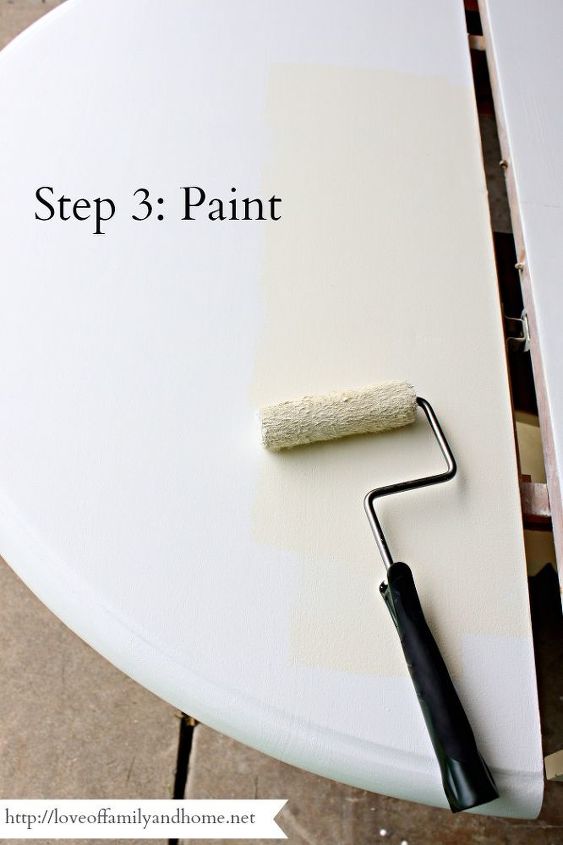
And then painted it. This time I used an enamel based paint. I gave the table 4 coats of paint, making sure to wait the recommended "dry time" in between coats.
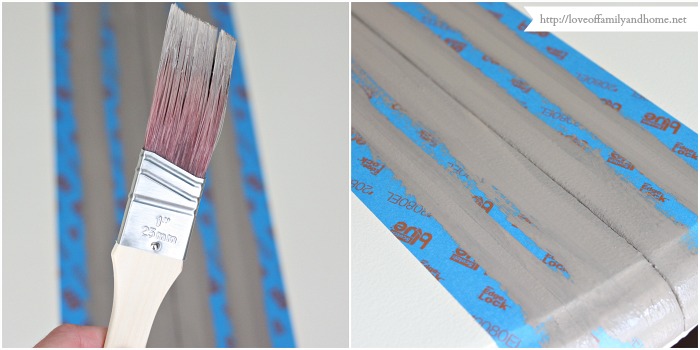
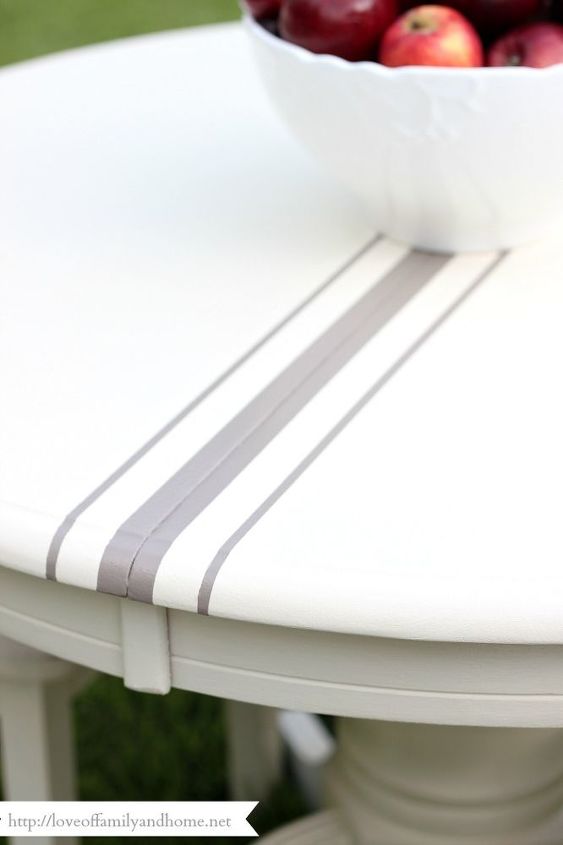
Once I was finished painting, I decided to add a little grain sack inspired detail to the table top. For this portion of the project I used ScotchBlue(TM) Painter's Tape Delicate Surfaces with Advanced Edge-Lock(TM) Paint Line Protector 2080EL. This tape is great for freshly painted surfaces (24 hours old.) It allows you to achieve the crisp, sharp lines that you want without doing any surface damage. I applied the tape to the table in a grain sack pattern. The widest strip in the middle ended up being 1 and 1/4" wide and the thinner, outside stripes, 1/4" wide. I have no exact reason for choosing those measurements. I simply eye-balled it to see what I thought looked good. However, once, I determined what my widths would be, I measured them out along the entire length of the table & made tiny pencil marks to serve as a guide when it was time to put the tape on. Once the tape was placed, I pressed down on it firmly to ensure I had a good seal. I gave the stripes two good coats of paint. Once the paint was dry to the touch, I slowly began removing the ScotchBlue(TM) Painter's Tape at a 45 degree angle.
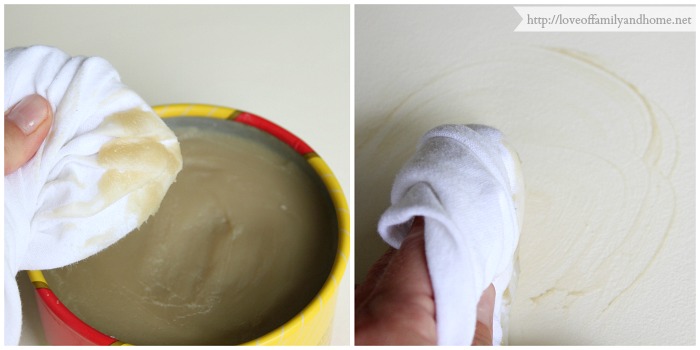
I waited two days and then decided to apply a few coats of wax to seal my table & give it extra layer of protection. For this, I used Johnson(R) Paste Wax which I found at The Home Depot . This was my first time using any kind of a furniture wax. I went with this brand after doing some research online. Several articles I read advised using the Johnson(R) brand if you were sealing white furniture because it dries clear & doesn't leave a yellow or orange tint. I found this brand super easy to be inexpensive & super easy to work with. It does however have a very strong smell, so you'll want to make sure you are working in a well ventilated area. I used an old t-shirt to apply the wax to the table. I just got a little bit of wax on the shirt & started applying it to the table in a circular motion. I applied a thin coat and then waited one hour to let it dry. Once dry, I came back with another old t-shirt & buffed the table out. I repeated these steps three times total.
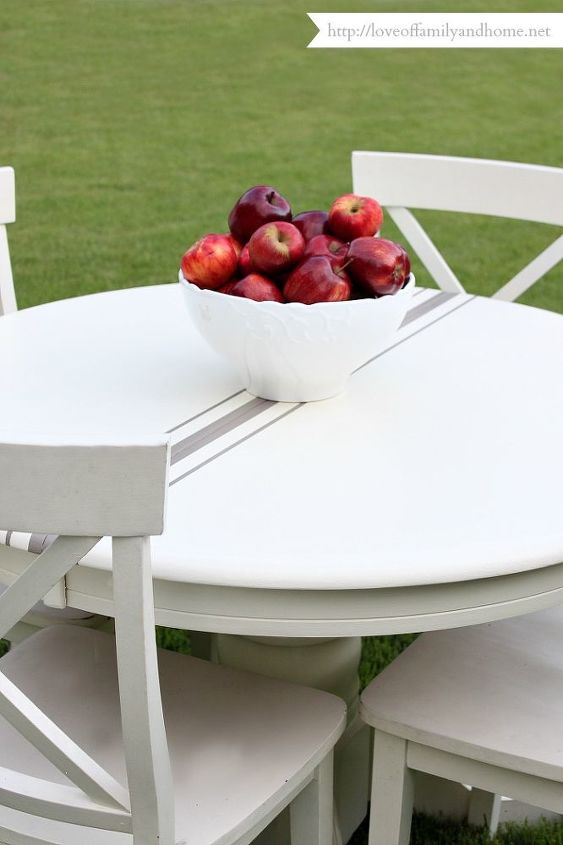
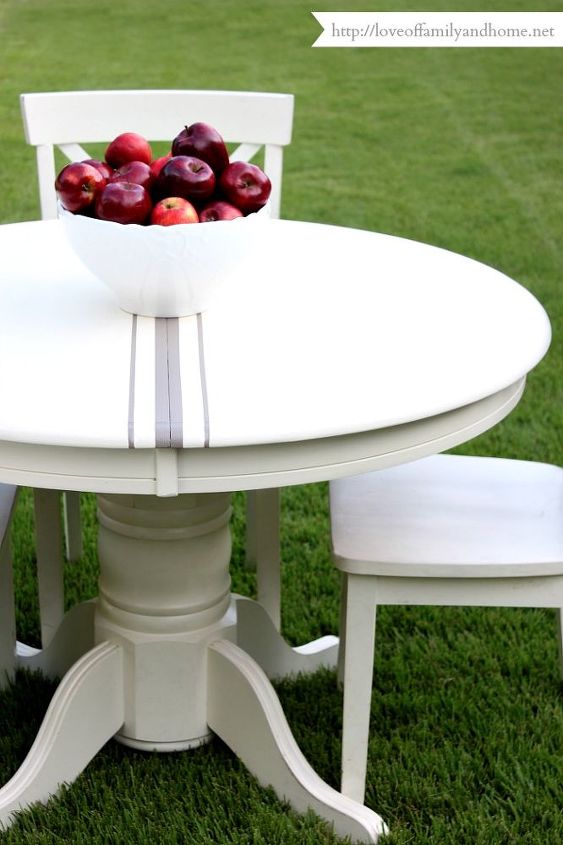
A look at the finished product!! LOVE!!
Want more details about this and other DIY projects? Check out my blog post!
Comments
Join the conversation
2 of 34 comments
-
It is so different and I love it.!!!
-
love the stripe


Frequently asked questions
Have a question about this project?
I have been thinking of doing this. I want to paint only the top..RED.
I fear nothing I could use on it is scratchproof and tht it would look
worse in a year than it does now. Is there any coating to cover the
RED that would endure a family's daily use?