


Paint and Polka Dots
$15
4 Hours
Easy
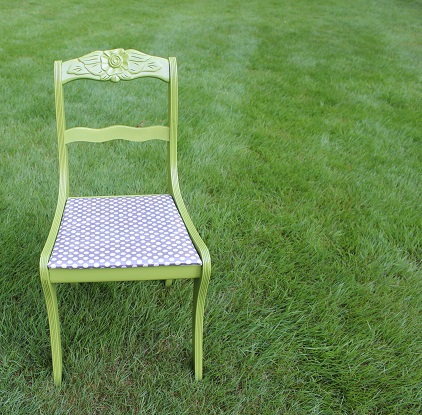
Last summer I gave this beat up yard sale chair a makeover. (Oh how I miss that green grass!)
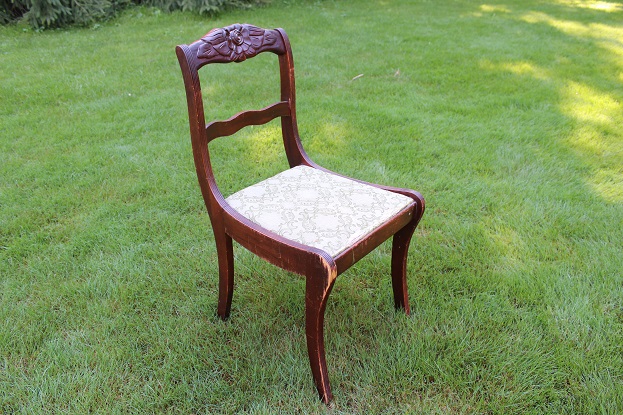
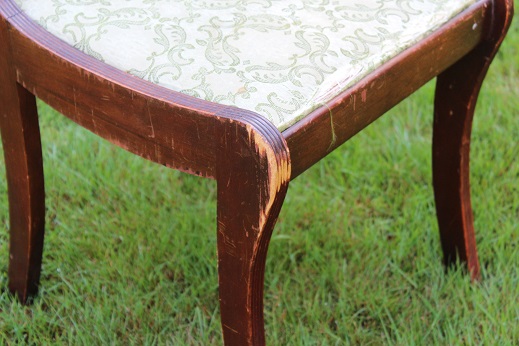
The new chair came from a yard sale. The seat fabric was torn, the chair was a little wobbly, and the veneer on the sides had been scraped up pretty badly.
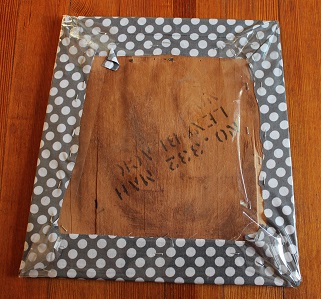
First, I removed the seat which was attached by four screws.
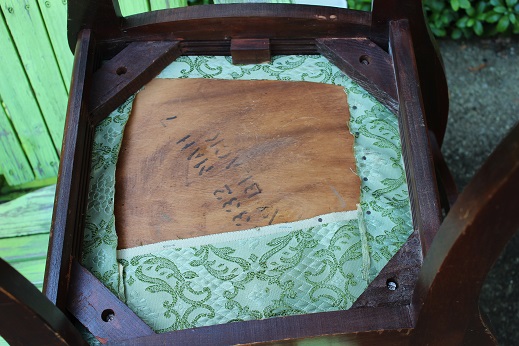
Then, I sprayed the chair frame with the hose, and left it in the sun to dry. The finish was still kind of sticky to the touch, so I washed it again with tsp-substitute. After the seat was removed, the chair was no longer wobbly. No additional repair was needed.
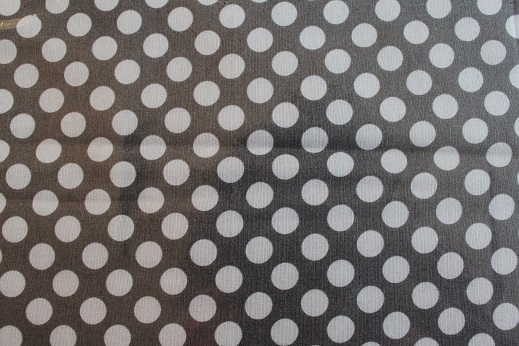
I cut the quilt batting the same size as the seat. I used three layers. I cut the vinyl and fabric larger, and I attached it all with a heavy-duty staple gun.
After the primer dried, I painted the chair with spray paint. I opted for spray paint instead of a brush because of all the grooves and details in the wood. I was not sure I could do a very good job on those with a brush.
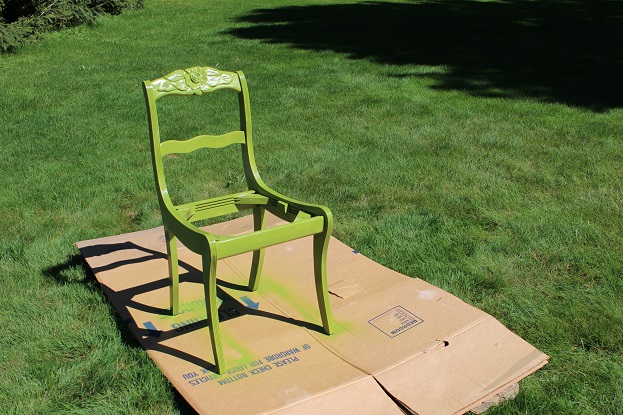
The chair took two full layers of paint, and some touch up work. After it dried, I reassembled it and sat back and marveled that I was able to complete something 100%.
The $15 cost estimate reflects $5 for the chair plus $10 for supplies.

Want more details about this and other DIY projects? Check out my blog post!
Comments
Join the conversation
2 of 4 comments
-
Very cute. Nice idea.
-
Thank you!


Frequently asked questions
Have a question about this project?