


Simple Steps to Paint Furniture

Painted furniture provided an updated look for our master bedroom makeover. Follow these simple steps we used to paint furniture.
For more simple and budget-friendly DIY project ideas, be sure to follow us on HomeTalk and visit our blog!
Do you have furniture that is outdated but still in good condition? Then Part 2 of our master bedroom makeover series is for you!
If you missed Part 1 you can get all the details and before & after pictures of our updated modern farmhouse bedroom here.
We bought our furniture over 20 years ago. It’s solid pine wood by Broyhill so it’s good quality furniture.
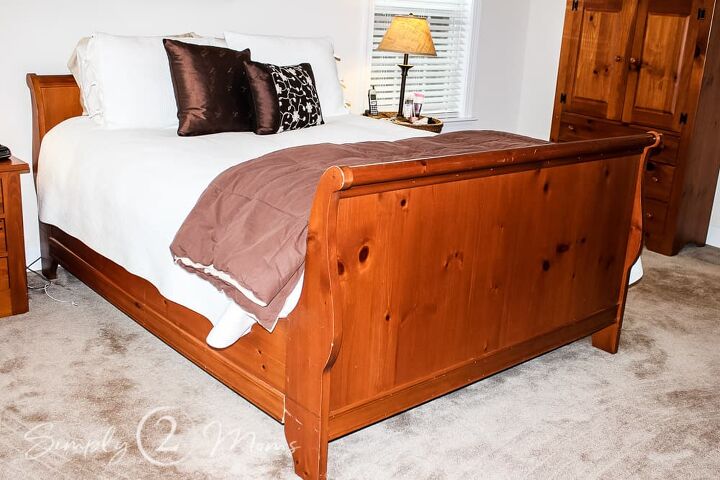
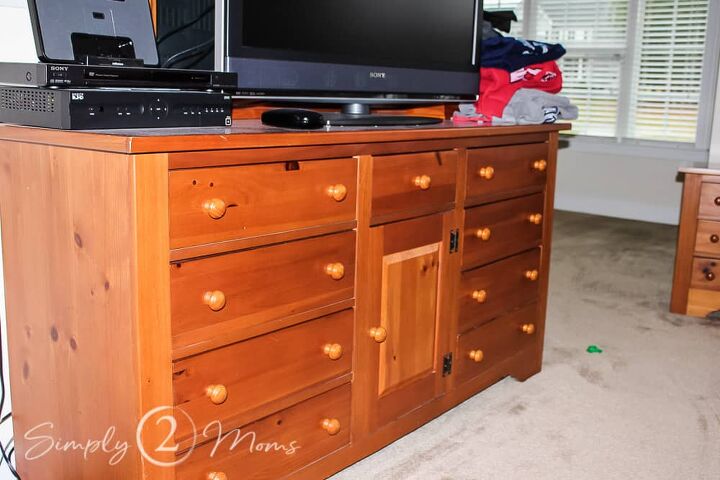
It just wasn’t my style anymore. Although it was stained with an outdated orange color stain, it had simple classic lines that I love.
We really didn’t want to spend the money on a new bedroom set. So, what’s a girl to do?
I grabbed some paint and crossed my fingers!
Follow along as I share the steps I took to paint our furniture.
Before
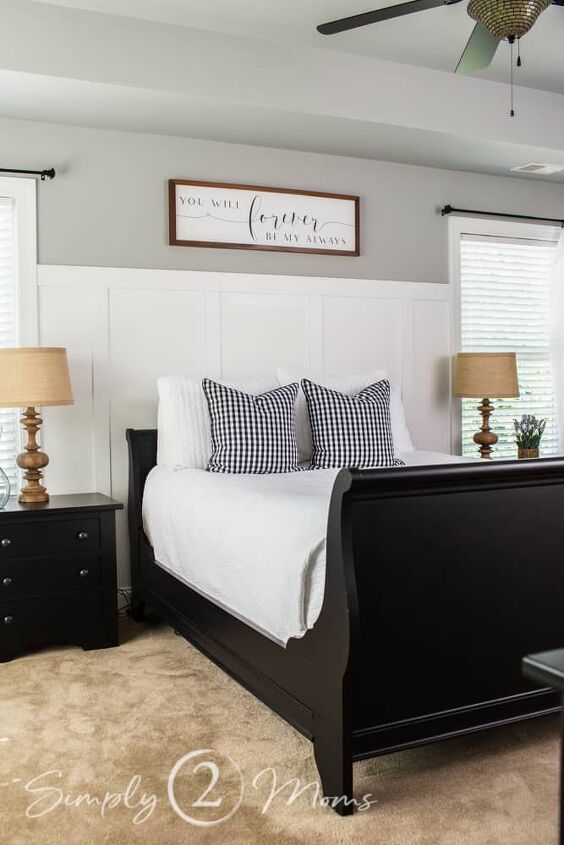
I went back and forth between wanting to paint the furniture white or black.
Since we painted our board and batten wall treatment white…I decided to paint the furniture black.
The painting wasn’t a super-fast process because I used oil paint but the finished product was so worth the extra drying time it took!
Here is another picture before I refinished the furniture. As you can see the lovely orange finish….and lots of knots because of the pine wood.
Step 1 – Clean
Give all of the furniture pieces a good cleaning.
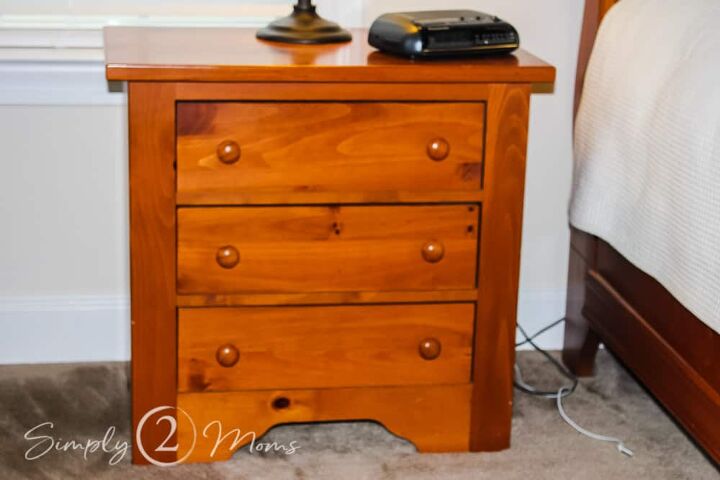
Can you see the layer of dust on my dresser? I’m slightly embarrassed about that dust…no not really…I’m all about keeping it real! And my dusty furniture is real life.
Just be sure your furniture is cleaned well in preparation for the next step.
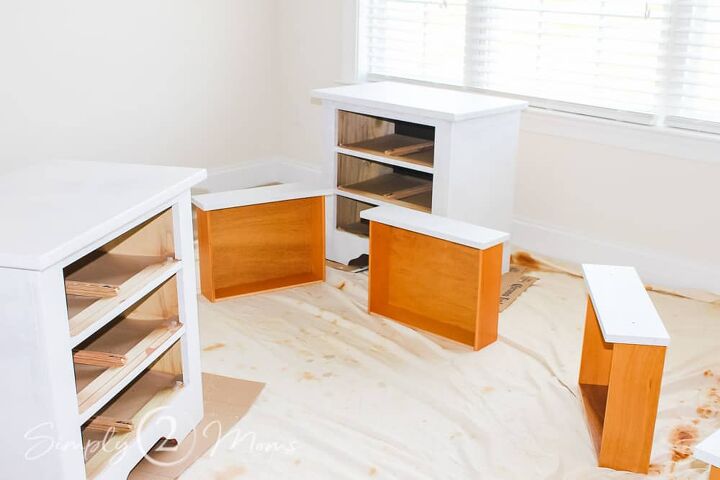
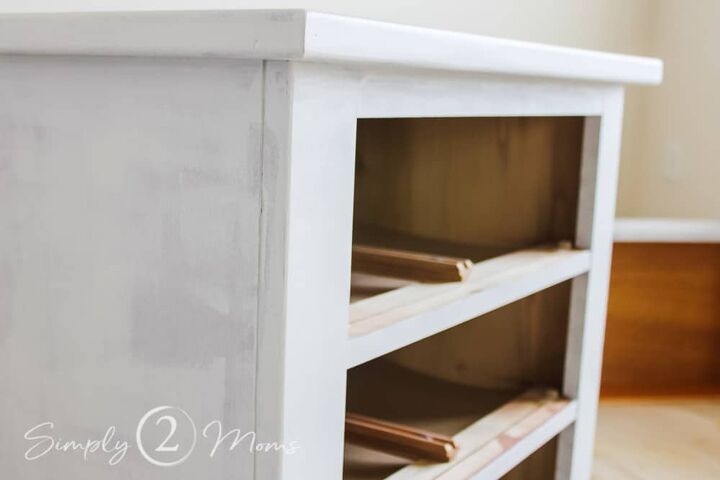
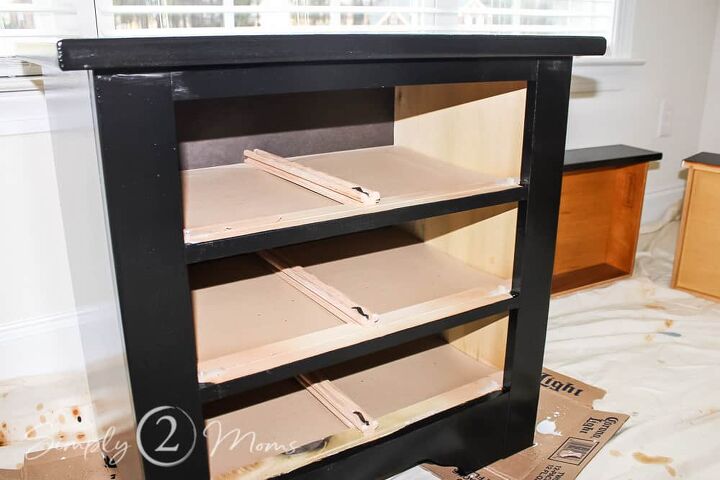
Step 2 – Prime
Prime all the furniture using Zinnser cover stain.
After doing some research I found that if I used this primer I could skip sanding all the furniture.
I was able to shorten the process and skip that labor-intensive step.
Whoo-hoo! I’m all about making it simple.

Using a foam roller & 2 inch angled brush I applied the primer.
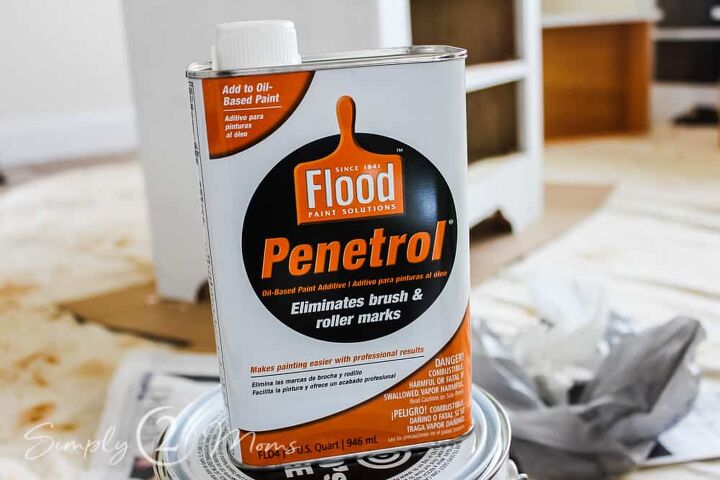
Adding the Penetrol to the primer will help eliminate brush marks.
I applied two coats of primer and lightly sanded between each coat.
Here are some of the furniture pieces during this process of applying the primer.
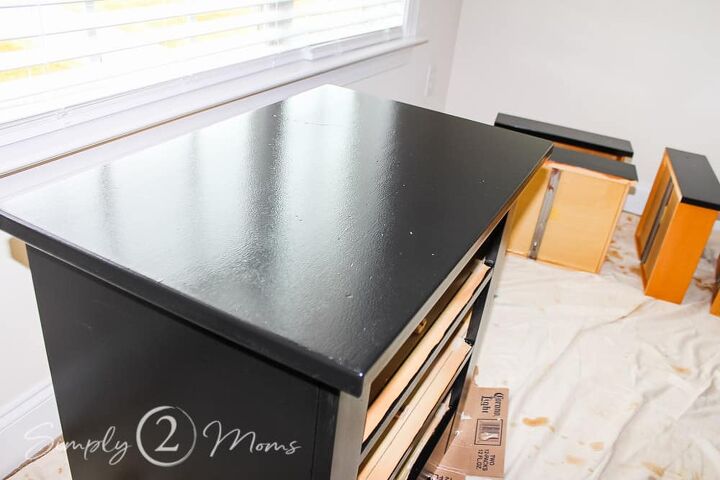
Step 3 – Paint
Use an oil-based paint for great coverage.
Unfortunately, I didn’t take a picture of that paint can but I got it at my local Ace Hardware.
It’s a basic oil-based paint in black that I purchased right off the shelf.
When I explained what I was doing to the nice people at Ace, they recommended that paint.
Remember though…oil paint is messy!
Before this project, I had only ever worked with latex paint, but I wanted a durable finish without having to put a glossy sealer over the paint.
I added the Penetrol to the black paint to limit brush marks and then applied my first coat.
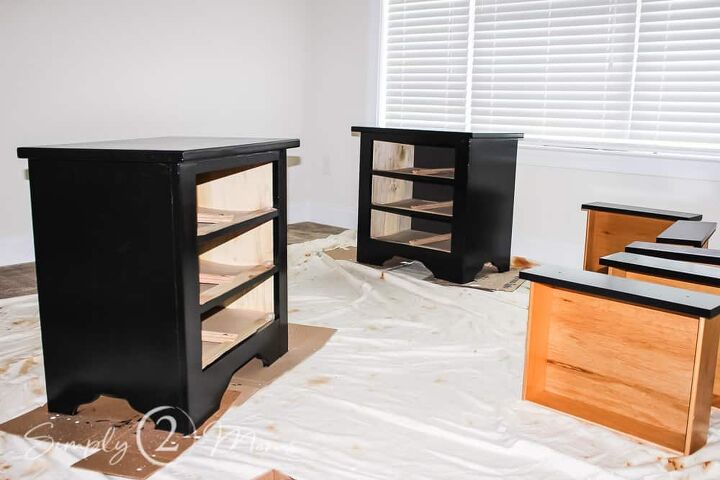
Wait at least 12 hours before applying a second coat of the oil-based black paint on all the furniture pieces.
I painted the tops and sides of the furniture with a roller.
The frames and edges of the furniture were painted with an angled brush.
You can see using an oil-based paint gives your furniture a beautiful sheen without having to add another step using a sealer.
Step 4 – Refinish Hardware
After pricing new hardware for all the newly painted furniture pieces I decided to try painting the original wood knobs.
Spray paint that was supposed to resemble metal was the perfect alternative to new hardware.
Painting each knob with a coat of primer then spraying them with Rustoleum Hammered finish.
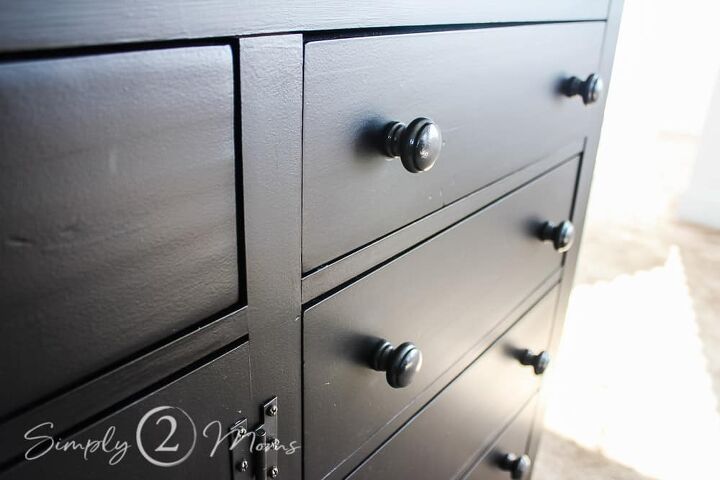
The “metal” spray-painted wood knobs looked great against the black furniture.
And it saved me some money!
Win-win!
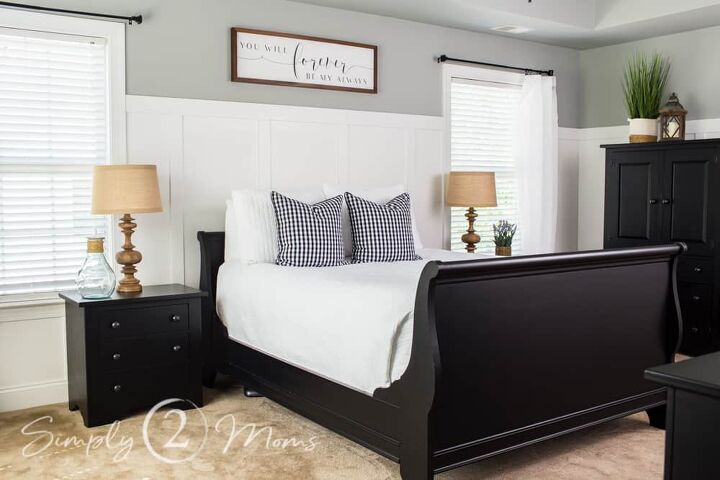
What a difference some paint can make in a room…don’t you think?
If new furniture isn’t in your budget right now, consider painting it to get an updated look for your room makeover.
Comments
Join the conversation
-
How much Floetrol do you add to primer and paint? Great project, beautiful job!
-
This is exactly what I was looking for. I have an antique dining table with ornate molding and legs that was my grandmothers. I love the table but want to lighten it with paint. All I saw was chalk paint, but that does not have a sheen. Thanks for this post I found everything I need in one spot. Thanks for the inspiration!


Frequently asked questions
Have a question about this project?