


Tv Cabinet Transformation: Part1

We have an old tv cabinet in our primary bedroom where we store extra linens, pillows and blankets. It used to operate as a TV cabinet with a pull out swivel tray.
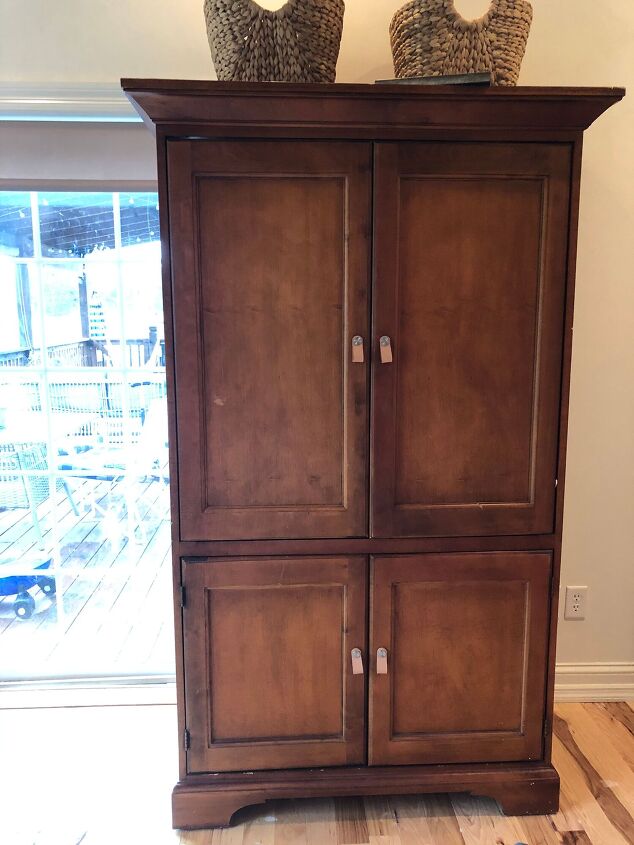
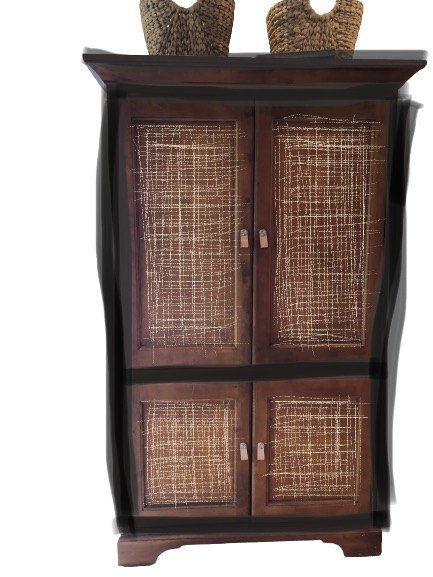
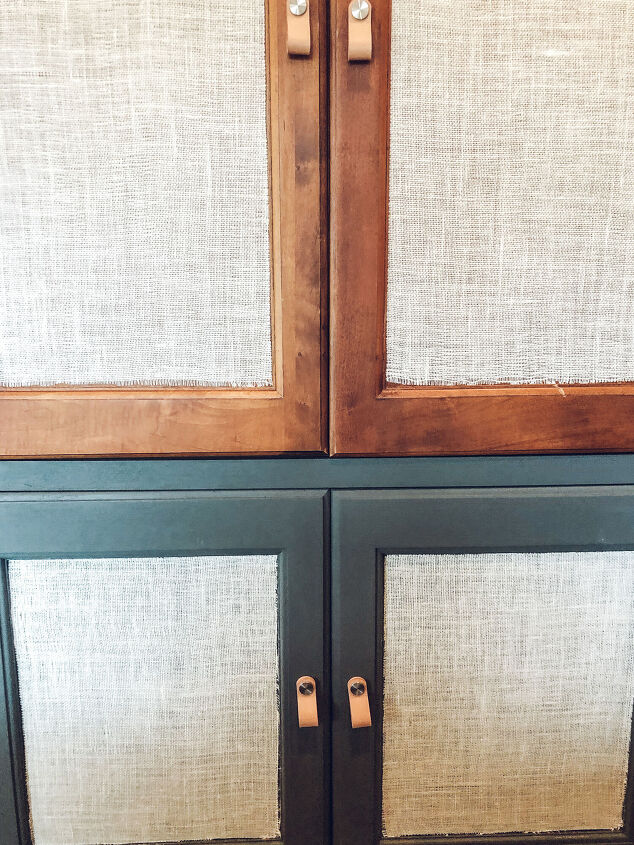
The first thing I did was change out the door knobs. They used to be wood that matched the current drain color. I settled in these leather pull knobs. New knobs wasn’t going to be enough to make this cabinet look better. With some Pinterest inspiration I settled on this mock up plan. I used remove.bg to remove the background from the above picture. Then I edited the photo in my photos app and marked it up with my plan. My plan is to paint part of the cabinet, leave the doors the color they are, and then glue burlap on the door panels.
Paint prep + Painting
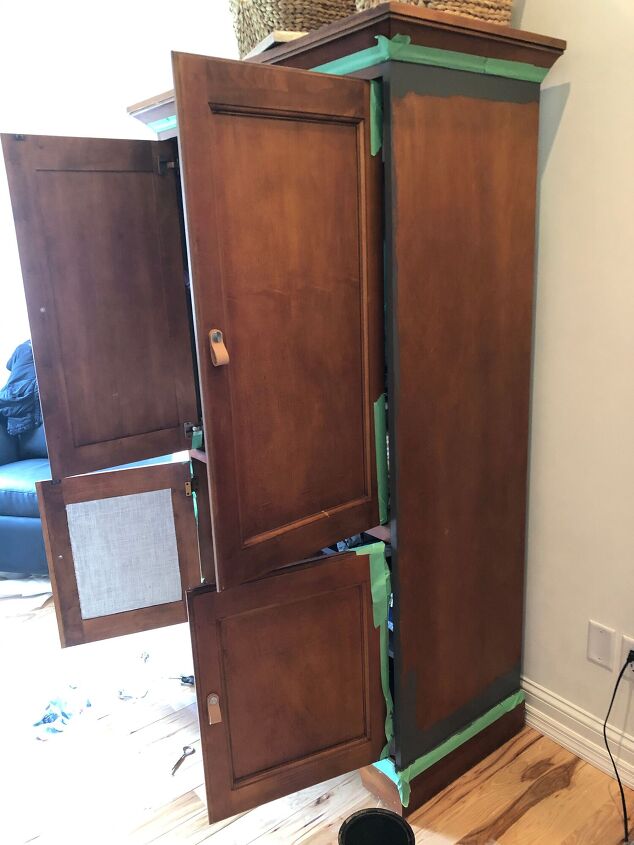
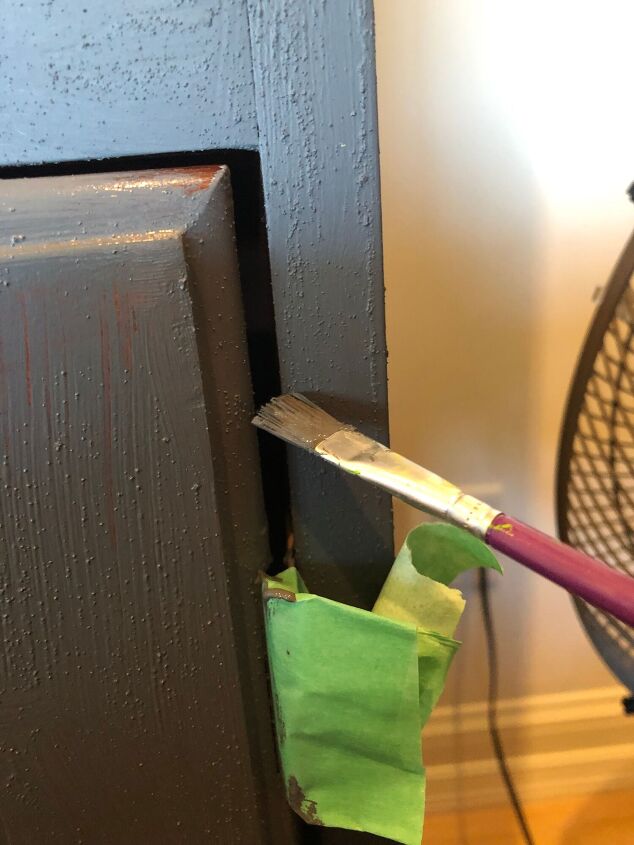
Clean, dry and prep all surfaces to be painted. I don’t usually use tape when I paint. But since I only wanted part of it painted I taped off the bottom and top trim. I used this chalk paint recipe to make a custom chalk paint color. I prefer chalk paint because you have less prep work when painting furniture. Mostly you don’t have to sand just make sure your surface is clean and dry. For small detailed areas around the hinges I used a small craft paint brush.
Applying Burlap
I practiced applying the burlap to the back of the doors before proceeding to the front of the panels. Burlap is an inexpensive woven material that gives you the look of a woven door panel for less.
Materials:
Burlap (I used about two yards for the front and back of all four panels)
Mod Podge matte finish
Cheap Paint Brush
Razor Knife with several fresh blades
Plastic Putty Knife
Paper Scissors (don’t use fabric scissors to cut burlap. It will dull them.)
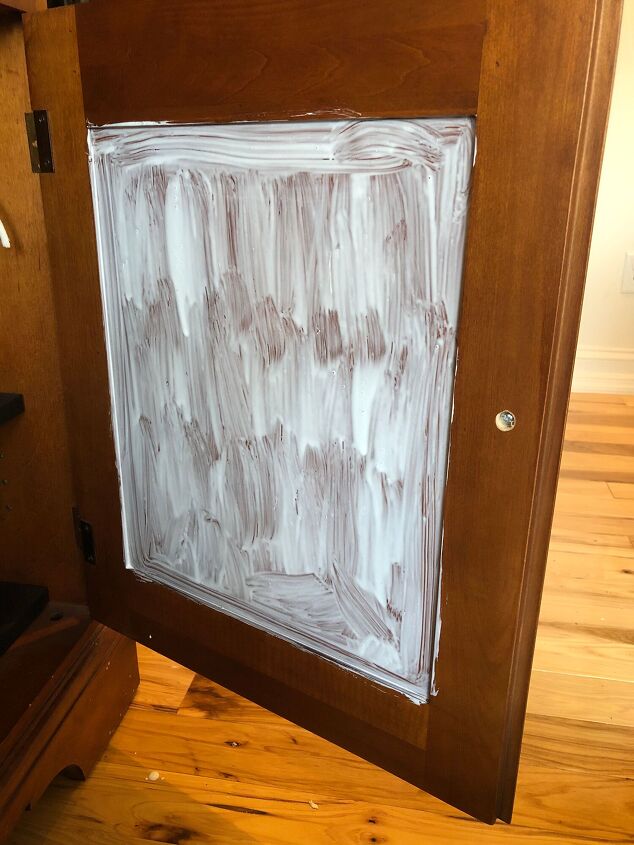
Step 1:
Apply a generous amount of mod podge to the door panel. Initially I didn’t put enough on and thought I would just apply a layer of mod podge on top of the burlap (this was done in my practice) but I did not like the look once it dried.
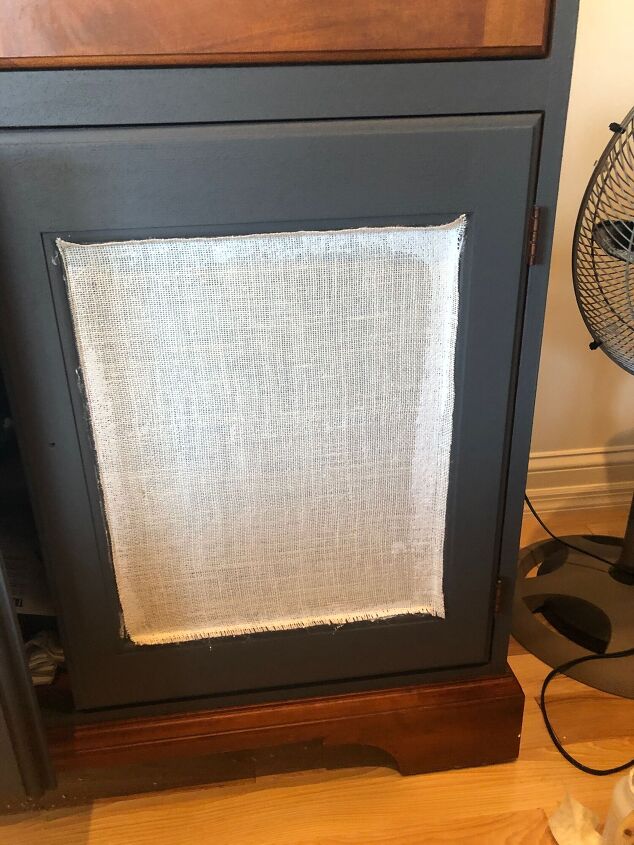
Step 2:
Let the mod podge dry a bit so it’s kind of tacky. While it’s drying measure and cut your burlap piece. I suggest cutting your pieces slightly larger than your panel so that it overlaps onto the molding slightly. Once tacky, line up your burlap and press it down with your plastic putty knife onto the panel. Use the putty knife to smooth out the burlap and push it into the edges.


Step 3:
Apply a small amount of mod podge on top of the edges of the burlap. Use your putty knife to keep pressing the burlap into the edges as it dries.

Step 4:
Let the mod podge dry completely then take your razor knife and cut off the excess material.

Repeat the process for each door panel front and back if you’d like.
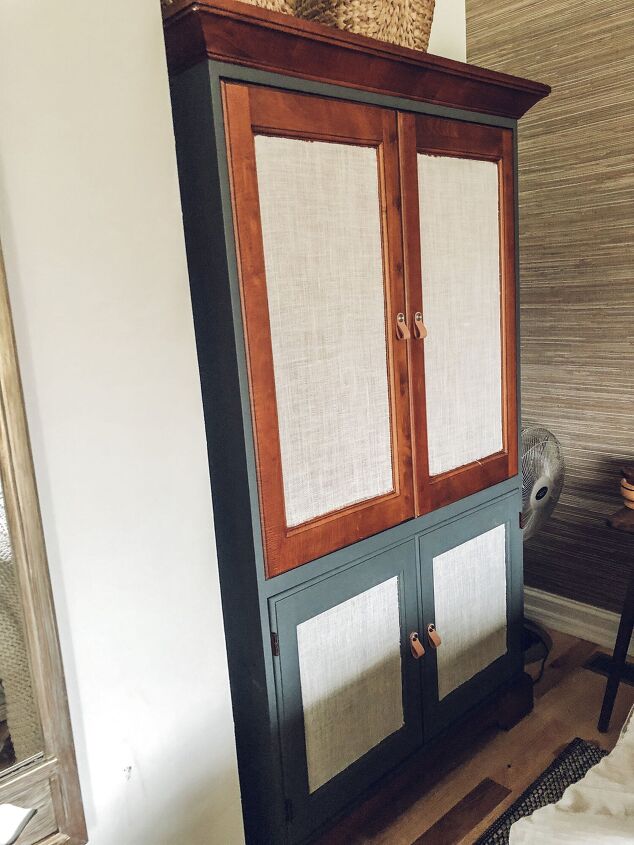
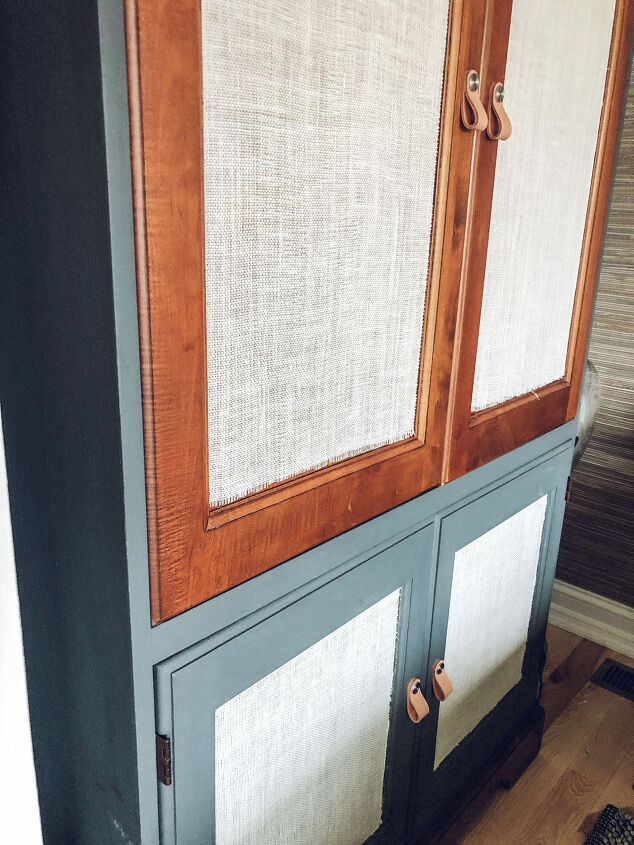
Thats a wrap! I love how this turned out and updated a rather bland cabinet!
Come back and check out part 2 of this cabinet transformation when we change the inside of the cabinet to function better for storing linens, pillows + blankets.
Follow me on IG @haganhomestead for the day to day musing of life, projects and homesteading.
Happy DIYing friends!
Alissa
0Post not marked as liked
Comments
Join the conversation
-
Looks great. Love the two tone look with the wood and paint. Love the color too. The burlap softens it up. I would have used spray adhesive rather than mod podge on such a large area. Spray the back of the fabric and stick it on and still can be repositioned. Spray both the fabric and the inset and it's more permanent. 3M Super 77 is my go to. Great job and share


Frequently asked questions
Have a question about this project?