


How to Blend and Create Multiple Layers With a Roller

by
Debi Beard
2 Materials
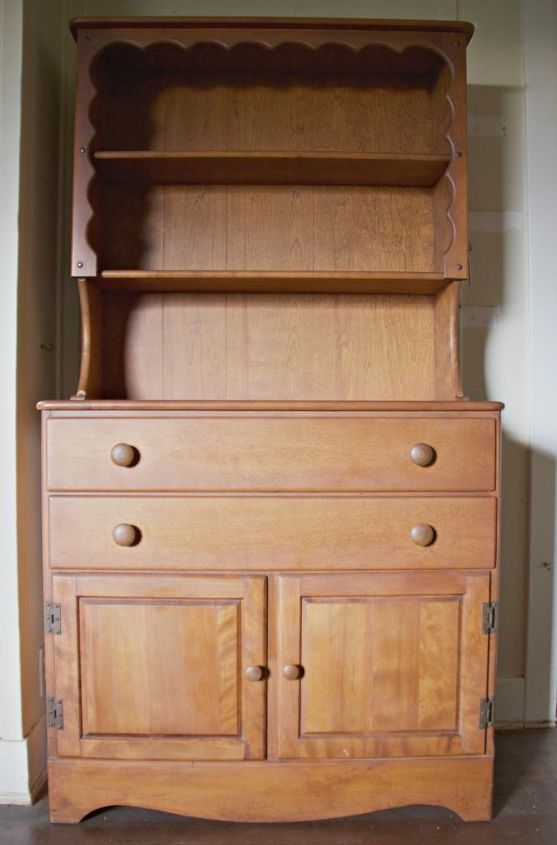
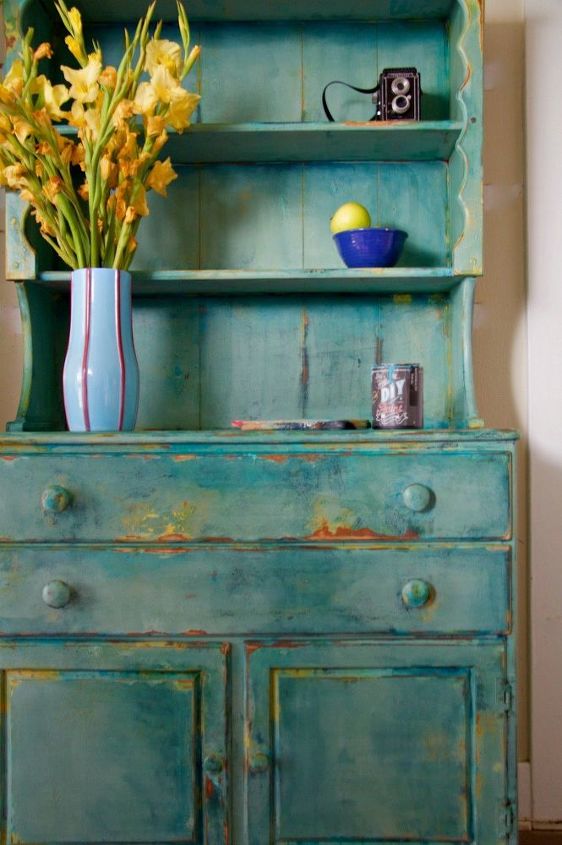
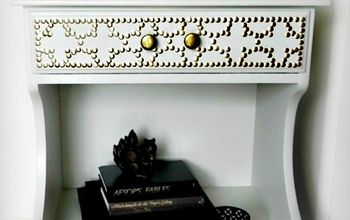
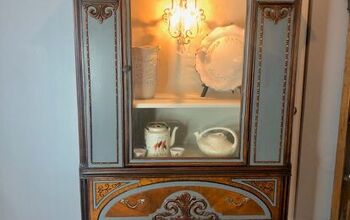
I found this hutch on Craigslist, it was solid maple in perfect condition, it also had been professionally restored and there wasn't a drop of paint on it.

The owner said it belonged to his grand parents and showed me the stamp on the back...
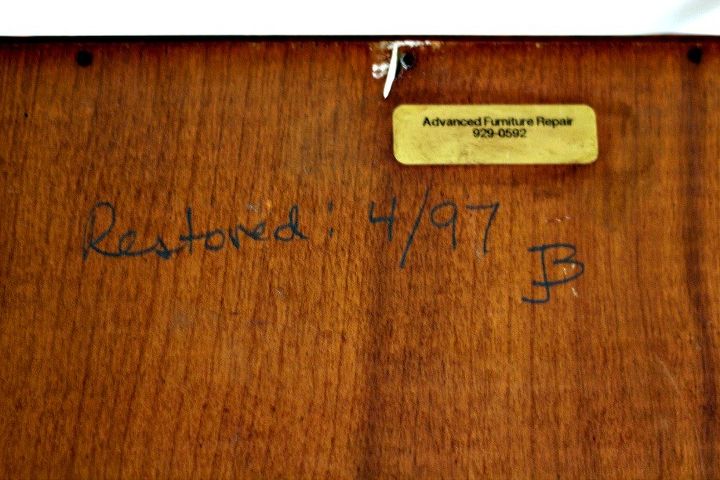
and he demonstrated how easily the drawers slid in and out... it was just what I'd been looking for and I loved it!
As we loaded it into my car his wife looked at my business card and said, "you're not going to paint that are you? " I panicked! I forgot that my card had my paint logo on the back... If she only knew that I was planning to do this to her beautiful cabinet!
Your probably cringing by now, this story has a happy ending see what happened next in this video
{
"id": "3693000",
"alt": "",
"title": "",
"video_link": "https://www.youtube.com/embed/iAe7aDMNm4k",
"youtube_video_id": "iAe7aDMNm4k"
}
{
"width": 634,
"height": 357,
"showRelated": true
}
Two years prior I was inspired by Shelly from http://www.shizzle-design.com. I had tried to create a look similar to her peacock buffet posted with tips on her blog. My failed attempt to create this multi layer blended color look is documented in another video on my Youtube channel. After that, I gave up until I saw Dionne's amazing work from http://www.theturquoiseiris.com and I knew I had to try again.
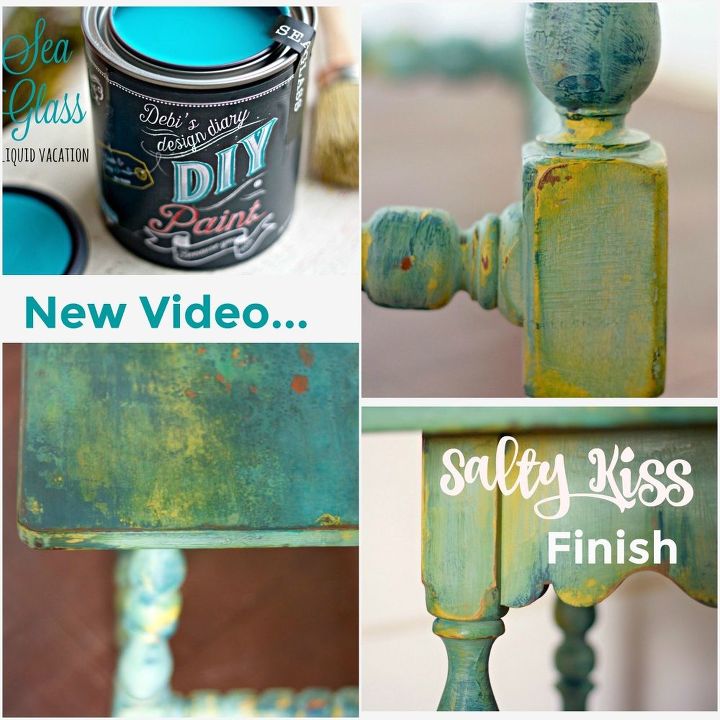
Before painting the hutch I practiced on a small end table. I used a paint brush but this was not working because of the crazy patchwork layers. The brush marks going in multiple directions created a very chaotic result as they showed through the top layer of paint like a panty line when I tried to rub the paint back and distress it.
I sanded everything down and tried a roller, this time the results were different!
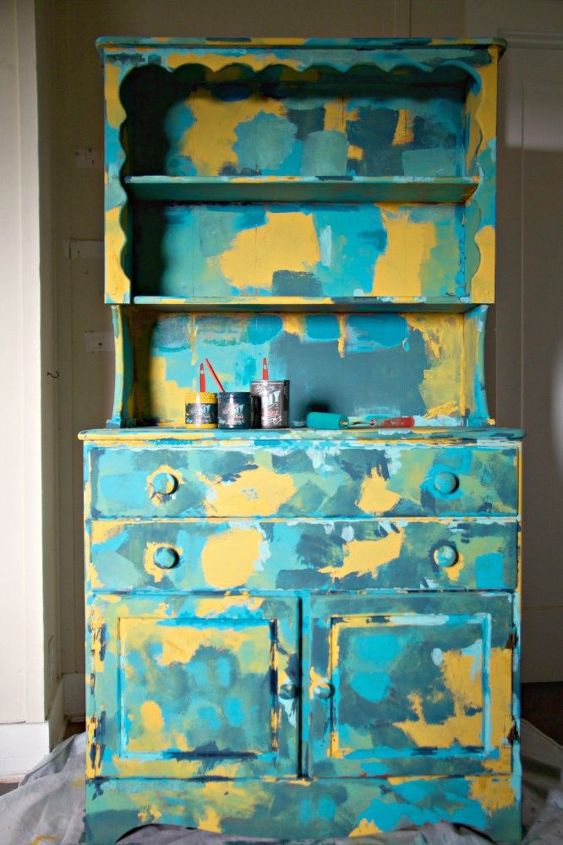
I also decided to try Shelly's tip, she advised watering the paint down to the consistency of milk.

The paint was very runny and dripped down the side... as shown here in a screen shot of the video. At this point I had doubts... it looked like a hot mess!

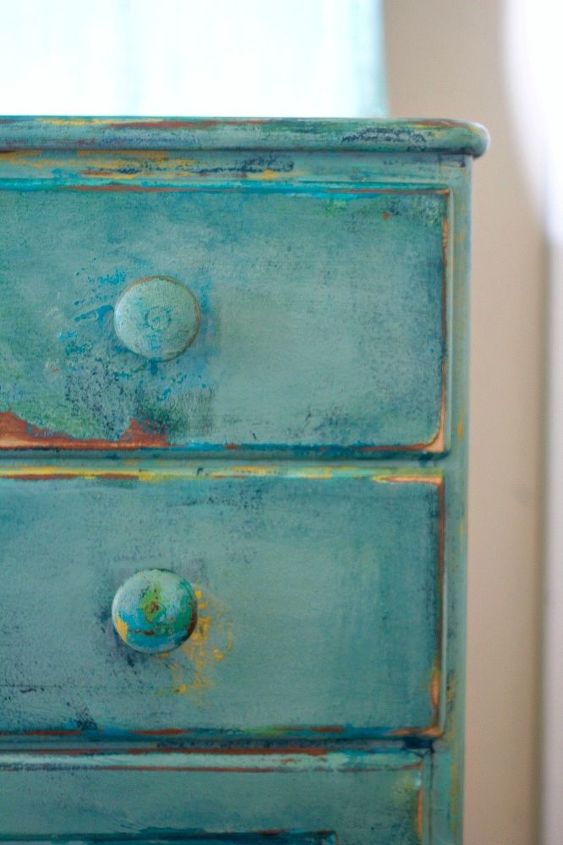
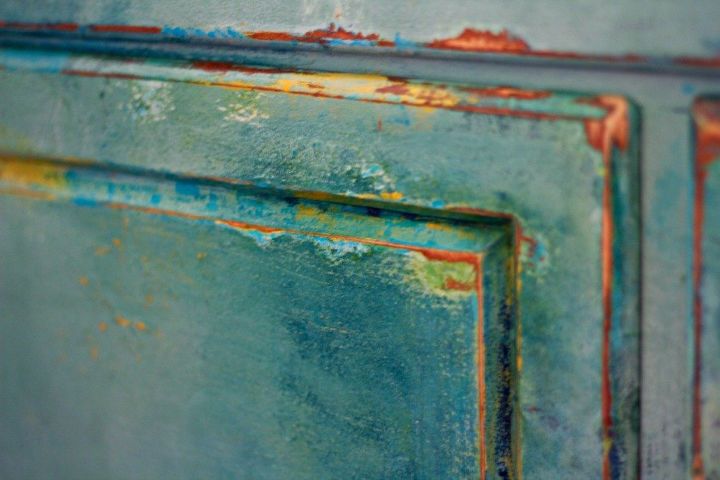
but the result was beautiful!
There are several more important tips on my blog more details about this story, and a link to my other video documenting the failed attempt, from two years ago. You can find all of that here, http://debisdesigndiary.com/has-anyone-ever-said-dont-paint-that-my-story-how-i-finally-learned-to-blend-color-after-many-failed-attempts/
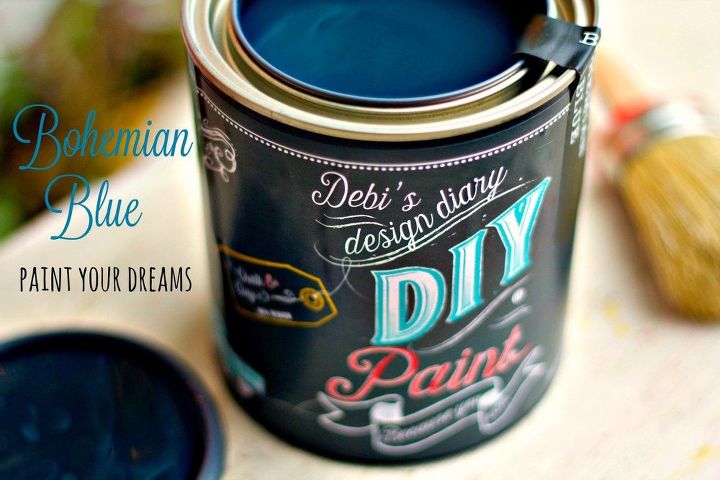
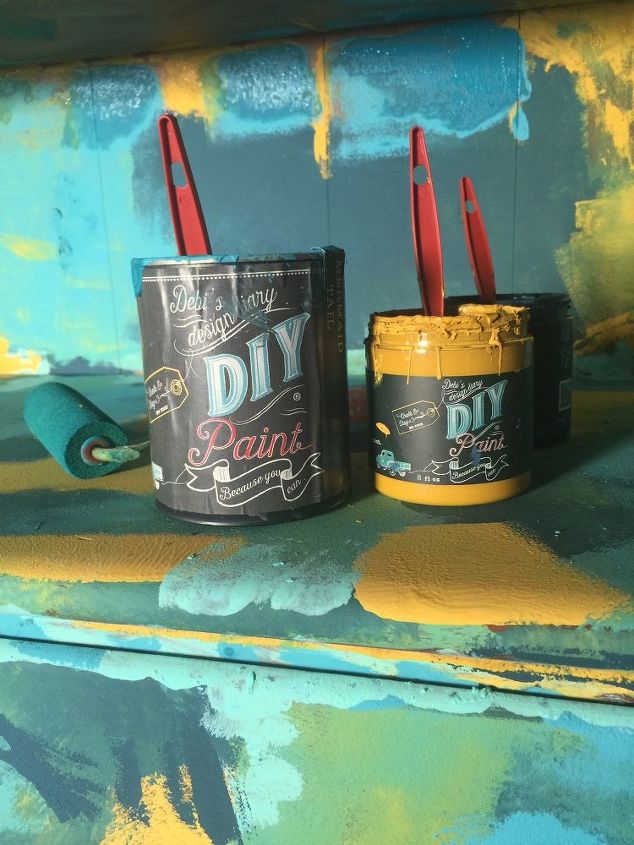
I used DIY Paint for this because it's a clay based paint. This makes it very easy to blend layers together like butter or build up the texture like a chunky peanut butter! I used Bohemian Blue, Mermaid, Queen Bee and Farm Fresh. DIY paint is sold in stores across the US find a retailer near you here, http://diypaint.net/find-a-retailer/ I have links to all the supplies on my blog.
What are your thoughts on painting vintage furniture? Has anyone ever said, "stop don't paint that!" To you?

If you liked this tutorial, I post videos weekly on my Youtube channel, I would love it if you subscribed, it's free just click here!https://www.youtube.com/channel/UCIp7rXN2jsXwC-ISMEHxZcQ
Want more details about this and other DIY projects? Check out my blog post!
Comments
Join the conversation
2 of 65 comments
-
I think it looks FANTASTIC!! Love the colors and how it turned out.
-
Not a look I'd go for.


Frequently asked questions
Have a question about this project?
Just curious, what did you tell the woman when she asked about you painting it?
Would you need to sand it all down first? That is a lot of work.... I would like to paint some old wood furniture belonging to my Mom.... But the sanding it all down is turning me off. Also, do you need to use Varnish or something afterwards? Thanks.