


How to Make a DIY Basket Pendant Light Using Rope & a Balloon

Today, I am going to make a giant boho-style DIY basket pendant lamp with my friend Orit.
She just moved to a new place and wants to inject a bit of her earthy boho style into the space. Together, we’ll show you how to make a boho pendant light from scratch using rope and a balloon.
Yes, you can have a DIY boho rattan pendant light with just a few simple materials and on a budget! Let’s get started.
Tools and materials:
- Natural rope
- Scissors
- XL balloon
- School glue
- Spray glue
- Cornstarch
- Floor covering
- Screwdriver
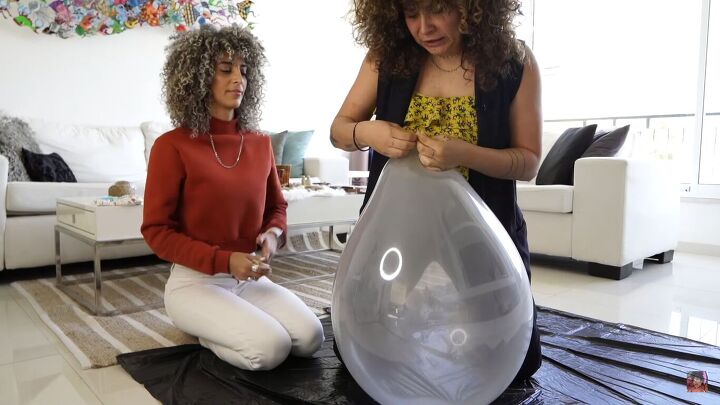
1. Blow up the balloon
Blow up a balloon to the size you want your pendant to be. Make sure to use strong balloons, as you don’t want them to pop when you’re in the middle of the DIY.
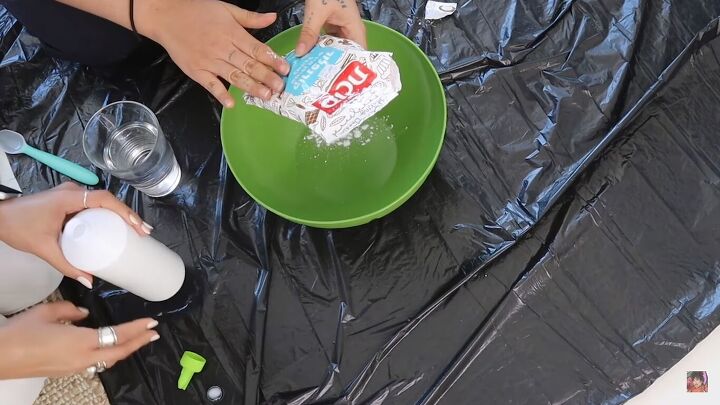
2. Mix the glue with cornstarch and water
Now we’re going to create a mixture of glue, cornstarch, and water. You want 3 parts glue to 1 part water, and the 3-4 tablespoons of cornstarch are going to help stiffen the glue when it dries.
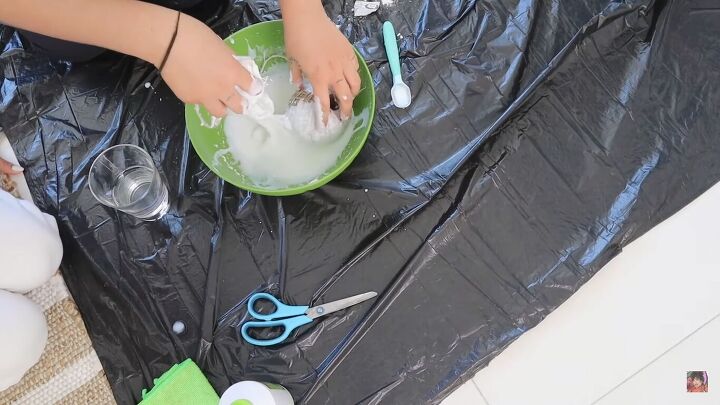
3. Soak the rope
Start swirling the rope around in the mixture. Once the rope is completely wet, it’s time to start wrapping!
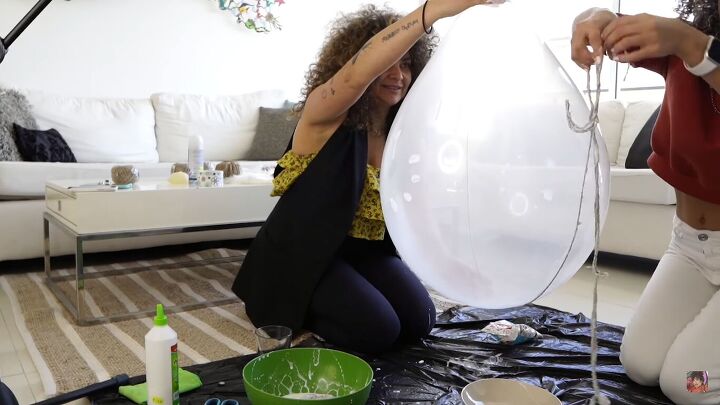
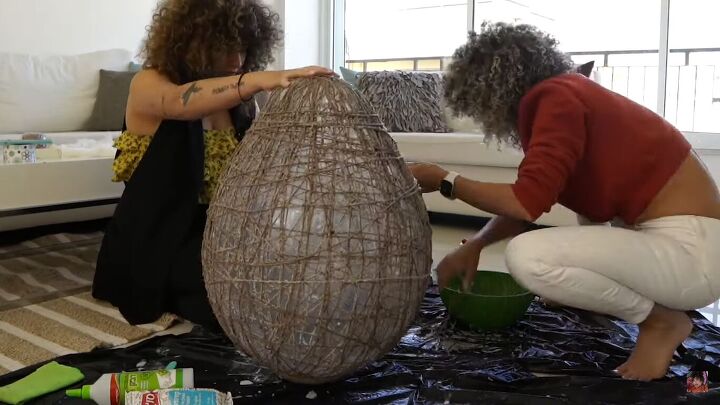
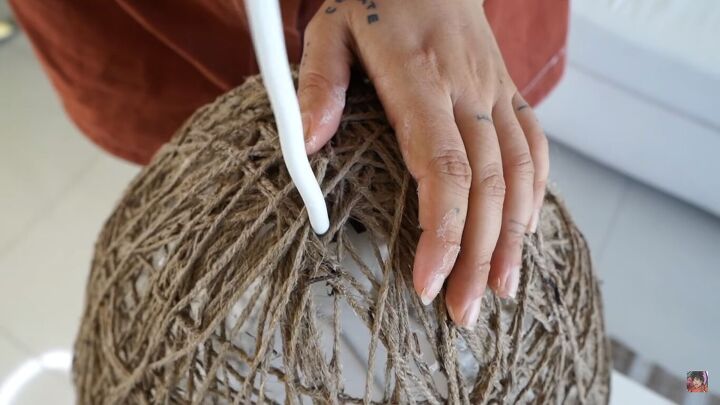
4. Wrap the rope around the balloon
Make a little knot at the top and then start wrapping the rope around the balloon, from the bottom to the top, multiple times.

Go in different directions, making sure it’s tight enough that it doesn’t fall off, but not so tight that if the balloon moves a little bit, it will pop.
Tip: this type of glue is easy to remove from clothes, but I wouldn’t recommend wearing your favorite outfit to do this DIY because it’s going to get messy!

Once you’ve gone around the balloon vertically, change it up and go horizontally.
5. Make a knot on top
When you’re finished, make a tiny knot on top to secure the rope. How do you know when you’re done? It’s up to you. The more layers there are, the thicker the rope, and the less light will come through your pendant. It depends on what you want the final result to look like.
6. Wait for it to dry
We came back two days later and the DIY basket pendant lamp is completely dry.

7. Pop the balloon
The most fun part: pop the balloon!
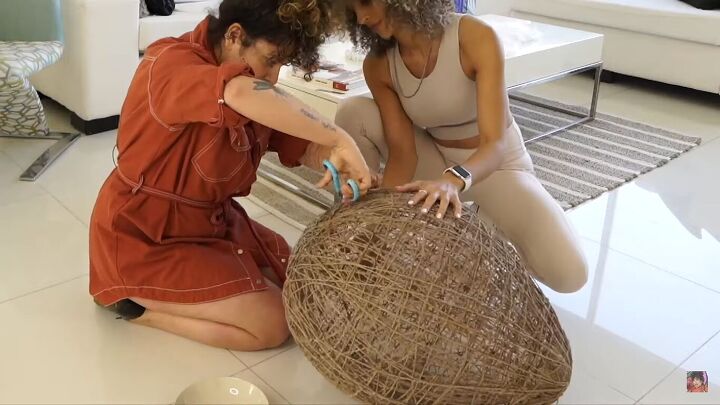
8. Make holes at the bottom and top
Cut out the bottom using a pair of scissors, This is where the light will go. At the top, you just need a small hole for the cable.
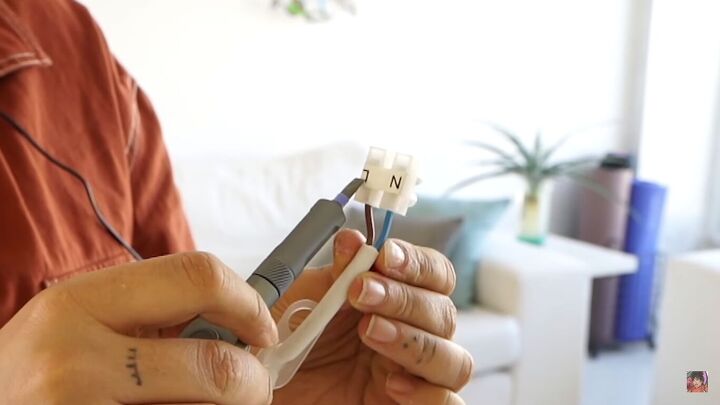
9. Remove the ends of the cable
Now for the scariest part of any DIY project: electricity. Unscrew the end of your light fixture, but note down which side is which (N and L) so that you screw it back the correct way later.
10. Thread it through the hole
Now, thread it through the small hole you made at the top, where the end of the balloon was.
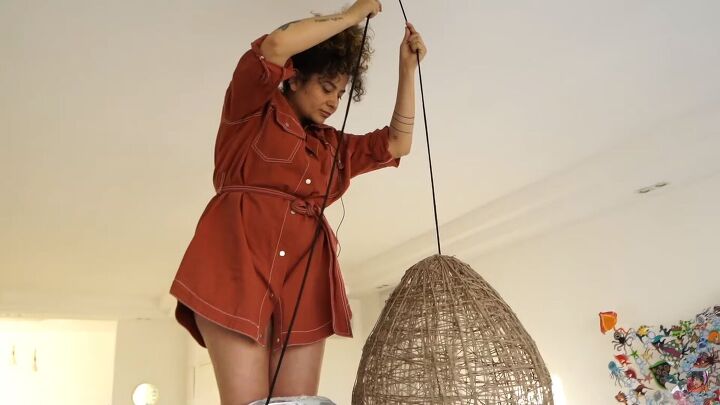
11. Affix the pendant
Affix the pendant where you want it to go and connect the electrics up. I screwed a hook into the ceiling and had it hang low over the coffee table.
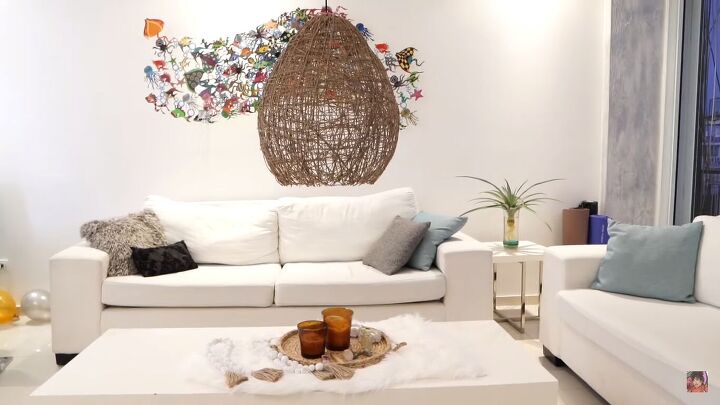
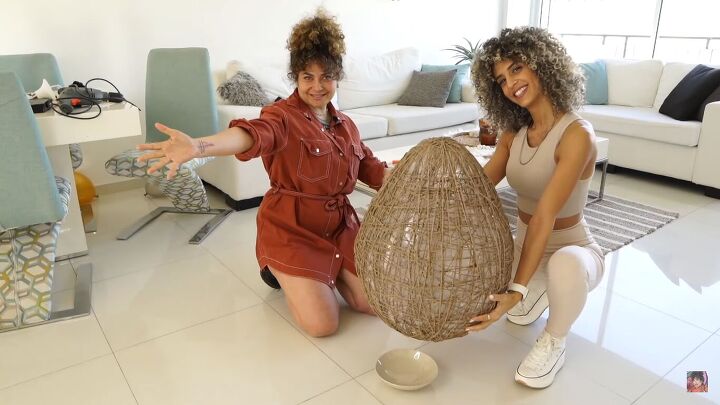
DIY basket pendant lamp
Here’s the final reveal! This DIY basket pendant lamp looks so great in Orit’s new apartment and really gives off that boho vibe. You could also experiment with this idea and thread fairy lights into the pendant, rather than a bulb.
Let me know what you think of the finished pendant in the comment section below.
Resources for this project:
See all materials


Comments
Join the conversation
-
Is there any other material that can be used rather than roping. I'd like to make it a little less rustic.
-
Love this space. What is this style called?


Frequently asked questions
Have a question about this project?
Looks fantastic! Can one spray it with an acrylic spray so it could be wiped down with a wet rag?
Oh yes where could I get spray glue never seen any. Is it strong holding?
Love the project! REALLY LOVE the wall art behind it! Any info on that?