


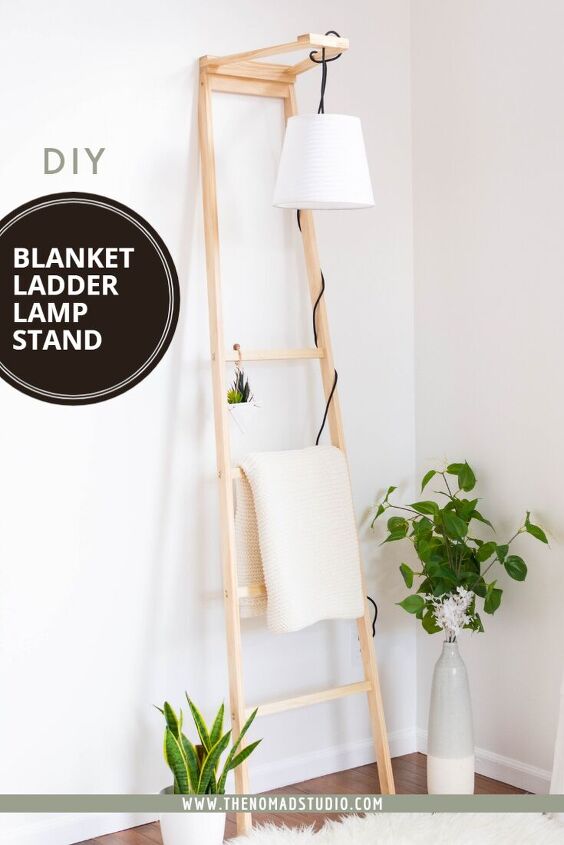
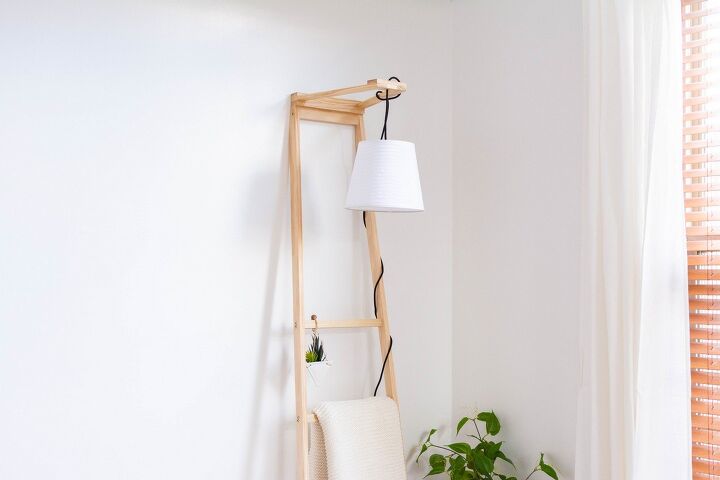
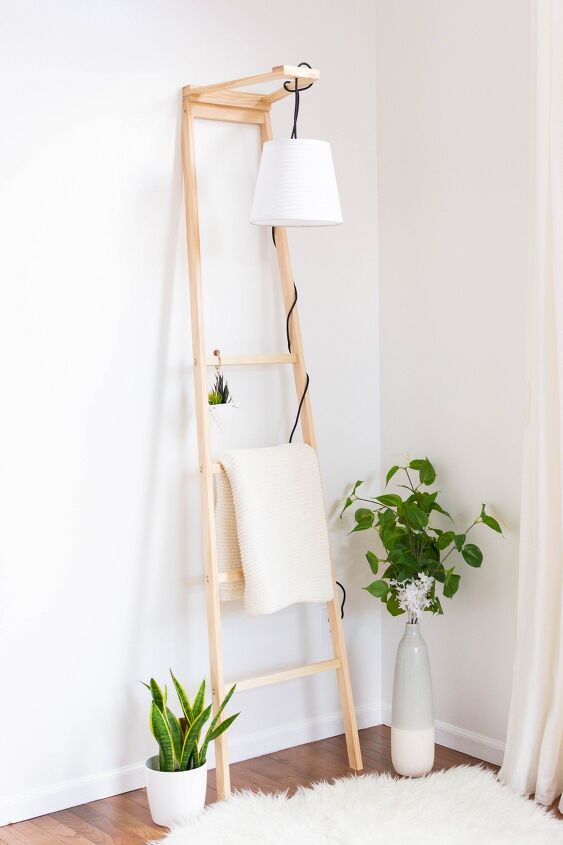
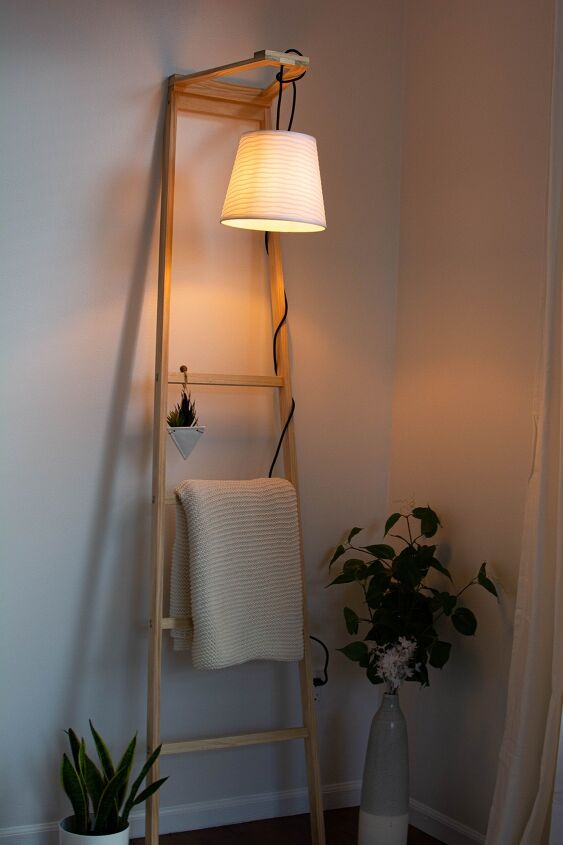
DIY Blanket Ladder With Lamp Stand
How to make a DIY blanket ladder that doubles as a Lamp stand?
There is just something about a blanket ladder, don’t you think? They bring out the cozy, warm, homey feel! You also get to display your beautiful throws, quilts or blankets and also make them easily accessible whenever you need. They not only look great, but they are also very functional. It’s a popular project among the DIYers and I have seen so many different styles & versions of it made by brilliant DIYers. AND, here is mine…
You can this video for better understanding.
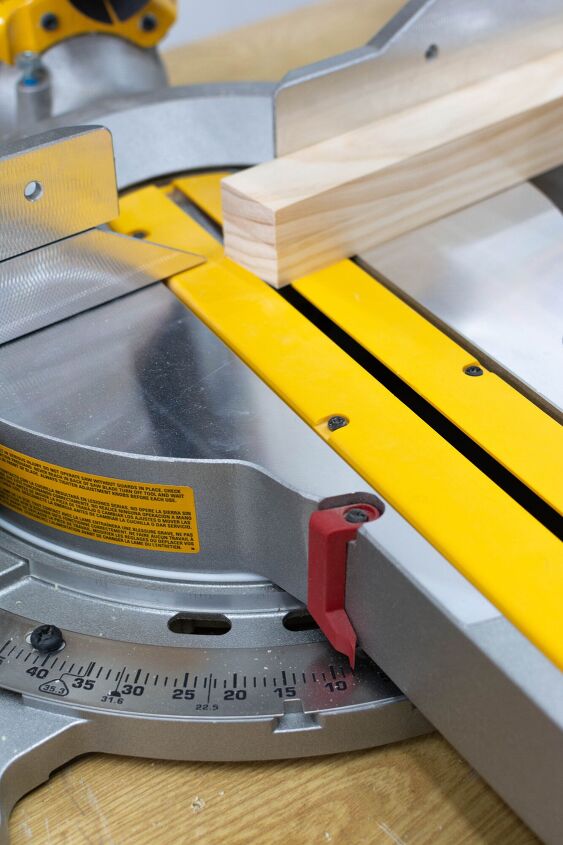
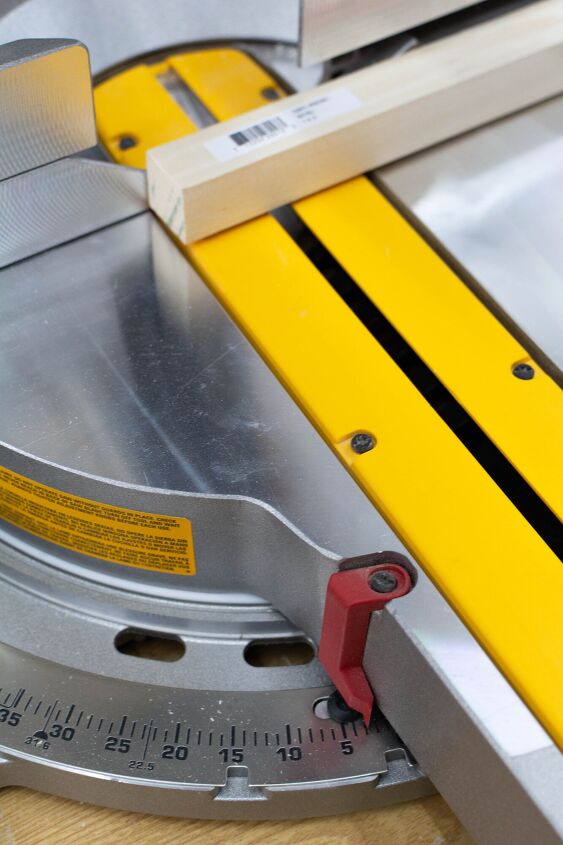
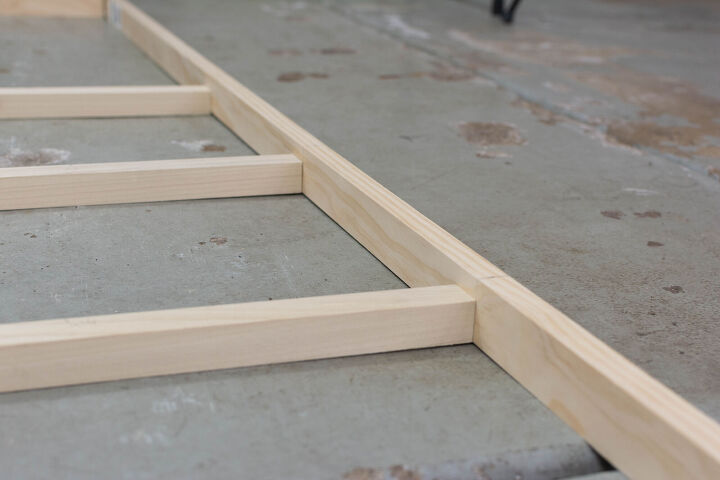
1. Cut the two vertical members:
Cut wach of the 1x2s into 78 inches long. Set miter saw to 8 degrees angle and cut both the ends of the vertical. Now place the vertical leaning against the wall and place a half inch thick scrap wood against it and mark a vertical line on top. Then cut that marked edge off.
Click here to get the exact dimensions and plan.
Top end of the vertical member should look like the below image.
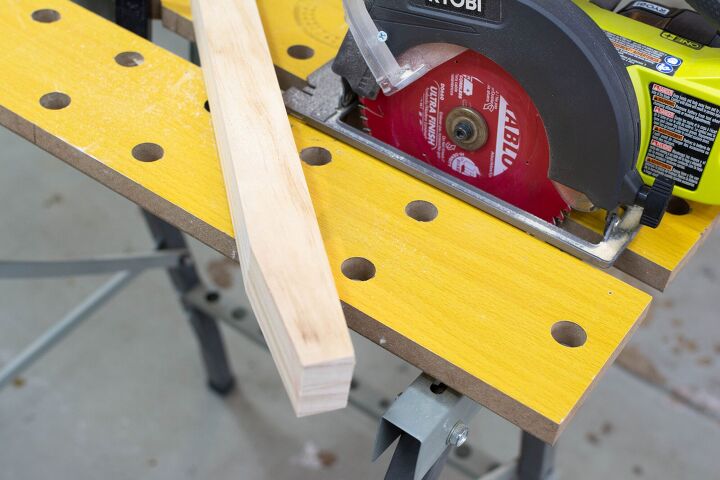
2. Cut the horizontals
Set the miter saw to 3 degrees angle. Cut the dowel 3 degree off on one side. Flip the dowel and then measure the required length and cut the other end. You need horizontals in four different lengths such as 17”, 15-3/4”, 14-1/2”, 13-1/4”. The top piece alone should be cut from 1×2 wood.
Click here to see the 3d view plan.
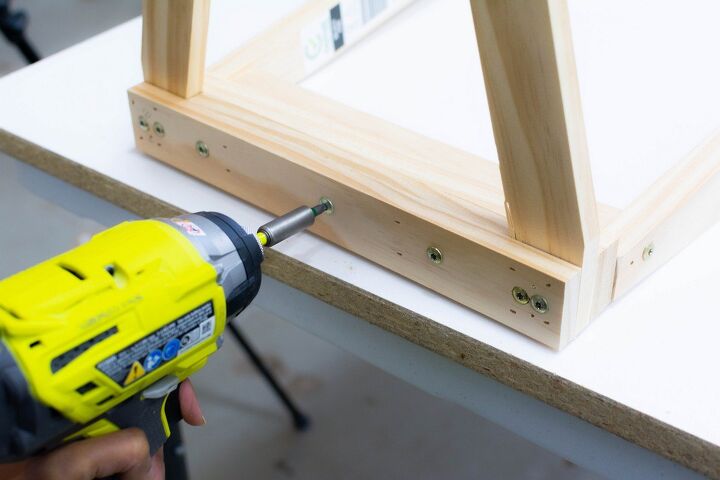
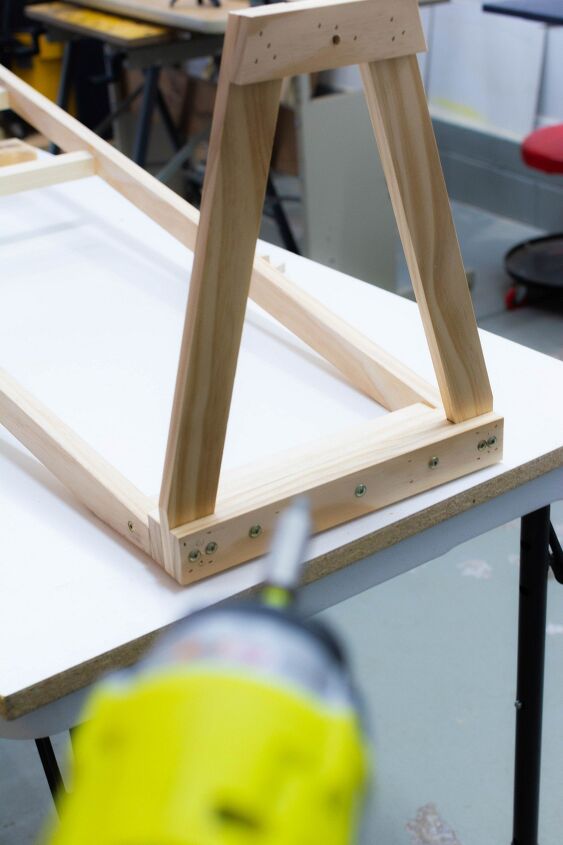
3. Assemble the ladder
Each horizontal member of the ladder is to be mounted at 1 feet apart from the base. So, mark the locations on both the vertical, apply some wood glue and clamp them together. Then pre-drill and connect with two screws on each side. Use counter sink drill bit to hide the screws. The top 1×2 piece should be connected with broader side facing front.
I couldn’t find my countersink drill bit, so I decided to leave the screws exposed. I love the look of it!
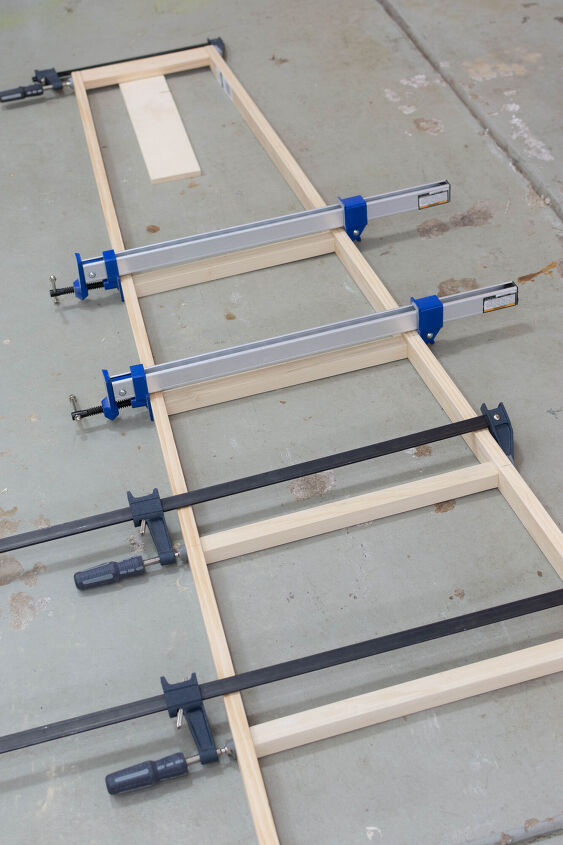
Another 1×2 piece goes on top of the ladder. Measure exact length, cut and fix to ladder with glue and brad nails.
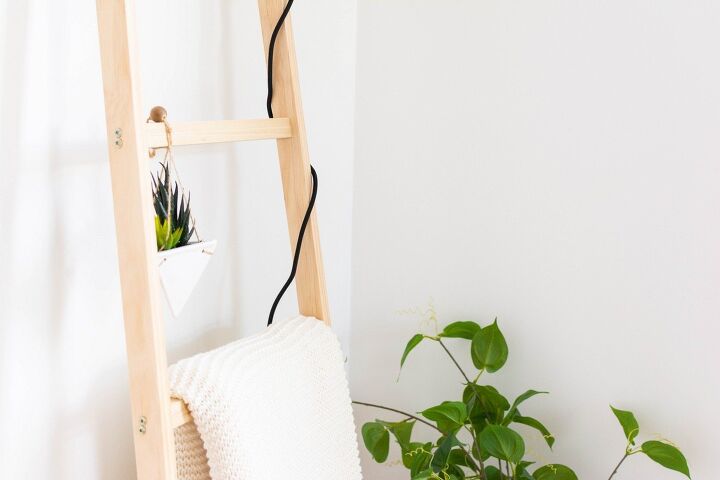
Now we have a sturdy ladder that leans against the wall. You can either finish this ladder and use as it is as a BLANKET LADDER or follow below steps to make into a lamp stand as well.
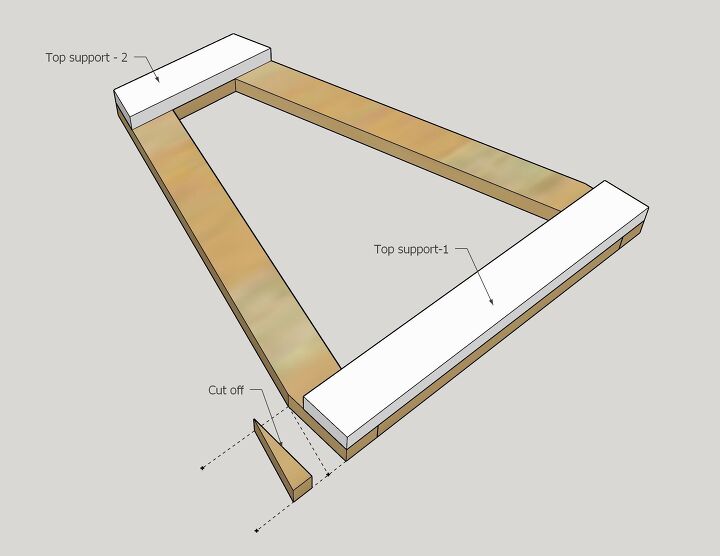
4. Cut the top cantilever
The top part is triangle shaped and made from ½” x 2 pine wood. The base of the triangle is connected to the top of the ladder and so it cantilevers out to hang the lamp.
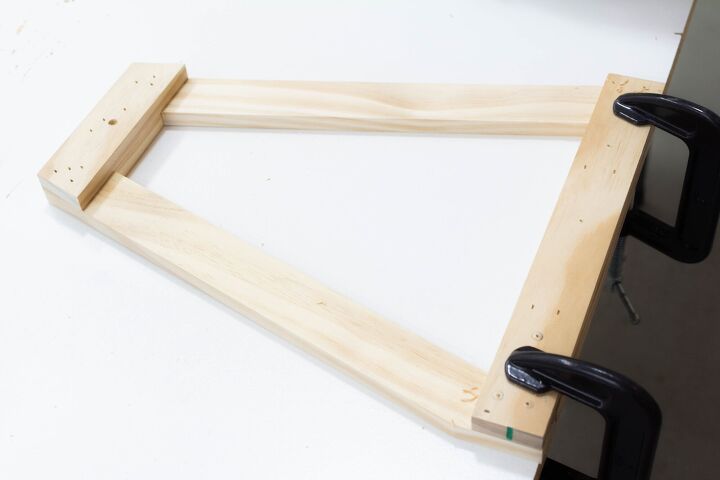
Cut pieces as shown below and connect with glue. Since they are only ½ inch thick, joining with pocket holes did not work. So, I first glued them and added extra support pieces on top with brad nails to keep them attached with each other.
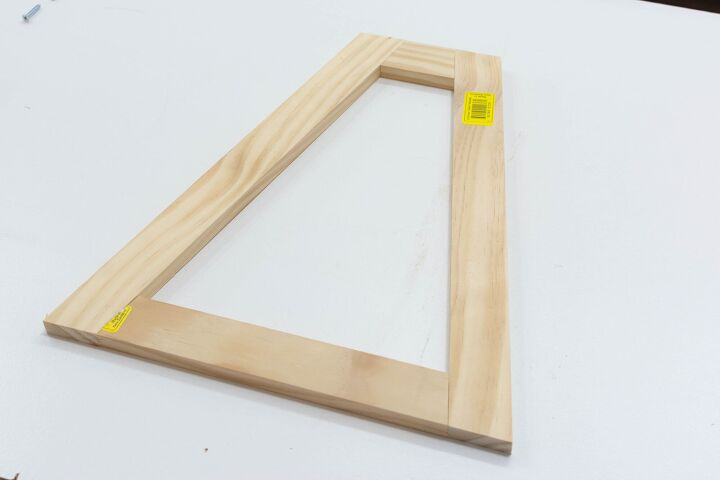
Then chop off the edges of the triangle, so that it’s in same length as the top of the ladder.
5. Connect the top to the ladder
Pre-drill holes and connect the triangle base to the ladder with 2″ wood screws.
6. Fill gaps and sand
Fill all the joints with wood filler and sand everything smooth including the edges. Use a tack cloth to wipe off the dust.
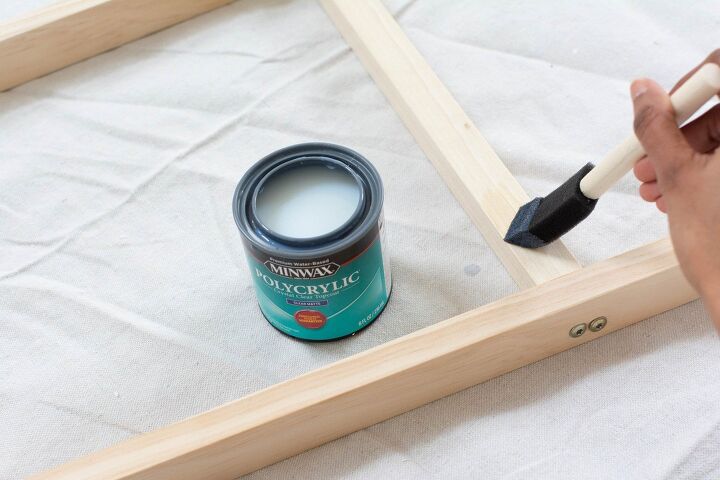
7. Sealer
You can paint the stand in color of your choice or finish with any clear sealer.
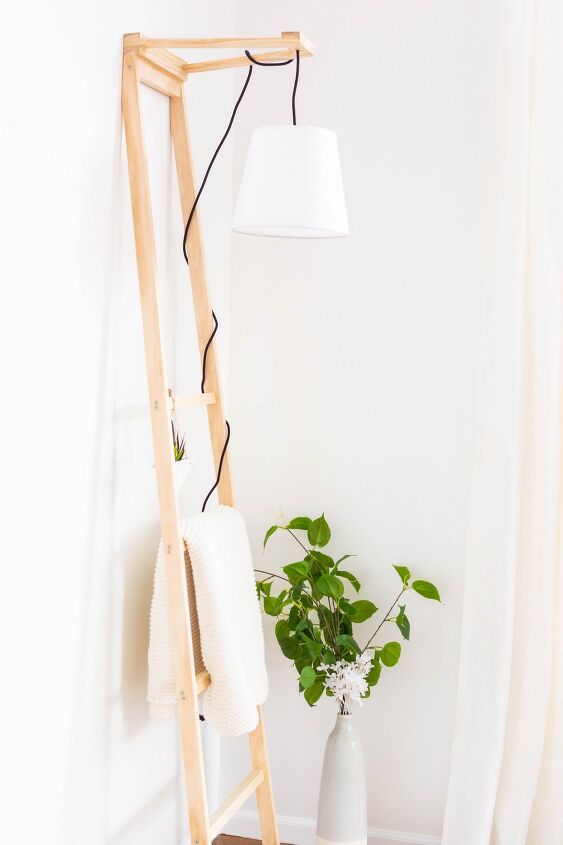
8. Hang the Lamp
Drill a hole on top center of the cantilever to run the lamp cord. Connect the lamp wires to the lamp socket. Ribbed/white/neutral wire goes to silver screw and power wire goes to the brass screw. Hang the lampshade and wrap the other end of the lamp cord around the ladder and connect to power source.
visit my blog www.thenomadstudio.com for more such unique projects.
Resources for this project:
See all materials


Comments
Join the conversation
-
Clever! And so unique ❤️❤️❤️
-
I agree, clever and unique!


Frequently asked questions
Have a question about this project?
What is the purpose if the lamp?