


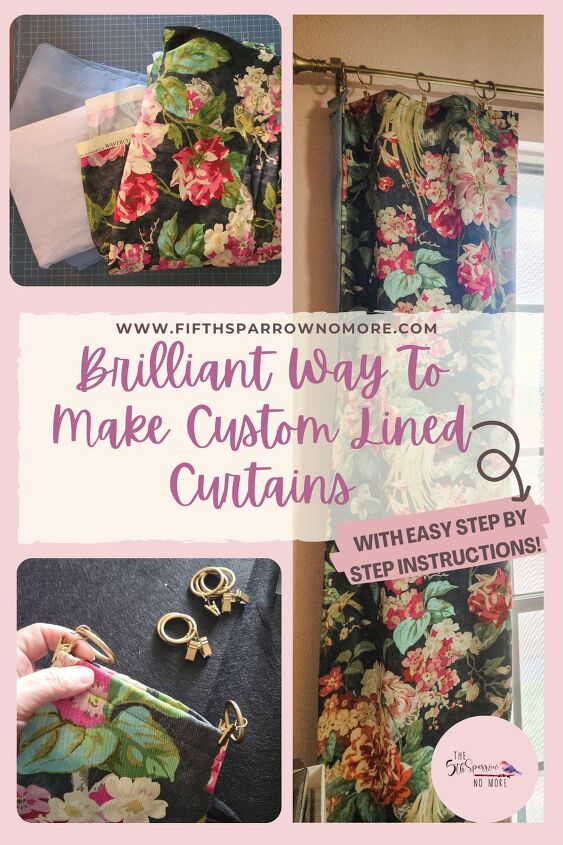
A Brilliant Way To Sew Custom Blackout Curtains
I want to show you a brilliant way to sew custom blackout curtains easily, inexpensively and with minimal sewing skills! And I DO mean minimal!! Plan A was to have my beautifully talented seamstress of a daughter make these curtains for my primary bedroom/office makeover. But this happened (because of goats) and she ended up like this …

So Plan B was now happening. Which means I would sew the blackout curtains for my bedroom. I know how to sew basic things – straight lines … well that was going to be list but straight lines is all I’ve got. So if you’re like me and you can sew a mean straight line then this way to sew custom blackout curtains is your jam!
Why Blackout Curtains For The Primary Bedroom?
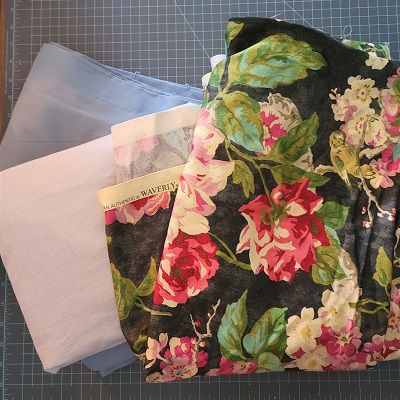
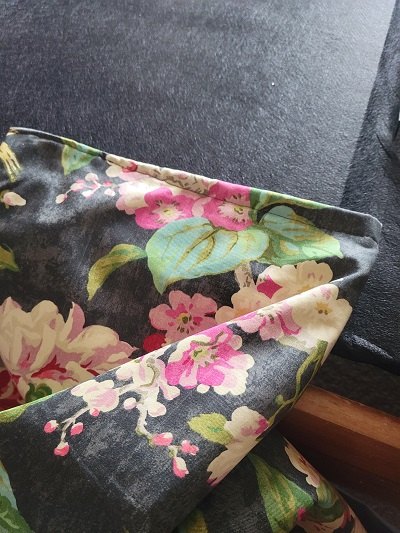
When I started this makeover of my primary bedroom and office nook I set out on a plan to make a brown and boring bedroom a reflection of me! And I wanted this fabric for my curtains – it has all things. Birds, wild pink flowers and the colors blue, green and teal. And the curtains needed to be blackout curtains because we live one street off a major road and the lights are always on at night on that road. I would like to say that I wanted them so I could sleep in but really, we have goats. We don’t sleep in!
For the lining fabric, this is what make the curtain a blackout curtain, choose a flat sheet or a curtain panel or flat sheet from your favorite thrift store. A twin size is usually sufficient yardage for this project but make sure to measure your windows and the curtain panel you’re planning to make.
FABRIC I USED & WHAT YOU’LL NEED
Step By Step Brilliant Way To Sew Custom Blackout Curtains
I won’t sugar coat the time it took – it was probably about five hours of measuring, cutting and sewing to make these two lined panels, which was so much longer than the couple of hours I had expected. Although I am sewer with minimal skills and I created this as I went, so your project might go faster!
But now I have the steps and sharing them with you will (might) make this easier for you!
Grab Your Curtain Fabrics & Let’s Do This!
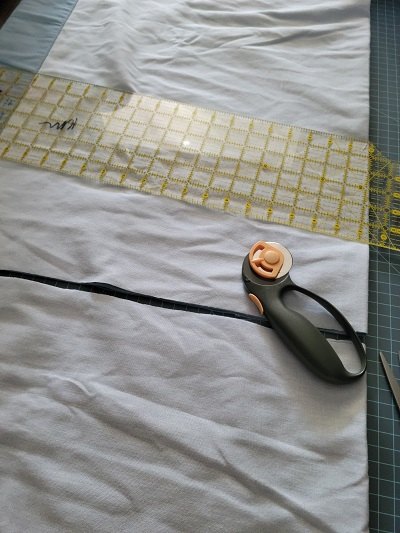
Cut Curtain Fabric & Lining
Measure the length you’d like each curtain panel to be. Now, add 10 inches. This will allow for the extra room you need for hemming and to attach it to the lining. Mark that length on your curtain fabric, then cut away. In keeping things as simple as possible, because I was lazy, I chose to work with the width that my curtain fabric came in.
Working from the length you’d like your finished panels to be, add 2.5 inches for your lining fabric. Cut the width of your fabric to 6 inches less than your actual curtain fabric.
Hemming and Stitching
With your curtain fabric right side down fold the bottom edge of your curtain fabric up four inches. Iron the edge and then fold it up again four inches. Iron again to create a nice neat edge. I didn’t use pins because again, lazy …
Make a stitch about 1/4 inch down from the top of your fold, all the way along that bottom of your curtain fabric.
With your lining fabric right side down fold the bottom edge of your curtain fabric up two inches. Iron the edge and then fold it up again two inches. Iron again to create a nice neat edge. I didn’t use pins because again, lazy …
Make a stitch about 1/4 inch down from the top of your fold, along the bottom hem of your lining fabric.
Sewing Curtain and Liner Together
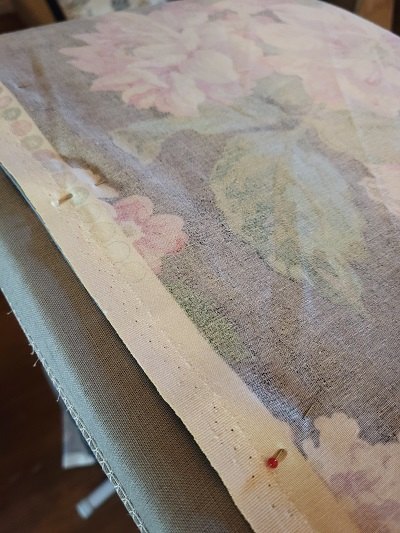
Lay your curtain fabric right side up. Then, lay your lining fabric on top right side down, leaving 1.5 inches from the bottom of your curtain fabric. The curtain fabric and lining do not match on both sides – it’s okay – keep going!! Match one side together, pin it in place and then stitch down the length of it with a 1/4″ seam.
Bunch up (that’s a technical term) the curtain fabric underneath until both layers are all lined up along the other side. Then pin and sew again. Don’t sew the top or bottom! Turn your liner/ curtain fabric right sides out.

Almost Done!
Lay out your curtains with the lining on top. Then pull at each side until you’ve got an equal amount of curtain fabric on both sides of the lining. Once you’ve done that iron both sides to create a nice, neat edge.
Fold down the top edge one inch, iron, then fold it down another inch and iron again. Pin it all in place (if you’re not lazy like me) and run a stitch 1/4 inch in from the edge along the top.
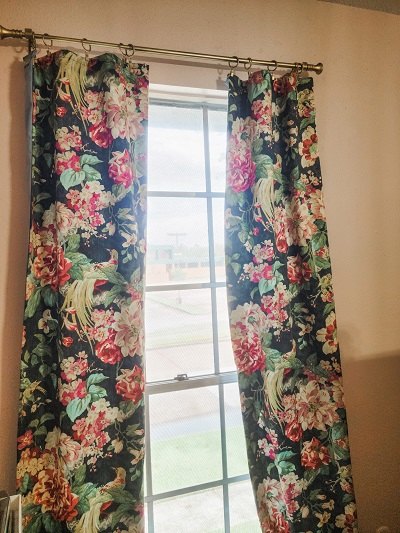
Hang Those Brilliant Blackout Curtains You Just Sewed!
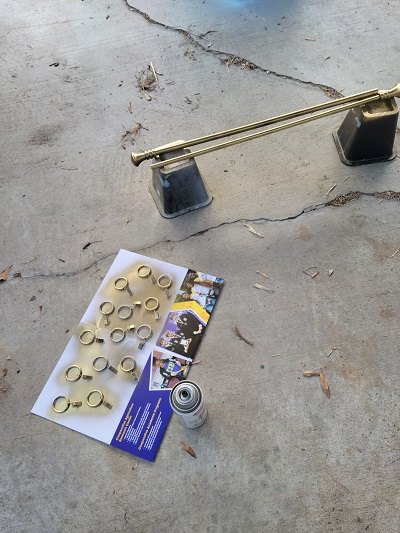
I used curtain clips on my existing rod because sewing a rod pocket was just too much. I chose black curtain rings because it could be found quickly and cheaply. A little gold spray paint made them fantastic!
Curtain Rings and Rod Before
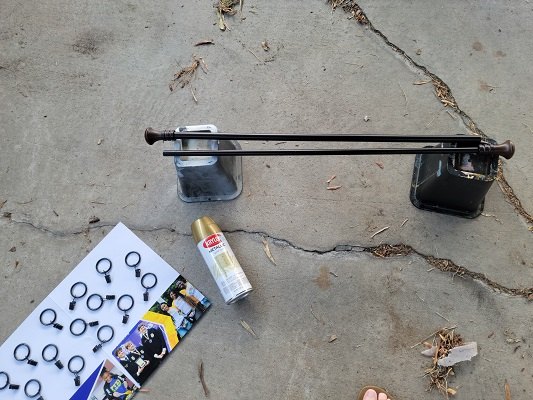
Curtain Rings and Rod After
Attach Brilliant Black Out Curtains To Rings
- Fold your curtain in half and clip a curtain ring on to the curtain at that center point.
- Fold the fabric to the left and right of the curtain ring in half again, place a clip on those center points.

- Place a clip at both of the end edges of your curtain panel.
- Then eyeball (I didn’t measure, because again, lazy) where to put clips in between the center clip, mid clip and end clip.
Before You Start On This Brilliant Way To Sew Custom Blackout Curtains …
Pin this post to Pinterest to help you make blackout curtains for your room – hover over any picture or the image below to save it to your account. So easy!
One Room Challenge - See All These Great Posts On The Blog
- One Room Challenge Week One – Primary Bedroom And Office
- One Room Challenge Week Two – DIY Chandelier Project
- One Room Challenge Week Three – Preparing, Planning and Prepping
- Desk Makeover For Office Nook
- One Room Challenge Week Five – Office Nook Wall Organization
- One Room Challenge Week Six – Combine Pegboard & A Cabinet Door For Organization
- One Room Challenge Week Seven – Brilliantly Sewn Blackout Curtains – You’re Here
- Week Eight, The Final Reveal – Coming Soon
Resources for this project:
See all materials


Comments
Join the conversation
-
Beautiful material & love the eeasy peasy part of it! P.S. These are so much better than the black out drapes you can buy at the store. Great job?


Frequently asked questions
Have a question about this project?