


How to Make No Sew Scarf Curtains
I'm in the middle of giving my living room a colorful makeover and that includes three large windows.
Curtains are a great way to add some fun to any room, and I wanted mine to be unique and inexpensive.
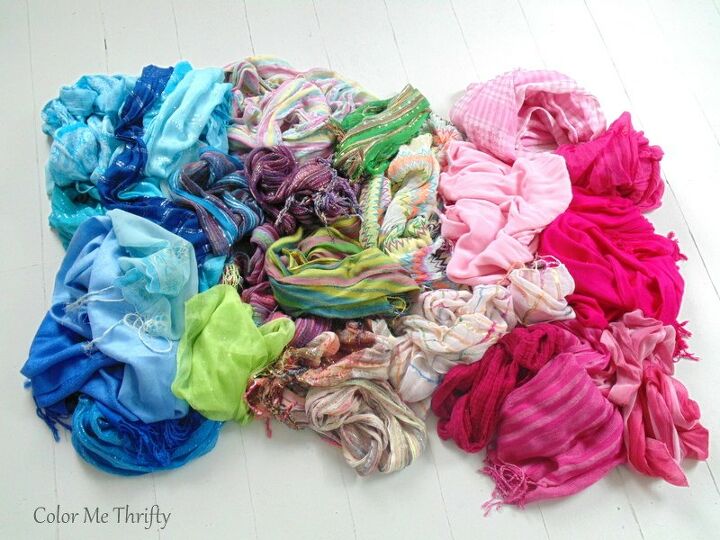
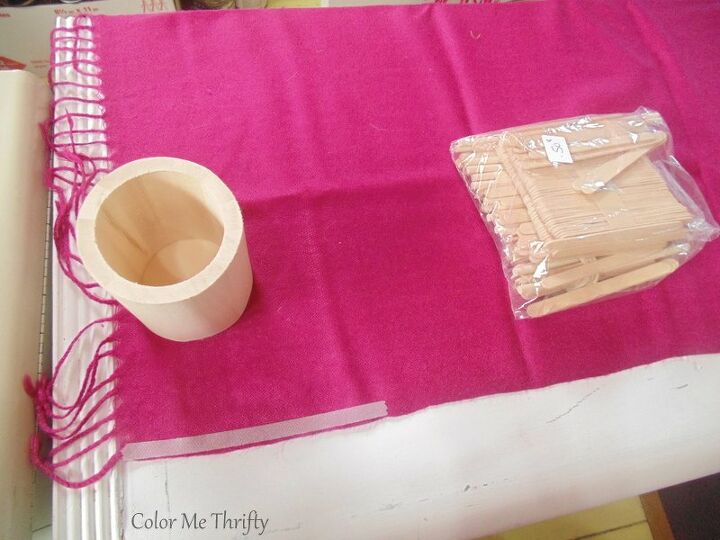
I've been collecting thrift store scarves for quite some time until I had enough to create my curtains.
These are not the square kind of fabric scarves, but the long kind that have fringe on their ends.
Most of them were 50 cents a piece with a few at $1.
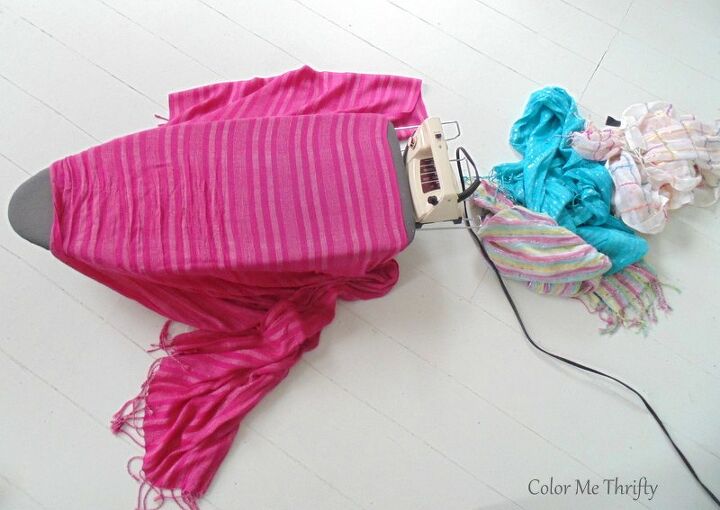
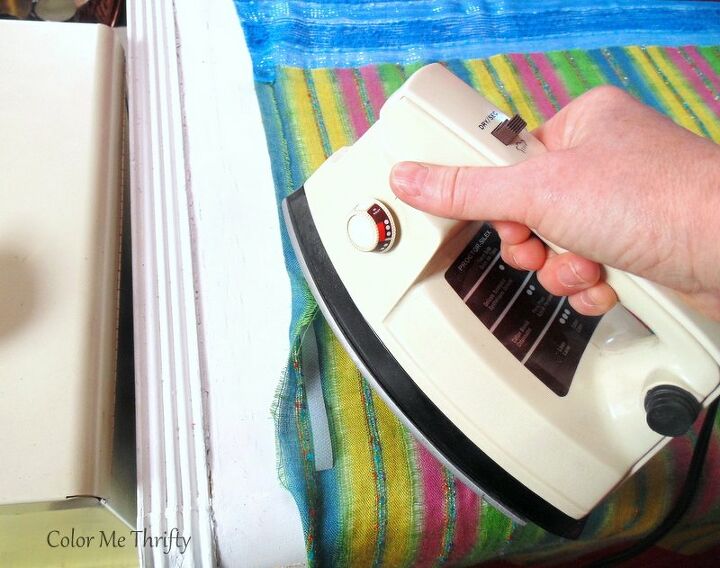
The first thing to do was iron all the scarves to get out any wrinkles, which made it easier to attach the scarves to each other.
Also, some of the scarves had a wrinkly gathered kind of look and it was amazing how much fabric I gained by ironing them.
It's important that all the scarves are completely flattened or you won't know what their actual size is when putting the curtains together.
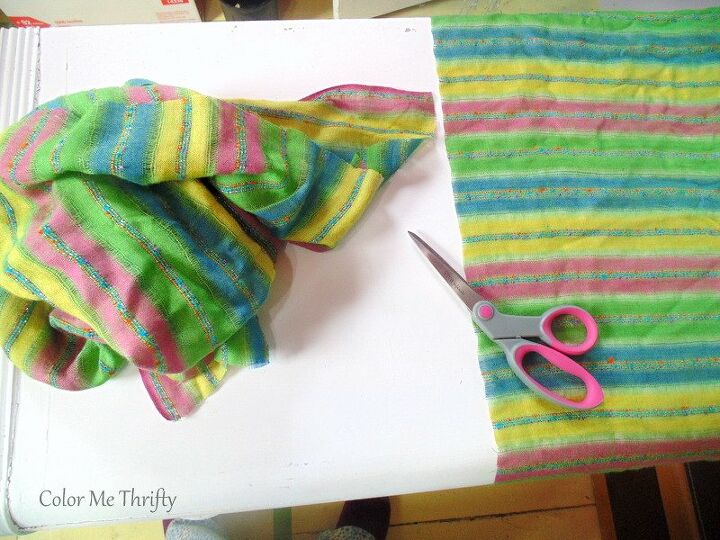
After I had all my scarves ironed out I cut them to the length that I wanted for the width of my curtain panels.
This of course depends on the size of your windows.
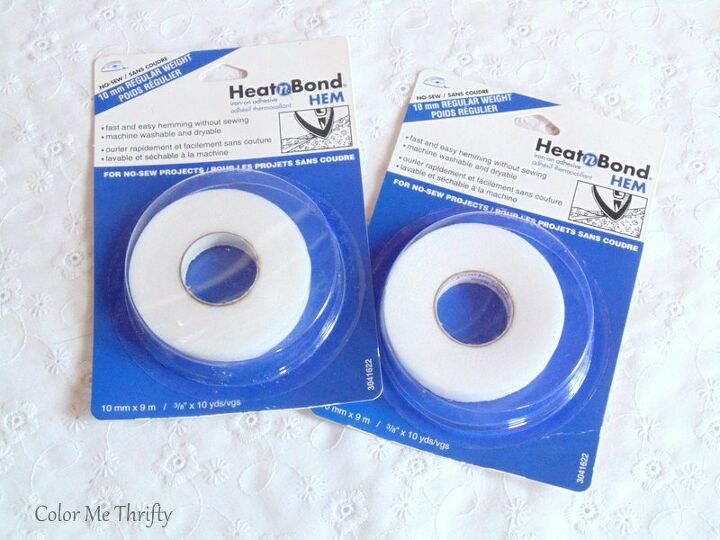
To make my scarf curtains I used Heat N Bond adhesive hemming tape.
There are many different kinds and widths of Heat N Bond. I used this one because it's what I could find in my neck of the woods, and it worked great.
I started on the fringe side, and laid down a strip of the hemming tape.
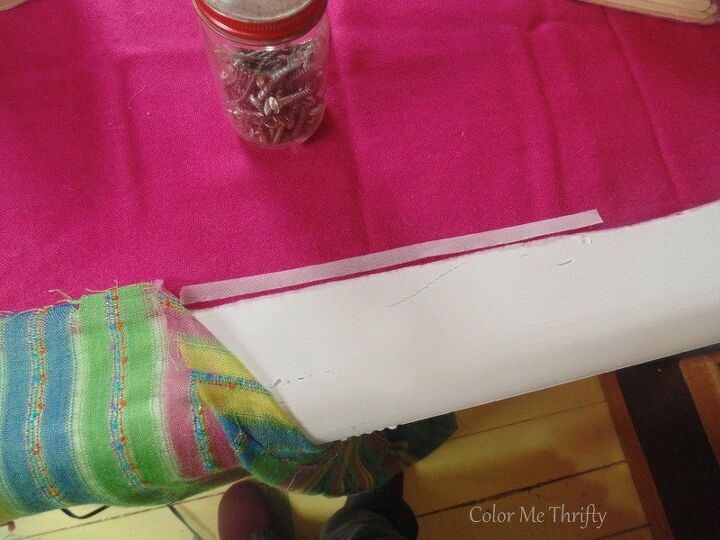
Then I laid my next scarf on top.
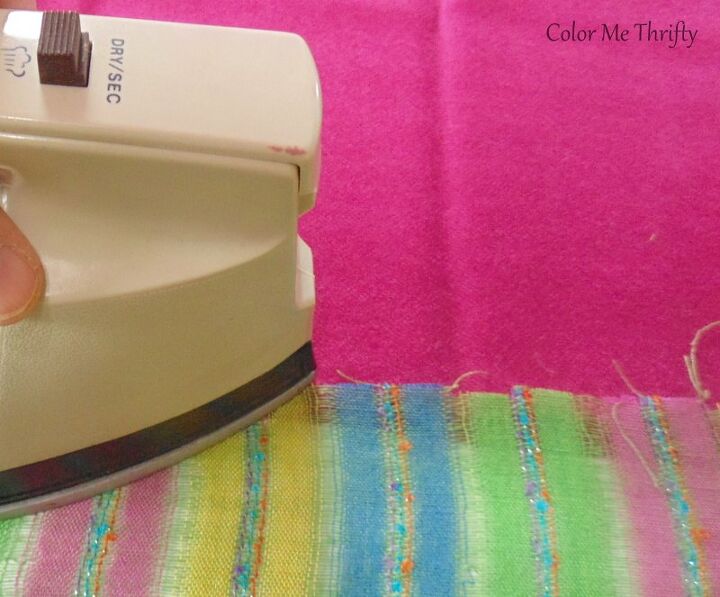
And I ironed as I went along.
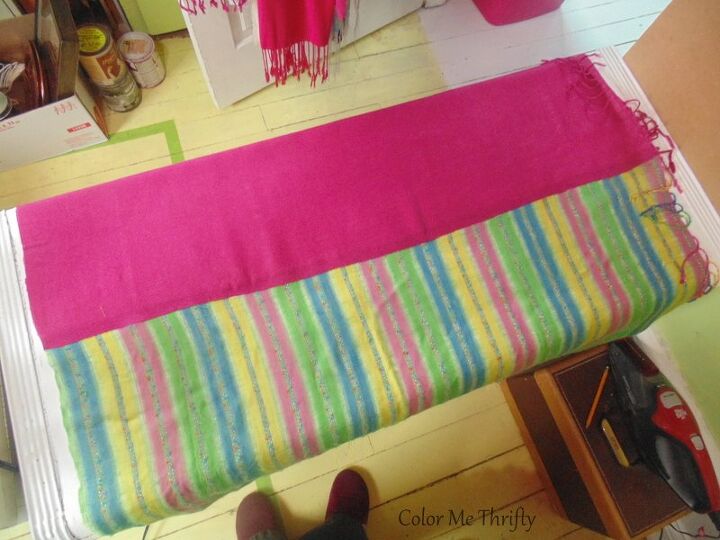
Until I was finished all the way across.
Once I had all my scarves attached for each panel I hemmed the one side the same way.
Because one side was fringed I didn't have to hem that side.
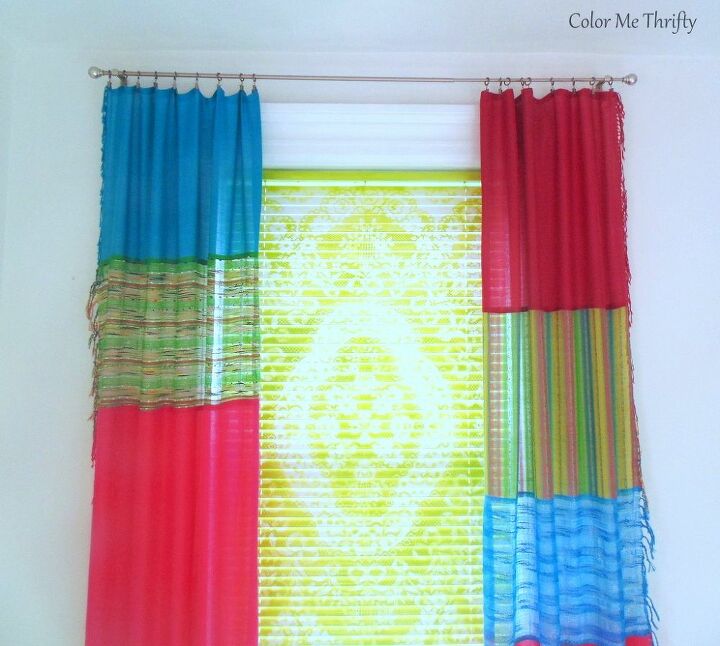
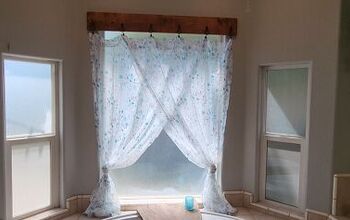
And here are my finished curtains with my mini blind spray painted with lace.
I gave the tops and bottoms of the curtains a double hem with the Heat N Bond to give the curtain clips something strong to hang on to.
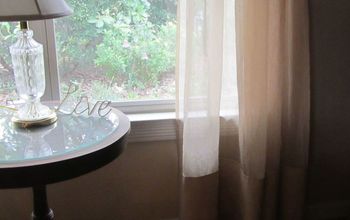
Also, to change the look I can flip the curtains from top to bottom, and switch the panels from window to window as well.

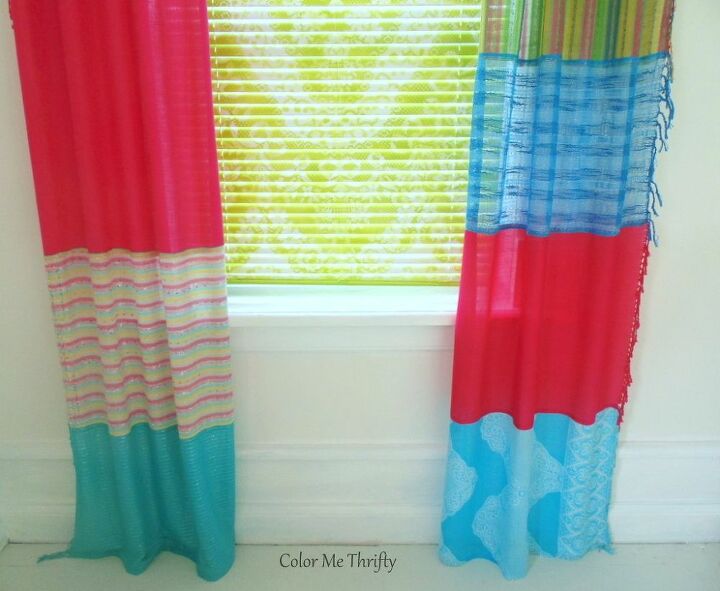
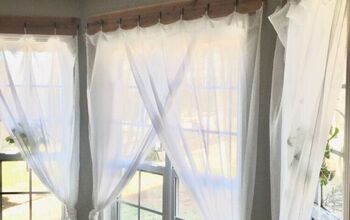
They can also be hung with the fringe on the outside like I did (because we have cats who like to sit in the windows) or with the fringe on the inside.
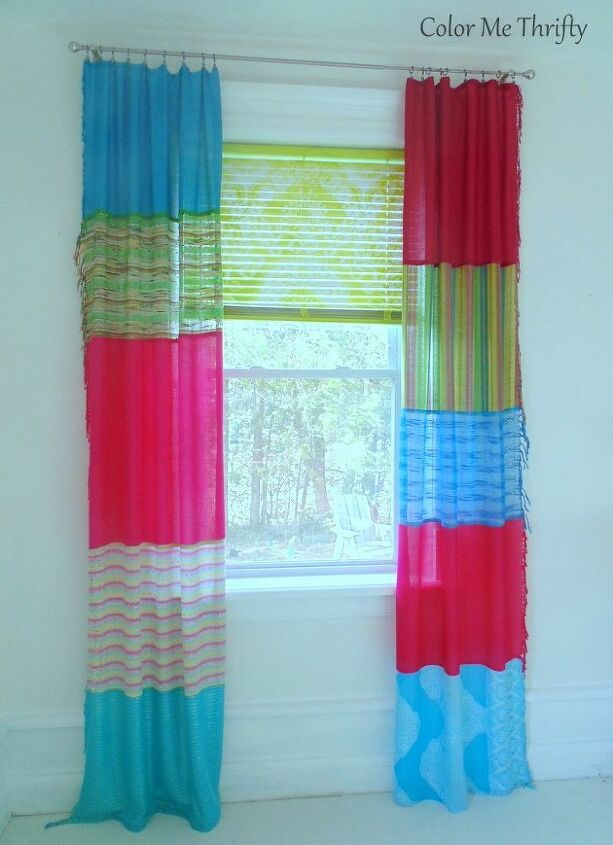
I'm very happy with how my curtains turned out. They're fun and colorful, and add that funky touch that I love.
The time and cost estimates are for two panels for one window, but I made curtains for all three.
To see more info, tips, photos, and peeks at the other two windows that I did check out my blog post here.
Resources for this project:
See all materials


Comments
Join the conversation
-
I'm interested in the baseboards! I bet they are faux, because real would cost a small fortune. Right? I plan to do that to all of my house.
-
OH, MY!! I ABSOLUTELY LOVE THOSE!! Thanks so much for sharing!!


![How to Make Curtains With Grommets [and Lining]](https://cdn-fastly.hometalk.com/media/2021/03/02/6965263/how-to-make-curtains-with-grommets-and-lining.jpg?size=350x220)


Frequently asked questions
Have a question about this project?
This looks great. But spray painting the mini blinds, that sounds fantastic. Do you have some instructions on that?
Gypsy Curtains, love them !!