


How to Create an Antique Fireplace Mantel

by
Lindsey
I’m not going to lie, I was super bummed when we bought our home a few years back and it didn’t have a fireplace. As silly as it might sound, a fireplace is such a statement piece and creates so much warmth (even with no fire, no pun intended). Christmas’ just aren’t the same without stockings hung by the fire, amiright?! As impatient as I am, I couldn’t wait for us to scrounge the money to “add” a fireplace. That’s when I decided I would create my own Antique Fireplace Mantel.
You know I love antiques and anything with history.
I don’t have much of a budget to work with, so finding a great fireplace mantel was hard. It took me about 6-8 months of searching craigslist and thrift stores to find what I was looking for.
Finally, I found an antique FIREPLACE MANTEL on craigslist for $160.
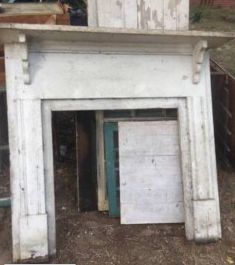
Here she is in her original glory!
This old wood fireplace mantel was salvaged from an 1890’s home.
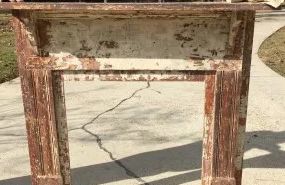
I could tell there were many many layers of paint and polyurethane that needed to be stripped off. After all, a furniture piece this old was for sure to have lots of lead paint. With my very curious 2 year old, I try my best to keep anything toxic out of our house. The first step in restoring this beauty to gather supplies and begin to strip the paint.
Supply list:
- Paint Stripper – I used the gel stripper that I’ve attached here. It seemed to work well to strip nearly 8 layers off.
- Plastic Scraper
- Gloves – make sure you use rubber gloves because the paint stripper will surely eat through skin!
- Sandpaper
- Sander – I’ve attached this sander because it comes with a bag to collect the dust. This is VERY important when sanding lead paint because the dust is toxic. And it makes the clean up A LOT easier.
- Paint stripper after wash – this is an important product to use to remove all the extra “gunk” that the excess stripper and old paint leaves.
I followed the instructions on the paint stripper can and began to slowly strip many many layers off of this ANTIQUE FIREPLACE MANTEL.
It took about 8 applications of the stripper (and waiting and sanding in between each layer) to get to the bare wood. And after we stripped all the old paint, we used the stripper cleaner to be sure the surface was free of any old sticky “gunk.” Below are some progress pictures:
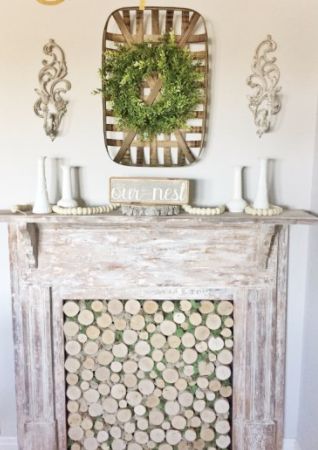
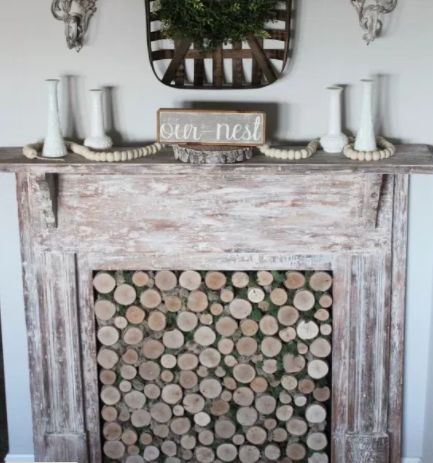
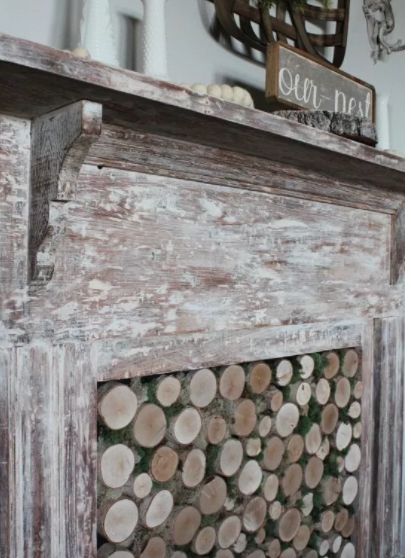
I decided to give this salvaged fireplace mantel a “whitewash” look.
I still wanted to be able to see the wood grain, but I also wanted to mute the red tones from the wood. In order to whitewash the wood, I used a mixture of 50% water to 50% white paint. I used a Valspar white paint, but any white paint will work. I applied the paint with a rag all over the mantel, and let it sit a good 20 minutes to dry. After I made sure the paint was dry, I sanded it with a fairly fine grit sandpaper.
Now that my historical antique fireplace was finished, what would I do inside the fireplace?
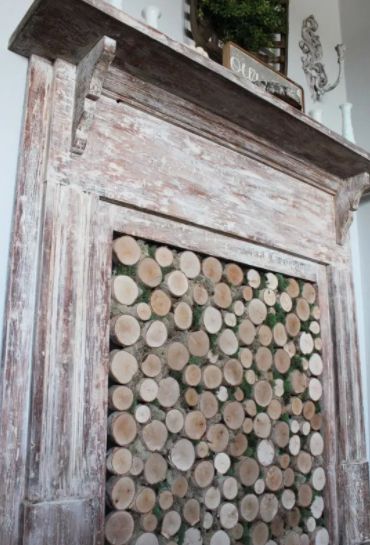
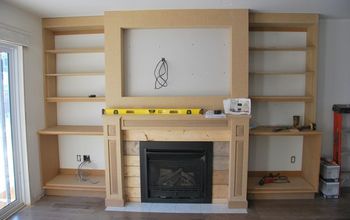
I wanted to create the look of birch wood in the middle. I was inspired by a photo from the infamous Magnolia Market shown below.
Supplies are listed below the picture:

- Birch Wood – I bought 6 logs and had them cut. If I could do it over, I would have bought them already cut. I thought I could cut the slices down with a table saw, BUT in an effort not to cut our fingers off, I could not cut the logs small enough to use all the wood. Here is a link to birch wood that has already been sliced. Click HERE. Just an FYI; the measurements for the middle of my fireplace mantel are 30″ by 32″ and I used about 80 slices of birch wood that measured 1.5″ to 3″ in diameter.
- Black Foam Board – I chose to use black, but you can use whatever color you want.
- Green decorative moss – I used a mix of green and brown.
- Brown decorative moss
My antique fireplace was finished!


Want more details about this and other DIY projects? Check out my blog post!


Frequently asked questions
Have a question about this project?