


How to Update a Fireplace Mantel With Trim

Learn how to make over a builder’s grade fireplace. This updated fireplace mantel is a simple and inexpensive DIY project.
For more simple and budget-friendly DIY project ideas, be sure to follow us on HomeTalk and visit our blog!
When we bought our home there was no option to customize the appearance of our fireplace.
Well, maybe I should say there wasn’t an option that was in our budget.
So our surround and the trim were straight up builder basic.
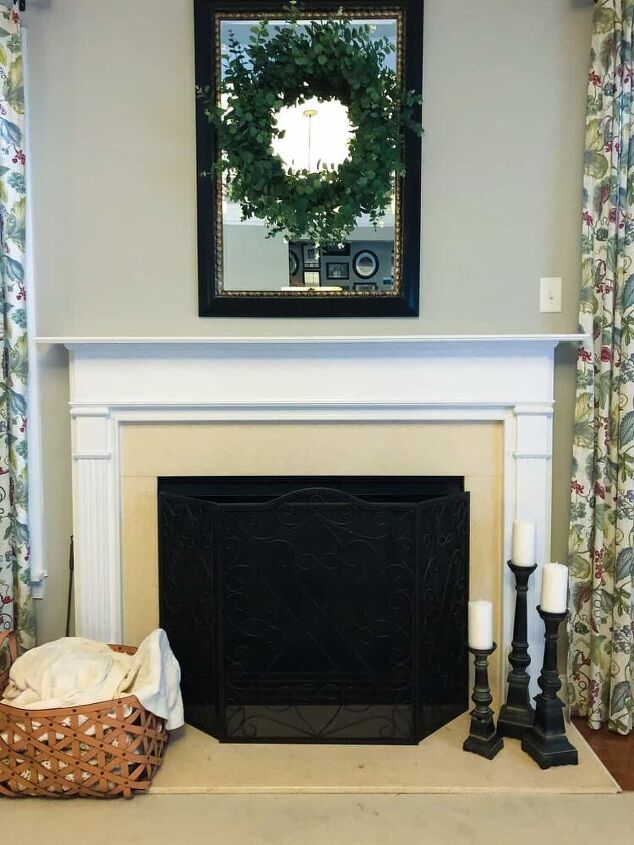
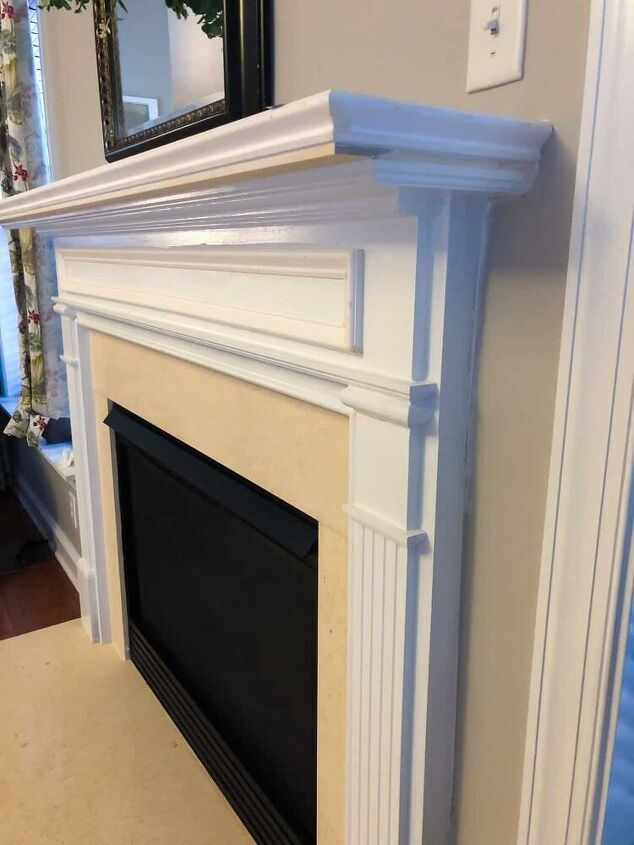
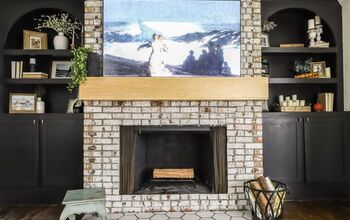
The top piece of the mantel was made from a single 1×6 board with some trim adhered to the edges.
I had to be very careful about what I could put on top of it!
Lots of things just didn’t fit.
And the wide blank portion above the marble surround always felt like it needed a little something.
Oh, and how about the yellowish cream marble surround? Let’s just say it worked with the golds/browns/reds that were in style in the early 2000s. You won’t believe what I did to change the marble surround!
We decided we wanted to give our fireplace a makeover!
An Updated Fireplace on a Budget
There are lots of projects that we’d like to do in our home, but with one in college and two more on his heels, we need to keep them relatively inexpensive.
You can see how this project has held up after more than two years here where I share the good, the bad, and the ugly!
We decided to start this budget-friendly project with an updated fireplace mantel.
We considered building out the top portion and covering it with shiplap.
But then we realized that would run into one of the beams in our coffered ceiling.
And shiplap doesn’t really go with our more traditional style.
Then we considered removing the top part of the mantel and replacing it with a big chunky beam. But that really doesn’t go with the our home either.
So plan C was to make the mantel top thicker and wider with some poplar plywood and trim.
Our Updated Fireplace Mantel
We had some wood left over from another project that was perfect for our updated fireplace mantel plan.
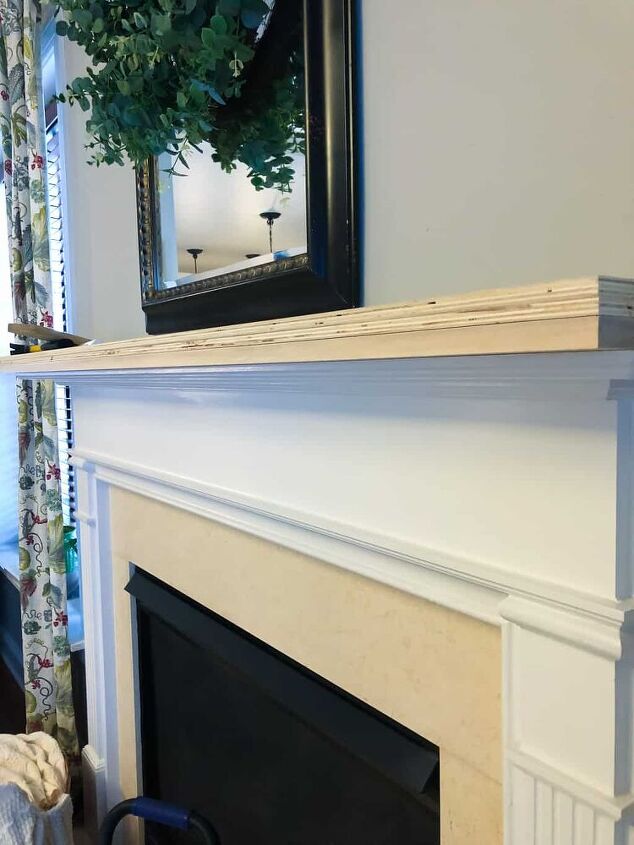
We stacked two different types of wood on top of the existing mantel.
That extended the mantel top almost three inches further.
We put the plywood on top because we planned to attach molding to the top layer so the edge wouldn’t show.
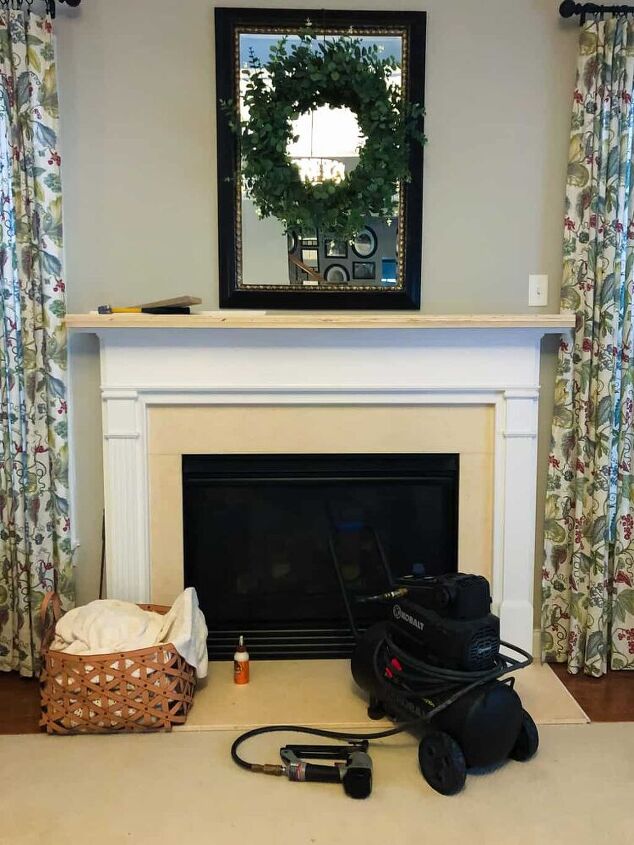
We used a combination of wood glue and a nail gun to attach these boards to the existing mantel.

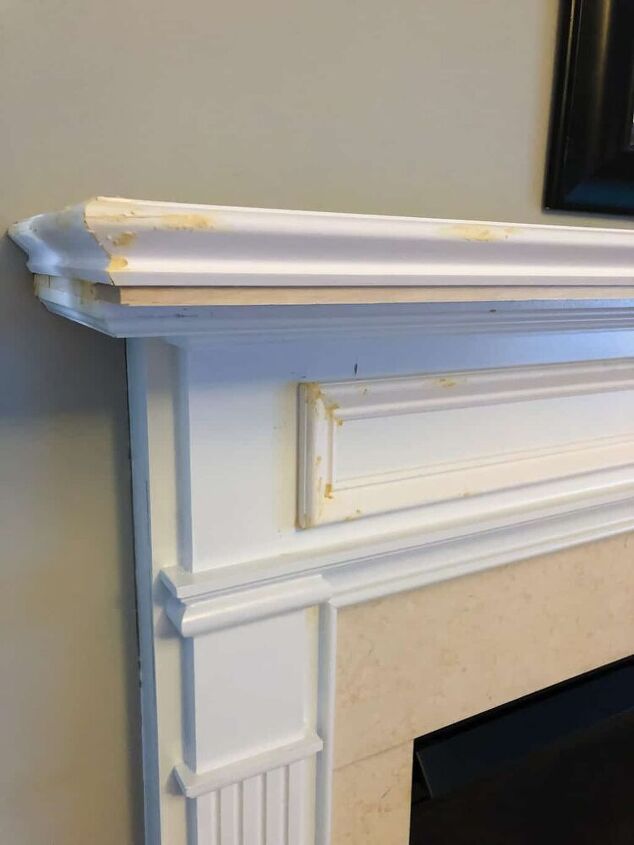
To add a decorative edge that matched the other trim in this room we used this primed base cap molding.
We used a miter saw to cut the trim at a 45-degree angle.
My husband wasn’t sure about this trim choice. He thought it looked “off” because it didn’t completely cover the boards. But I liked the beveled look it gave.
And I knew that once everything was painted it would look great!

We used the same type of trim to create a raised box in the empty space below the mantel.
After my husband finished the part of the job he enjoys (cutting, nailing, gluing), it was time for me to take over.
We make a great team that way!
I filled all the nail holes with wood putty. Once it was dry I sanded it smooth with fine grit sandpaper.
After cleaning up the dust from sanding, it was time to caulk.
Then, the whole fireplace got a fresh coat of paint.
I’ve started re-painting all of our trim with Benjamin Moore’s Simply White OC-117 with a semi-gloss finish.
I love that it reads a little warmer than the Super White our builder used.
On to the Next Phase…
I absolutely love how it turned out.
Here’s a little side-by-side comparison:
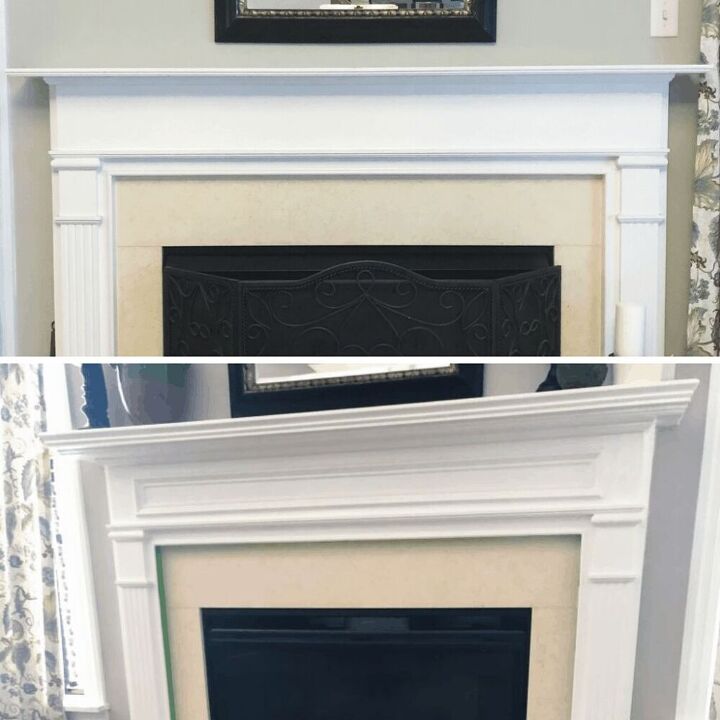
It’s amazing to me what a difference two pieces of trim and some leftover boards made to the appearance of our mantel!
The trim cost $20. Everything else was something we already had from other projects.
And it’s shocking how much more I can fit on the mantel with just three additional inches!


Comments
Join the conversation
-
You could tile right over the yellow stone I bet
-
Very nice job solving your shelf problem lol! Looks terrific!


Frequently asked questions
Have a question about this project?
I would love to upgrade my fireplace like that, but I have bricks for a mantle. Is there anyway I can add wood over the bricks that stick out?
this is brilliant. i’ve hated my fireplace for the 22 years i’ve lived in my house. my mantle is this ugly stone which, of course, my husband won’t let me change. but covering it! thats what i’ll do. i see you extended it out in the front. did you extend it at the sides as well? what types of wood did you use? is the wood glued to the marble and the nails were just for adding the trim? what glue did you use? agh! i have so many questions!!!!
thank you for this wonderful idea. now i just need my husband to start traveling for work again so i can actually do some home repair without him questioning everything i do!