


Momma's Chair; Project 2 of 3

6 Materials
$21
48 Hours
Easy
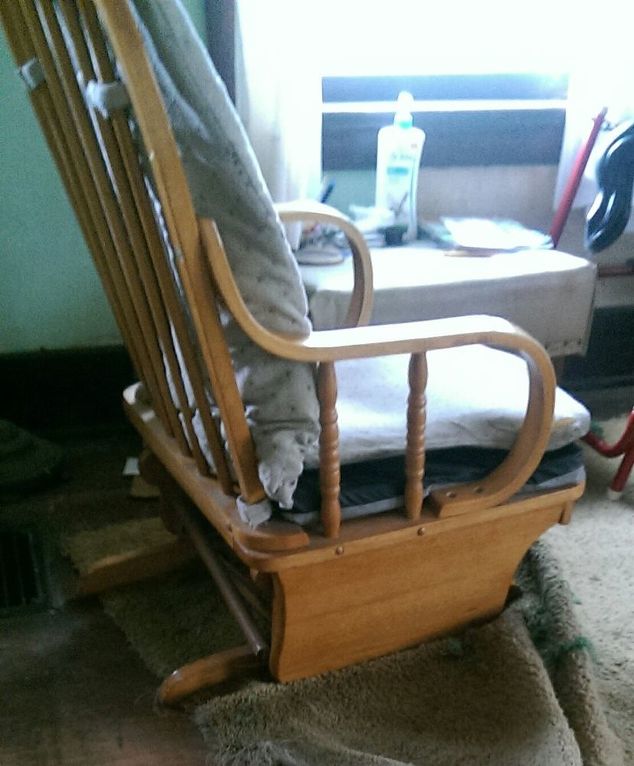
In the first project I explained that 8 years ago, at age 82, my Mom died. Not long ago my nephew came over and sat down in Momma's chair (not knowing that a brace on one side had broken). It tipped over sideways, with him in it, and it fell apart. So, I decided to use 3 parts of it to make projects for whichever family member may want one. For project 1 I made a heart wall hanging from the chair arms. Here, in project 2, I used the seat of her chair and made a footstool that she would have liked, and would have used, after coming home with sore feet and swollen ankles from waiting tables at a private country club for 12 hours.
I began this project by trying to get two spindles out of the edges of the seat, but to no avail. There were wooden plugs stuck in the screwholes where the screws went into the spindles. As my grand-nephew came into the house from work, I had to enlist his help to get the plugs out of the screwholes for me. Bless his heart for the help, otherwise the project would never have gotten off the ground.
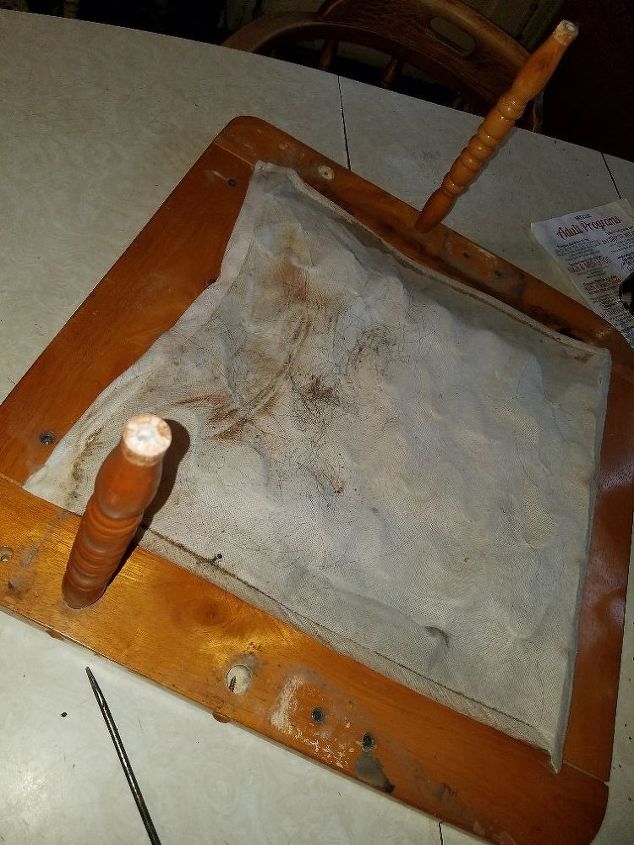
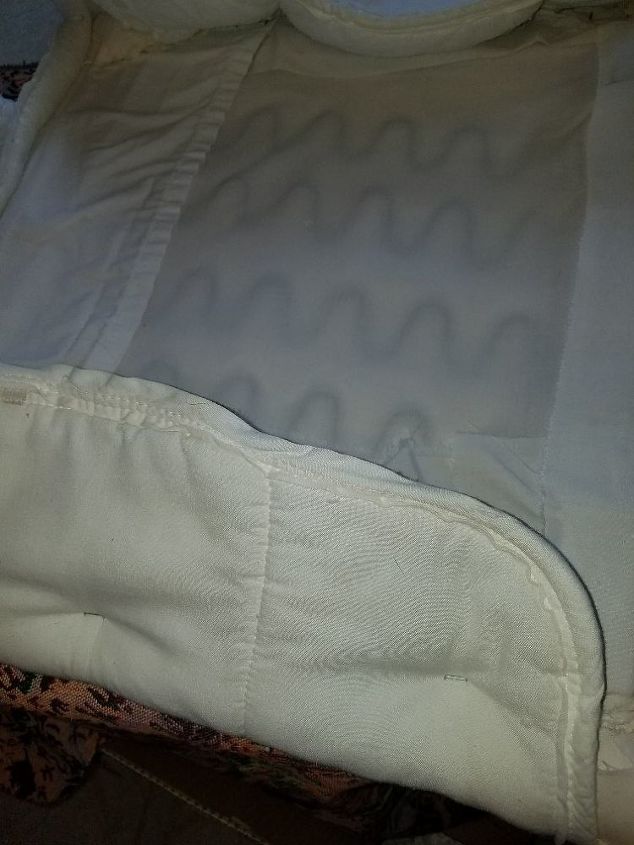
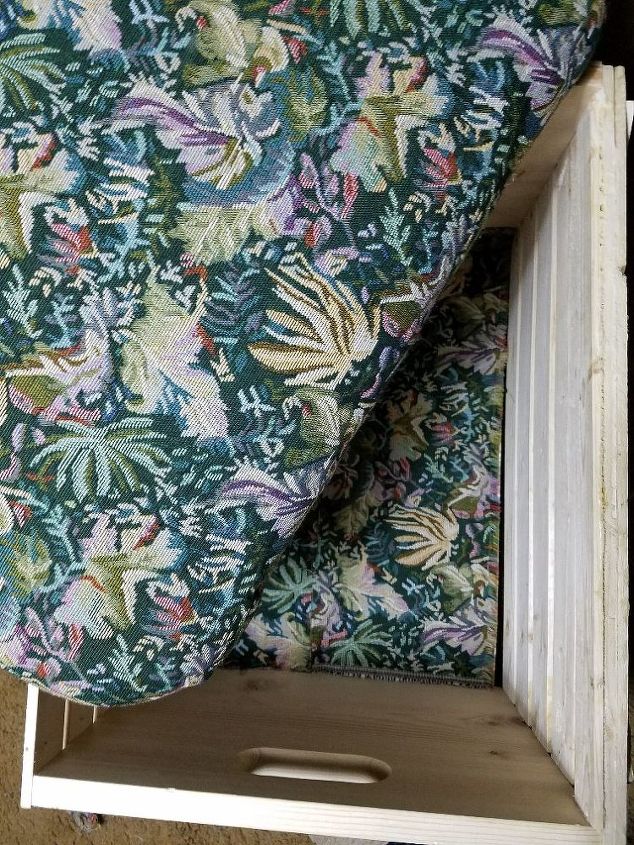
EWWWWW! After my grand-nephew got rid of those plugs, I tore off the thin piece of gauze covering the springs and the superthin piece of foam that had become one with the springs by filling in the blank spaces between them.
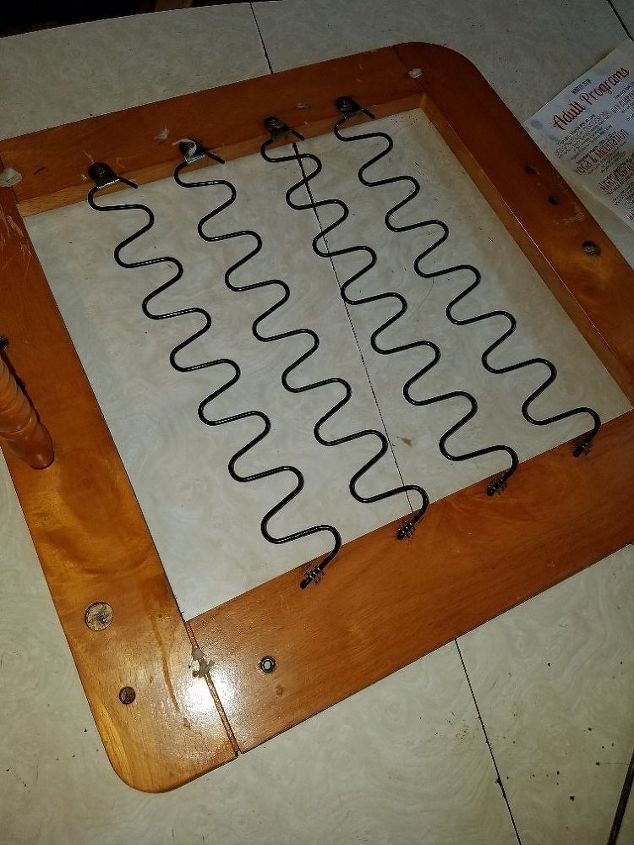
Hot water, a small touch of soap, and a bit of cider vinegar and it looks beautiful. Now to get rid of the spindles and screws and cover it all up. So, I got an old king-sized sheet, cut it in half, and folded half to fit on top and the springs. Then I used enough of the rest of the sheet to wrap around the edges of the framework and hold the padding in place on the springs. I had wanted to do this project properly with foam and batting, etc. but it's funny how life has a way of throwing unexpected curve balls to keep things interesting. It forces us to think outside the box and use what we have to get what we want.
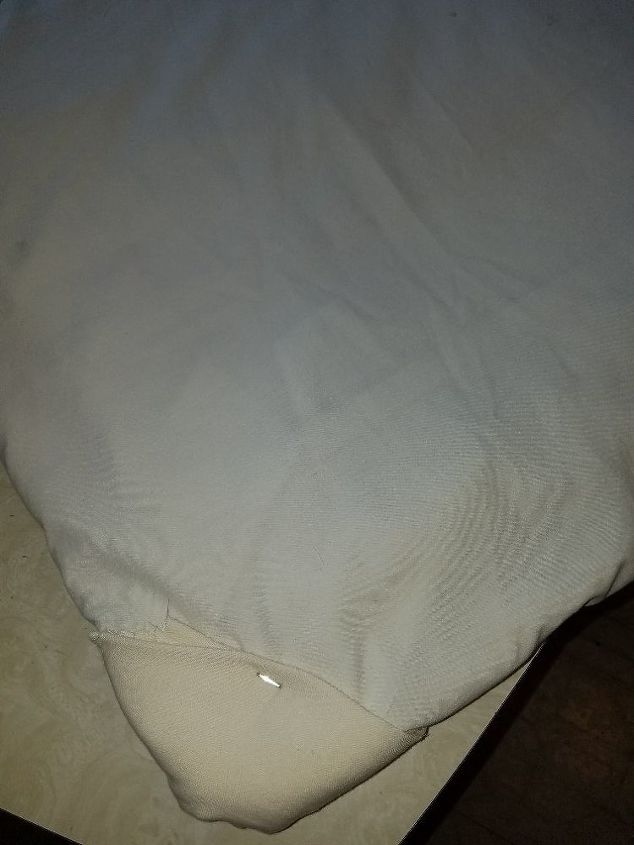
So, old sheets and mattress padding it is. Here is the top of the seat, covered with the piece of sheet that is holding in place the folded up part of the sheet that is acting as padding against the springs. WHEW! That was a mouthful! I used some of the old sheet to make 4 corner pads which were stapled into place top and bottom (and while I stapled them into place on the bottom, I pulled and stapled the sheet covering too).
This is the underside of the seat, sheet stapled in place here and there. The mattress pad was enough for 2 layers that covered the top and sides, plus about a 14" wide strip down the center as a bit more padding in case someone decides to sit on it. Here you can see it pulled up and stapled to be held in place. My sister took care of my Mom when she was bedbound, and she had used the mattress pad over the hospital bed mattress to try to make it warmer for Mom. She had kept it after Mom passed, and she let me have it for this project. My sister is always helping family members. Bless her loving heart.
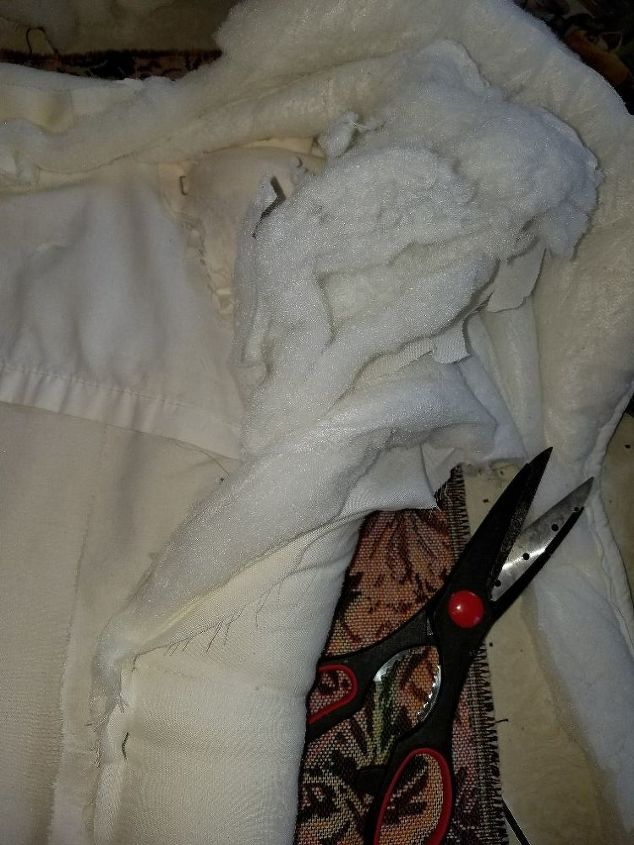
Too much padding when the sides meet the corners. Do NOT be afraid to shear that sheep where necessary, but only the batting and NOT the cloth covering. That will enable you to pull the material up and over the batting and staple it down snugly enough to hold the batting in place.
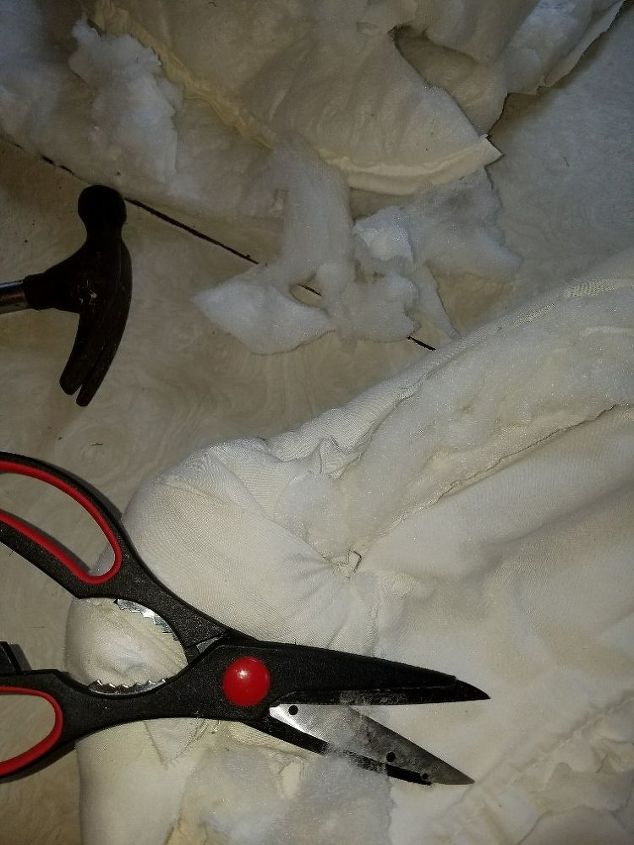
Cut away whatever is not needed. You can always use the leftover to stuff a toy.
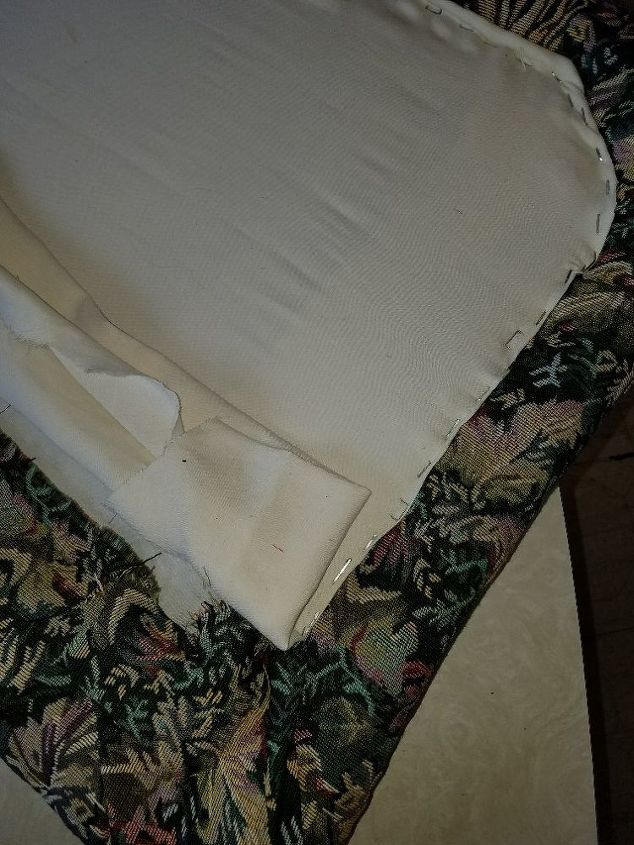
After the batting was stapled down, I covered the seat with the tapestry material I had, pulling it snugly but not tightly, and stapling it into place. Then I took another piece of sheet, folded the edges under and stapled that over the edging of the tapestry to hide the raw edging.
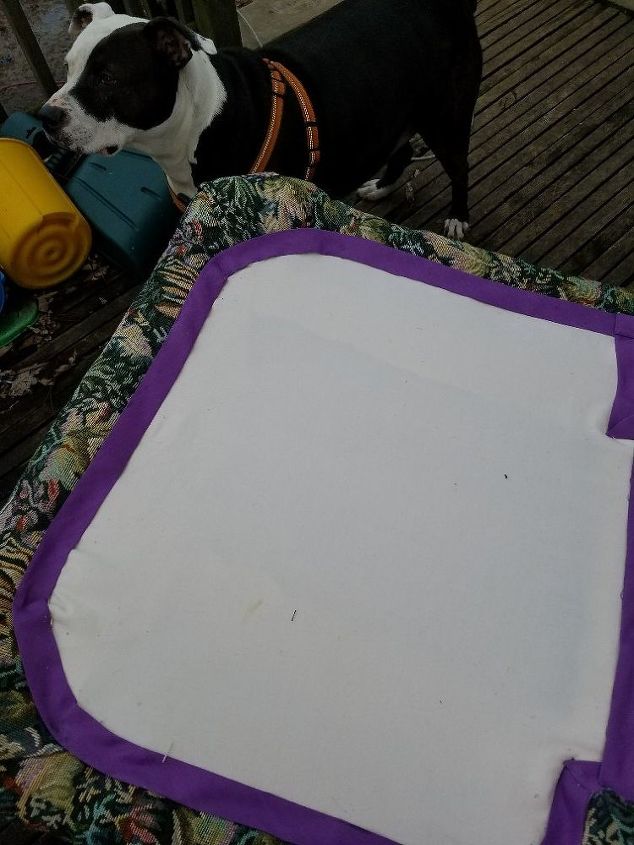
I decided to take some bias tape and used E-6000 to glue it over the staples and edging. After I had glued about 3/4 of the way around I ran out of E-6000 and had to use a hot glue gun to finish the last side (there on the right). While inside the house I tried to get a picture of it but it didn't look very bright, so I took it onto the back deck to take the picture. My shadow followed me. I think she thought we were going to play catch. Not today baby girl; I. am. tired.
The next thing I did was "check" on the feet of the footstool, trying to decide whether or not I want to put rollers on them.
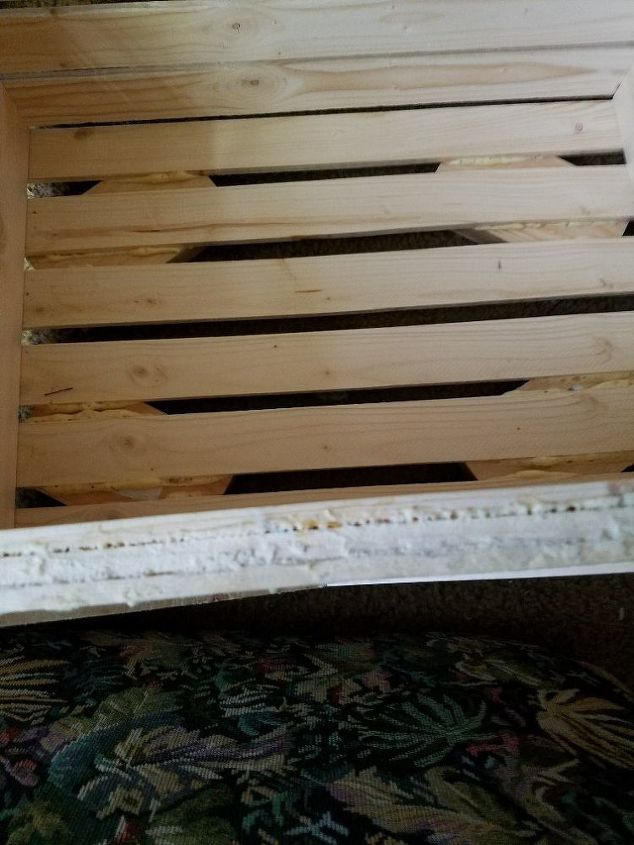
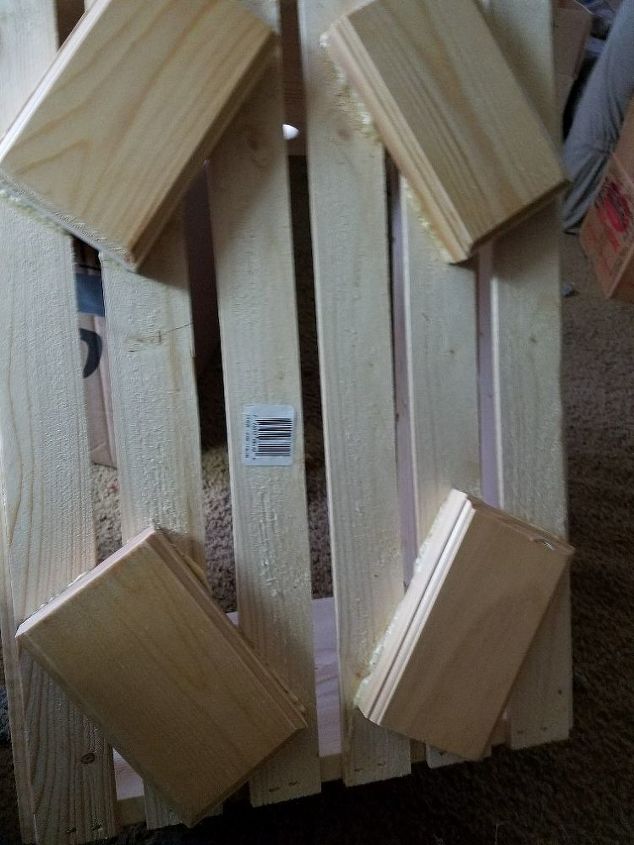
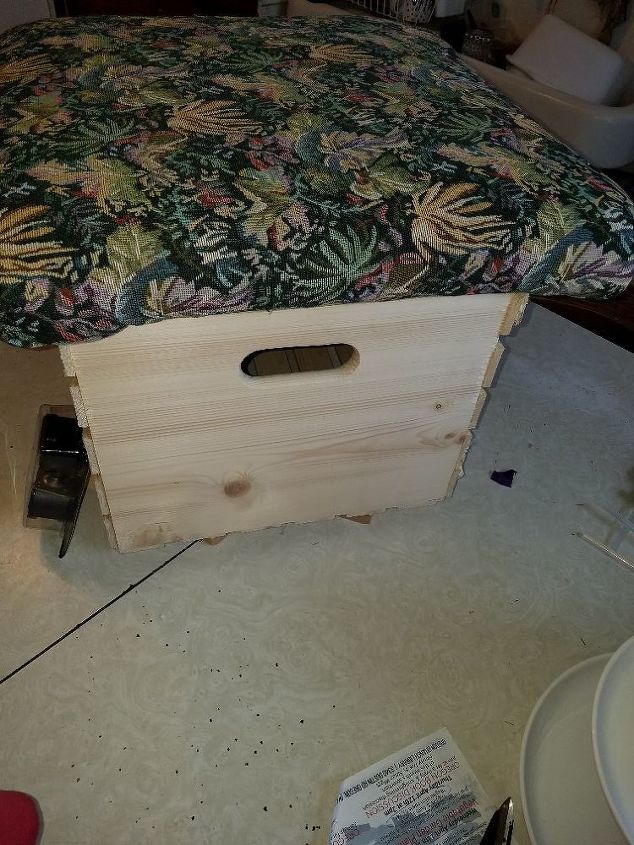
In this picture you can see within the light colored strip that it is actually three boards glued together. I glued a strip of lathe to each side of the top slat of the pine crate just to strengthen it in case the lid would get hinged to the crate. I've decided not to attach the "lid" of the footstool to the crate with hinges. The lid is just too heavy. It would need side slide hinges instead, and I'm not going there this time around. Gorilla glue takes 24 hours to dry completely so, between this and the feet I had glued onto the bottom, there was a total of 48 hours drying time. I used this time to pad the seat and take care of some other things around the house.
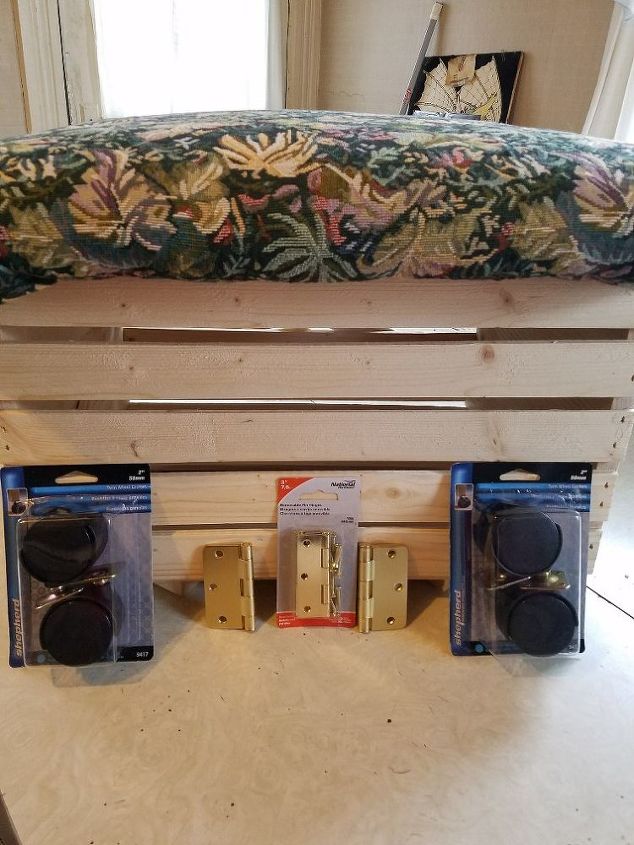
Here is the front of the footstool, with the wheels and hinges. The price of the hinges and wheels were not included in the list below because I wasn't sure if I would be using them or not, and chances are "not." Below is the last thing I did on this project.
In order to cover up the gluey blunders where the feet attach to the bottom of the crate, I cut the side of a cardboard box to fit the bottom of the crate and then glued the leftover tapestry to cardboard. Then I placed it into the crate so the bottom inside will match the top outside. All done. Now, what to do next?
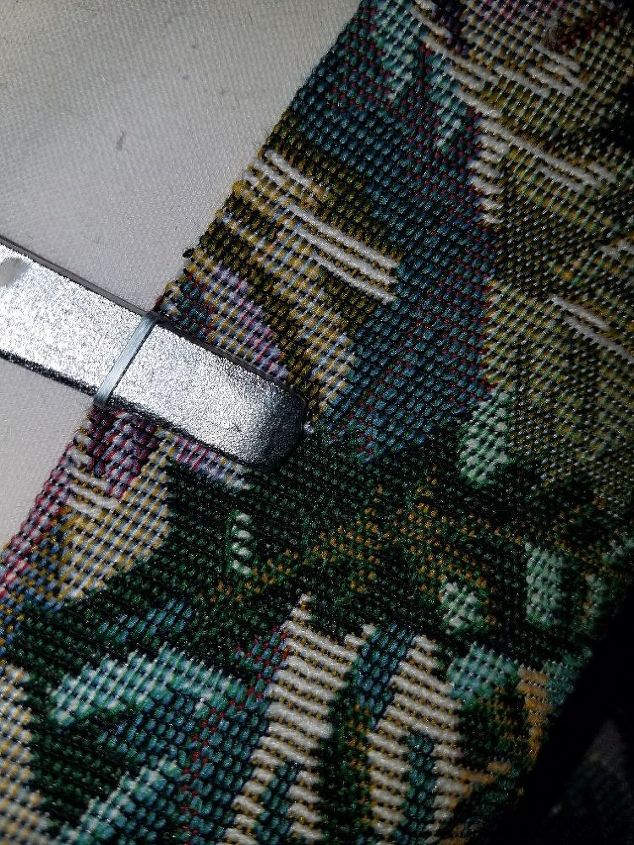
By the way, here is something I learned that I never knew before: to easily pull out a staple that is only partially embedded, grab your pliers and use one of the handle tips to slide it under the staple and lift it up. If you try one of the handle sides and it doesn't fit, use the other one. It will work, as long as your handles are metal, that is. Maybe you already knew this though, or maybe not. Either way, I hope you've enjoyed this article.
Comments
Join the conversation
4 comments
-
This is great!
-
Super! Looks great and a great memory.


Frequently asked questions
Have a question about this project?